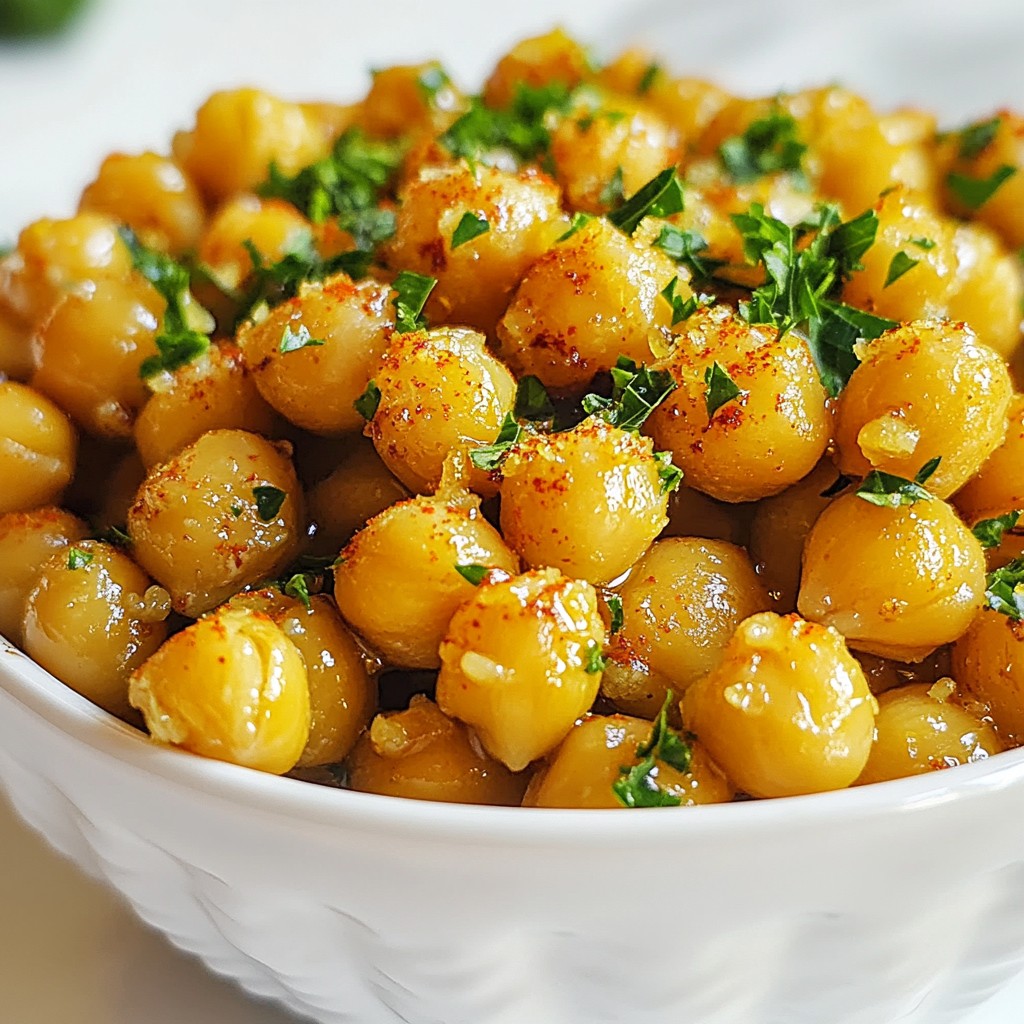
Craving a tasty snack that’s both healthy and easy to make? Look no further! My Zesty Lemon Garlic Chickpeas are bursting with flavor and packed with nutrients. Using just a few simple ingredients—like fresh lemon, garlic, and high-quality olive oil—you’ll whip up a delightful treat in no time. Get ready to impress your friends with this simple recipe that’s perfect for any meal or occasion! Let’s dive in!
Why I Love This Recipe
- Bold Flavors: This recipe combines zesty lemon and aromatic garlic, creating a vibrant and refreshing dish that elevates any meal.
- Quick and Easy: With just a few simple ingredients and minimal prep time, you can whip up these chickpeas in under 15 minutes!
- Healthy and Nutritious: Chickpeas are packed with protein and fiber, making this dish a wholesome choice for any diet.
- Versatile Dish: These zesty chickpeas can be served as a side, a salad topping, or even as a tasty snack, fitting perfectly into any dining occasion.
Ingredients
Main Ingredients
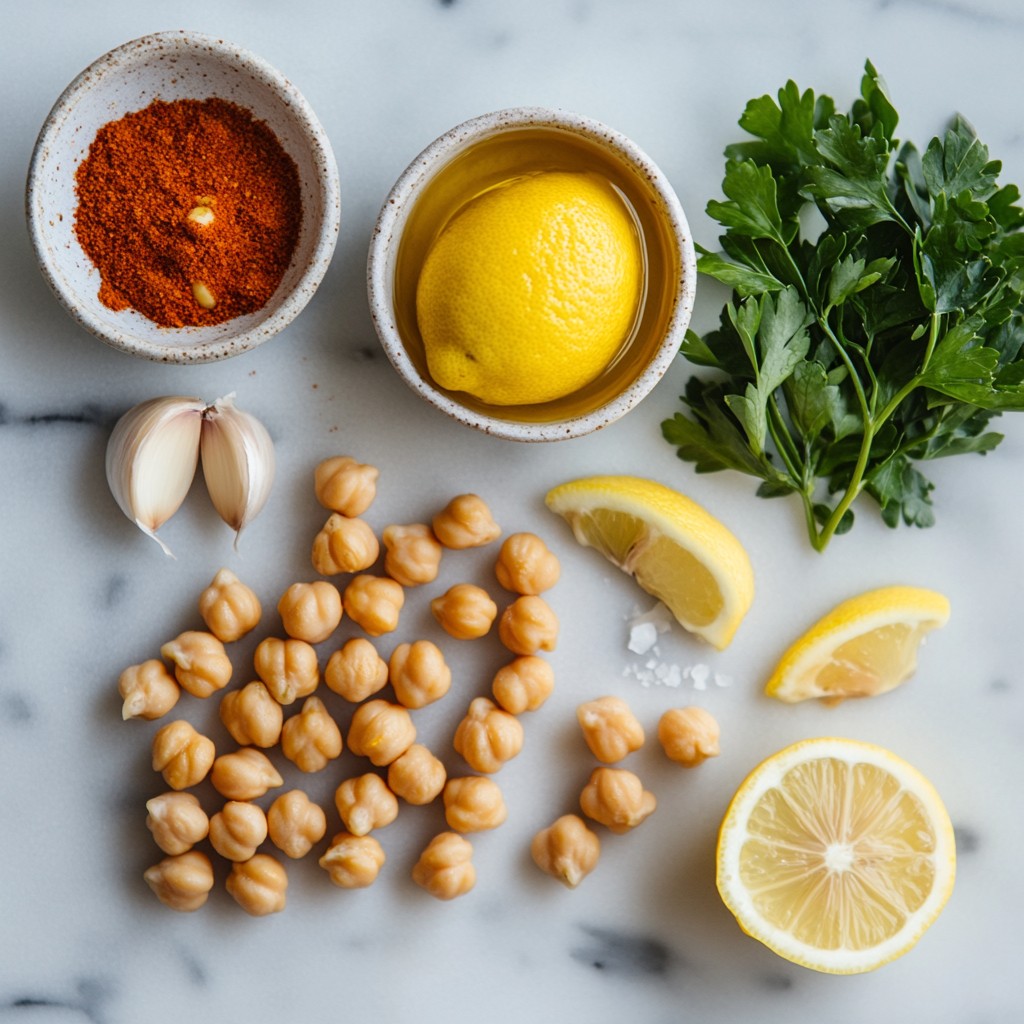
- 1 can chickpeas (15 oz)
- 3 tablespoons high-quality olive oil
- 3 cloves of garlic
- Zest from 1 fresh lemon
- Juice from 1 large lemon
Seasonings
- 1 teaspoon smoked paprika
- 1/2 teaspoon cayenne pepper (optional)
- Salt and freshly ground black pepper
Garnish
- Fresh parsley
When I make Zesty Lemon Garlic Chickpeas, I love using fresh and high-quality ingredients. The chickpeas are the star here. They’re packed with protein and fiber, making them a great base for this dish. I often choose a canned variety for ease, but feel free to use dried chickpeas if you prefer. Just remember to soak and cook them ahead of time.
The olive oil gives a rich flavor and helps the garlic sauté perfectly. I always pick a good quality oil for the best taste. Garlic, with its bold aroma, adds depth to each bite. I like to finely mince it to spread the flavor evenly.
The zest of a fresh lemon is magical. It brightens the dish and adds a refreshing touch. The juice from the lemon brings a tangy burst that balances the richness of the olive oil.
For seasonings, smoked paprika offers a lovely hint of smokiness. If you want some heat, cayenne pepper adds a nice kick, but it’s optional. Salt and pepper round out the flavors, making each bite delightful.
Finally, I love to finish with fresh parsley. It adds a pop of color and freshness. The bright green contrasts beautifully with the golden chickpeas. This simple combination of ingredients makes for a flavorful and healthy treat that you will enjoy.
Step-by-Step Instructions
Preparing the Chickpeas
- Heat olive oil in a skillet: Start by pouring three tablespoons of high-quality olive oil into a medium skillet. Turn the heat to medium and let the oil shimmer. This step makes the oil perfect for cooking.
- Sauté minced garlic: Once the oil is hot, add three cloves of finely minced garlic. Stir the garlic for one to two minutes. The smell will be amazing! Be careful not to let it brown. Browned garlic can taste bitter.
Cooking the Chickpeas
- Add drained chickpeas to the skillet: Grab one can of chickpeas, about 15 oz. Drain and rinse them. Add the chickpeas to the skillet with the garlic. Cook for about five minutes. Stir them often. You want them warm and slightly crispy.
- Incorporate seasonings and lemon juice: Now, zest one fresh lemon and squeeze the juice from one large lemon over the chickpeas. Add one teaspoon of smoked paprika and half a teaspoon of cayenne pepper if you like spice. Season with salt and freshly ground black pepper. Mix everything well so the chickpeas are covered in flavor.
Final Touches
- Cook to meld flavors: Let the chickpeas cook for another two to three minutes. This allows all the flavors to blend nicely. Stir occasionally to keep them from sticking.
- Transfer to serving dish and garnish: Once the chickpeas smell great, take them off the heat. Move them to a bright serving dish. For a nice finish, sprinkle chopped fresh parsley on top. This adds a pop of color and flavor!
Tips & Tricks
Perfecting the Flavor
To sauté garlic without burning, keep the heat on medium. Stir the garlic often. If it starts to brown, lower the heat. This helps keep its sweet flavor. For a crispy texture, let the chickpeas cook without stirring too much. This allows them to brown nicely. Use a wide skillet to give them space.
Ingredient Substitutions
If you want to swap olive oil, try avocado oil or coconut oil. Both add nice flavors. For a different taste, you can use a mix of herbs like thyme or rosemary. A splash of balsamic vinegar can also add a zing.
Presentation Suggestions
Serve the chickpeas in a bright bowl. Drizzle some olive oil on top for shine. Add a sprinkle of lemon zest for color. To make it a full meal, pair it with a side of warm pita bread or a crisp salad. This adds freshness and balance to your dish.
Pro Tips
- Quality Ingredients: Use the freshest lemon and high-quality olive oil to enhance the flavors of your dish.
- Adjust the Spice: If you prefer a milder flavor, feel free to omit the cayenne pepper or reduce the amount to suit your taste.
- Perfectly Crispy Chickpeas: For an extra crispy texture, consider broiling the chickpeas for a minute or two after cooking.
- Garnish for Appeal: A sprinkle of lemon zest and additional parsley just before serving can elevate the dish's presentation and flavor.
Variations
Adding Extra Vegetables
You can easily add seasonal vegetables to this dish. Try mixing in some bell peppers or zucchini. They add color and crunch. You can also use spinach or kale for a leafy touch. Just toss them in when cooking the chickpeas. This makes the meal more nutritious and fun.
Different Flavor Profiles
Switching up seasonings can change the taste. You might use cumin for a warm flavor. Or add dill for a fresh twist. You can also try basil or oregano for a classic Italian flair. Feel free to experiment with different herbs to find what you love most.
Dietary Modifications
Making this dish gluten-free is simple. Chickpeas are naturally gluten-free, so you’re already good to go! If you want vegan options, this recipe is perfect as is. All ingredients are plant-based. You can enjoy Zesty Lemon Garlic Chickpeas without worry.
Storage Info
Leftover Storage
To store leftover Zesty Lemon Garlic Chickpeas, place them in an airtight container. Make sure the container is clean and dry. Store it in the fridge. They will stay fresh for up to three days. When you're ready to eat them, check for any signs of spoilage before reheating.
Freezing Guidelines
You can freeze chickpeas for future use. First, spread them out on a baking sheet. Make sure they are in a single layer. Place the sheet in the freezer until the chickpeas are solid. Then, transfer them to a freezer-safe bag. Remove as much air as possible. They can last for up to three months in the freezer.
Reheating Tips
To reheat the chickpeas, you have a few good options. You can use a skillet over medium heat. Add a splash of olive oil to keep them moist. Stir them frequently until they are warm. If you prefer, you can also use a microwave. Place the chickpeas in a bowl with a damp paper towel. Heat them in short bursts, stirring in between, to prevent drying out. Enjoy the zesty flavors just like when they were fresh!
FAQs
How long do Zesty Lemon Garlic Chickpeas last?
Zesty Lemon Garlic Chickpeas can last up to 4 days in the fridge. Store them in an airtight container. The flavors will deepen as they sit, which makes them even tastier. However, they may lose some crispiness over time. Reheat them gently to bring back some texture.
Can I use dried chickpeas instead of canned?
Yes, you can use dried chickpeas instead of canned. First, soak them overnight in water. After soaking, cook them until they are tender, which usually takes about 1 to 2 hours. Once cooked, drain and rinse them before adding to the skillet. This method can enhance their flavor and texture.
What can I serve with Zesty Lemon Garlic Chickpeas?
- Serve with a side of warm pita bread for a nice dip.
- Pair them with a fresh salad for a complete meal.
- Add them to rice or quinoa for a hearty bowl.
- Mix them into tacos or wraps for extra flavor.
- Enjoy as a snack on their own or as part of a mezze platter.
These pairings can elevate your meal and add more variety to your plate!
This blog post covered how to make Zesty Lemon Garlic Chickpeas. We explored the right ingredients, tasty seasonings, and easy steps. I shared tips for perfecting flavor and creative variations. Remember, you can customize this dish to match your taste. Whether you want extra veggies or different herbs, the choices are endless. These chickpeas are not only delicious but also easy to store and reheat. Try this recipe today and enjoy a tasty, healthy dish you can feel good about serving.


