
Brown Butter Chocolate Chip Cookies Delightful Recipe
Deliciously chewy cookies made with brown butter and loaded with chocolate chips and optional pecans...
Delicious recipes
Sweet treats and desserts
Deliciously chewy cookies made with brown butter and loaded with chocolate chips and optional pecans...

A refreshing and healthy frozen treat made with Greek yogurt, mixed berries, banana, and granola.

A delicious dessert bar with a crunchy pretzel crust, creamy cheese layer, and fresh strawberry topp...
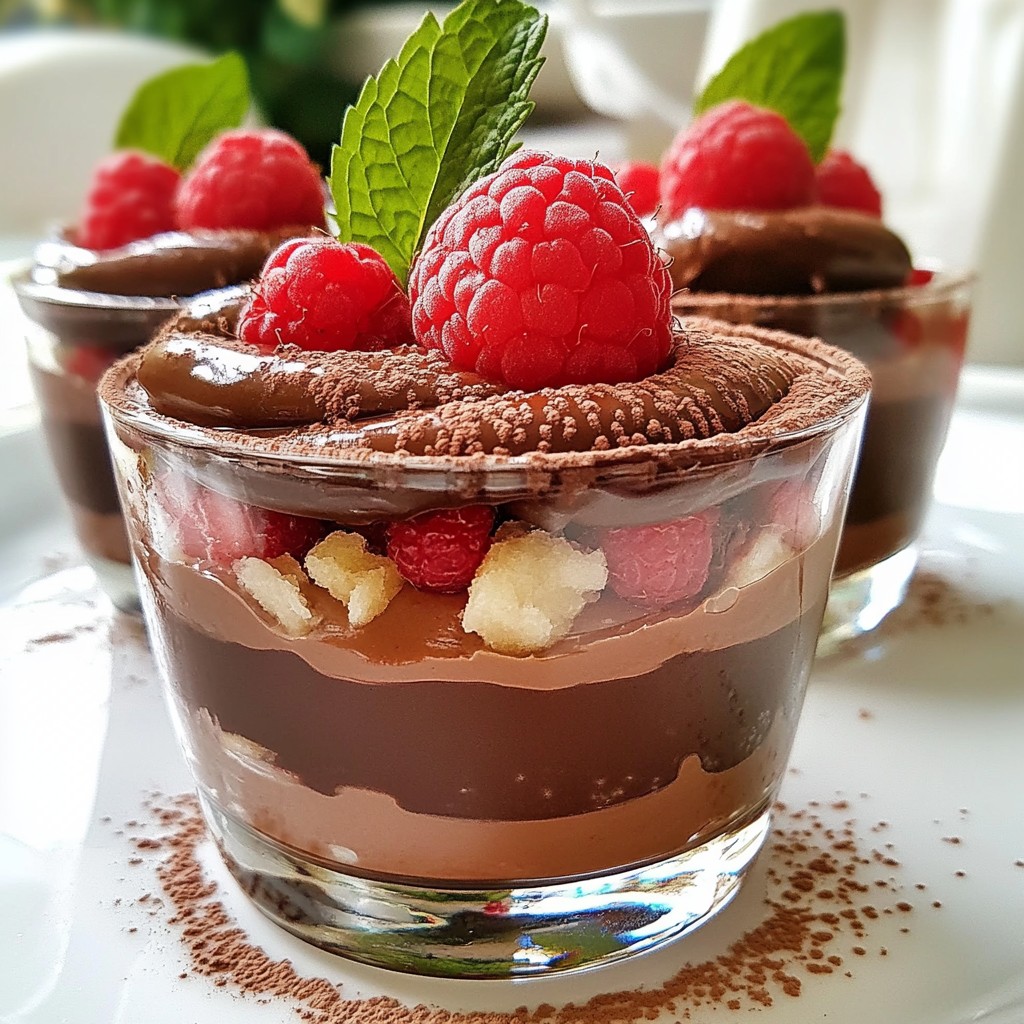
Indulge in these rich and airy chocolate mousse cups, perfectly complemented by fresh raspberries.
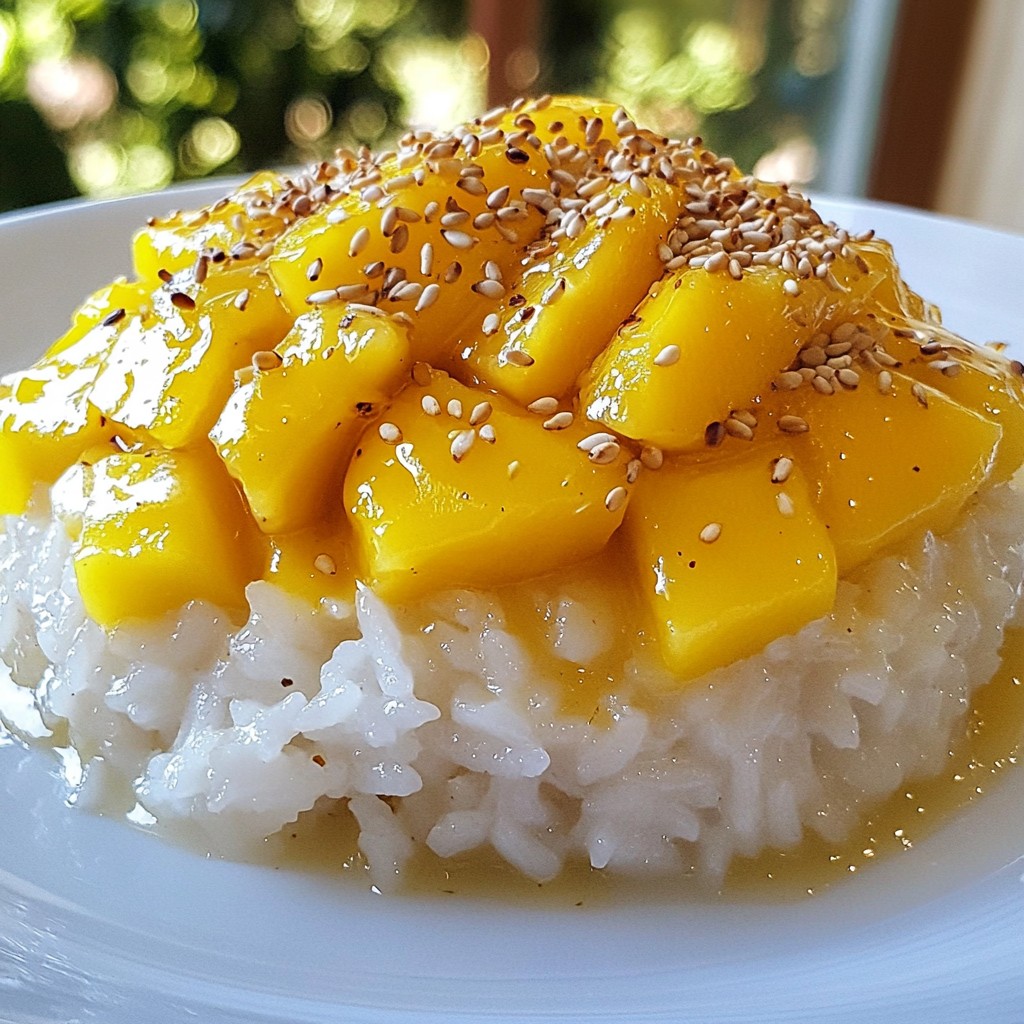
A delicious Thai dessert made with glutinous rice, coconut milk, and fresh mango.

Delicious and crunchy granola clusters with pumpkin spice flavor, perfect for a wholesome snack or b...
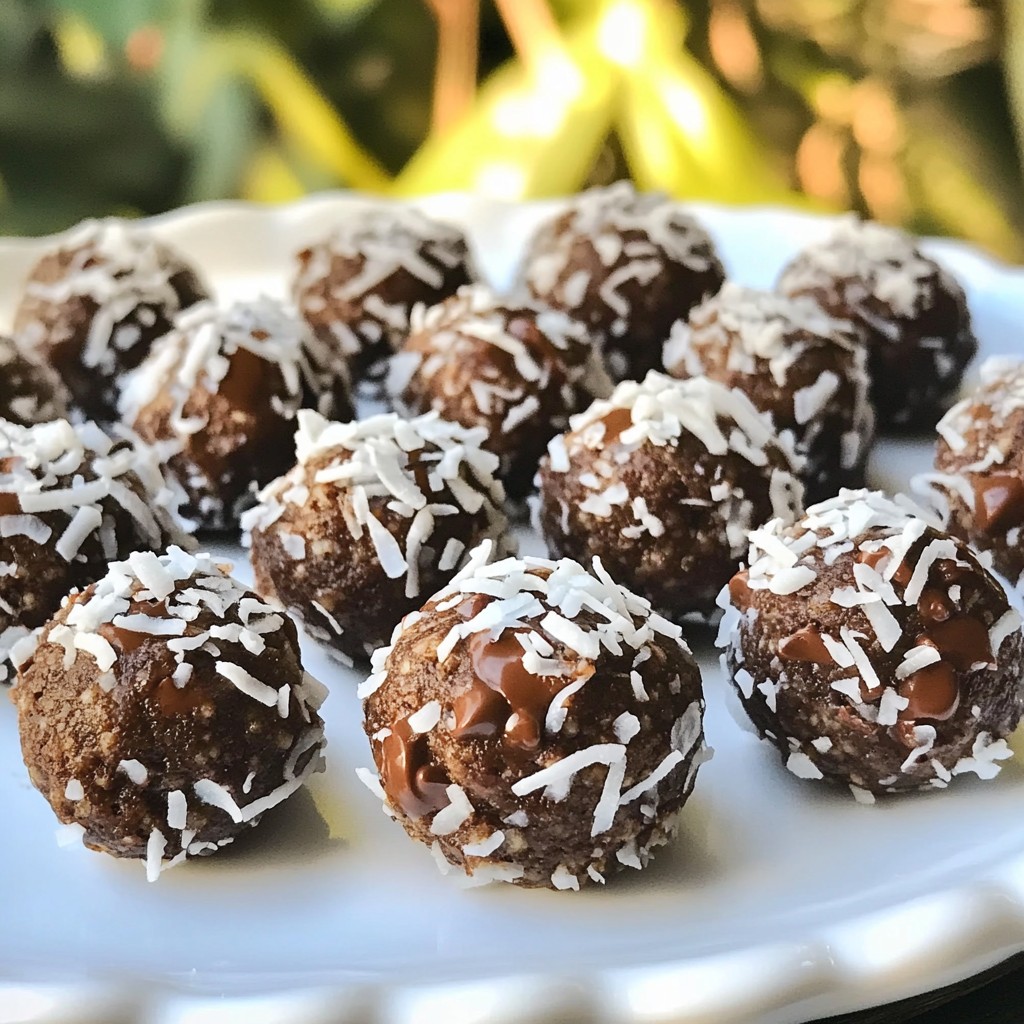
Delicious and nutritious energy bites made with oats, almond butter, and chocolate.
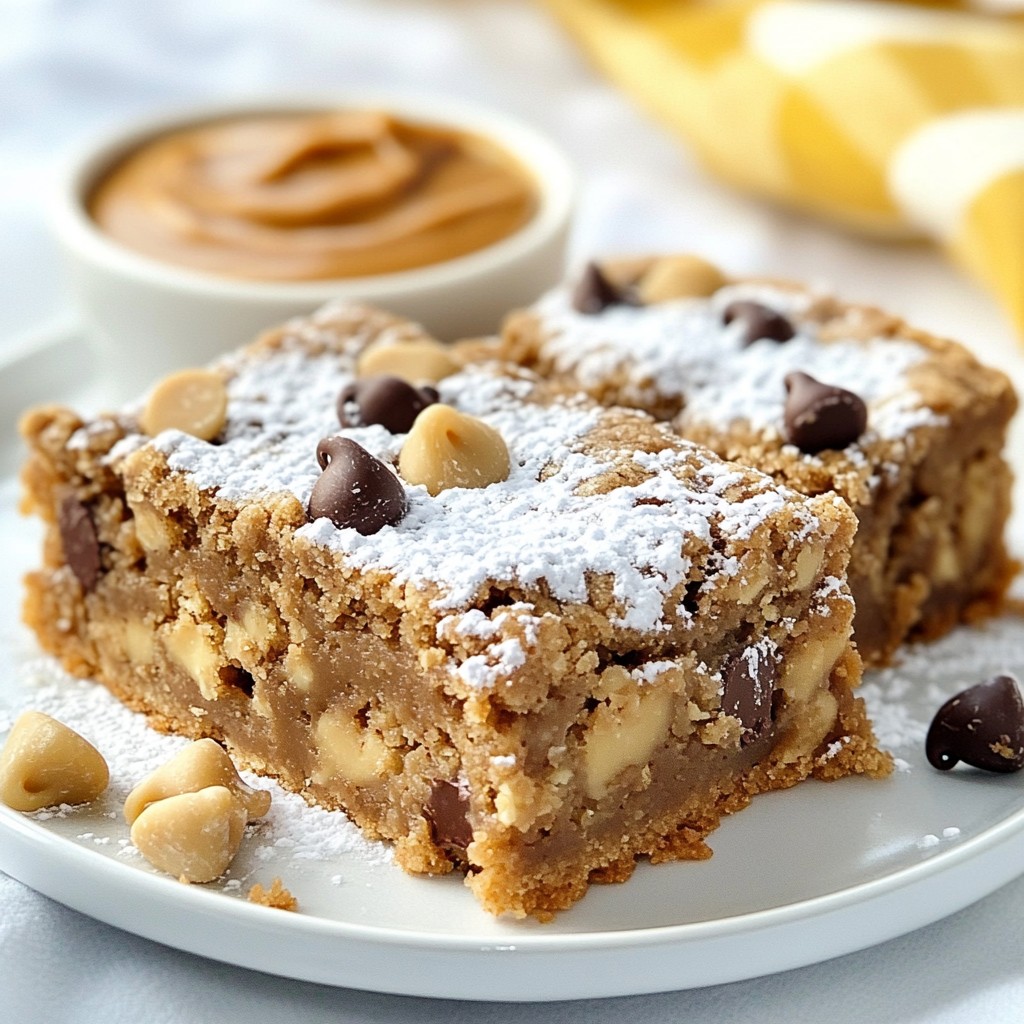
Delicious and chewy cookie bars made with peanut butter and oats, perfect for a snack or dessert.

Delicious cheesecake bars with a refreshing lemon and blueberry flavor.
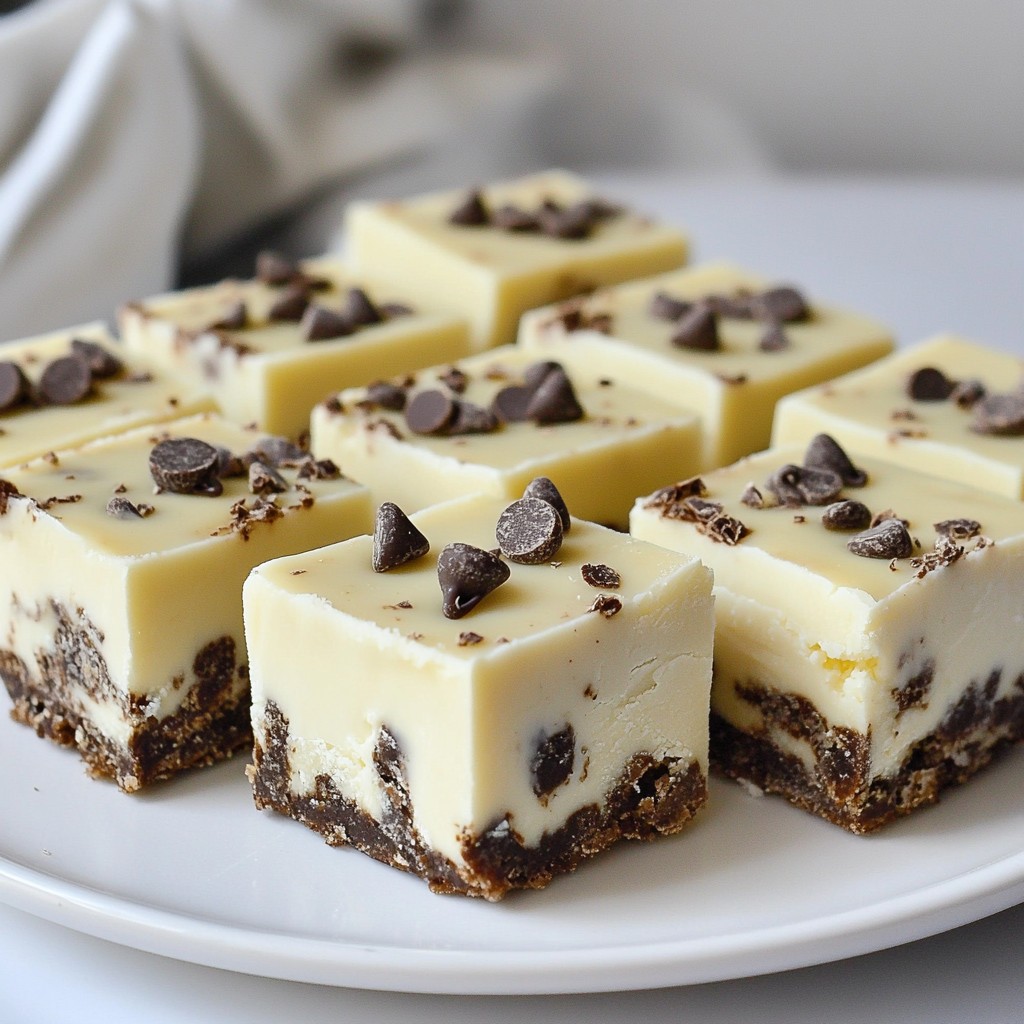
A deliciously creamy fudge infused with white chocolate and crushed chocolate sandwich cookies, perf...
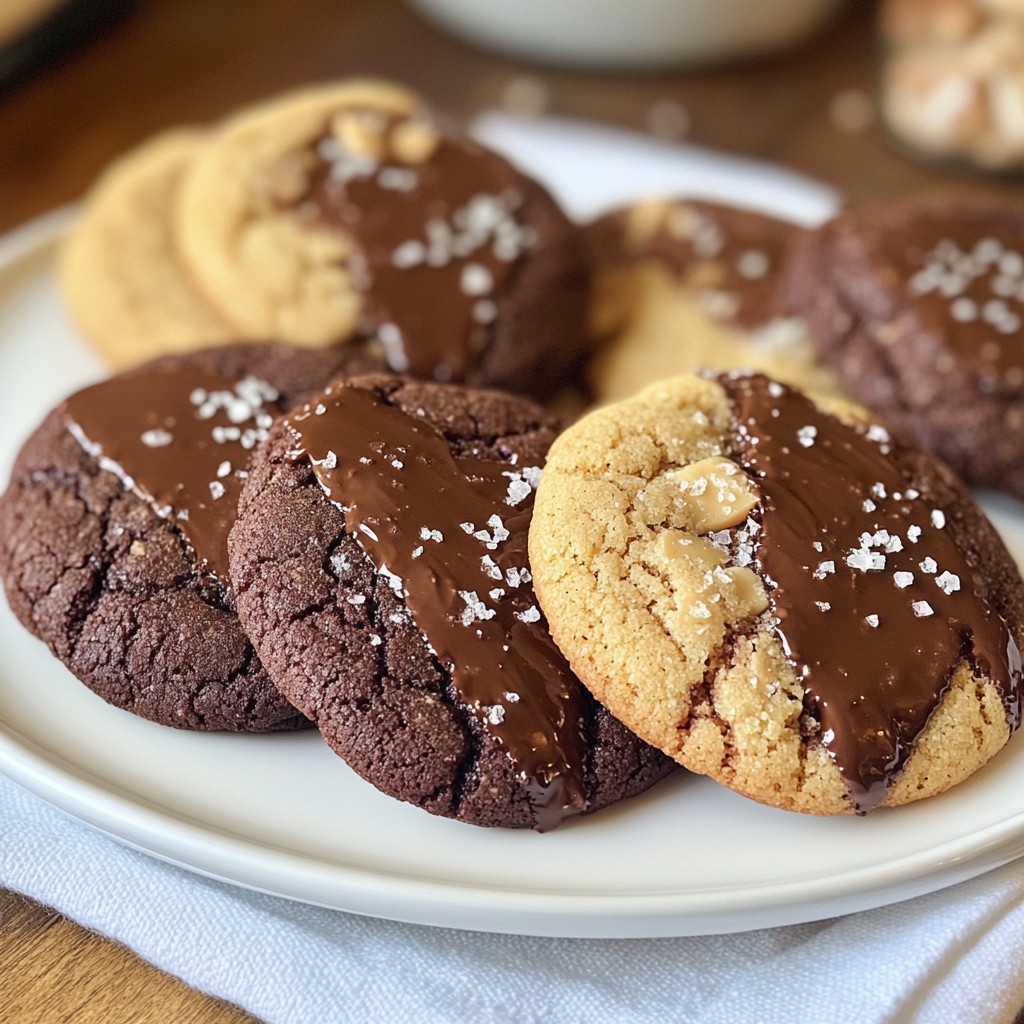
Delicious cookies made with creamy peanut butter and semi-sweet chocolate, perfect for a sweet treat...
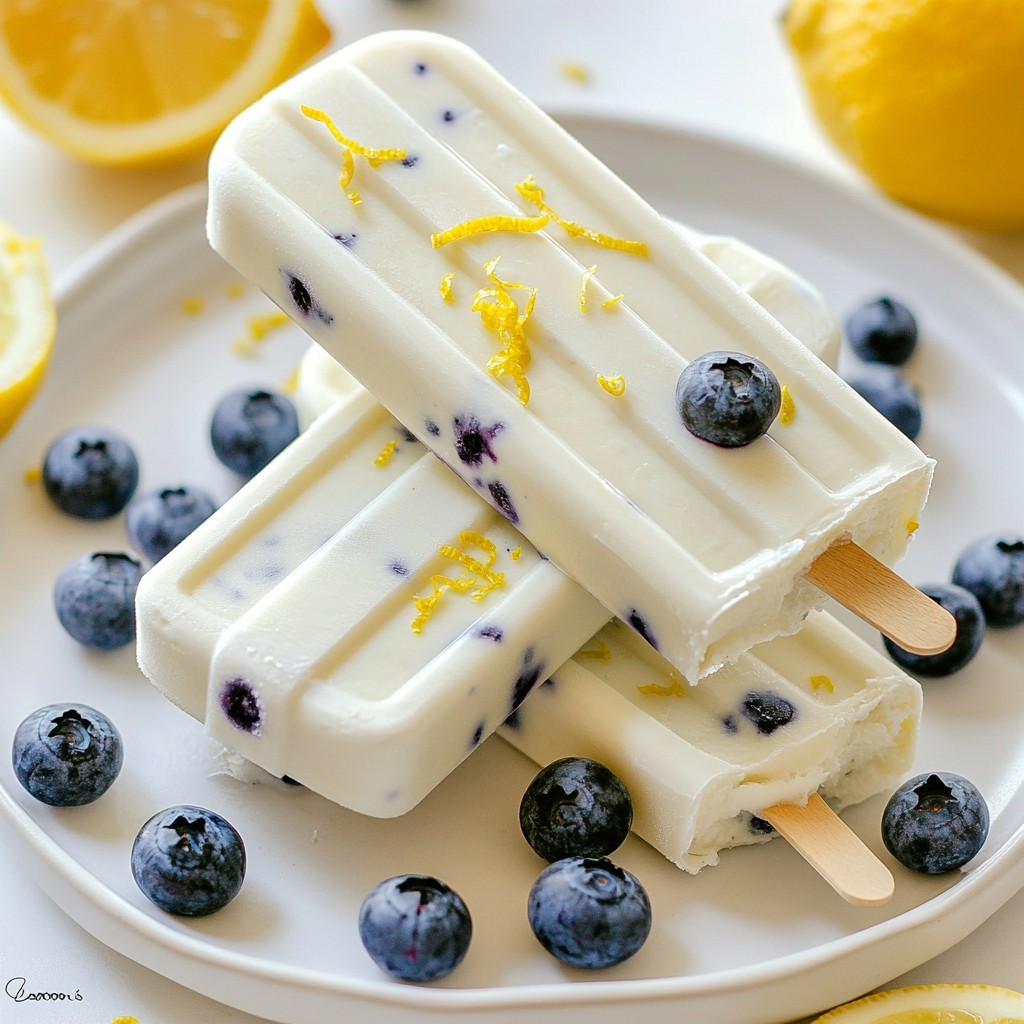
Refreshing and tangy popsicles made with Greek yogurt, fresh blueberries, and lemon juice.