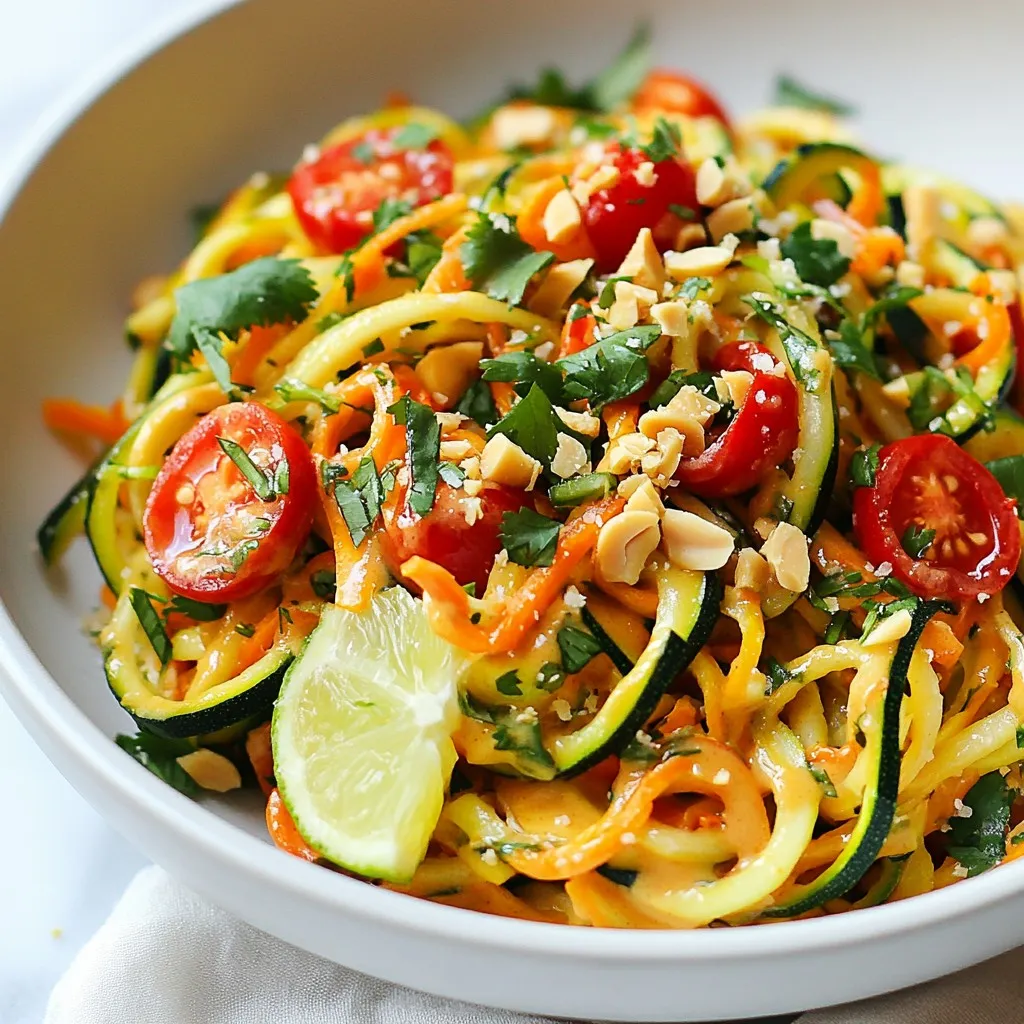
Are you ready to spice up your meal plan? These Spicy Thai Peanut Zucchini Noodles are a tasty and healthy twist on traditional pasta. You’ll enjoy the crunch of fresh veggies and the rich, creamy peanut sauce in every bite. In this article, I’ll guide you through simple steps and tips to create this flavorful delight. Get ready to impress your taste buds and your dinner guests!
Why I Love This Recipe
- Quick and Easy: This recipe takes just 30 minutes to prepare, making it perfect for a weeknight dinner when you’re short on time.
- Fresh Ingredients: Using fresh vegetables like zucchini, bell pepper, and cherry tomatoes, this dish is packed with flavor and nutrition.
- Customizable Heat: The recipe allows you to adjust the spiciness by varying the amount of sriracha, catering to all taste preferences.
- Deliciously Nutty: The creamy peanut sauce adds a rich, nutty flavor that perfectly complements the fresh veggies and zucchini noodles.
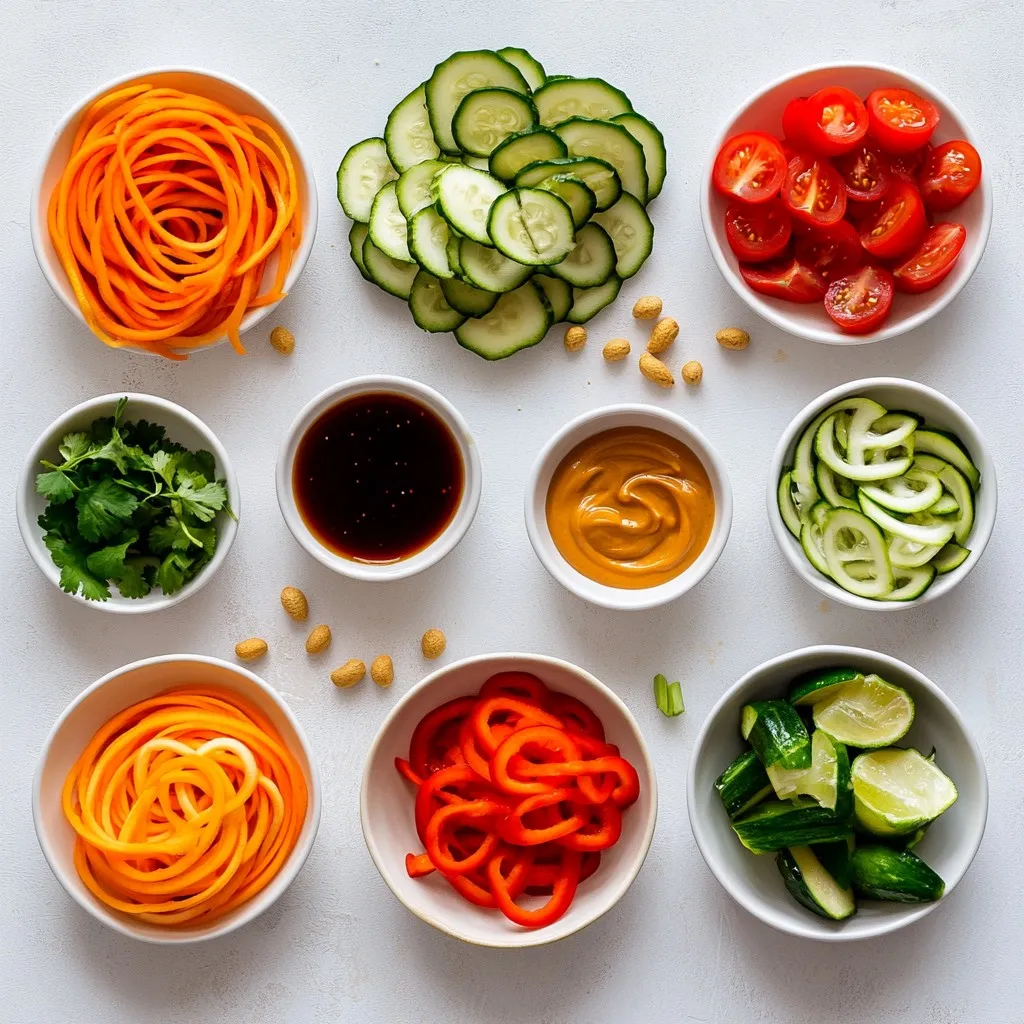
Ingredients
Main Ingredients
– 4 medium zucchinis, spiralized into noodles
– 1 red bell pepper, thinly sliced into strips
– 1 cup cherry tomatoes, halved
– 1 carrot, julienned (thinly sliced into matchsticks)
– 1/4 cup green onions, finely sliced
– 1/2 cup unsweetened peanut butter
Zucchini is the heart of this dish. Spiralizing it turns it into fun, noodle-like shapes. The red bell pepper adds a sweet crunch. Cherry tomatoes bring juiciness, while the carrot adds color and texture. Green onions provide a fresh bite, and peanut butter gives that rich, nutty flavor.
Sauces and Seasonings
– 2 tablespoons soy sauce (or tamari for a gluten-free option)
– 2 tablespoons fresh lime juice
– 1 tablespoon maple syrup or honey (your choice)
– 1 tablespoon sriracha (feel free to adjust based on your spice preference)
– 1 teaspoon garlic powder
– 1 teaspoon fresh ginger, finely grated
– Salt and freshly cracked black pepper, to taste
The sauce is key to this dish’s flavor. Soy sauce or tamari adds saltiness while lime juice gives brightness. Sweetener balances the taste, and sriracha adds heat. Garlic powder and ginger enhance the flavor. Adjust salt and pepper to your liking.
Garnishes
– Chopped peanuts
– Fresh cilantro
Garnishes make your dish look and taste amazing. Chopped peanuts add crunch, while fresh cilantro brings a burst of freshness. These toppings not only enhance flavor but also make your dish visually appealing. Enjoy the textures and colors!
Step-by-Step Instructions
Preparing the Zucchini Noodles
Spiralizing Zucchini
First, grab your spiralizer. Cut the ends off the zucchinis. Place one zucchini in the spiralizer and twist. Keep twisting until you have long noodles. Repeat this for all zucchinis.
Salting and Draining
Once you spiralize the noodles, place them in a colander. Lightly sprinkle salt over the noodles. Let them sit for about 15 minutes. This step helps draw out extra moisture. It prevents your dish from getting soggy.
Making the Peanut Sauce
Mixing Ingredients
In a small bowl, add the peanut butter, soy sauce, lime juice, and maple syrup. Next, include sriracha, garlic powder, and grated ginger. Whisk everything together until it is smooth and creamy.
Adjusting Consistency
If the sauce seems too thick, that’s okay! Add a tablespoon of warm water. Mix again until you get your preferred consistency.
Combining the Ingredients
Tossing Noodles and Veggies
After the zucchini has drained, use a clean towel to pat them dry. In a large bowl, combine the zucchini noodles, sliced red bell pepper, halved cherry tomatoes, and julienned carrot. Pour the peanut sauce over the top.
Seasoning to Taste
Gently toss all the ingredients. Make sure every noodle and veggie is coated with sauce. Now, taste your dish! Add salt and freshly cracked black pepper as needed. If you like it spicier, mix in more sriracha.
Tips & Tricks
Perfecting the Zucchini Noodles
– Avoiding Sogginess
To keep your zucchini noodles firm, salting is key. After spiralizing, sprinkle salt on the noodles and let them sit in a colander for 15 minutes. This process draws out extra moisture. After that, pat them dry with a towel. This simple step makes a big difference.
– Ideal Cooking Time
Zucchini noodles cook quickly. You only need to toss them in a hot pan for about 2-3 minutes. Overcooking can lead to mushiness. Keep an eye on them, and remove them from heat as soon as they soften.
Enhancing the Peanut Sauce
– Adjusting Spice Levels
If you love heat, add more sriracha to your sauce. Start with one tablespoon, then taste. You can always add more if you like it spicy. For milder flavors, cut back on the sriracha or leave it out.
– Substituting Ingredients
Don’t have peanut butter? Try almond or cashew butter instead. For a nut-free option, sun butter works well. Each nut butter brings a unique flavor to the dish, so feel free to experiment.
Presentation Tips
– Serving Ideas
Serve your noodles in deep bowls for a hearty meal. This keeps your dish warm longer and allows for easy mixing. A side of lime wedges adds a fresh touch.
– Garnishing Techniques
Garnish with chopped peanuts and fresh cilantro for a pop of color. The crunch from the peanuts adds texture, while cilantro gives a fresh taste. You can also sprinkle sesame seeds for an extra flair.
Pro Tips
- Drain the Zucchini: After spiralizing, salt the zucchini noodles to draw out excess moisture. This prevents your dish from becoming soggy.
- Customize the Sauce: Feel free to adjust the thickness of your peanut sauce by adding warm water until you reach your desired consistency. This ensures it coats the noodles perfectly.
- Fresh Ingredients Matter: Using fresh vegetables not only enhances the flavor but also adds a vibrant color to your dish. Look for firm, bright produce.
- Garnish for Flavor: Don’t skip the chopped peanuts and cilantro! They add a delightful crunch and freshness that elevates the overall taste of the dish.
Variations
Protein Additions
Tofu Options
Tofu is a great choice for adding protein. Use firm or extra-firm tofu. Cut it into cubes and sauté until golden. Add it to the noodles for a hearty meal. You can also marinate the tofu in the peanut sauce for extra flavor.
Chicken or Shrimp
Chicken or shrimp can also enhance this dish. Cook the chicken until it’s golden brown. For shrimp, sauté until they turn pink. Mix them in with the zucchini noodles and sauce. This makes your meal more filling and tasty.
Vegetable Alternatives
Use of Other Veggies
Feel free to swap in other vegetables. Think bell peppers, snap peas, or broccoli. You can also add spinach or kale for extra nutrients. Just remember to cut them into bite-sized pieces. This keeps every bite balanced and easy to enjoy.
Seasonal Ingredients
Using seasonal ingredients can keep things fresh and exciting. In summer, try adding corn or tomatoes. In fall, consider using squash or carrots. Adapt your dish to whatever is in season for the best taste.
Dietary Considerations
Vegan and Gluten-Free Options
This recipe is already vegan if you use maple syrup. For gluten-free, swap soy sauce with tamari. Always check labels to ensure all ingredients fit your needs. This way, everyone can enjoy this dish without worry.
Low-Carb Adjustments
If you want to lower the carbs, use fewer zucchinis or increase the veggies. You can even mix in cauliflower rice for a filling twist. This keeps the dish light and healthy, perfect for low-carb diets.
Storage Info
Storing Leftovers
To keep your spicy Thai peanut zucchini noodles fresh, store them in an airtight container. This method helps keep the flavors intact. Place the container in the refrigerator. Your dish can last for up to three days when stored properly. If you want to store it longer, consider freezing. However, freezing may change the texture of the zucchini noodles.
Reheating Tips
To reheat your noodles, use a skillet over medium heat. This method warms the dish evenly. Stir the noodles gently to avoid breaking them apart. You can also microwave them in short intervals. This way, you maintain the texture and flavor. Add a splash of water if they seem dry. Enjoy your leftovers as if they were just made!
FAQs
How do I make zucchini noodles without a spiralizer?
You can make zucchini noodles without a spiralizer using a few different tools. A vegetable peeler works great. Just peel long strips from the zucchini, then stack and slice into thin noodles. A box grater is another option. Use the side with the large holes to grate the zucchini into thin pieces. Each method gives you a different texture, but both work well.
Can I use store-bought peanut sauce?
Yes, you can use store-bought peanut sauce for this dish. Look for a sauce that is smooth and creamy. Read the label to avoid added sugars or preservatives. If you want to add a personal touch, mix in some fresh lime juice or sriracha. This makes it tastier and more fresh.
What dishes pair well with spicy Thai peanut zucchini noodles?
Spicy Thai peanut zucchini noodles pair well with many dishes. Try serving them with grilled chicken or shrimp for extra protein. A side of fresh spring rolls complements the meal nicely. You could also serve a light salad with citrus dressing to balance the flavors. Each option enhances the meal’s overall taste and appeal.
This post covered how to make delicious spicy Thai peanut zucchini noodles. We discussed key ingredients like zucchini, peanut butter, and fresh veggies, alongside essential sauces and seasonings. I shared tips to perfect your zucchini noodles and enhance your peanut sauce. You can also explore fun variations and proper storage techniques for leftovers.
In conclusion, cooking this dish can be simple and enjoyable. Don’t be afraid to experiment with flavors and textures. Enjoy your new culinary creatio


