Are you ready to elevate your meal prep? Spicy Mango Chicken Lettuce Cups offer a burst of flavor and freshness. This easy, healthy recipe combines tender chicken, ripe mango, and vibrant veggies. It’s a fun, interactive way to enjoy dinner. You’ll learn how to create the perfect balance of spice and sweetness in just a few simple steps. Let’s dive into this tasty delight!
Ingredients
Main Ingredients
– 1 lb chicken breast, diced into bite-sized pieces
– 1 ripe mango, peeled and diced
– 1 red bell pepper, diced
– 1/2 red onion, finely chopped
– 2 cloves garlic, minced
– 1 tablespoon fresh ginger, grated
– 1-2 tablespoons sriracha (adjust based on your spice preference)
– 2 tablespoons soy sauce (or coconut aminos for a gluten-free option)
– 1 tablespoon fresh lime juice
– 1 tablespoon olive oil
– 1 head of iceberg or butter lettuce, leaves carefully separated
– Fresh cilantro leaves, for garnish
– Chopped peanuts or cashews, for an added crunchy element
Seasoning
– Salt
– Black pepper
Optional Add-ins
– Other vegetables
– Additional spices
In this recipe, each ingredient plays a special role. The chicken adds protein, while the ripe mango brings sweetness. The red bell pepper and red onion add crunch and flavor to the mix. Garlic and ginger give a great aroma and taste. Sriracha adds heat, and soy sauce brings in umami. Fresh lime juice brightens the dish.
Consider the lettuce as your edible cup. It holds all the tasty fillings. Garnishing with cilantro and nuts gives a fresh touch and crunch. You can also customize your cups with other vegetables or spices to suit your taste. Enjoy making your Spicy Mango Chicken Lettuce Cups!
Step-by-Step Instructions
Cooking the Chicken
Start by heating 1 tablespoon of olive oil in a large skillet over medium heat. Add 1 pound of diced chicken breast to the pan. Season the chicken with salt and pepper. Cook for 5 to 7 minutes, stirring often. The chicken should turn golden brown and be fully cooked through.
Adding Aromatics
Next, add 2 cloves of minced garlic and 1 tablespoon of grated fresh ginger to the skillet. Sauté these for 1 minute. Stir continuously to avoid burning the garlic. You want the aroma to fill your kitchen; this smell signals that you’re on the right track.
Vegetables and Sauce
Now, add 1 diced red bell pepper and 1/2 finely chopped red onion to the mix. Cook for another 3 to 4 minutes. This allows the vegetables to soften and meld with the chicken. In a small bowl, whisk together 1 to 2 tablespoons of sriracha, 2 tablespoons of soy sauce, and 1 tablespoon of lime juice. Pour this sauce over the chicken and veggies. Stir well and cook for an additional 2 minutes to blend the flavors.
Folding in the Mango
Gently fold in 1 diced ripe mango. Stir just enough to warm the mango. Be careful not to break it apart. Taste the mixture and adjust the seasoning with more salt and pepper if needed. The sweet mango will balance the spice perfectly.
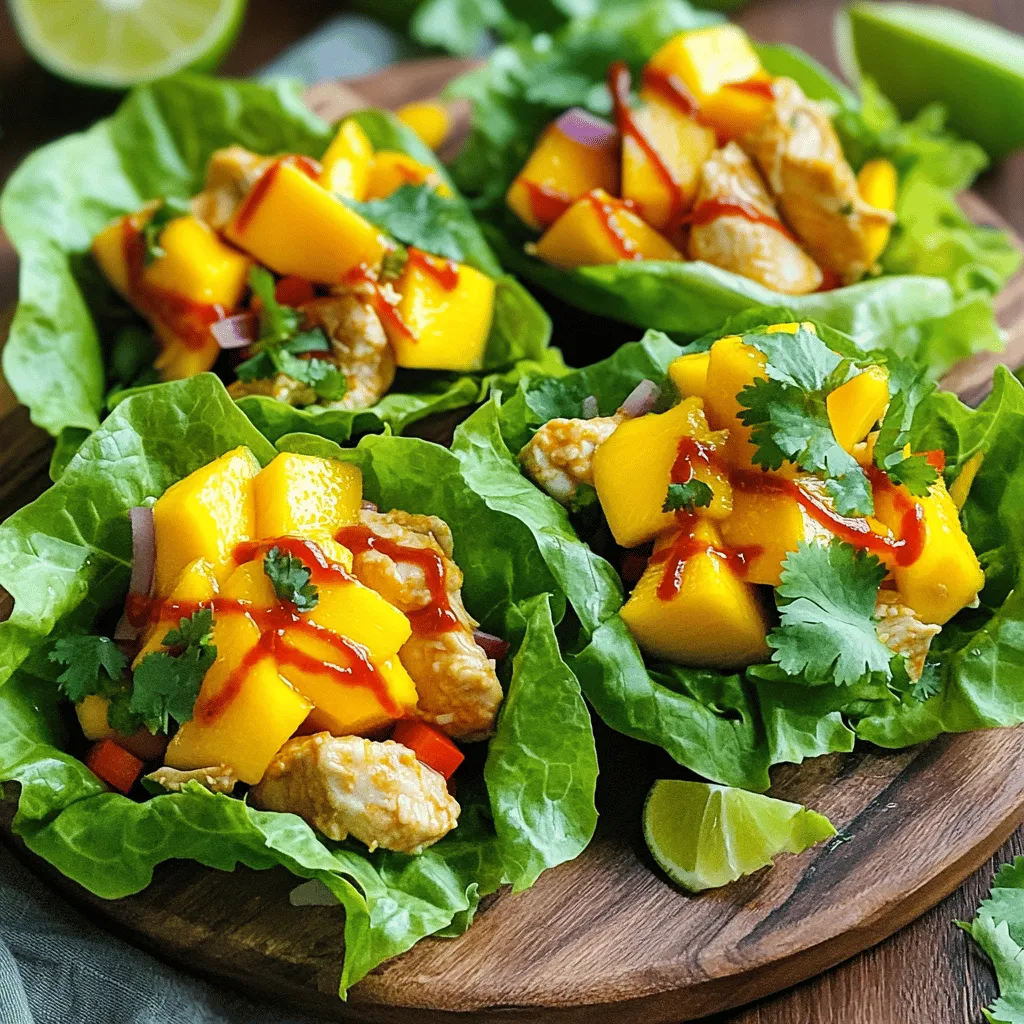
Assembling Lettuce Cups
To serve, take a generous spoonful of the spicy mango chicken mixture. Place it in the center of each lettuce leaf. Garnish your cups with fresh cilantro leaves and a sprinkle of chopped peanuts or cashews. This adds a nice crunch. Enjoy the colorful and tasty presentation!
Tips & Tricks
Cooking Tips
To ensure your chicken is cooked through, use a meat thermometer. Aim for an internal temperature of 165°F. This guarantees safety and juiciness. Avoid overcooking the chicken; it should be golden brown outside and tender inside.
When it comes to the mango, be careful not to overcook it. Add the diced mango at the end of cooking. Stir gently to warm it without breaking it apart. This keeps its bright flavor and texture intact.
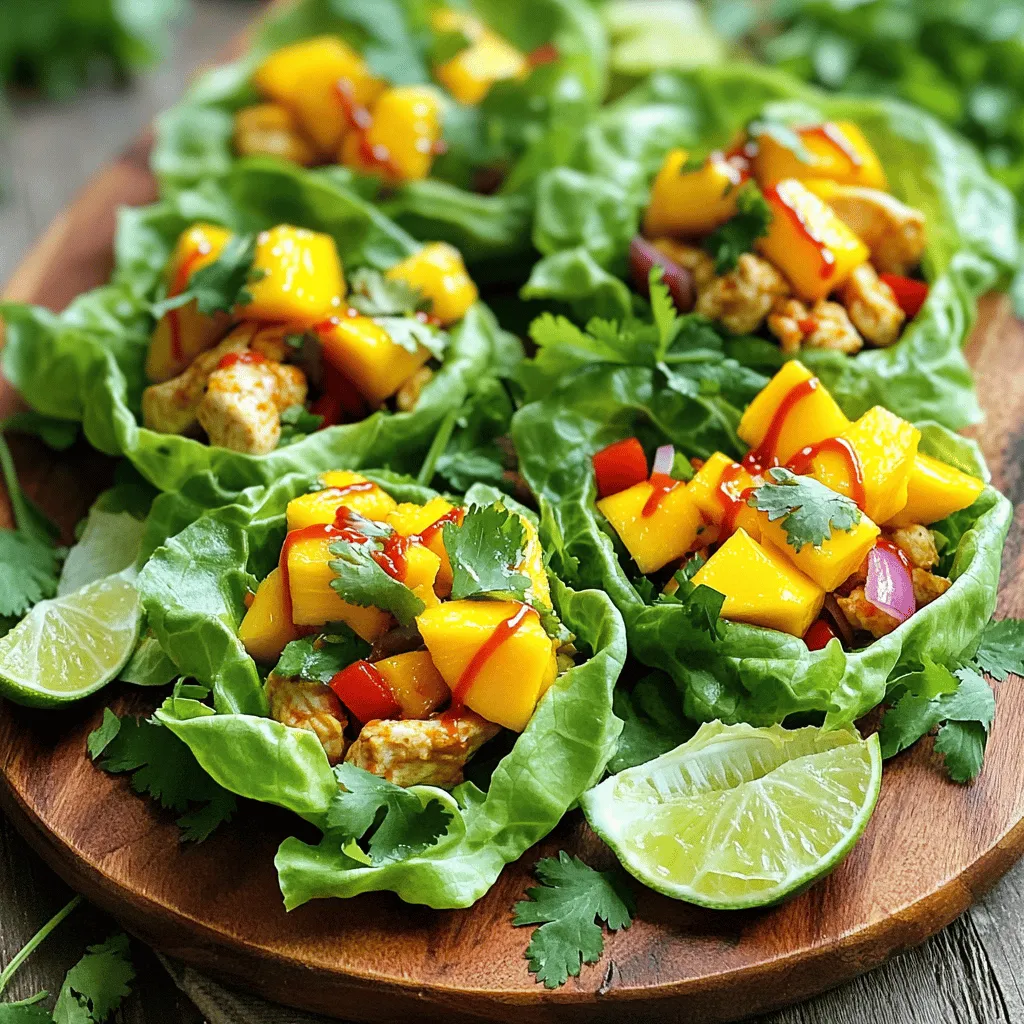
Serving Suggestions
For a stunning presentation, arrange your lettuce cups on a bright platter. Drizzle extra sriracha over the cups for a fun pop of color. Adding lime wedges on the side gives your dish a zesty touch.
Pair your Spicy Mango Chicken Lettuce Cups with a light drink. Cold iced tea or a refreshing lemonade works great. You can also serve it with a side of jasmine rice for a filling meal.
Customization Options
To make this recipe gluten-free, swap soy sauce for coconut aminos. This keeps the flavor while meeting dietary needs.
Adjust the spice levels to fit your taste. Use less sriracha if you prefer mild flavors. For more heat, add more sriracha or even some red pepper flakes.
Variations
Protein Alternatives
You can swap chicken for shrimp or tofu. Shrimp cooks quickly and adds a nice texture. Simply sauté it the same way as chicken. Tofu is a great choice for vegetarians. Use firm tofu, press it, and cube it. Cook it until golden brown for the best flavor.
Flavor Variations
Feel free to mix in different sauces or spice blends. Try hoisin sauce for a sweet twist. You can also add chili paste for extra heat. If you’re feeling adventurous, use diced pineapple or peaches instead of mango. These fruits bring a sweet and tangy flavor that complements the dish well.
Dietary Considerations
For a keto or low-carb option, skip the sugar and use coconut aminos. This sauce offers a savory kick while keeping carbs low. If you want a vegan version, replace chicken with mushrooms or chickpeas. Both options offer hearty textures and absorb flavors well.
Storage Info
Storing Leftovers
Store your spicy mango chicken in the fridge. Use an airtight container for best results. Keep it cool and eat within 3 days. Make sure to let it cool down before sealing it. This helps keep flavors fresh.
Freezing Instructions
You can freeze the chicken mix for later use. Use a freezer-safe container or a resealable bag. Make sure to remove as much air as possible. When you want to eat it, thaw it overnight in the fridge. Reheat it in a skillet over low heat. Stir it well to heat evenly.
Shelf Life
For the best taste, enjoy your spicy mango chicken within 3 days in the fridge. If frozen, use it within 2 months for the freshest flavor. Look for signs of spoilage like off smells or color changes. If it smells bad or looks strange, toss it out.
FAQs
How long does it take to make Spicy Mango Chicken Lettuce Cups?
Making Spicy Mango Chicken Lettuce Cups takes about 25 minutes. You spend 15 minutes prepping and 10 minutes cooking. This time includes cutting the veggies and cooking the chicken.
Can I make this recipe ahead of time?
Yes, you can prepare many parts ahead. Cook the chicken and veggies, then store them in the fridge. Keep the mango separate until you are ready to serve. This way, the mango stays fresh and tasty.
What can I substitute for sriracha?
If you don’t have sriracha, try using hot sauce or chili paste. You can also mix in some cayenne pepper for heat. If you like less spice, try sweet chili sauce or omit it altogether.
Are Spicy Mango Chicken Lettuce Cups healthy?
These cups are quite healthy! They are low in calories, mainly due to the lettuce. The chicken provides lean protein, while the mango adds vitamins. This dish is colorful and full of flavor, making it a great choice for a light meal.
In this post, we explored how to make Spicy Mango Chicken Lettuce Cups. We discussed key ingredients like chicken, mango, and seasonings. You learned step-by-step cooking instructions, tips for perfecting your dish, and ideas for customization. Don’t forget: you can swap proteins or adjust spice levels to suit your taste. This dish is fresh, tasty, and fun to make. Enjoy your cooking adventure and impress your friends and family with this vibrant meal!


