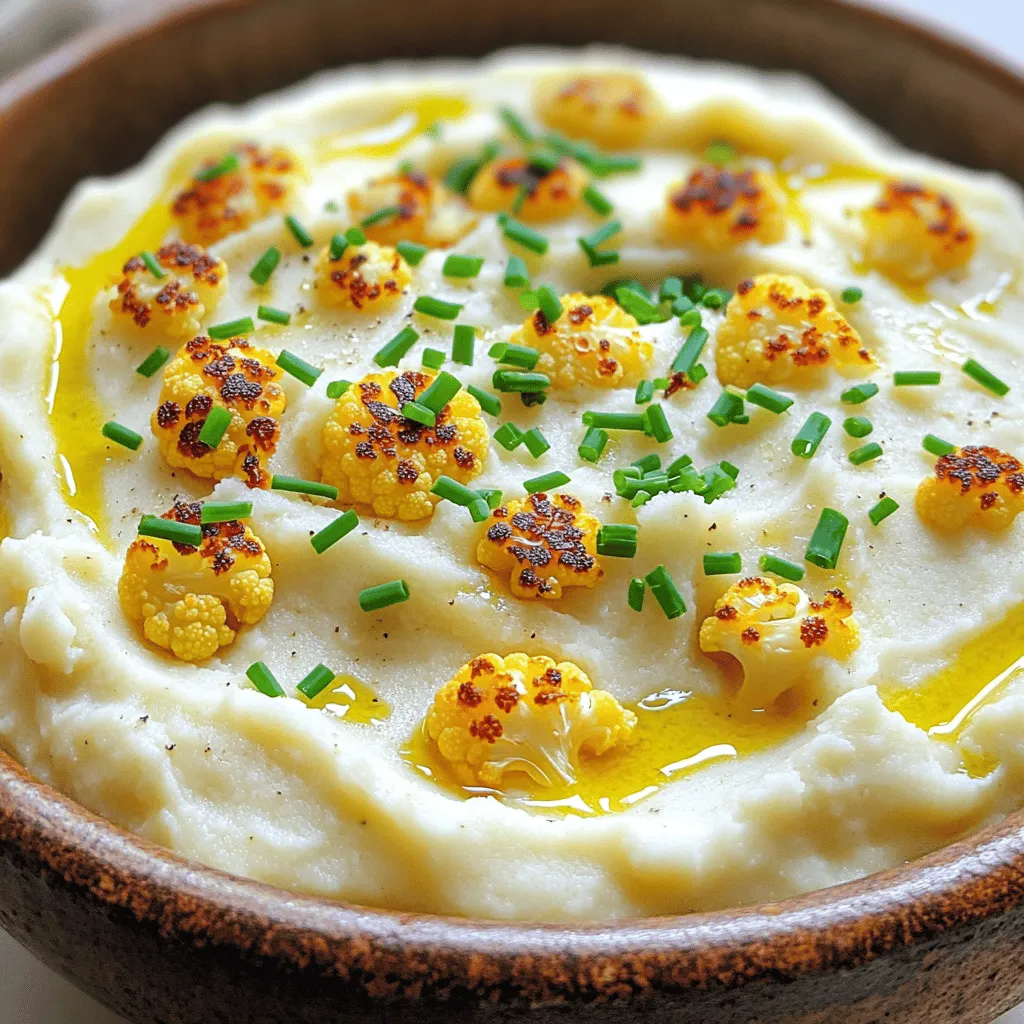
Looking for a tasty yet simple side dish? Let me show you how to make Roasted Garlic Cauliflower Mash. This dish is packed with flavor and easy to prepare. You’ll love how the rich taste of roasted garlic combines with creamy cauliflower. Perfect for a weeknight dinner or a special occasion, it pairs well with many dishes. Get ready to impress your family and friends with this delightful recipe!
Ingredients
Main ingredients for Roasted Garlic Cauliflower Mash
To make this tasty dish, gather these main items:
– 1 large head of cauliflower, cut into bite-sized florets
– 5 cloves of garlic, skins left on
– 3 tablespoons extra virgin olive oil, divided
– 1/4 cup unsweetened almond milk (or your preferred milk)
– 2 tablespoons butter (or a vegan alternative)
– Salt and freshly ground black pepper, to taste
These ingredients form the base of the mash. The cauliflower gives the dish its creamy texture. Roasting the garlic adds a rich flavor.
Optional ingredients for customization
You can change the recipe to suit your taste. Here are some ideas:
– Swap almond milk for regular milk or cream for a richer flavor.
– Use ghee instead of butter for a unique twist.
– Add a pinch of nutmeg for warmth.
– Incorporate herbs like thyme or rosemary for added depth.
These options let you make the dish your own. Feel free to get creative!
Suggested garnishes
Garnishing makes the dish look appealing. Here are some great choices:
– Fresh chives, finely chopped, for a pop of color
– A drizzle of extra virgin olive oil for richness
– A sprinkle of smoked paprika for a touch of spice
These garnishes enhance the flavor and presentation. They make your Roasted Garlic Cauliflower Mash shine on the table.
Step-by-Step Instructions
Preparation steps for roasting cauliflower and garlic
To start, I preheat my oven to 400°F (200°C). This temperature works best for roasting. Next, I take one large head of cauliflower and cut it into bite-sized florets. I love using fresh cauliflower for the best flavor.
On a baking sheet, I place the florets and five unpeeled cloves of garlic. Then, I drizzle two tablespoons of extra virgin olive oil over them. I sprinkle salt and black pepper generously, then toss everything together. It helps the veggies get well-coated.
I spread the cauliflower and garlic in a single layer. Now, I roast them for 25 to 30 minutes. Halfway through, I gently toss them to ensure they cook evenly. I look for a nice golden brown color and tender texture when they are done. Once roasted, I let the garlic cool for a few minutes before handling it.
Blending instructions for smooth texture
After cooling, I squeeze the softened garlic out of its skin. I put it into a large mixing bowl with the roasted cauliflower. Then, I add a quarter cup of unsweetened almond milk, two tablespoons of butter, and the last tablespoon of olive oil.
I grab a hand mixer or an immersion blender to blend the mix. I blend until it turns smooth and creamy. If I want a chunkier mash, I blend just until combined. I make sure not to overmix, as it can change the texture.
Final seasoning and presentation tips
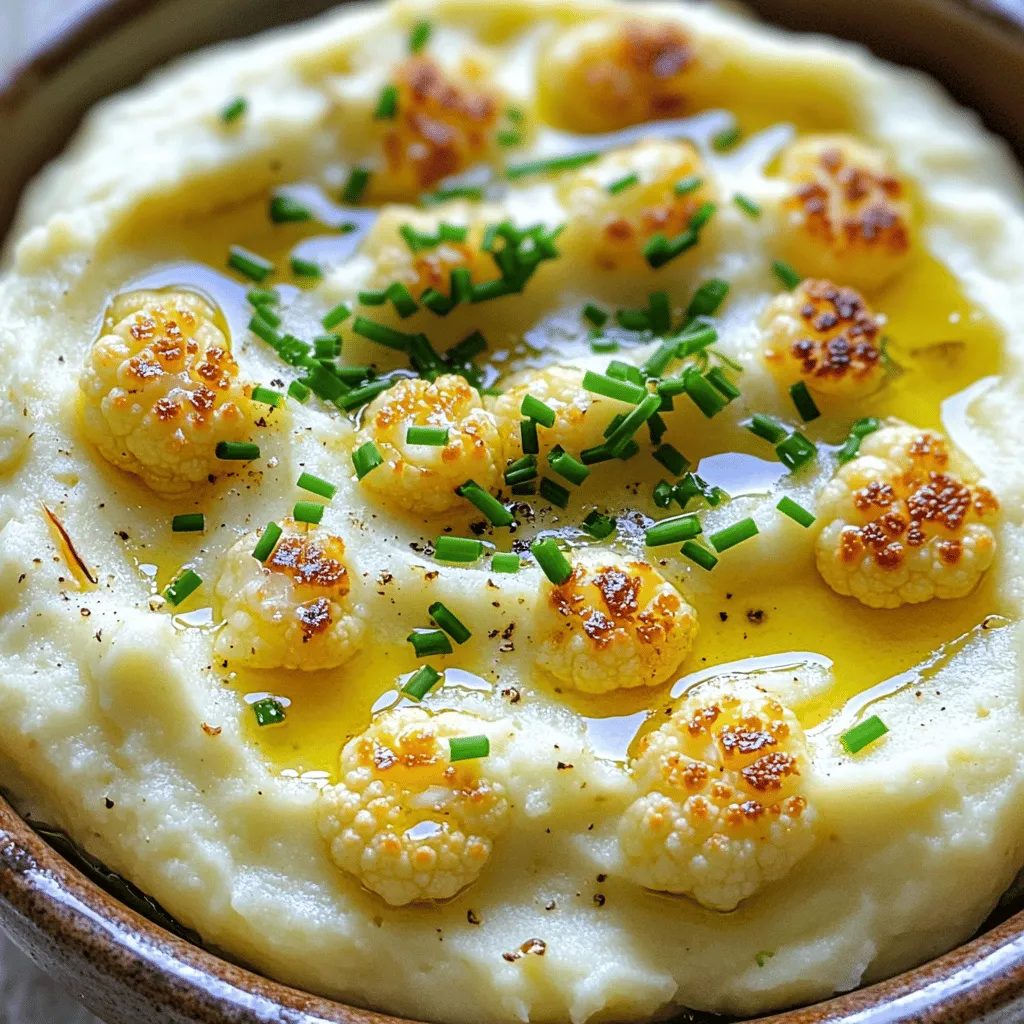
Once blended, I taste the mash. If it needs more flavor, I adjust with extra salt and pepper. I love a well-seasoned mash! Now, I transfer the cauliflower mash to a serving bowl.
For a fun finishing touch, I sprinkle freshly chopped chives on top. This adds color and a nice flavor. To make it look fancy, I might drizzle a bit of olive oil on top. This mash is now ready to impress!
Tips & Tricks
Best practices for achieving the perfect mash
To make the best roasted garlic cauliflower mash, follow these tips. First, use a large head of cauliflower. This gives you enough to work with. Cut the florets into even sizes. This helps them cook at the same rate. Roasting adds flavor, so don’t rush it. Allow the cauliflower to become tender and golden.
When blending, don’t overmix. A few pulses will give you a nice texture. If you want it creamier, add a splash more milk. Always taste as you go. Adjust salt and pepper to your liking for the best flavor.
Recommended kitchen tools for hassle-free cooking
Having the right tools makes cooking easier. Here’s what I recommend:
– Baking sheet for roasting
– Large mixing bowl for combining ingredients
– Immersion blender or hand mixer for smoothness
– Measuring cups and spoons for precise amounts
– Knife and cutting board for prep
These tools help you work efficiently and make the process enjoyable.
Common mistakes to avoid when making cauliflower mash
Watch out for these common mistakes. First, don’t skip the roasting step. Raw cauliflower will not have the same rich taste. Second, avoid using too much liquid. It can make your mash watery. If you prefer a thicker mash, add less almond milk.
Finally, remember to season well. Under-seasoning can leave your mash bland. Always taste your dish before serving. This way, you ensure it is full of flavor.Enjoy making your roasted garlic cauliflower mash!
Variations
Dairy-free alternatives for the recipe
You can easily make this dish dairy-free. Use almond milk or coconut milk instead of regular milk. For a buttery flavor, swap butter for vegan butter or olive oil. This keeps the mash creamy and rich without dairy.
Flavor additions (herbs, spices, and cheeses)
Adding flavors can elevate your mash. Fresh herbs like thyme or rosemary add a lovely touch. You can also sprinkle in garlic powder for extra garlic flavor. If you enjoy cheese, mix in some grated Parmesan for a savory kick.
Creative serving ideas
Get creative with how you serve this mash! Use it as a base for grilled chicken or fish. You can also serve it as a side dish with roasted vegetables. Try topping it with sautéed mushrooms or crispy bacon bits for added flavor and texture.
Storage Info
How to store leftovers
After enjoying your roasted garlic cauliflower mash, let it cool. Place it in an airtight container. Store it in the fridge for up to 4 days. This keeps the flavor fresh and the texture nice.
Freezing instructions for long-term storage
If you have more leftovers, freezing is a great option. Put the mash in a freezer-safe bag or container. Make sure to remove excess air. It will last for about 3 months. Label the container with the date so you can keep track.
Reheating tips for the best texture
When you’re ready to enjoy the mash again, reheat it gently. You can use the microwave or a stovetop. If it seems dry, add a splash of almond milk or butter. Stir it well as you heat it. This keeps it creamy and delicious.
FAQs
Can I make Roasted Garlic Cauliflower Mash in advance?
Yes, you can make Roasted Garlic Cauliflower Mash ahead of time. Prepare the mash, then let it cool. Store it in an airtight container in the fridge for up to three days. When you’re ready to eat, simply reheat it on the stove or in the microwave. You may need to add a splash of milk to bring back the creamy texture.
Is cauliflower mash a low-carb alternative to mashed potatoes?
Yes, cauliflower mash is a low-carb alternative to mashed potatoes. A cup of cooked cauliflower has about 5 grams of carbs, while a cup of mashed potatoes has around 35 grams. This makes cauliflower mash a great choice if you want to cut carbs but still enjoy a creamy side dish.
What can I pair with Roasted Garlic Cauliflower Mash?
Roasted Garlic Cauliflower Mash pairs well with many dishes. You can serve it with roasted chicken, grilled steak, or pan-seared fish. It also complements sautéed vegetables or a fresh salad. For a hearty meal, try it with a rich mushroom gravy or a savory sauce. The mash’s creamy texture and garlic flavor enhance any main dish beautifully.
Roasted Garlic Cauliflower Mash is simple and tasty. We covered its key ingredients, from cauliflower to garlic. You can customize it with optional ingredients and garnishes for more flavor. The step-by-step instructions ensure a smooth texture every time.
You now have tips to avoid common mistakes. Variations allow for dairy-free or unique flavors. Storing is easy, and leftovers can even be frozen. This mash is a great low-carb option. Try it with your favorite dishes for a perfect side.


