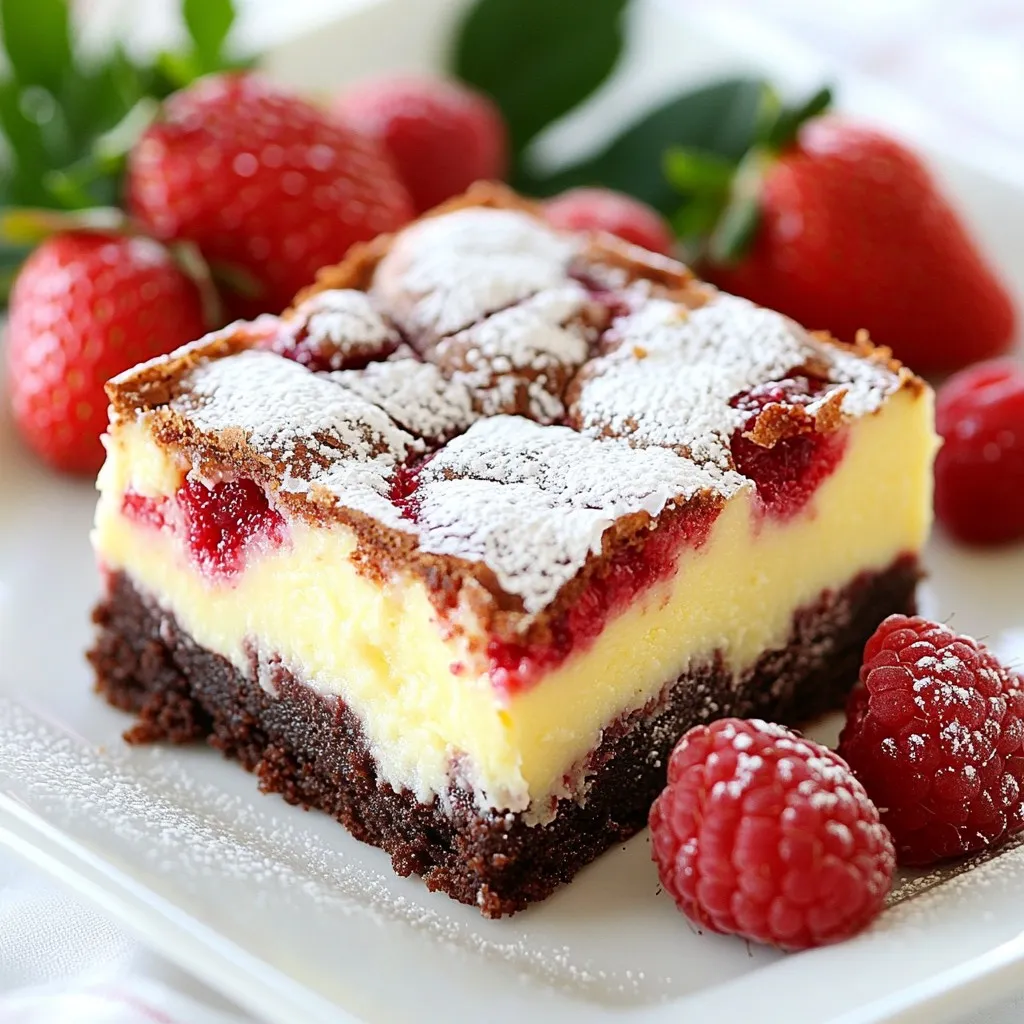
Are you ready to indulge in a dessert that combines two favorites? Red Velvet Cheesecake Brownies are the perfect mix of rich chocolate and creamy cheesecake. In this article, I’ll guide you step-by-step through the ingredients and methods to create these irresistible treats. Whether you’re a baking pro or a beginner, you’ll find tips to ensure your brownies turn out delicious every time. Let’s dive in!
Why I Love This Recipe
- Decadent Flavor: The combination of rich chocolate brownie and creamy cheesecake creates a luxurious taste experience that is hard to resist.
- Stunning Presentation: The vibrant red color and marbled layers make these brownies visually striking, perfect for special occasions or gatherings.
- Easy to Make: With simple ingredients and straightforward steps, this recipe is accessible for bakers of all skill levels.
- Perfect for Sharing: Cut into squares, these brownies are ideal for parties and potlucks, allowing everyone to enjoy a bite-sized treat.
Ingredients
Main Ingredients for Red Velvet Cheesecake Brownies
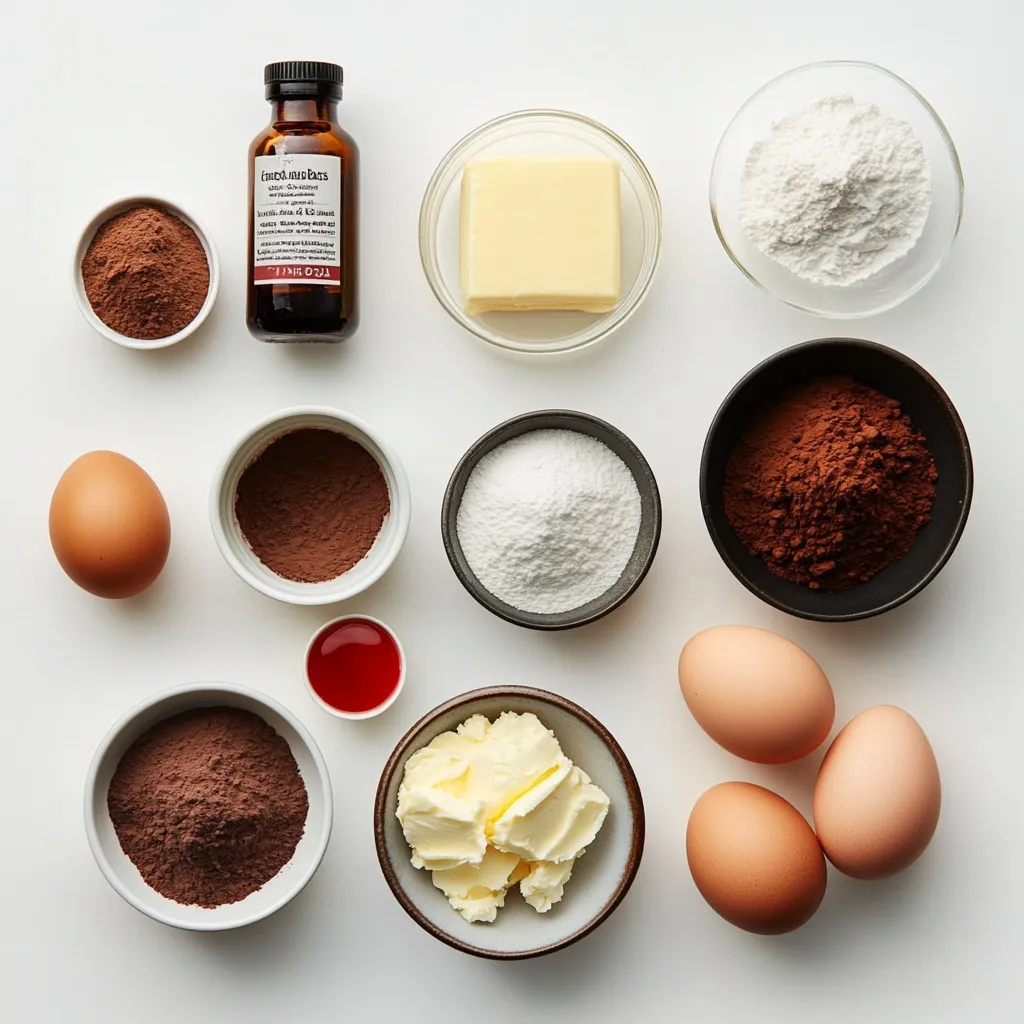
To make these brownies, you need a few key ingredients:
– 1 cup unsalted butter, melted
– 1 ½ cups granulated sugar
– 1 teaspoon vanilla extract
– 4 large eggs
– 1 ½ cups all-purpose flour
– 1 cup cocoa powder
– 1 teaspoon baking powder
– ½ teaspoon salt
– 1 tablespoon red gel food coloring
– 8 oz cream cheese, softened
– ½ cup powdered sugar
– 1 teaspoon vanilla extract (for cheesecake layer)
– 1 tablespoon milk
Each ingredient plays an important role. The butter adds richness, while the sugar sweetens and helps with texture. The eggs bind everything, and flour gives structure. Cocoa powder adds a deep chocolate flavor, and red gel food coloring brings the classic red velvet look.
Baking Equipment Needed
You will need some basic tools:
– 9×13-inch baking pan
– Parchment paper
– Large mixing bowls
– Whisk
– Spatula
– Knife for swirling
These tools help you prepare and bake the brownies easily. Parchment paper helps with easy lifting and cleaning.
Substitutions for Common Ingredients
You can swap some ingredients if needed:
– Use margarine instead of butter for a dairy-free option.
– Coconut sugar can replace granulated sugar.
– Use applesauce or flax eggs for a vegan alternative.
– You can use gluten-free flour for a gluten-free version.
These substitutions can change the taste and texture a bit, but they keep the fun alive!
Step-by-Step Instructions
Preheat and Prepare the Baking Pan
First, preheat your oven to 350°F (175°C). This step is key for even baking. Next, grab a 9×13-inch baking pan. Line it with parchment paper. Make sure some paper hangs over the sides. This helps with lifting the brownies out later.
Mixing Wet Ingredients
In a large mixing bowl, pour in 1 cup of melted unsalted butter. Add 1 ½ cups of granulated sugar. Then, mix in 1 teaspoon of vanilla extract. Use a whisk to blend until smooth. This mixture will be the base of your brownies.
Incorporating Eggs and Combining Dry Ingredients
Crack 4 large eggs into the bowl. Whisk each egg in one at a time. Make sure the mixture is creamy after each addition. In another bowl, sift together 1 ½ cups of all-purpose flour, 1 cup of cocoa powder, 1 teaspoon of baking powder, and ½ teaspoon of salt. Gradually add this dry mix to the wet ingredients. Stir gently to avoid overmixing.
Adding Color and Layering the Batter
Now, add 1 tablespoon of red gel food coloring. Stir well until the color is even. Carefully pour half of this brownie batter into the prepared pan. Use a spatula to spread it evenly across the bottom.
Preparing and Spreading the Cheesecake Layer
In a separate bowl, beat 8 oz of softened cream cheese until smooth. Add ½ cup of powdered sugar, 1 teaspoon of vanilla extract, and 1 tablespoon of milk. Whisk until you have a silky cheesecake mixture. Spread this cheesecake layer over the first half of the brownie batter.
Baking and Cooling the Brownies
Pour the rest of the brownie batter over the cheesecake layer. Make sure it covers the cheesecake completely. For a fun touch, swirl a knife through the layers to create a marbled effect. Bake these in your preheated oven for 30-35 minutes. They are ready when the edges are set. A toothpick should come out with a few moist crumbs. Once done, let them cool in the pan on a wire rack. After cooling, lift the brownies out using the parchment paper. Slice them into squares. Enjoy your delicious creation!
Tips & Tricks
Achieving the Perfect Texture
To get that ideal texture in your red velvet cheesecake brownies, focus on mixing. When you mix the wet ingredients, whisk until smooth. This helps create a fluffy base. Be gentle when adding the dry ingredients. Overmixing can make your brownies tough. Aim for a creamy batter, not a dense one. The cheesecake layer should be silky. Beat the cream cheese well with the sugar and milk. This creates a smooth topping that pairs perfectly with the brownies.
Decorating the Brownies for Presentation
Presentation matters when serving these brownies. After cooling, lift them from the pan. Use the parchment paper for easy removal. Cut them into neat squares. For a touch of elegance, dust them lightly with powdered sugar. Fresh raspberries or strawberries add a pop of color. Place some on top for a fresh look. You can also drizzle melted white chocolate over the brownies. This adds flavor and makes them look gourmet.
Common Mistakes to Avoid
One common mistake is not preheating the oven. Make sure your oven is hot before baking. This helps the brownies rise correctly. Another mistake is rushing the cooling process. Let the brownies cool completely before slicing. Slicing too soon can lead to messy edges. Finally, do not skip the swirling step. Swirling the cheesecake and brownie layers creates a beautiful design. It also mixes the flavors, making each bite delicious.
Pro Tips
- Use Room Temperature Ingredients: Ensuring your cream cheese and eggs are at room temperature helps create a smoother cheesecake layer, making it easier to mix and resulting in a creamier texture.
- Don’t Overmix the Batter: When combining the dry and wet ingredients, mix just until incorporated to avoid tough brownies. A few lumps are okay!
- Check for Doneness: For perfectly baked brownies, perform the toothpick test. Insert a toothpick in the center, and it should come out with a few moist crumbs for the ideal fudgy texture.
- Cooling is Key: Allow the brownies to cool completely before cutting. This helps set the layers and makes slicing easier without squishing the brownies.
Variations
Flavor Variations for Cheesecake Filling
You can change the flavor of the cheesecake filling to suit your taste. Add lemon zest for a citrus touch. Try using almond extract instead of vanilla for a nutty twist. You can mix in some chocolate chips for a richer dessert. Or add a swirl of raspberry puree for fruity notes. Each of these options brings a new flavor to your red velvet cheesecake brownies.
Adding Toppings and Mix-ins
Toppings can make your brownies even better. Consider adding crushed nuts like walnuts or pecans for a crunchy bite. You can sprinkle mini chocolate chips on top for a chocolatey finish. Fresh berries, like strawberries or blueberries, add color and freshness. For extra sweetness, drizzle some caramel or chocolate sauce on top before serving. These toppings make each bite special.
Alternative Baking Methods
You don’t have to bake these brownies in a pan. You can use a muffin tin for individual brownies. Just adjust the baking time to around 20-25 minutes. If you want a healthier option, you can steam them instead of baking. Use a steamer basket and cook for about 30 minutes. This method gives a moist texture that many enjoy. Each baking method can change the taste and texture, so have fun experimenting!
Storage Info
Best Practices for Storing Brownies
Store your red velvet cheesecake brownies in an airtight container. This keeps them fresh and moist. Place parchment paper between layers to prevent sticking. They can stay at room temperature for up to three days. If you want to keep them longer, refrigerate them. They will last up to a week in the fridge.
Freezing Instructions and Tips
To freeze your brownies, first let them cool completely. Cut them into squares and wrap each piece in plastic wrap. Then, place the wrapped brownies in a freezer-safe bag or container. You can freeze them for up to three months. When ready to eat, thaw them in the fridge overnight or at room temperature for a few hours.
Reheating Leftover Brownies
If you enjoy warm brownies, reheating is easy. Place a brownie on a microwave-safe plate. Heat it for about 10-15 seconds. Check to see if it’s warm enough. If not, heat it a few more seconds. Be careful not to overheat, as they can dry out. Enjoy your warm, gooey treat!
FAQs
How do I make my brownies more fudgy?
To make brownies more fudgy, use less flour and add more fat. You can also try adding an extra egg. This will make the texture rich and dense. Avoid overbaking them, as this dries them out. Check for doneness by inserting a toothpick; it should come out with some moist crumbs.
Can I use a different type of food coloring?
Yes, you can use different food coloring. Liquid food coloring works but may affect the batter’s texture. Gel food coloring gives a vibrant color without adding extra liquid. You can also try natural colorings, like beet juice, for a healthier option.
What can I substitute for cream cheese in the recipe?
If you need a cream cheese substitute, use Greek yogurt or mascarpone cheese. Ricotta cheese can also work. For a dairy-free option, try vegan cream cheese or silken tofu. Adjust the sweetness if needed, as these can vary in flavor.
How long do these brownies last?
These brownies can last up to five days at room temperature. Store them in an airtight container to keep them fresh. If you want them to last longer, you can refrigerate them for about a week. Bring them to room temperature before serving.
Can I make these brownies ahead of time?
Yes, you can make these brownies ahead of time. They are great for meal prep. Just bake them and let them cool completely. Store them in an airtight container. You can also freeze them for up to three months. Just thaw before serving.
In this article, we covered how to make red velvet cheesecake brownies. We looked at the key ingredients, baking steps, and tips for the best texture. Variations can add fun flavors, and proper storage keeps them fresh. Remember, small changes can make a big difference. Avoid common mistakes, and you’ll impress everyone with your delicious brownies. Enjoy your baking adventure with this fun recip


