Craving something sweet and tangy? Your taste buds are in for a treat! These Raspberry Dark Chocolate Chunk Cookies blend rich dark chocolate with the fresh burst of raspberries. You’ll learn how to make the perfect batch, complete with steps and tips for scrumptious results. Join me as we dive into this delicious recipe, guaranteed to satisfy your sweet tooth and impress your friends! Let’s get baking!
Ingredients
Detailed Ingredient List
– 1 cup unsalted butter, softened to room temperature
– 3/4 cup packed brown sugar
– 1/4 cup granulated sugar
– 2 large eggs
– 1 teaspoon pure vanilla extract
– 2 cups all-purpose flour
– 1/2 teaspoon baking soda
– 1/2 teaspoon baking powder
– 1/4 teaspoon fine sea salt
– 1 cup dark chocolate chunks (semi-sweet or bittersweet)
– 1 cup fresh raspberries, lightly mashed
– 1/2 cup rolled oats
To get the best Raspberry Dark Chocolate Chunk Cookies, use good quality ingredients. Start with unsalted butter. It gives you control over the salt flavor. The blend of brown and granulated sugar creates a great texture. Brown sugar adds moisture and a slight chewiness, while granulated sugar helps with crispness.
Next, you need fresh eggs. They bind the dough and add richness. Don’t skip the vanilla extract; it boosts the flavor.
For the dry mix, all-purpose flour is key. It provides structure. Baking soda and baking powder help the cookies rise and stay soft. Sea salt balances the sweetness and enhances flavors.
The star ingredients are, of course, dark chocolate chunks and fresh raspberries. I prefer semi-sweet or bittersweet chocolate for a rich taste. Lightly mashing the raspberries adds a fruity burst without turning them into mush.
Finally, rolled oats add a lovely texture. They make each bite hearty and satisfying. With this ingredient list, you’re set to bake cookies that are both delicious and memorable.
Step-by-Step Instructions
Prepping Your Oven and Ingredients
– Preheat the oven to 350°F (175°C).
– Line a baking sheet with parchment paper.
Mixing the Wet Ingredients
– Cream butter and sugars until fluffy.
– Add eggs and vanilla extract.
Combining Dry Ingredients
– Whisk flour, baking soda, baking powder, and salt.
– Gradually mix dry ingredients into wet ingredients.
Folding in Chocolate and Raspberries
– Incorporate dark chocolate chunks, raspberries, and oats.
– Ensure even distribution without over-mashing raspberries.
Forming and Baking the Cookies
– Portion dough on the baking sheet with space for spreading.
– Bake for 10-12 minutes.
Cooling and Setting
– Let cookies cool on the baking sheet for 5 minutes.
– Transfer to a wire rack to cool completely.
Making these cookies is fun and easy. You can enjoy the sweet smell while they bake. The mix of dark chocolate and raspberries makes each bite special. Don’t skip the cooling step; it helps the cookies hold their shape. Enjoy them with a glass of milk or share with friends!
Tips & Tricks
Achieving the Best Texture
To get the best texture in your cookies, start with room temperature ingredients. Room temperature butter blends well with sugar, creating a fluffy mixture. This fluffiness helps your cookies rise and stay soft. Next, avoid overmixing the dough. When you combine wet and dry ingredients, mix gently until just blended. Overmixing can lead to tough cookies, which is not what you want.
Flavor Enhancements
You can add spices or extracts to boost flavor. A pinch of cinnamon or a splash of almond extract can change the taste. If you want to switch up the chocolate, try using milk chocolate or white chocolate. You could also mix in nuts like walnuts or pecans for crunch. Each option offers a new twist to your cookies.
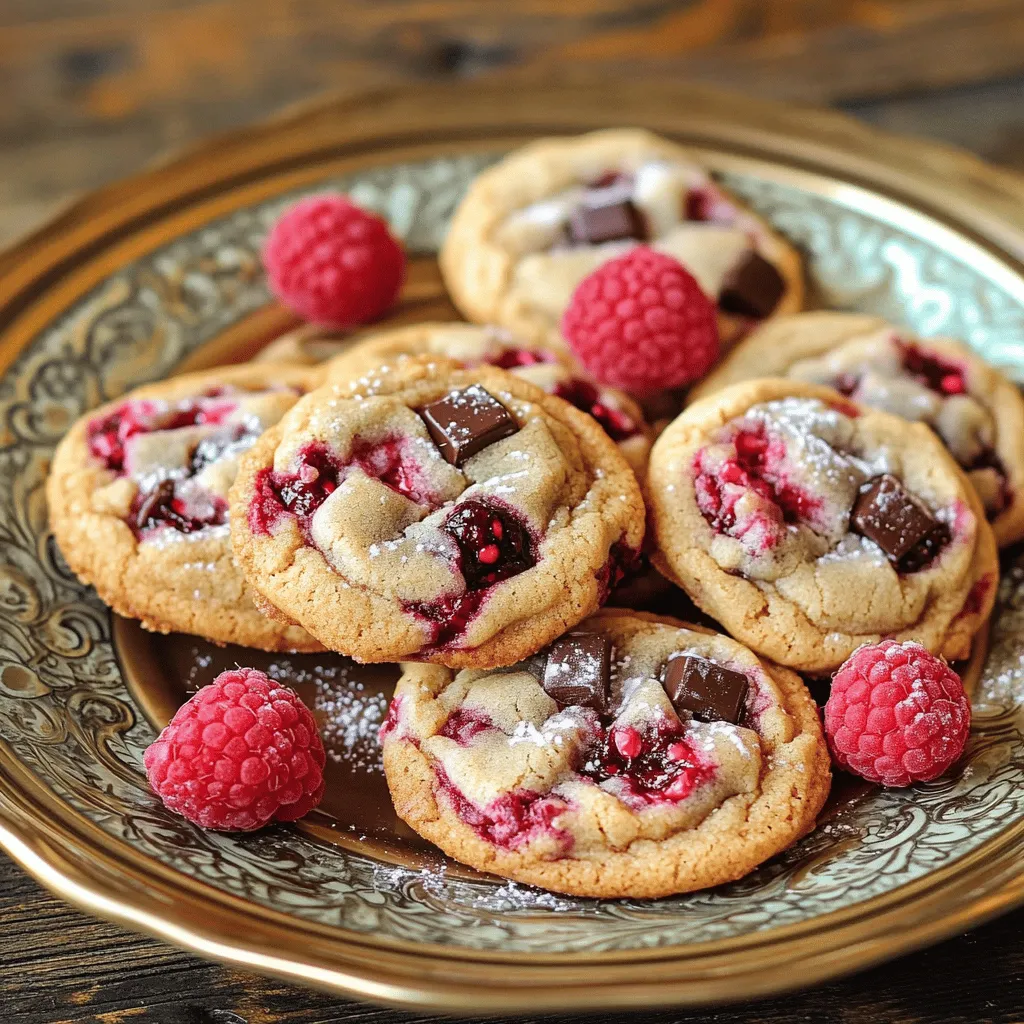
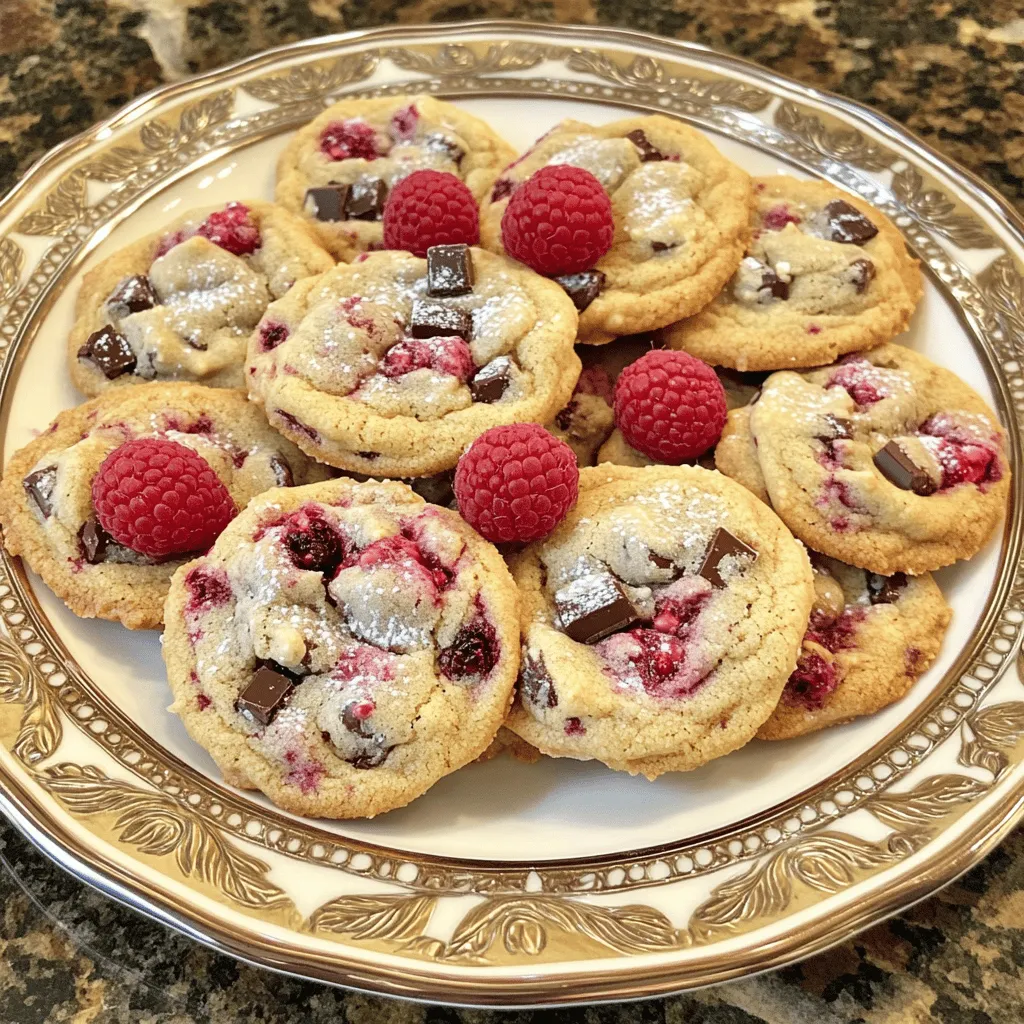
Presentation Tips
For a beautiful presentation, use a decorative plate to serve your cookies. Scatter whole raspberries around the cookies for color and charm. A dusting of powdered sugar adds sweetness and a lovely finish. You can even drizzle some melted chocolate over the top for an extra touch. These small details make your cookies stand out and look irresistible.
Variations
Vegan Raspberry Dark Chocolate Chunk Cookies
You can make a vegan version of these cookies. Use coconut oil instead of butter. Swap the eggs for flaxseed meal or applesauce. This will keep the cookies moist. You can mix 1 tablespoon of flaxseed meal with 2.5 tablespoons of water for each egg. Let it sit for a few minutes to thicken.
Mix the coconut oil with the brown and granulated sugars until smooth. Add the flax mixture and vanilla extract. Then, follow the rest of the recipe as usual. Keep an eye on the cookies for baking time. They may take a minute or two longer.
Gluten-Free Option
For a gluten-free cookie, use almond flour or a gluten-free all-purpose blend. Almond flour gives a nice texture. If you use a blend, check for xanthan gum in the mix. This helps with the cookie’s structure.
The baking time might change slightly. Start checking at 10 minutes. Gluten-free cookies can bake faster, so watch them closely to avoid over-baking.
Adding Mix-ins
You can customize these cookies with fun mix-ins. Try adding chopped walnuts or pecans for crunch. You can also mix in dried fruits like cherries or cranberries to enhance the flavor.
For a fresh twist, add orange zest or a hint of mint. These flavors pair well with the dark chocolate and raspberries. Just be sure not to add too much liquid if you’re using juicy fruits. This will keep your cookies from spreading too much.
Storage Info
Short-Term Storage
To keep your Raspberry Dark Chocolate Chunk Cookies fresh at room temperature, follow these simple steps. First, let the cookies cool completely after baking. This step is key to avoiding sogginess. Once cooled, place the cookies in an airtight container. I recommend using a glass or plastic container with a tight lid. This way, they stay soft and tasty for up to a week. If you want to keep them even fresher, add a slice of bread to the container. This helps maintain moisture.
Long-Term Storage
If you want to enjoy these cookies later, freezing is a great option. To freeze, first, let the cookies cool completely. Next, wrap them individually in plastic wrap or aluminum foil. Place the wrapped cookies in a freezer-safe bag or container. They can last up to three months in the freezer. When you’re ready to eat, simply take out the cookies and let them thaw at room temperature. For a warm treat, pop them in the oven for a few minutes.
Shelf Life
Raspberry Dark Chocolate Chunk Cookies can stay fresh for about one week at room temperature. If stored properly, you can extend their life in the freezer for three months without losing quality. Remember, the key to great cookies is storing them correctly. Always check for any signs of spoilage before enjoying your sweet treats.
FAQs
Can I use frozen raspberries instead of fresh?
Yes, you can use frozen raspberries. Just remember to thaw and drain them first. This helps keep the dough from getting too wet. When using frozen raspberries, gently fold them into the dough. This way, they stay chunky and add bursts of flavor.
How can I make these cookies chewy?
To make chewy cookies, adjust the ratios a bit. Use more brown sugar than granulated sugar. Brown sugar gives moisture and chewiness. You can also add an extra egg yolk. This adds fat and helps make them soft.
What can I substitute for dark chocolate?
If you want a different flavor, use milk or white chocolate. Milk chocolate will add sweetness and creaminess. White chocolate has a rich flavor that pairs well with raspberries. You can even mix different types of chocolate for more taste.
How do I know when the cookies are done?
Look for lightly golden edges and soft centers. The cookies should not look wet in the middle. They will continue to cook on the baking sheet after you take them out. Keep an eye on them to avoid burning.
Can I double the recipe?
Yes, you can easily double this recipe. Just make sure to double all the ingredients. Use two mixing bowls if needed, so everything mixes well. You may need to bake the cookies in batches. This ensures they bake evenly and do not crowd the oven.
You learned how to make delicious raspberry dark chocolate chunk cookies. We covered every step, from gathering ingredients to serving ideas. Remember to use room temperature items for the best texture and avoid overmixing. You can get creative with variations, like vegan or gluten-free options. Store your cookies properly to keep them fresh. Baking cookies is fun and rewarding. Enjoy your tasty treats and share them with others!


