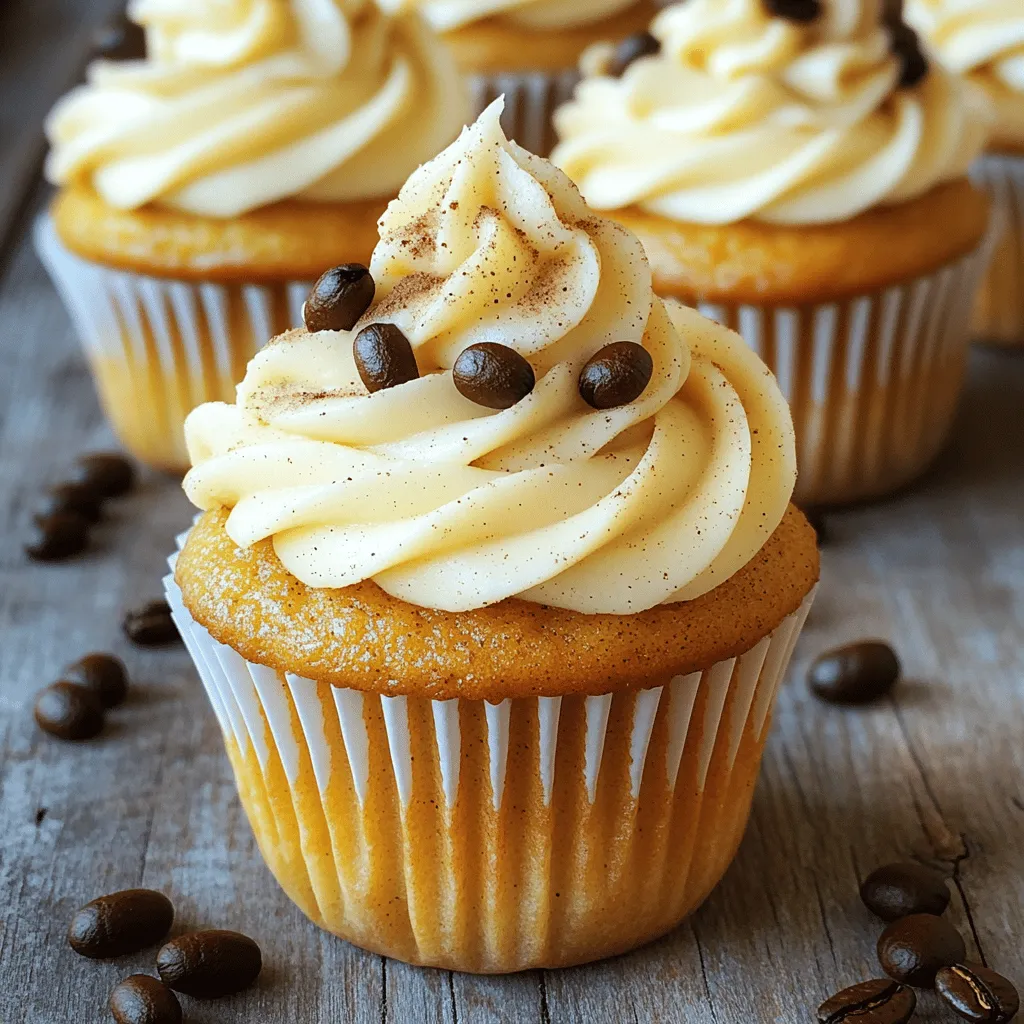
Fall is here, and so is the craving for warm, cozy flavors! If you love the taste of pumpkin spice lattes, you’ll adore these Pumpkin Spice Latte Cupcakes. Moist, spiced, and topped with creamy frosting, these treats bring your favorite coffee house drink right to your kitchen. Join me as I guide you step-by-step through this delightful recipe that will make your autumn even sweeter!
Ingredients
Main Ingredients for Cupcakes
– 1 cup all-purpose flour
– 1/2 cup pumpkin puree
– 1/2 cup brewed coffee
– 1 cup packed brown sugar
To make these cupcakes, we start with key ingredients. All-purpose flour gives structure. Pumpkin puree adds moisture and flavor. Brewed coffee enhances the rich taste. Brown sugar brings sweetness and a hint of caramel. Each ingredient plays a vital role in creating the perfect cupcake.
Ingredients for Frosting
– 1/2 cup unsalted butter
– 2 cups powdered sugar
– 2 tablespoons pumpkin puree
– 1/2 teaspoon cinnamon
For the frosting, we need unsalted butter for creaminess. Powdered sugar provides sweetness and smooth texture. Pumpkin puree adds flavor, while cinnamon gives a warm spice note. This frosting will elevate your cupcakes and make them irresistible.
Step-by-Step Instructions
Preparing the Cupcake Batter
1. First, preheat your oven to 350°F (175°C). Line your muffin tin with cupcake liners. This helps the cupcakes come out easily.
2. In a medium bowl, mix together the dry ingredients. Whisk the all-purpose flour, baking powder, baking soda, salt, and pumpkin pie spice. Set this aside for now.
3. In a large bowl, cream the softened butter and brown sugar. Use an electric mixer on medium speed. Keep mixing until it is light and fluffy, about 3 to 4 minutes.
Baking the Cupcakes
4. Next, add the eggs one at a time. Mix well after each egg. Now, add the pumpkin puree, cooled brewed coffee, and vanilla extract. Stir until everything is combined.
5. Gradually add the dry mixture to the wet ingredients. Alternate with the milk, starting and ending with the dry mix. Stir gently to avoid overmixing. This keeps your cupcakes soft.
6. Now, fill each muffin cup with batter about two-thirds full. This allows room for rising.
7. Bake in your preheated oven for 18 to 20 minutes. Check if a toothpick inserted in the center comes out clean. If it does, they are ready!
Making the Frosting
8. In a new bowl, beat the softened butter with an electric mixer. Mix until it is creamy and smooth.
9. Slowly add the powdered sugar. Start on low speed to avoid a sugar cloud. Once mixed, increase the speed to medium until fluffy.
10. Next, mix in the pumpkin puree, vanilla extract, cinnamon, and brewed coffee. Beat until the frosting is light and smooth.
11. Once your cupcakes are cool, frost each one generously. Use a piping bag or a spatula for this.
These simple steps will help you create delicious pumpkin spice latte cupcakes. Enjoy the rich flavors and the cozy vibes of fall!
Tips & Tricks
Perfecting Your Cupcakes
– Avoiding overmixing: Mix your batter gently. Stir until just combined. This keeps your cupcakes light and fluffy. Too much mixing makes them dense and tough.
– Ideal baking time and temperature: Bake at 350°F (175°C) for 18-20 minutes. Check for doneness with a toothpick. If it comes out clean, your cupcakes are ready!
– Cooling cupcakes properly: Let them cool in the pan for 5 minutes. Then, move them to a wire rack. This helps them cool evenly and prevents sogginess.
Decorating Ideas
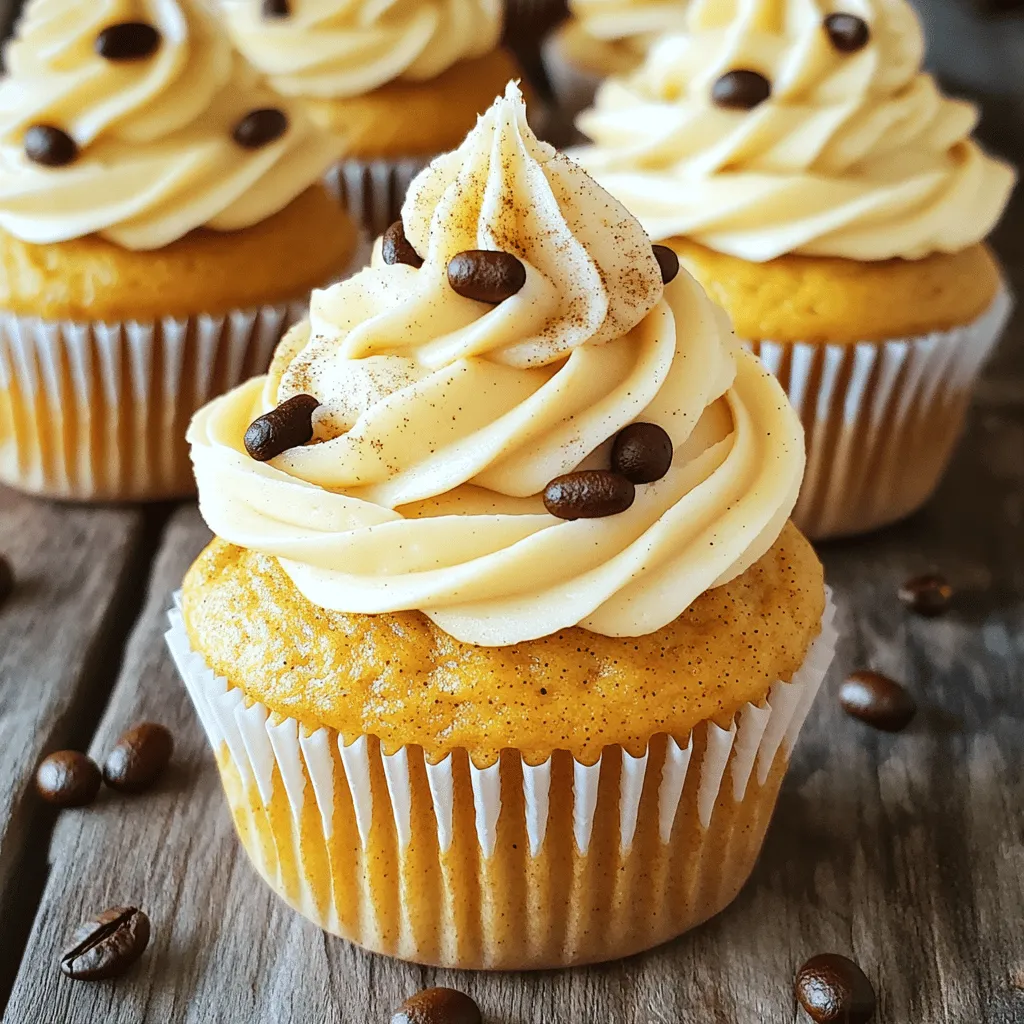
– Sprinkling cinnamon or pumpkin pie spice: After frosting, add a light dusting of spice. It adds flavor and looks great!
– Adding coffee beans or mini pumpkins: Place a few coffee beans on top or use mini pumpkins as fun decorations. They enhance the fall vibe.
– Using a piping bag for frosting: This gives your cupcakes a professional look. Use different tips to create fun shapes. It makes your treats even more appealing!
Variations
Different Flavor Additions
You can make pumpkin spice latte cupcakes even better with some fun flavors. Here are a few ideas to try:
– Adding chocolate chips: Mix in 1/2 cup of chocolate chips to the batter. This adds a rich, sweet touch to each bite. The chocolate pairs well with the spice and pumpkin.
– Swapping in different spices: If you want to change the flavor, try using nutmeg or ginger. Just replace the pumpkin pie spice with 1 tablespoon of your chosen spice. This gives your cupcakes a unique twist.
– Using flavored coffee: Swap out regular coffee for flavored coffee. Hazelnut or vanilla coffee adds an extra layer of taste. Just use the same amount of brewed coffee for the recipe.
Dietary Alternatives
You can also cater to different diets with some easy swaps:
– Gluten-free options: Use a gluten-free flour blend instead of all-purpose flour. This keeps the cupcakes tasty while making them safe for those with gluten allergies.
– Vegan substitutes for eggs and butter: Replace the eggs with 1/2 cup of unsweetened applesauce for each egg. Use coconut oil or vegan butter instead of regular butter. This makes the cupcakes vegan-friendly without losing flavor.
– Low-sugar alternatives: Use coconut sugar or a sugar substitute to cut down on sugar. This helps lower calories while keeping your cupcakes sweet. Just ensure the substitute measures like sugar.
Storage Info
How to Store Cupcakes
To keep your pumpkin spice latte cupcakes fresh, you have a few options:
– Storing at room temperature: Place the cupcakes in an airtight container. This keeps them soft and moist. They can last up to three days this way.
– Refrigerating cupcakes: If you want them to last longer, put them in the fridge. Use an airtight container to prevent them from drying out. They can stay fresh for about a week.
– Freezing for longer storage: For even longer storage, freeze the cupcakes. Wrap them tightly in plastic wrap and then place them in a freezer-safe bag. They can last for up to three months. Thaw them in the fridge overnight before serving.
Shelf Life
– How long do they last? At room temperature, the cupcakes last about three days. In the fridge, they last about one week. Frozen cupcakes can last up to three months.
– Signs of spoilage: Check for dryness or a change in color. If you see mold, discard them. A stale smell is also a sign that they are no longer fresh. Always trust your senses when it comes to food safety!
FAQs
Can I use fresh pumpkin instead of canned?
Yes, you can use fresh pumpkin. Just make sure to cook and puree it first. Fresh pumpkin may have a slightly different taste and texture. It can add a nice homemade touch to your cupcakes.
How can I make my cupcakes more moist?
To keep your cupcakes moist, use room temperature ingredients. This includes eggs, butter, and milk. Also, do not overmix your batter. Overmixing can make them dense. Lastly, adding a bit more pumpkin puree can help add moisture too.
Can I make these cupcakes ahead of time?
Yes, you can make these cupcakes ahead of time. Bake them a day or two in advance. Just store them in an airtight container at room temperature. If you frost them right before serving, they will stay fresh and delicious.
Can I freeze the cupcakes?
Absolutely! You can freeze the cupcakes without frosting. Wrap each cupcake in plastic wrap and place them in a freezer-safe bag. They can last up to two months. To enjoy, thaw them at room temperature before serving.
What can I use instead of coffee?
If you want to skip the coffee, try using milk or a milk alternative. You can also use brewed tea for a different flavor. Just keep in mind that it will change the taste a bit.
How can I make the frosting more flavorful?
To enhance your frosting, add more pumpkin puree or a touch of maple syrup. You can also mix in spices like nutmeg or ginger for extra warmth. Adjusting these flavors can make your frosting pop.
Can I decorate these cupcakes differently?
Yes! You can use different toppings like chocolate chips, nuts, or sprinkles. You can also drizzle caramel or chocolate sauce on top. Get creative and have fun with your cupcake designs!
This blog post showed you how to make delicious pumpkin coffee cupcakes. We covered the main ingredients for both the cupcakes and frosting. I provided step-by-step instructions to guide you through baking and decorating. You also got tips to perfect your cupcakes and creative ideas to make them special.
With these simple steps and variations, you can enjoy a tasty treat any time. Happy baking!


