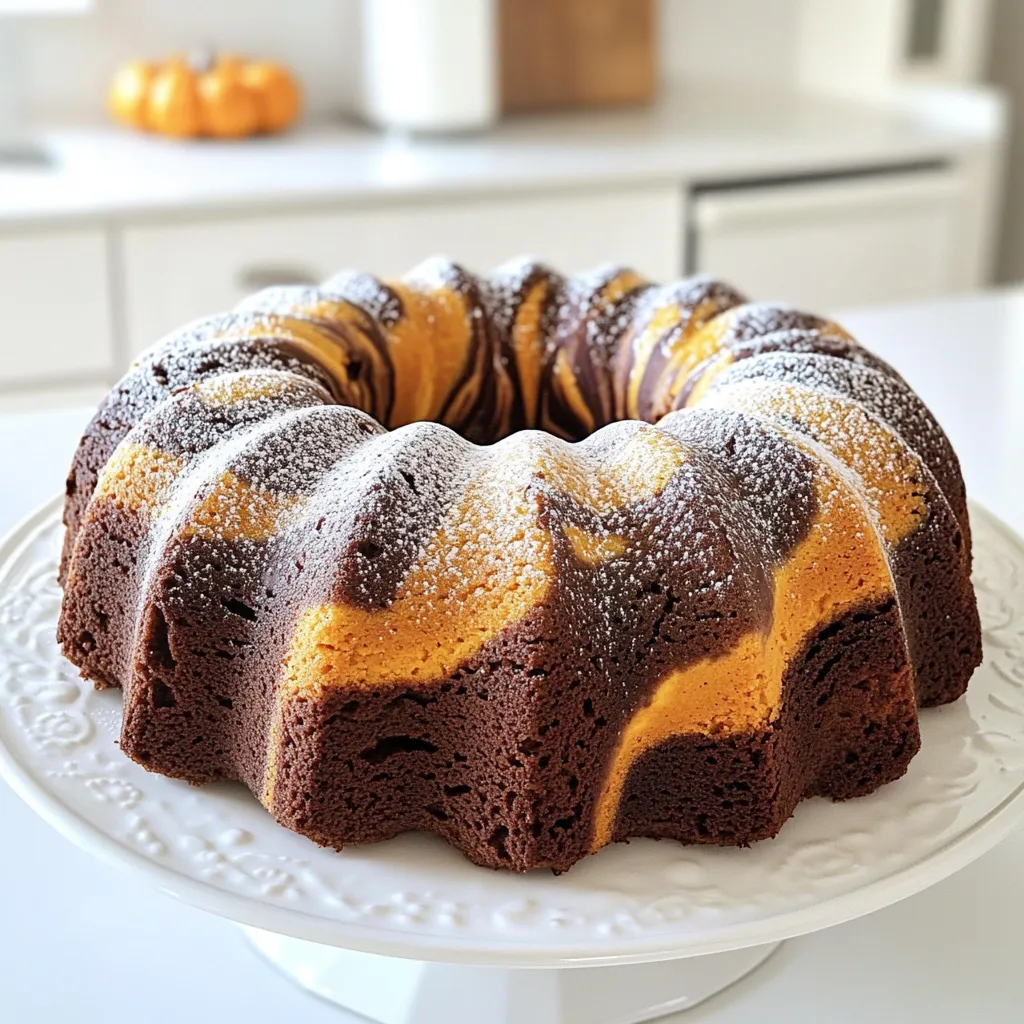
Fall is the perfect time for warm, cozy desserts, and nothing beats a Pumpkin Marble Bundt Cake! This delightful treat marries rich pumpkin flavor with a touch of chocolate, making it a stunning centerpiece for your autumn gatherings. In this article, I’ll guide you through easy steps, tips, and variations to create a cake that’s as fun to make as it is to eat. Let’s dive in and bake up some deliciousness!
Ingredients
To make a delicious Pumpkin Marble Bundt Cake, you need the right ingredients. Here’s a complete list:
– 1 ½ cups all-purpose flour
– 1 teaspoon baking powder
– ½ teaspoon baking soda
– ½ teaspoon salt
– 1 teaspoon ground cinnamon
– ½ teaspoon ground nutmeg
– ½ cup unsalted butter
– 1 cup granulated sugar
– 2 large eggs
– 1 cup canned pumpkin puree
– 1 teaspoon vanilla extract
– ½ cup unsweetened cocoa powder
– ⅓ cup milk
Each ingredient plays a key role in creating this tasty cake. The flour gives the cake structure, while the baking powder and soda help it rise. The spices add warmth and flavor, making it a perfect fall treat.
I love using canned pumpkin puree for this recipe. It keeps the cake moist and gives it that rich pumpkin flavor. The cocoa powder creates a lovely contrast with the pumpkin batter. This combo makes the marbled effect stand out.
Make sure your butter is soft to mix easily. Room temperature eggs help the batter blend well, making it fluffy. I also recommend using fresh spices. They enhance the flavor and aroma of the cake.
Gather these ingredients, and you’re ready to start baking!
Step-by-Step Instructions
Preparing the Bundt Pan
First, preheat your oven to 350°F (175°C). This helps the cake bake evenly. While your oven heats, take a 10-cup Bundt pan. Generously grease it with butter. Then, sprinkle flour all over the inside. This step helps the cake come out easily later.
Mixing Dry Ingredients
Next, grab a medium mixing bowl. Whisk together 1 ½ cups of all-purpose flour, 1 teaspoon of baking powder, ½ teaspoon of baking soda, ½ teaspoon of salt, 1 teaspoon of ground cinnamon, and ½ teaspoon of ground nutmeg. Mix until everything is well combined. Set this dry mixture aside for now.
Creaming Butter and Sugar
In a large mixing bowl, use an electric mixer to cream together ½ cup of softened unsalted butter and 1 cup of granulated sugar. Mix on medium speed for about 3 to 5 minutes. The mixture should be light and fluffy. This step adds air to the cake. Now, add 2 large eggs one at a time. Make sure each egg mixes in well before adding the next. Stir in 1 cup of canned pumpkin puree and 1 teaspoon of vanilla extract until smooth.
Combining Ingredients
Gradually add the dry mixture to your pumpkin batter. Alternate it with ⅓ cup of milk. Start and end with the dry ingredients. Mix just until everything is combined. Be careful not to overmix. Then, divide the batter into two bowls. In one bowl, sift in ½ cup of unsweetened cocoa powder. Mix until there are no streaks of cocoa.
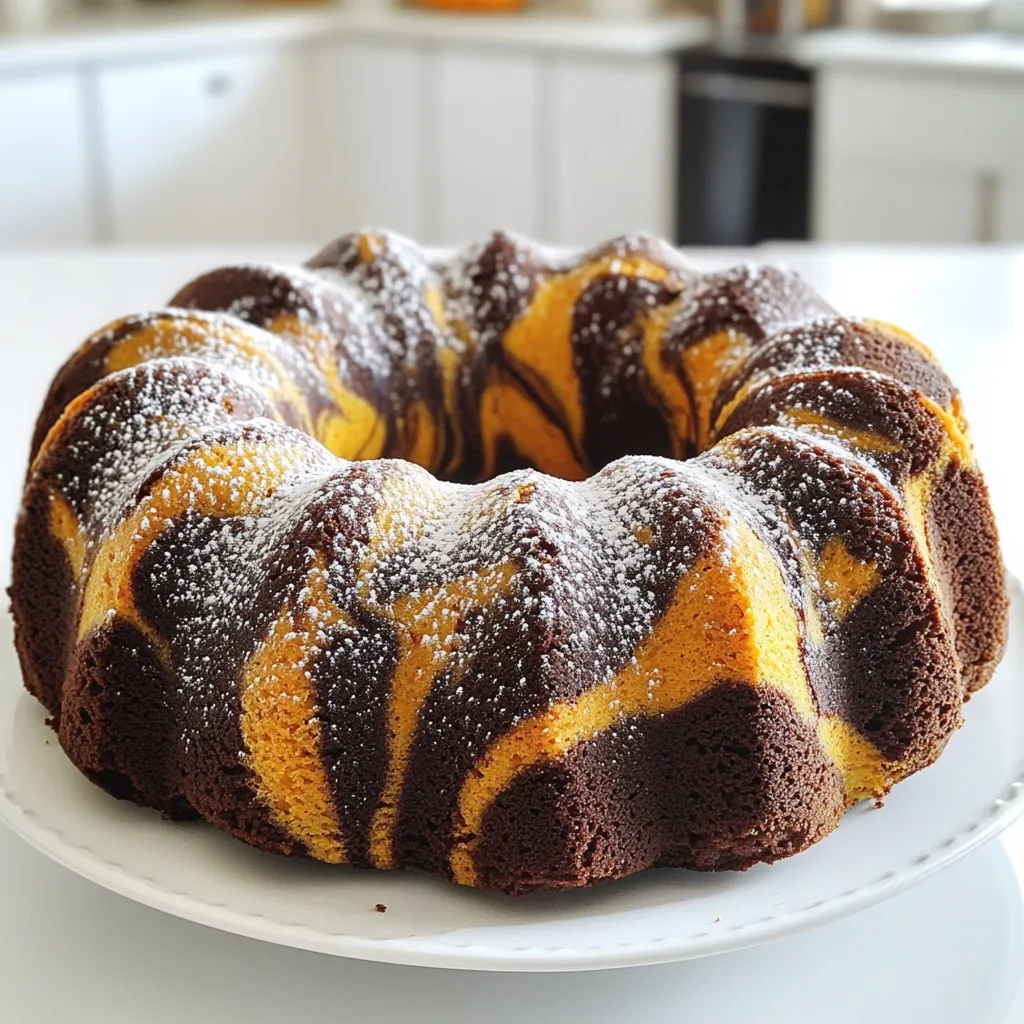
Creating the Marble Effect
Now, it’s time to create a marbled look. Using a spoon, drop dollops of the pumpkin batter and chocolate batter into the prepared Bundt pan. Alternate between the two batters. To make a beautiful swirl, take a knife or a skewer. Gently stir and swirl the batters together. Don’t overdo it; keep some distinct layers.
Baking the Cake
Place the pan in the preheated oven. Bake for 55 to 60 minutes. To check if the cake is done, insert a toothpick into the center. If it comes out clean, your cake is ready. Once baked, let the cake cool in the pan for about 15 minutes. Then, gently invert the pan onto a wire rack. This helps the cake cool completely and makes it easier to slice.
Tips & Tricks
Achieving the Perfect Marble Effect
To get the best marble look in your cake, use a simple swirling technique. First, spoon dollops of pumpkin batter and chocolate batter into the Bundt pan. Alternate the batters in a random pattern.
Next, take a knife or skewer and gently swirl the two batters together. Aim for a few swirls, not too many. Overmixing can turn your marbled cake into a solid color. Keep the distinct layers for a stunning visual.
Baking Tips
Always check your oven’s temperature before baking. An oven that is too hot can burn the cake. Use an oven thermometer to confirm the temperature is accurate.
If you live at a high altitude, you may need to adjust your bake time. Cakes can rise faster and may need less time in the oven. Start checking for doneness a few minutes early.
Presentation Suggestions
Once your cake has cooled, it’s time to make it look great. Dust the top with powdered sugar for a classic finish. It adds a lovely touch and some sweetness.
You can also add a simple glaze. Mix powdered sugar with a bit of milk until smooth. Drizzle it over the top for an extra treat. For more flair, sprinkle ground cinnamon or chopped nuts on top. These small touches make a big difference in how your cake looks and tastes.
Variations
Flavor Variations
You can change the flavor of your Pumpkin Marble Bundt Cake in fun ways. For a spicier taste, add ground ginger or cloves. These spices will warm up the flavor and give it a nice kick. You can also toss in some chocolate chips. They will melt and blend with the pumpkin and chocolate, creating a rich, sweet surprise in every bite.
Dietary Substitutions
If you’re looking for gluten-free options, use a gluten-free flour blend instead of all-purpose flour. Make sure it has a good binding agent. For vegan adaptations, replace the eggs with flaxseed meal mixed with water. You can also use plant-based butter and a non-dairy milk like almond or oat milk. This way, everyone can enjoy the cake!
Serving Suggestions
Pumpkin Marble Bundt Cake is great on its own, but you can elevate it. Serve it warm with a scoop of vanilla ice cream. The cold ice cream pairs well with the warm cake. If you prefer, serve it chilled with whipped cream on top. This adds a nice, creamy texture. Dust the top with powdered sugar for a pretty finish, and enjoy!
Storage Info
How to Store Leftovers
To keep your Pumpkin Marble Bundt Cake fresh, store it in the refrigerator. Place it in an airtight container or wrap it well with plastic wrap. This helps prevent it from drying out. If you want to keep it longer, consider freezing it. Slice the cake first, then wrap each slice tightly in plastic wrap. Put the wrapped slices in a freezer-safe bag or container. This way, you can enjoy a slice whenever you crave it.
Shelf Life
The cake lasts for about 5 days in the fridge. Keep an eye on it, as it may dry out after a few days. If you freeze the cake, it can last for up to 3 months. Thaw it in the fridge overnight when you’re ready to enjoy it again. Check for signs of spoilage, like an off smell or mold. If you see any, it’s best to throw it away. Always trust your senses when it comes to food safety!
FAQs
Can I use fresh pumpkin instead of canned?
Yes, you can use fresh pumpkin. First, roast or boil the pumpkin until soft. Then, mash it into a smooth puree. This will give your cake a fresh flavor. Just make sure to drain any extra water.
How do I know when my cake is done baking?
To check if your cake is done, insert a toothpick into the center. If it comes out clean or with a few crumbs, your cake is ready. If it has wet batter, bake for a few more minutes.
What can I do if my cake sticks to the pan?
If your cake sticks, try running a knife around the edge. Then, gently tap the pan upside down on a plate. If it still sticks, you can put it in the freezer for 30 minutes. This helps to loosen the cake.
Can I make this cake ahead of time?
Absolutely! You can bake the cake one day in advance. Just let it cool, then wrap it tightly in plastic wrap. Store it at room temperature. You can also freeze the cake for up to three months.
Is there a gluten-free version of this recipe?
Yes, you can use a gluten-free flour blend. Replace the all-purpose flour with a 1:1 gluten-free blend. Make sure it contains xanthan gum for the best texture. This will keep your cake soft and moist.
This blog post explored how to create a delicious marbled pumpkin cake. You learned about the key ingredients, step-by-step instructions, and helpful tips. Remember to pay attention to the swirling techniques for a stunning marbled effect. Consider trying flavor variations or dietary substitutions to suit your tastes. Lastly, proper storage ensures your cake stays fresh. Enjoy your baking journey, and share your yummy results!


