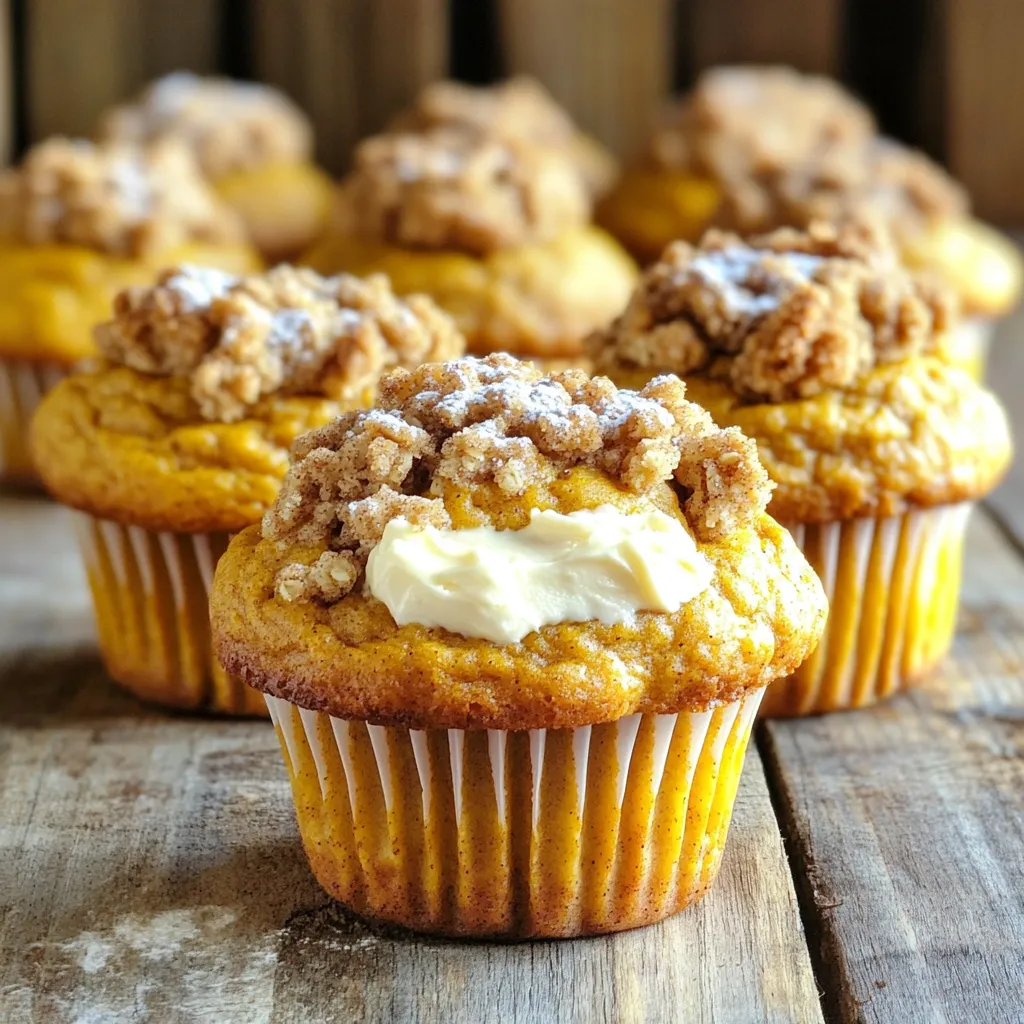
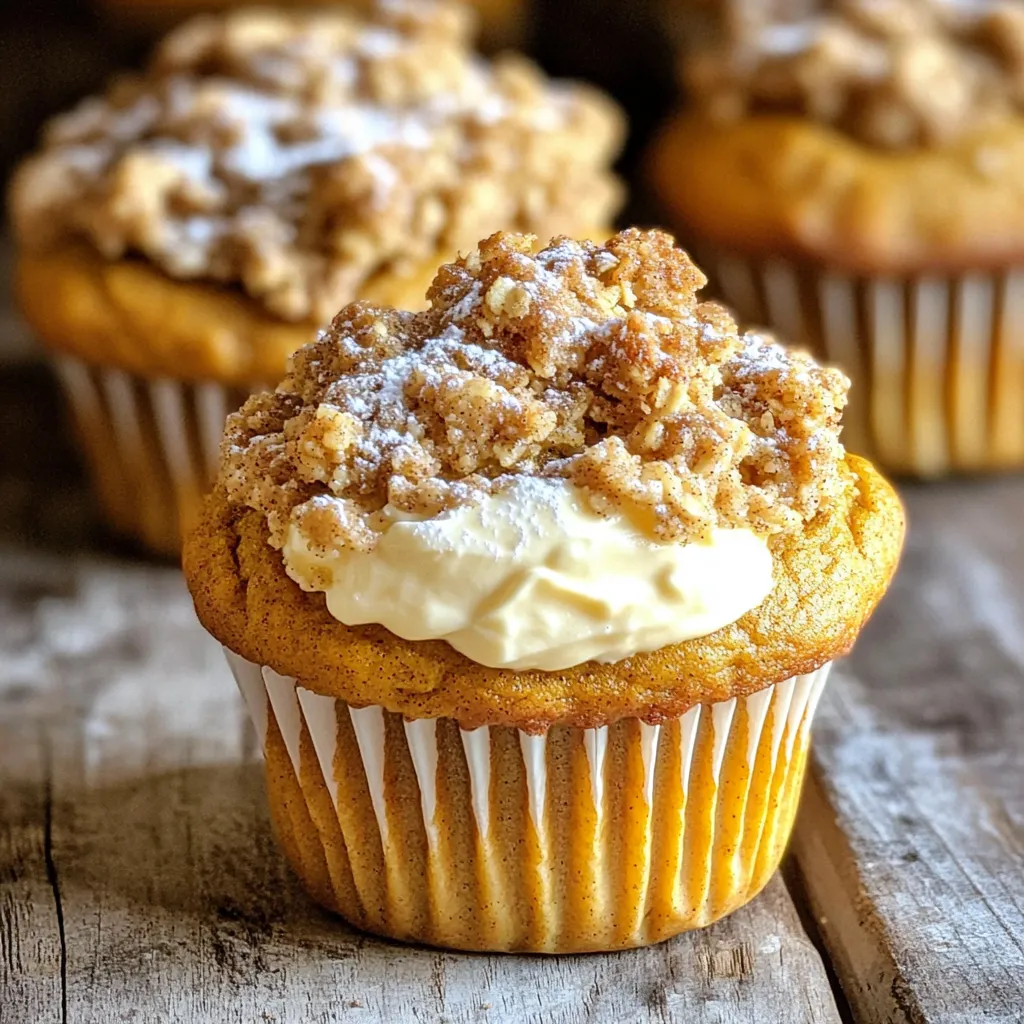
If you crave a warm, cozy treat this fall, you’ll love these Pumpkin Cream Cheese Streusel Muffins! They are moist, flavorful, and packed with delicious pumpkin spice. Each bite has a creamy center and a crunchy topping that’ll leave you coming back for more. Let’s dive into this simple recipe that will impress your family and friends while filling your kitchen with the sweetest aromas! Get ready to bake!
Ingredients
Ingredients for the Muffins
– 1 cup pumpkin puree
– ½ cup brown sugar
– ½ cup granulated sugar
– 2 large eggs
– ⅓ cup vegetable oil
– 1 teaspoon vanilla extract
– 1 teaspoon baking powder
– ½ teaspoon baking soda
– 1 teaspoon ground cinnamon
– ½ teaspoon ground nutmeg
– ¼ teaspoon ground ginger
– 1 ½ cups all-purpose flour
– ½ teaspoon salt
Ingredients for the Cream Cheese Filling
– 115 grams cream cheese, at room temperature
– ¼ cup powdered sugar
– ½ teaspoon vanilla extract
Ingredients for the Streusel Topping
– ⅓ cup all-purpose flour
– ⅓ cup oats
– ⅓ cup brown sugar
– ¼ teaspoon ground cinnamon
– ¼ cup unsalted butter, melted
These ingredients come together to make the best muffins. The pumpkin puree gives a lovely, rich flavor. The brown and granulated sugars create a sweet balance. The spices, like cinnamon and nutmeg, add warmth and depth.
For the cream cheese filling, make sure your cream cheese is soft. It mixes better that way. The powdered sugar sweetens it up just right. A hint of vanilla extract adds flavor, making the filling smooth.
The streusel topping is where the magic happens. The oats give it a nice texture. The brown sugar and cinnamon create a sweet crunch. With melted butter, it all comes together to make a crumbly topping that’s hard to resist.
Gather these ingredients, and you are ready to bake something delicious!
Step-by-Step Instructions
Preheat the Oven
– Set the oven to 175°C (350°F).
– Prepare the muffin tin with paper liners.
First, you need to preheat your oven. This step makes sure your muffins bake evenly. As the oven heats up, prepare your muffin tin. Place paper liners in each cup. This helps with easy removal later.
Prepare Cream Cheese Filling
– Mix cream cheese, powdered sugar, and vanilla extract until smooth.
Next, let’s make the cream cheese filling. In a bowl, combine the cream cheese, powdered sugar, and vanilla extract. Use a mixer or a spoon to blend until it’s smooth. This filling adds a rich and creamy surprise inside the muffins.
Make the Muffin Batter
– Combine wet ingredients and sugars.
– Gradually add dry ingredients.
Now, it’s time for the muffin batter. In a large bowl, mix the pumpkin puree, brown sugar, and granulated sugar. Then, add eggs, vegetable oil, and vanilla extract. Mix well until all is combined. In another bowl, whisk the dry ingredients: baking powder, baking soda, cinnamon, nutmeg, ginger, flour, and salt. Slowly add the dry mix to the wet mix. Stir gently until just combined. Be careful not to overmix!
Prepare the Streusel Topping
– Mix all streusel ingredients until crumbly.
Let’s prepare the streusel topping. In a medium bowl, combine the flour, oats, brown sugar, and cinnamon. Pour in the melted butter and mix until crumbly. This topping gives your muffins a sweet and crunchy texture.
Assemble the Muffins
– Layer muffin batter, cream cheese filling, and topping.
Now it’s time to assemble the muffins. Fill each paper liner halfway with muffin batter. Add a spoonful of cream cheese filling in the center. Then, cover it with more batter until the liners are almost full. Finally, sprinkle the streusel topping generously over each muffin.
Bake the Muffins
– Bake for 18-22 minutes, check with a toothpick.
Place the muffin tin in the preheated oven. Bake for 18 to 22 minutes. To check if they are done, insert a toothpick into the center. If it comes out clean, your muffins are ready. If not, bake for a couple more minutes. Let them cool briefly before enjoying!
Tips & Tricks
Ensuring Moist Muffins
– Use fresh pumpkin puree. Fresh puree gives a rich flavor and moisture.
– Don’t overmix the batter. Stir just until the flour disappears. This keeps muffins soft.
Perfecting the Cream Cheese Filling
– Bring cream cheese to room temperature. Soft cream cheese blends better and creates a smooth filling.
– Adjust sweetness as desired. Taste the filling and add more powdered sugar if you want it sweeter.
Streusel Consistency
– Use cold butter for the streusel. Cold butter helps create a crumbly texture.
– Mix until crumbly. You want it to resemble small pebbles, not a dough. This adds a nice crunch to your muffins.
Variations
Seasonal Add-ins
You can jazz up your muffins with fun add-ins. Try adding chocolate chips for a sweet twist. They melt slightly and create pockets of chocolate. Nuts like walnuts or pecans add a nice crunch. They also give a deep flavor that pairs well with pumpkin.
Dietary Substitutions
If you need gluten-free muffins, use almond or coconut flour instead. They work well with the pumpkin flavor. For a vegan option, replace eggs with flax eggs. Mix one tablespoon of flaxseed meal with three tablespoons of water. Let it sit for five minutes to thicken before adding it to your batter.
Flavor Variations
Want to change the spice profile? Adding cloves or allspice can make a big difference. Just a pinch can add warmth and depth to your muffins. You can also play with the spices to suit your taste. Mix and match until you find your favorite blend!
Storage Info
How to Store Muffins
To keep your Pumpkin Cream Cheese Streusel Muffins fresh, store them at room temperature. Place them in an airtight container. They stay good for up to three days. If you want to keep them longer, refrigeration is an option. But remember, they may dry out a bit. Wrap each muffin in plastic wrap before placing them in the fridge. This keeps moisture in and helps them last for about a week.
Freezing Instructions
Freezing is a great way to enjoy your muffins later. Let them cool completely. Then, wrap each muffin in plastic wrap tightly. Place them in a freezer-safe bag or container. They can last for up to three months in the freezer. When you want one, simply take it out and let it thaw at room temperature.
Reheating Tips
To enjoy warm muffins again, reheat them gently. Preheat your oven to 175°C (350°F). Place the muffins on a baking sheet. Heat them for about 10 minutes. This keeps them moist and soft. You can also use a microwave. Heat each muffin for about 15-20 seconds. Just be careful not to overheat, or they may dry out. Enjoy your tasty treat!
FAQs
Can I use fresh pumpkin instead of canned?
Yes, you can use fresh pumpkin. Fresh pumpkin gives a brighter flavor. To prepare fresh pumpkin, cut it open, remove seeds, and roast it. Bake it for about 45 minutes at 175°C (350°F). After cooling, scoop out the flesh and mash it until smooth. This will help you get a great texture for your muffins.
Why are my muffins flat?
Flat muffins can happen for a few reasons. One common reason is under mixing the batter. The batter needs some air to rise. Another reason can be old baking powder or baking soda. Always check if they are fresh. Lastly, if the oven is not hot enough, muffins may not rise well. Make sure to preheat your oven properly.
How long do these muffins last?
These muffins can last up to three days at room temperature. Keep them in an airtight container to keep them fresh. If you want to keep them longer, you can refrigerate them for a week.
Can I make the batter ahead of time?
Yes, you can prepare the batter ahead of time. Make the batter and store it in the fridge for up to 24 hours. When you are ready to bake, just give it a gentle stir. Avoid overmixing to keep the muffins fluffy.
These muffins combine rich pumpkin flavor with sweet cream cheese filling and crunchy streusel. We covered the essential ingredients and shared easy steps for baking. I offered tips to ensure moist muffins and ideas for fun variations. Remember, fresh ingredients matter. Each bite should bring joy. Store muffins properly to enjoy them longer. Whether you share them or keep them for yourself, they are sure to please. Explore these recipes, and let your creativity flow in the kitchen!


