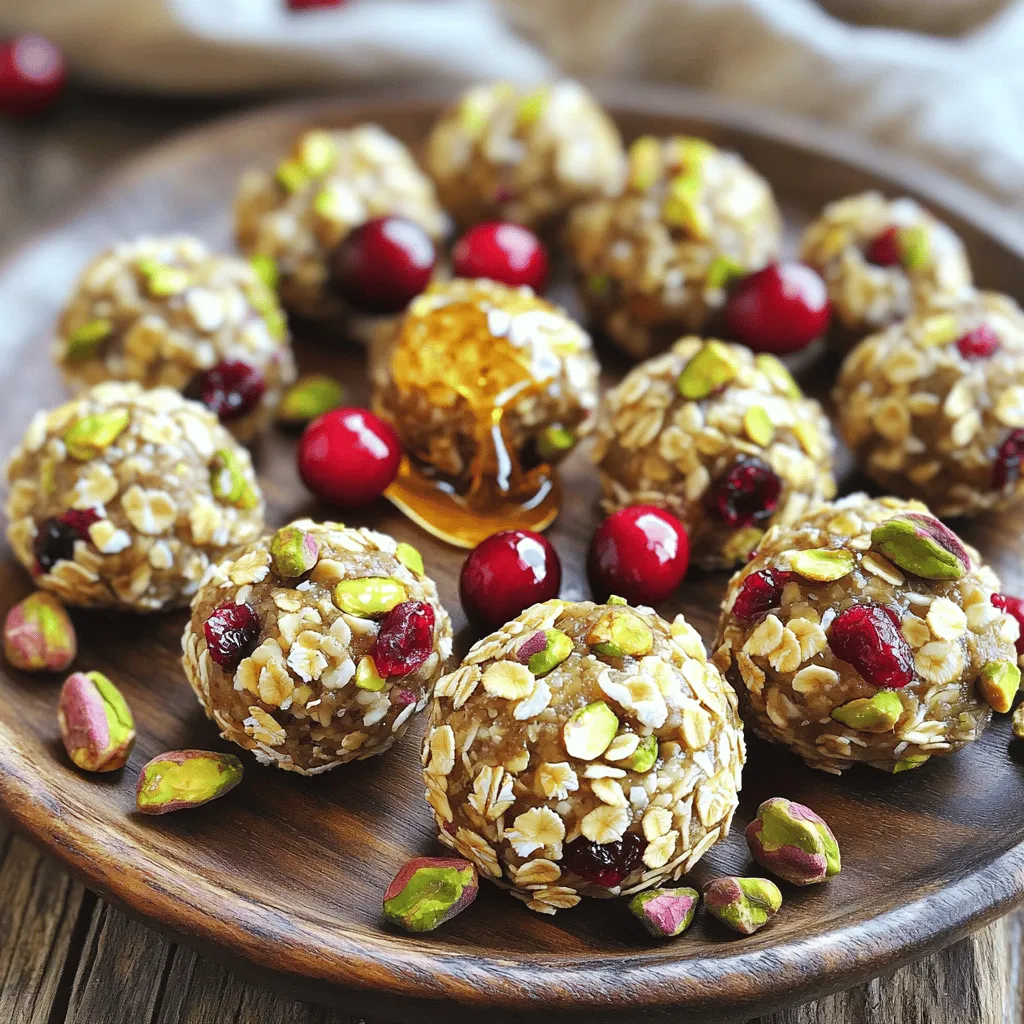
Are you looking for a tasty and healthy snack? Look no further! These Pistachio Cranberry Energy Bites pack a punch of flavor and nutrition. They are perfect for a quick pick-me-up or a post-workout treat. In this guide, I’ll show you how to make these bites with easy steps and simple ingredients. Get ready to enjoy a snack that satisfies your cravings and fuels your day!
Ingredients
List of Required Ingredients
To make these tasty Pistachio Cranberry Energy Bites, gather the following items:
– 1 cup rolled oats
– 1/2 cup unsalted pistachios, roughly chopped
– 1/2 cup dried cranberries, roughly chopped
– 1/2 cup natural almond butter (or any nut butter of your choice)
– 1/4 cup honey or maple syrup
– 1 tablespoon chia seeds
– 1 teaspoon pure vanilla extract
– A pinch of salt
Measurement and Preparation Tips
When measuring your ingredients, use standard measuring cups for accuracy. Chop the pistachios and cranberries into small pieces. This helps them mix well. For the nut butter, let it sit at room temperature. This will make it easier to mix. If you use honey, warm it slightly so it blends smoothly with other wet ingredients.
Ingredient Substitutions
You can switch out some ingredients based on your taste or dietary needs.
– Use any nut or seed butter if you prefer.
– Swap honey for agave syrup for a vegan option.
– If you need a nut-free version, use sunflower seed butter.
– You can replace cranberries with raisins or chopped dates.
These swaps keep the energy bites tasty and healthy!
Step-by-Step Instructions
Preparing the Dry Ingredients
Start with a large mixing bowl. Add 1 cup of rolled oats, 1/2 cup of roughly chopped pistachios, 1/2 cup of chopped dried cranberries, and 1 tablespoon of chia seeds. Mix these dry ingredients well. Make sure everything is evenly spread out. This step is key for great flavor in every bite.
Mixing the Wet Ingredients
In a separate bowl, combine 1/2 cup of natural almond butter, 1/4 cup of honey or maple syrup, and 1 teaspoon of pure vanilla extract. Add a pinch of salt for taste. Whisk these wet ingredients together until smooth. This mixture should be creamy and well blended.
Combining All Ingredients
Pour the wet mixture into the bowl with the dry ingredients. Stir everything together vigorously. You want to ensure all the dry ingredients are covered in the wet mix. Keep stirring until a sticky mixture forms. This is the base for your energy bites.
Now you are ready to shape your energy bites!
Tips & Tricks
Perfecting the Texture
For the best texture, balance is key. Use rolled oats for a chewy base. The chopped pistachios add crunch, while cranberries give a burst of sweetness. If the mixture feels too dry, add a splash of water or more nut butter. If it’s too wet, sprinkle in extra oats. This way, you get a perfect bite every time.
Rolling the Energy Bites
When rolling, make sure your hands are clean and slightly damp. This helps prevent the mixture from sticking. Take small portions, about one inch each, and roll them gently. If you want a little extra fun, roll the bites in shredded coconut or crushed nuts. This adds flavor and a nice look.
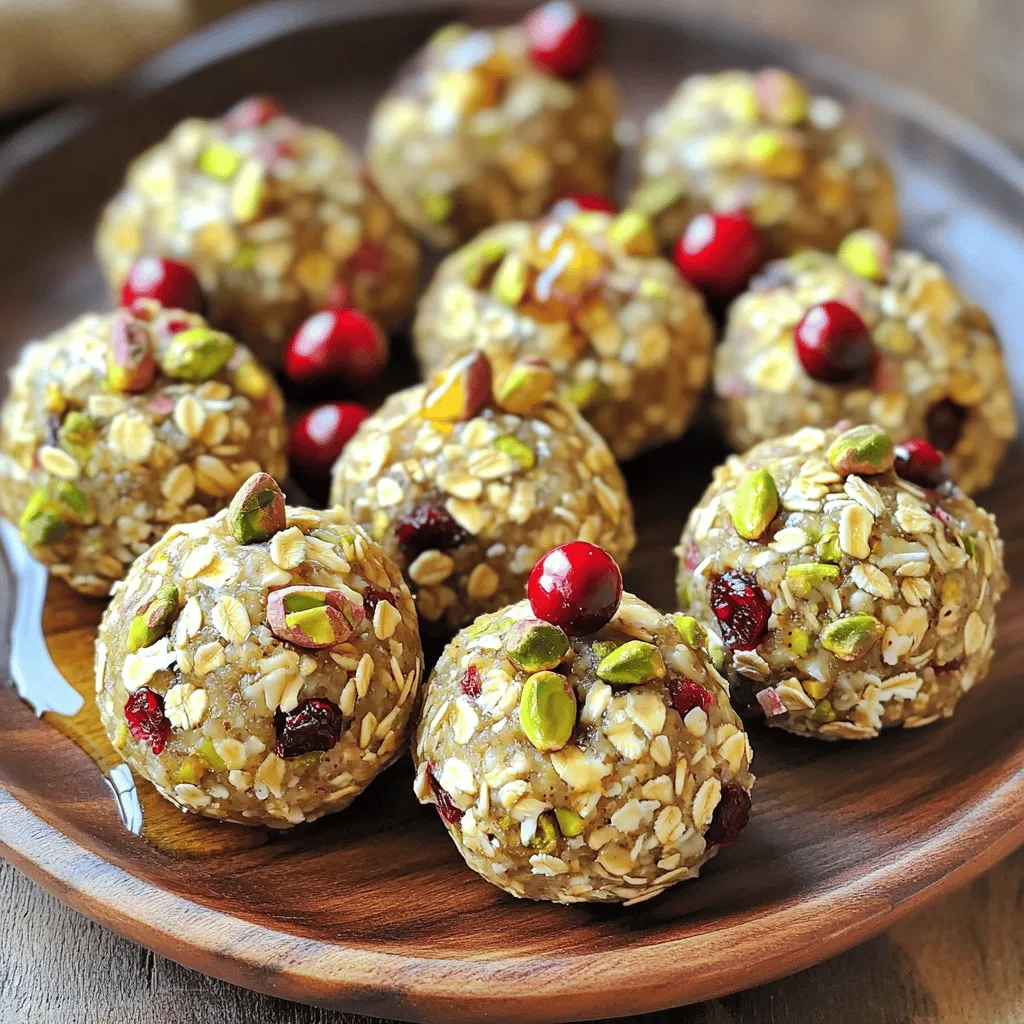
Serving Suggestions
These energy bites are great for any time. Serve them as a snack or with breakfast. You can place them on a colorful plate or in a mason jar. For a special touch, add a few whole pistachios and cranberries around the bites. They make a beautiful display and taste amazing too!
Variations
Flavor Enhancements
You can easily change the flavor of your energy bites. For a chocolate twist, add mini chocolate chips. They blend well with the pistachios and cranberries. If you enjoy a spicy touch, mix in a dash of cinnamon or nutmeg. This adds warmth to each bite. Coconut flakes also make a great addition. They bring a tropical flair and a chewy texture.
Dietary Adjustments (Vegan, Gluten-Free)
To make these bites vegan, swap honey for maple syrup. Both sweeteners work well, but maple syrup keeps it plant-based. If you need a gluten-free option, use certified gluten-free oats. This keeps the recipe safe for those with gluten sensitivities. Remember to check other ingredients for hidden gluten sources.
Ingredient Swaps
You can swap ingredients based on what you have. Instead of almond butter, use peanut or sunflower seed butter. This keeps the bites creamy and rich. For cranberries, any dried fruit works! Try raisins, apricots, or even dates for a different taste. You can also mix nuts. If you don’t have pistachios, use walnuts or almonds. Each swap brings a new flavor and texture.
Storage Info
Best Practices for Storing
To keep your pistachio cranberry energy bites fresh, store them in an airtight container. This helps keep moisture out and flavor in. Place a piece of parchment paper between layers if you stack them. This prevents them from sticking together. Always store the bites in the fridge. They taste best when chilled!
Freezing Energy Bites
You can freeze energy bites for longer storage. First, place them on a baking sheet. Make sure they are not touching each other. Freeze them for about an hour. Once frozen, transfer them to a freezer-safe bag. Remove as much air as you can. They can last up to three months in the freezer. Just thaw them in the fridge before enjoying!
Shelf Life and Freshness Tips
These energy bites are great for a week in the fridge. After that, they may lose flavor. Always check for any signs of spoilage before eating. If they smell off or look strange, throw them away. When stored properly, they stay tasty and nutritious. Enjoy your snacks while they are fresh!
FAQs
How can I customize my Pistachio Cranberry Energy Bites?
You can easily change the flavors in your energy bites. Try adding different fruits like raisins or apricots. You can also switch the nut butter. Almond butter is great, but peanut or cashew butter works well too. Mix in some spices like cinnamon or cocoa powder for a twist. If you like crunch, add more nuts or seeds. Adjust the sweetness by using less honey or maple syrup. These simple tweaks let you make the bites fit your taste.
Can I use different nuts or seeds?
Yes, you can use any nuts or seeds you like. Almonds, walnuts, or pecans all add unique flavors. If you want a nut-free option, try sunflower seeds or pumpkin seeds. Each nut or seed brings its own taste and texture. Just remember to chop larger nuts so they mix well. The key is to keep the same total amount of nuts or seeds for the best texture.
Where can I find pre-made energy bites?
You can find pre-made energy bites at health food stores or online. Many brands offer various flavors and ingredients. Look for options that use natural sweeteners and whole foods. Reading the label helps you choose bites that fit your diet. If you want a quick snack without making them, buying pre-made is a good choice. Just keep in mind that homemade bites taste fresh and you control the ingredients!
In this blog post, we explored making Pistachio Cranberry Energy Bites. We reviewed the needed ingredients, proper measurement, and preparation tips. You learned step-by-step instructions to mix and combine all parts. I shared tips on perfecting texture and rolling the bites. We discussed variations for flavors and dietary needs, plus storage methods for longevity.
Remember, these bites are customizable and easy to make. I hope you feel ready to create your tasty snacks!


