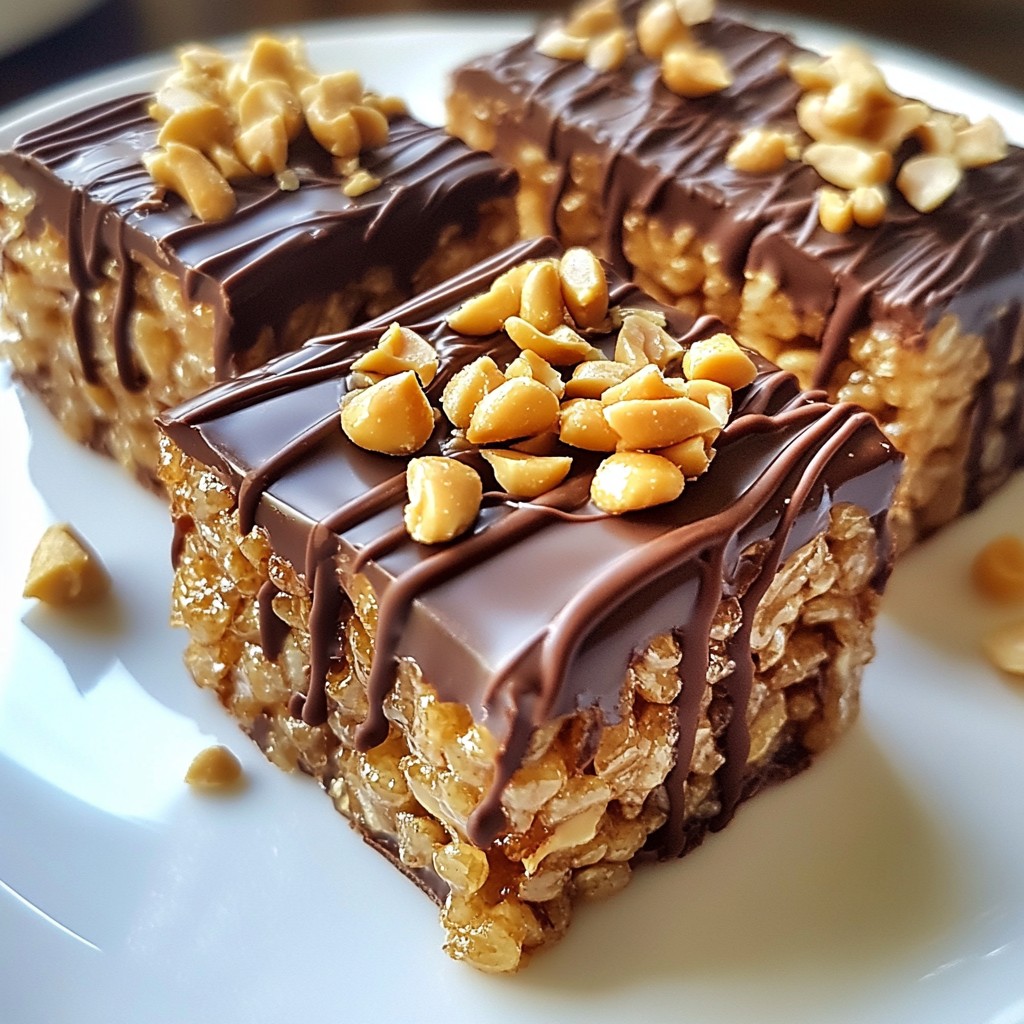
Are you ready to whip up a sweet treat that’s both fun and delicious? My Peanut Butter Chocolate Rice Krispie Treats are perfect for any occasion. With gooey peanut butter, rich chocolate, and a crispy crunch, these will be a hit! Follow me as I share easy steps, tips, and variations to make this delightful recipe yours. Let’s dive into the world of tasty treats and create something memorable together!
Why I Love This Recipe
- Quick and Easy: This recipe takes just 10 minutes to prep, making it perfect for a last-minute treat or snack.
- Peanut Butter Lovers Unite: The creamy peanut butter gives these treats a rich flavor that’s hard to resist.
- Perfectly Chewy: Thanks to the mini marshmallows, these Rice Krispie treats have a delightful chewy texture.
- Customizable: Feel free to mix in your favorite add-ins, like nuts or dried fruit, for a unique twist!
Ingredients
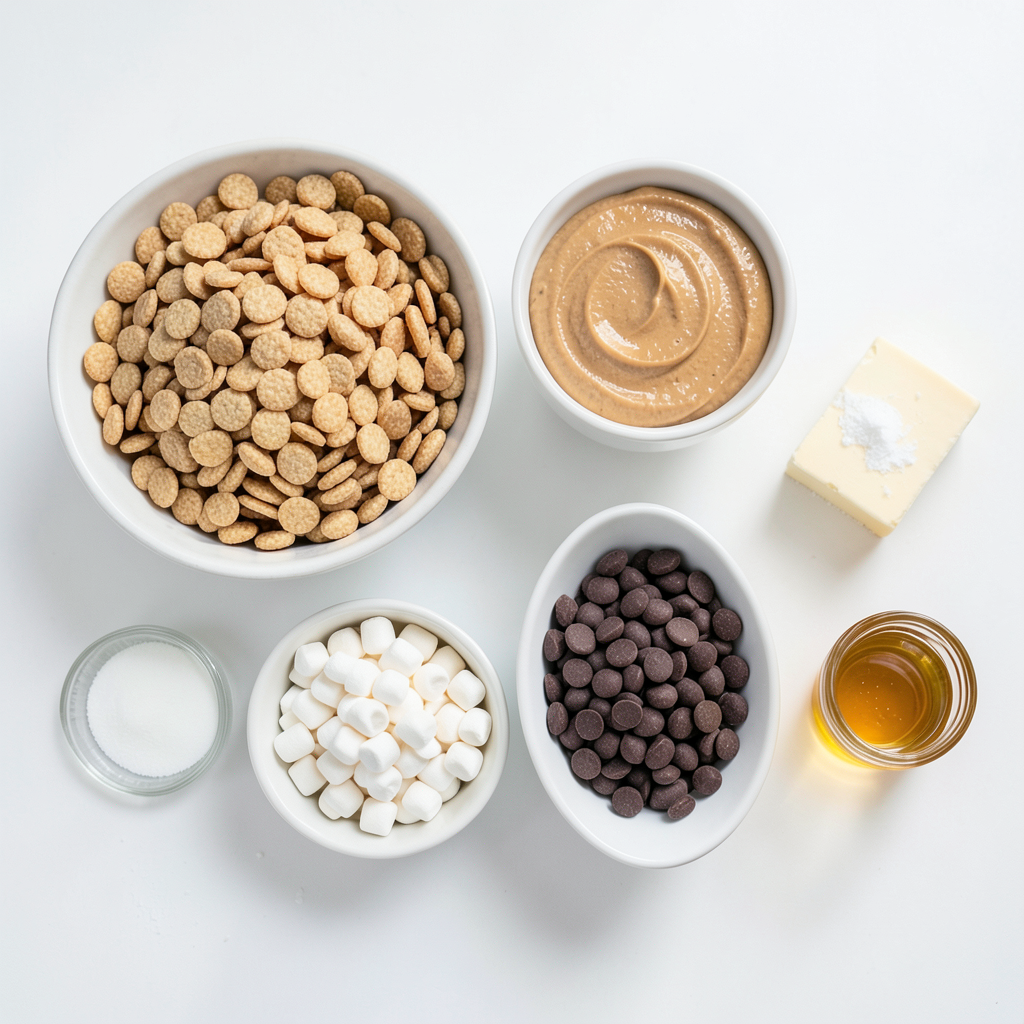
Here’s what you need to make these yummy Peanut Butter Chocolate Rice Krispie Treats:
- 4 cups Rice Krispies cereal
- 1 cup creamy peanut butter
- 1 cup semi-sweet chocolate chips
- 1 cup mini marshmallows
- 1/4 cup unsalted butter
- 1/4 cup honey or maple syrup
- 1/2 teaspoon vanilla extract
- Pinch of salt
Each ingredient plays a key role. The Rice Krispies add crunch, while peanut butter gives a creamy taste. Chocolate chips bring sweetness. Mini marshmallows add fluffiness, and butter helps bind everything together. Honey or maple syrup adds that nice touch of sweetness.
Using unsalted butter lets you control the saltiness. The vanilla extract enhances the flavor, while the pinch of salt balances the sweetness. This simple list combines to create a treat that is hard to resist.
Feel free to gather these ingredients before starting. It makes cooking easier and more fun!
Step-by-Step Instructions
Melting the Base
- Start by melting the unsalted butter in a medium saucepan over low heat.
- Stir gently as the butter melts. This helps keep it from burning.
- When the butter is fully melted, add in the honey or maple syrup.
- Next, mix in the creamy peanut butter. Stir for about 2-3 minutes until smooth.
Combining Ingredients
- Once mixed, take the saucepan off the heat.
- Stir in the vanilla extract and a pinch of salt until well blended.
- Now, quickly add the mini marshmallows to the warm mixture.
- Stir vigorously for 1-2 minutes until the marshmallows melt and combine.
Mixing and Setting Treats
- In a large bowl, place the Rice Krispies cereal.
- Carefully pour the melted peanut butter mixture over the cereal.
- Use a spatula to fold and mix until the cereal is coated.
- Gently fold in the semi-sweet chocolate chips. Be careful not to crush the cereal.
- Transfer the mixture into a greased 9x13 inch baking dish.
- Press the mixture down firmly with a spatula or your hands.
- Let the treats cool at room temperature for about 30 minutes.
- Once cooled, slice them into squares or bars for serving.
Tips & Tricks
Perfecting the Texture
To get the best texture, pay close attention to your melting temperature. Melt the butter over low heat. This prevents burning and keeps the mixture smooth. Once melted, add honey and peanut butter. Stir until it blends well. Do not rush this step; it matters for the final taste.
To avoid sticky hands when pressing the mixture, wet your hands with water. This simple trick makes it easy to handle the sticky mix. Press down firmly and evenly in the baking dish. The treats will set better this way.
Presentation Ideas
To make your treats look extra special, drizzle melted chocolate on top. This adds a tasty touch and makes them shine. You can also sprinkle crushed peanuts for a nice crunch. These small steps make your treats stand out at any gathering. Serve them on a colorful platter for even more fun!
Pro Tips
- Use Fresh Ingredients: Make sure your peanut butter and chocolate chips are fresh for the best flavor and texture.
- Customize Your Treats: Feel free to add ingredients like chopped nuts or dried fruits for extra flavor and texture.
- Store Properly: Keep the treats in an airtight container at room temperature for up to a week to maintain their freshness.
- Chill for Better Cutting: If you find the treats too sticky to cut, refrigerate them for about 15 minutes before slicing.
Variations
Ingredient Swaps
You can change the nut butter in this recipe. Almond butter works well too. It adds a nice flavor twist. If you want a different crunch, try puffed rice or cornflakes. These swaps can give you new textures and tastes. You can even use a mix of cereals for fun.
Flavor Additions
For a flavor boost, add mini candy pieces. M&M's or chocolate-covered peanuts can make these treats extra special. You can also mix in dried fruits like raisins or cranberries. These additions make the treats chewy and sweet. Experiment with your favorite flavors to find your perfect match.
Storage Info
How to Properly Store
To keep your Peanut Butter Chocolate Rice Krispie Treats fresh, place them in an airtight container. This method helps maintain their chewy texture and prevents them from drying out. Use a container that fits the treats snugly, but does not crush them. If you stack them, place parchment paper between layers.
Shelf Life
These treats stay fresh for up to one week at room temperature. Look for signs of spoilage like hardening or a change in color. If they start to smell off, it’s best to toss them. For longer storage, consider freezing them.
FAQs
Can I make these treats vegan?
Yes, you can make these treats vegan. To do this, swap the unsalted butter for coconut oil. Use maple syrup instead of honey. For chocolate, choose dairy-free chocolate chips. This way, you keep all the yummy flavors while making it plant-based.
Can I freeze Peanut Butter Chocolate Rice Krispie Treats?
Yes, you can freeze these treats. First, cut them into squares. Wrap each square tightly in plastic wrap. Then place them in a freezer bag. To thaw, leave them in the fridge overnight or at room temperature for a few hours. They taste great even after freezing!
Are there gluten-free options for this recipe?
Definitely! To make this recipe gluten-free, use gluten-free Rice Krispies. Check the labels on your chocolate chips and marshmallows, too. Many brands offer gluten-free versions. This way, everyone can enjoy these tasty treats without worry.
This blog post covered how to make Peanut Butter Chocolate Rice Krispie Treats. You learned about the key ingredients and step-by-step instructions. I shared tips for the best texture and creative presentation ideas. You also found variations to try and smart storage advice.
These treats are fun to make and easy to customize. Take this recipe and make it your own. Enjoy the tasty results!