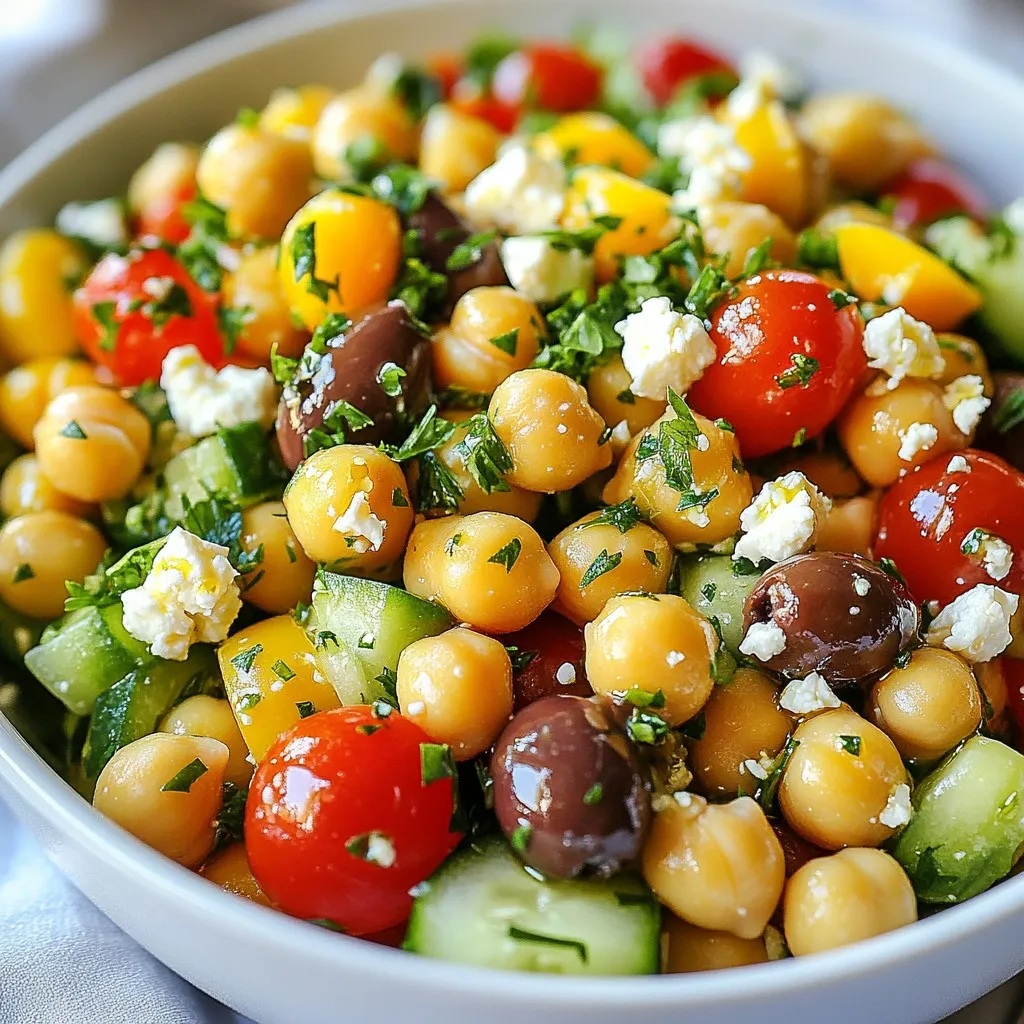
Are you ready to savor a burst of Mediterranean flavors? My Mediterranean Chickpea Salad brings together vibrant ingredients like chickpeas, cherry tomatoes, and cucumbers in a fresh and tasty dish. With simple steps, you can whip up a healthy meal that’s perfect for lunch or dinner. Dive into this recipe and discover how easy it is to enjoy a flavorful, nutritious salad!
Why I Love This Recipe
- Fresh and Flavorful: This salad bursts with freshness from the combination of crisp vegetables and zesty dressing, making it a perfect light meal or side dish.
- Nutrient-Packed: Chickpeas provide protein and fiber, while the variety of veggies adds vitamins and minerals, creating a healthy and satisfying dish.
- Easy to Prepare: With just a few simple steps, you can whip up this delicious salad in under 25 minutes, perfect for busy weeknights.
- Versatile and Customizable: This recipe serves as a great base; feel free to add your favorite ingredients like avocado or bell peppers for extra flavor and texture.
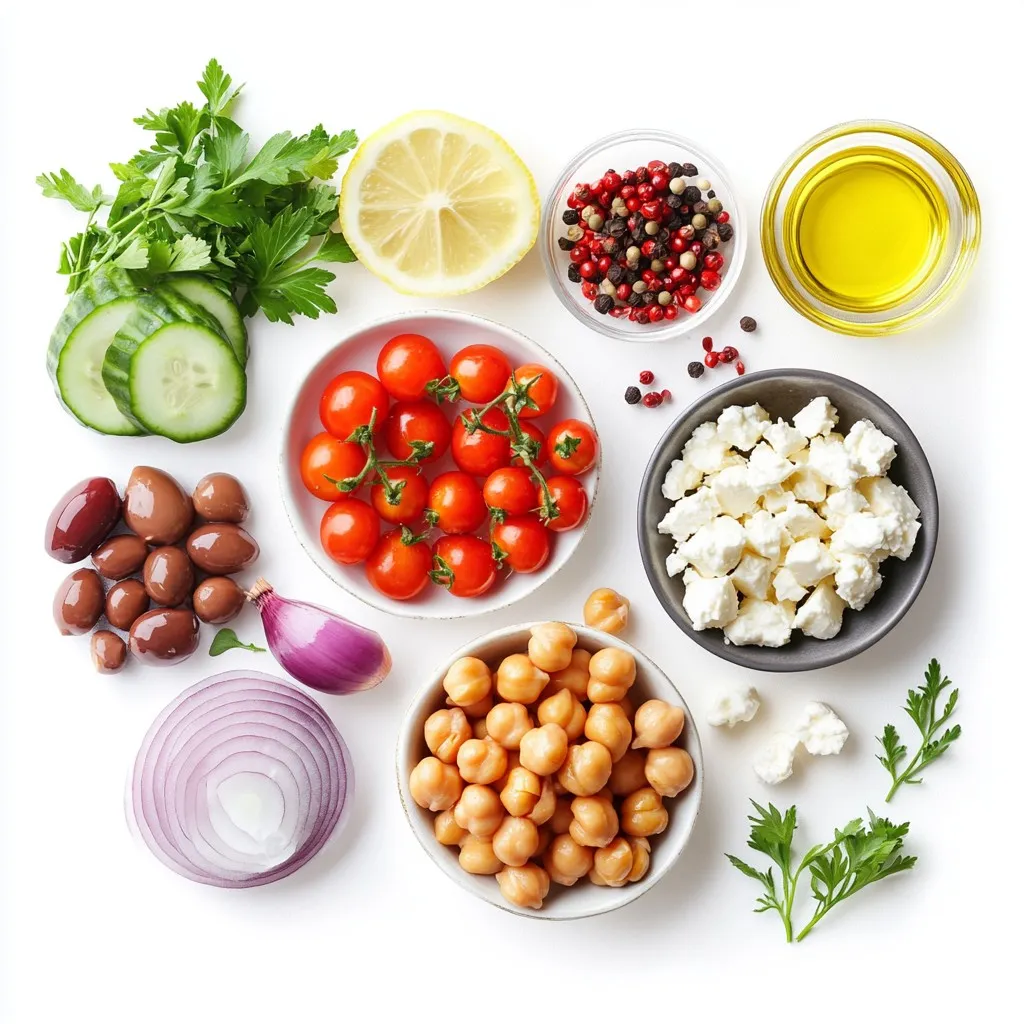
Ingredients
Main Ingredients
– 1 can (15 oz) chickpeas, thoroughly drained and rinsed to remove any excess sodium
– 1 cup cherry tomatoes, halved for a burst of sweetness
– 1 medium cucumber, diced into bite-sized pieces for crunch
Chickpeas are the star of this salad. They add protein and fiber. Cherry tomatoes bring a sweet touch. You can’t go wrong with their juicy flavor. The cucumber provides a crisp texture and refreshing taste.
Additional Ingredients
– 1/2 medium red onion, finely chopped for a mild yet tangy flavor
– 1/2 cup Kalamata olives, pitted and halved to add a rich brininess
– 1/4 cup feta cheese, crumbled to provide a creamy texture
– 1/4 cup fresh parsley, finely chopped for color and freshness
Red onion adds a nice bite. If you want less sharpness, soak it in water. Kalamata olives give a salty depth that pairs well with the salad. Feta cheese brings creaminess and tang. Fresh parsley adds bright color and a hint of earthiness.
Dressing Components
– 3 tablespoons extra virgin olive oil for a rich base
– 2 tablespoons freshly squeezed lemon juice for brightness
– 1 teaspoon dried oregano for an aromatic touch
– Salt and black pepper to taste for seasoning
The dressing is simple but full of flavor. Extra virgin olive oil is key for richness. Lemon juice adds tang and lightness. Dried oregano brings a burst of herbal aroma. Adjust salt and pepper to make it perfect for your taste.
Step-by-Step Instructions
Preparation of Fresh Ingredients
– Rinse and Drain Chickpeas
Start by opening the can of chickpeas. Pour them into a strainer and rinse well under cold water. This removes extra sodium and improves flavor. Let them drain for a few minutes.
– Chop and Dice Vegetables
Next, take your cherry tomatoes. Cut them in half to create bite-sized pieces. For the cucumber, slice it into small cubes. Finally, finely chop the red onion. Each of these fresh ingredients adds great taste and color.
Mixing the Salad
– Combine Ingredients in Bowl
In a large mixing bowl, add the well-drained chickpeas, halved cherry tomatoes, diced cucumber, and chopped red onion. Gently stir these fresh ingredients together. Make sure they mix well but don’t mash anything.
– Fold in Feta and Olives
Now, add the halved Kalamata olives and crumbled feta cheese to the bowl. Carefully fold them into the salad. Take your time to keep the chickpeas and feta intact.
Making the Dressing
– Whisk Dressing Ingredients Together
In a small bowl, whisk together the extra virgin olive oil, lemon juice, dried oregano, salt, and black pepper. Mix until it is well combined and smooth. This dressing will add a bright flavor to your salad.
– Combine with Salad
Drizzle the dressing over your salad mixture. Use a spatula or large spoon to toss everything together. Aim to coat each ingredient with the dressing for the best taste.
Final Touches
– Adjust Seasoning
Taste the salad and adjust the seasoning as needed. You might want to add a little more salt, black pepper, or lemon juice for extra flavor.
– Let Salad Rest
Allow the salad to rest for about 10 minutes before serving. This time helps the flavors blend together nicely. Enjoy the tasty blend of freshness!
Tips & Tricks
Enhancing Flavor
Importance of Fresh Ingredients
Using fresh ingredients makes a big difference. Fresh chickpeas, ripe tomatoes, and crisp cucumbers all add layers of taste. They help create a vibrant, lively salad. Always choose the best produce you can find.
Adjusting Seasonings
Seasoning is key for flavor. Start with salt and black pepper, then taste the salad. You might want to add more lemon juice or oregano. This way, you can find your perfect balance. Trust your taste buds; they will guide you.
Presentation Tips
Serving Suggestions
When serving, choose a large bowl that catches the eye. This salad looks great in a colorful dish. Pair it with warm pita bread for a complete experience. Guests will love the fresh look and delicious taste.
Garnishing for Appeal
Garnish with crumbled feta and fresh parsley. This adds a nice pop of color. It also makes the salad inviting. A sprinkle of extra oregano on top can add more flavor and charm.
Make Ahead Tips
Preparing in Advance
You can prepare this salad before your meal. Just follow the recipe and let it chill. The flavors will develop more as it sits. This is a great time-saver for busy days.
Storing Leftovers
Store any leftovers in an airtight container. It stays fresh in the fridge for up to three days. If it gets too watery, just drain a little liquid before serving again. Enjoy your salad even after the meal!
Pro Tips
- Fresh Ingredients: Always use the freshest vegetables and herbs you can find for the best flavor and texture in your salad.
- Chill Time: Refrigerate your salad for at least 30 minutes before serving to enhance the flavors and allow the ingredients to meld together.
- Feta Substitution: If you’re not a fan of feta cheese, try using goat cheese or a dairy-free alternative for a different flavor profile.
- Extra Crunch: For added crunch, consider incorporating some diced bell peppers or toasted pine nuts into your salad.
Variations
Adding Protein
Adding protein boosts the salad’s nutrition and makes it heartier. Here are two tasty options:
– Grilled Chicken: Cooking chicken breasts on the grill adds a smoky flavor. Slice the chicken and toss it in with the salad. This adds a nice texture and taste.
– Tuna or Salmon: Canned tuna or salmon works well too. Just drain the fish and flake it into the salad. This option also adds a nice protein punch and pairs well with the Mediterranean flavors.
Vegetable Substitutions
You can mix up the veggies for different tastes and textures. Consider these swaps:
– Bell Peppers: Diced bell peppers add crunch and sweetness. They also bring a vibrant color that makes your salad pop.
– Spinach or Arugula: These leafy greens offer a fresh twist. Spinach is mild, while arugula adds a peppery bite. Both are great for adding volume and nutrients.
Dressing Alternatives
The dressing can change the whole vibe of your salad. Here are two great options:
– Balsamic Vinaigrette: This dressing is sweet and tangy. It pairs well with the salty feta and olives. Just mix balsamic vinegar with olive oil for a quick change.
– Tahini Dressing: For a creamy texture, try tahini. Mix tahini with lemon juice and a bit of water. This nutty flavor adds depth and richness to your salad, making it even more enjoyable.
Storage Info
Refrigeration Guidelines
To keep your Mediterranean Chickpea Salad fresh, store it in an airtight container. This helps prevent any unwanted odors from mixing in. Make sure to use a container that seals well. This salad tastes best when fresh, but it can stay good in the fridge for up to three days. After that, the veggies may lose their crunch, and flavors can fade.
Freezing Advice
Can you freeze Mediterranean Chickpea Salad? The answer is yes, but with a few notes. The salad can freeze well, but some ingredients may change texture. For the best results, skip adding fresh veggies like tomatoes and cucumbers before freezing. Instead, add them after thawing.
To thaw, place the salad in the fridge overnight. This allows it to defrost gently. Avoid using a microwave, as it can make the salad mushy. After thawing, mix in your fresh ingredients, and enjoy a quick and tasty meal!
FAQs
What are the health benefits of chickpeas?
Chickpeas are small, but they pack a big punch.
– Nutritional Value Overview: One can (15 oz) of chickpeas has about 240 calories. They contain 12 grams of protein, 10 grams of fiber, and important vitamins like B6 and folate.
– How Chickpeas Promote Health: Chickpeas help with digestion due to their high fiber. They can lower cholesterol levels and may help keep your heart healthy. Their protein helps build muscles, making them great for any diet.
Can I make this salad vegan?
Yes, you can easily make this salad vegan without losing flavor.
– Substitutes for Feta Cheese: Try using vegan feta or tofu. Both add a creamy texture. Nutritional yeast can also give a cheesy taste.
– Dressing Alternatives: Use a dressing made from olive oil, lemon juice, and herbs. You can also add tahini for a nutty flavor.
How long does the salad last in the fridge?
The salad is great for meal prep.
– Safe Storage Duration: You can keep it in the fridge for up to 4 days. Store it in an airtight container for best results.
– Signs of Spoilage: Check for any off smells or slimy textures. If the veggies look wilted or mushy, it’s time to toss it.
This blog post covered how to create a fresh Mediterranean chickpea salad. You learned about key ingredients like chickpeas, cherry tomatoes, and cucumber. I shared simple steps to mix, dress, and adjust flavors for the best taste. Tips on presentation and storage will help your salad stay fresh longer. Don’t forget the fun variations you can try with different proteins or dressings. Enjoy making this healthy dish and share it with other


