Looking to impress your family at dinner? This Lemon Herb Grilled Chicken recipe is your answer! Juicy chicken breasts soaked in a bright lemon and herb marinade will make your taste buds dance. I’ll guide you through the steps, tips, and even variations to elevate your meal. Ready to grill a flavorful dish everyone will love? Let’s get started!
Why I Love This Recipe
- Bright and Zesty Flavor: The combination of fresh lemon juice and zest adds a vibrant citrusy kick that perfectly complements the succulent chicken.
- Herbaceous Aroma: The blend of oregano, basil, and thyme creates an enticing aroma that fills your kitchen and makes your mouth water.
- Easy and Quick Preparation: With a simple marinade and straightforward grilling instructions, this recipe is perfect for weeknight dinners or weekend gatherings.
- Healthful and Delicious: Grilled chicken is a lean source of protein, making this dish both nutritious and satisfying, ideal for a healthy lifestyle.
Ingredients
List of Ingredients
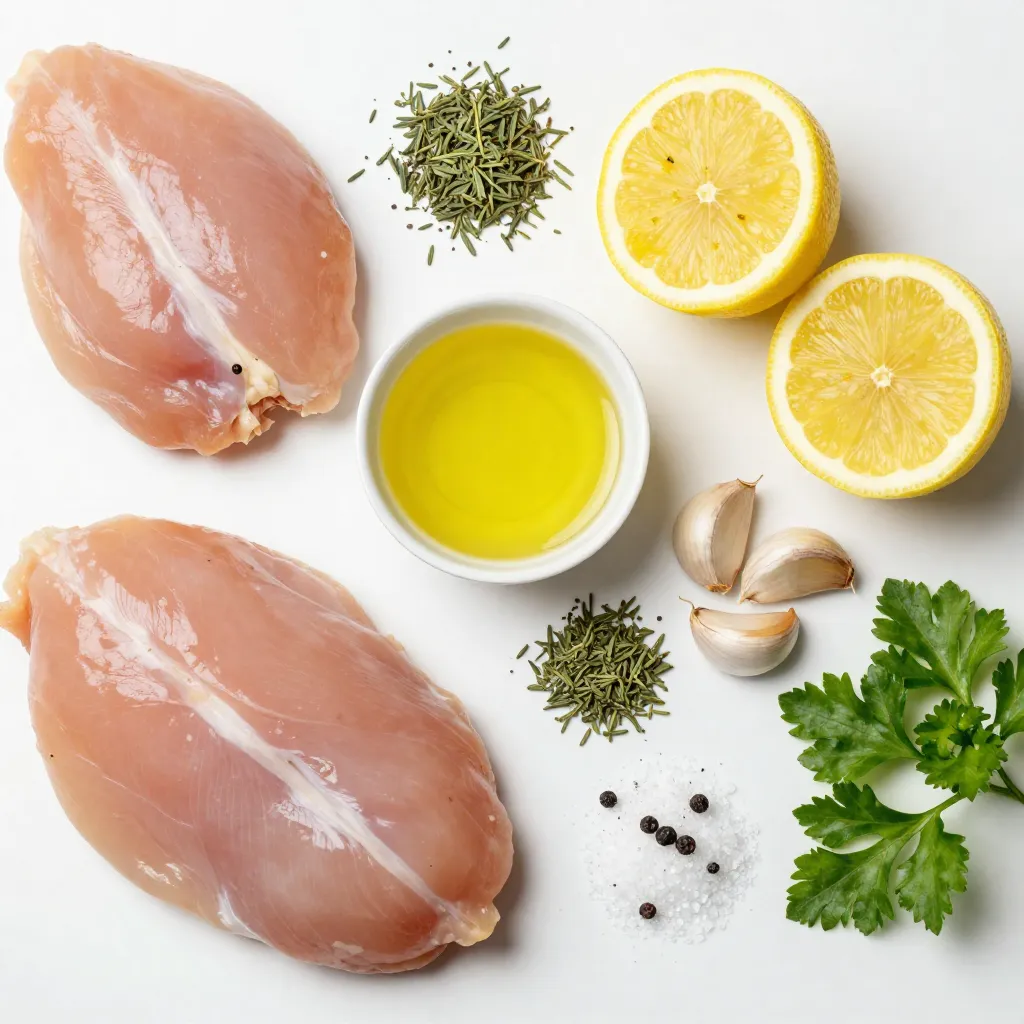
– 4 boneless, skinless chicken breasts
– 1/4 cup extra virgin olive oil
– Zest and juice of 2 large, juicy lemons
– 4 cloves garlic, finely minced
– 1 teaspoon dried oregano
– 1 teaspoon dried basil
– 1 teaspoon dried thyme
– Salt and freshly ground black pepper, to taste
– Fresh parsley, chopped, for garnish
Gathering fresh ingredients is key. You want the best flavors in your dish. Start with boneless, skinless chicken breasts. Four pieces are perfect for this recipe. Use extra virgin olive oil for a rich base. Zest and juice from two large lemons add bright flavor.
Garlic brings depth. I like using four cloves. Dried oregano, basil, and thyme add a nice herb mix. One teaspoon each works well. Don’t forget salt and freshly ground black pepper to taste. Finally, fresh parsley will make your dish pop with color.
These ingredients come together to create a juicy and flavorful grilled chicken. The lemon and herbs will make your taste buds dance!
Step-by-Step Instructions
Preparing the Marinade
1. In a medium bowl, whisk together:
– 1/4 cup extra virgin olive oil
– Zest and juice of 2 large lemons
– 4 minced garlic cloves
– 1 teaspoon dried oregano
– 1 teaspoon dried basil
– 1 teaspoon dried thyme
– Salt and freshly ground black pepper to taste
This mix gives the chicken a bright, fresh flavor.
2. Ensure the chicken breasts are fully coated. Place them in a large resealable bag or a shallow dish. Pour the marinade over the chicken. Seal the bag and shake gently, or stir the chicken in the dish. This step is key for flavor absorption.
Marinating the Chicken
1. I recommend marinating the chicken for at least 1 hour. For the best taste, let it sit for up to 4 hours.
2. Store the chicken in the refrigerator while it marinates. This keeps it fresh and safe.
Grilling the Chicken
1. Preheat your grill to medium-high heat. Aim for a temperature of about 375°F to 400°F (190°C to 200°C). Clean the grill grates and lightly oil them. This helps prevent sticking.
2. Once the chicken is ready, remove it from the marinade. Let any excess drip off. Discard the remaining marinade.
3. Place the chicken on the hot grill. Cook for about 6-7 minutes on one side. Flip it over and grill for another 6-7 minutes.
4. Check the internal temperature. It should reach 165°F (75°C). The juices should run clear, showing the chicken is done.
5. After grilling, let the chicken rest for about 5 minutes. This step helps the juices stay inside the meat.
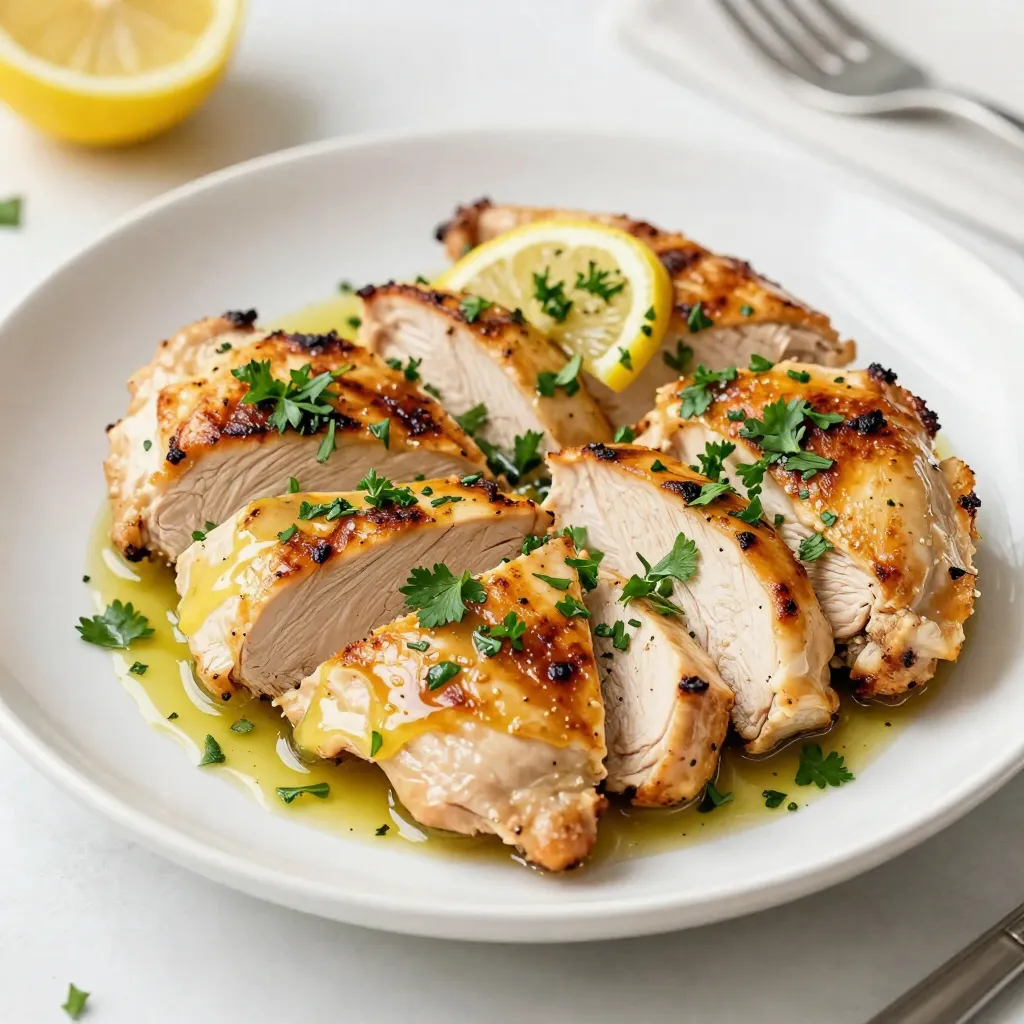
6. Slice the chicken into nice strips and arrange it on a platter. For a colorful touch, sprinkle with fresh parsley before serving. Enjoy!
Tips & Tricks
Perfecting the Chicken Texture
Resting the chicken after grilling is key. This step helps the juices stay inside. If you skip this, the chicken can dry out fast. After grilling, let the chicken rest for about 5 minutes. This makes each bite juicy and tender.
To avoid dry chicken, follow a few simple tips. First, marinate the chicken well. The marinade adds moisture. Next, do not overcook the chicken. Use a meat thermometer to check the temperature. When it reaches 165°F (75°C), it is ready. Lastly, choose chicken breasts that are even in size. This ensures they cook evenly.
Flavor Enhancements
Want to boost the flavor? Consider adding more herbs and spices. Fresh herbs like rosemary or thyme work great. You can also try smoked paprika for a hint of warmth.
Adjusting the lemon intensity can make a big difference. If you love lemon, add more zest or juice. If you prefer a milder taste, reduce the lemon juice. You can even mix in a bit of honey for a sweet twist. Experiment to find your perfect balance!
Pro Tips
- Marinate for Maximum Flavor: Allowing the chicken to marinate for longer than 1 hour, up to 4 hours, enhances the flavor infusion, making the chicken more delicious.
- Check the Grill Temperature: To achieve perfectly grilled chicken, ensure your grill is preheated to the correct temperature, around 375°F to 400°F, for optimal cooking.
- Resting is Key: After grilling, let the chicken rest for about 5 minutes. This helps the juices redistribute, resulting in a more tender and juicy bite.
- Presentation Matters: Slice the chicken into strips and garnish with fresh parsley and lemon wedges for an appealing presentation that enhances the dining experience.
Variations
Lemon Herb Grilled Chicken with Veggies
Adding grilled vegetables to your lemon herb chicken makes it even better. The smoky taste of grilled veggies pairs well with the zesty chicken. You can use a mix of colorful vegetables to make your plate pop.
Suggested Vegetable Pairings:
– Bell peppers
– Zucchini
– Asparagus
– Red onion
– Cherry tomatoes
Slice the vegetables into even pieces. Toss them in olive oil, salt, and pepper. Grill them alongside your chicken for about 5-7 minutes. This way, you get a full meal that is vibrant and tasty.
Alternative Cooking Methods
If you don’t have a grill, you can still enjoy this dish. Baking and using a grill pan work great too.
Oven-baking Option:
1. Preheat your oven to 400°F (200°C).
2. Place the marinated chicken on a baking sheet.
3. Bake for 20-25 minutes. Check if it reaches 165°F (75°C).
Using a Grill Pan:
1. Heat the grill pan on medium-high heat.
2. Add a bit of oil to prevent sticking.
3. Cook the chicken for about 6-7 minutes per side.
These methods give you juicy, flavorful chicken without a grill. Enjoy experimenting!
Storage Info
Storing Leftovers
To keep your Lemon Herb Grilled Chicken fresh, store leftovers safely.
– Refrigerator Storage Guidelines
Place the chicken in an airtight container. This keeps it moist and tasty. You can store it for up to 3 days in the fridge. Always let the chicken cool down before sealing the container.
– Freezing the Grilled Chicken
If you want to keep it longer, freeze the chicken. Wrap each piece tightly in plastic wrap, then place it in a freezer bag. This helps avoid freezer burn. You can freeze it for up to 3 months. When you are ready to eat it, thaw it in the fridge overnight.
Reheating Tips
Reheating your chicken can be simple and delicious.
– Best Practices for Maintaining Flavor and Texture
To reheat, use an oven for the best results. Preheat the oven to 350°F (175°C). Place the chicken on a baking sheet. Cover it with foil to keep it moist. Heat for about 15-20 minutes until it’s warm. You can also use a microwave for quick reheating. Place the chicken on a microwave-safe plate and cover it with a damp paper towel. Heat in 30-second intervals, checking often. Enjoy your flavorful chicken just as much as the first time!
FAQs
How long do you need to marinate chicken for optimal flavor?
You should marinate the chicken for at least 1 hour. For the best taste, let it soak for up to 4 hours. This allows the chicken to absorb the flavors from the marinade. The longer you marinate, the more intense the taste will be.
What can I serve with Lemon Herb Grilled Chicken?
You can serve this chicken with many sides. Here are some great options:
– Grilled vegetables like zucchini and bell peppers
– A fresh salad with mixed greens
– Rice or quinoa for a filling side
– Garlic bread to complement the meal
These sides balance the flavors and make a complete meal.
Can I use other cuts of chicken for this recipe?
Yes, you can use other chicken cuts. Thighs and drumsticks work well, too. Just remember that cooking times may change. Thighs may take a little longer than breasts. Always check that the internal temperature hits 165°F for safety.
What temperature should the grill be set to?
Set your grill to medium-high heat. Aim for about 375°F to 400°F. This heat cooks the chicken evenly and gives it a nice char. A clean and oiled grill helps prevent sticking. Always monitor the temperature during cooking.
This blog post showed you how to make a tasty Lemon Herb Grilled Chicken. You learned about the simple ingredients and how to prepare the marinade. We went step-by-step on marinating and grilling the chicken. I shared tips to keep it juicy and ways to add extra flavor. You also discovered fun variations and wise storage methods.
With these steps, you can make a delicious meal every time. Enjoy cookin


