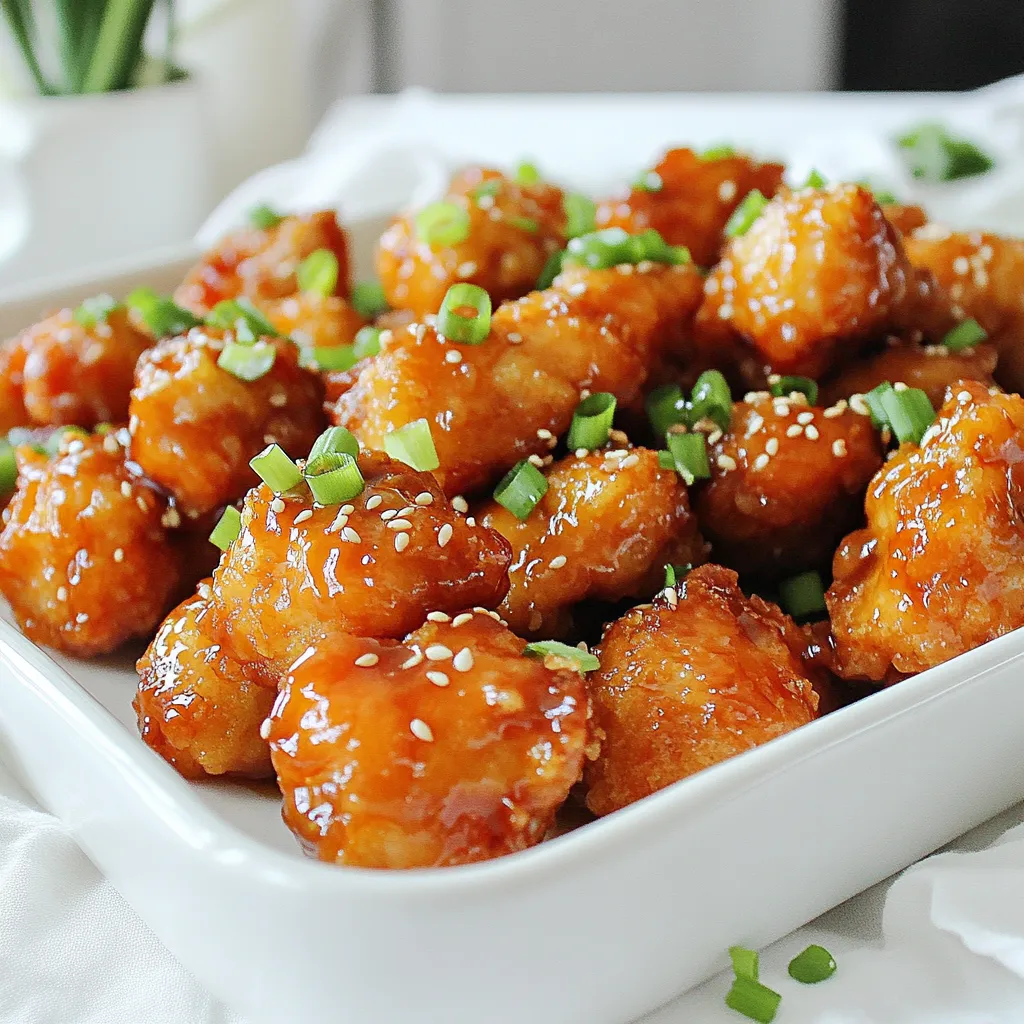
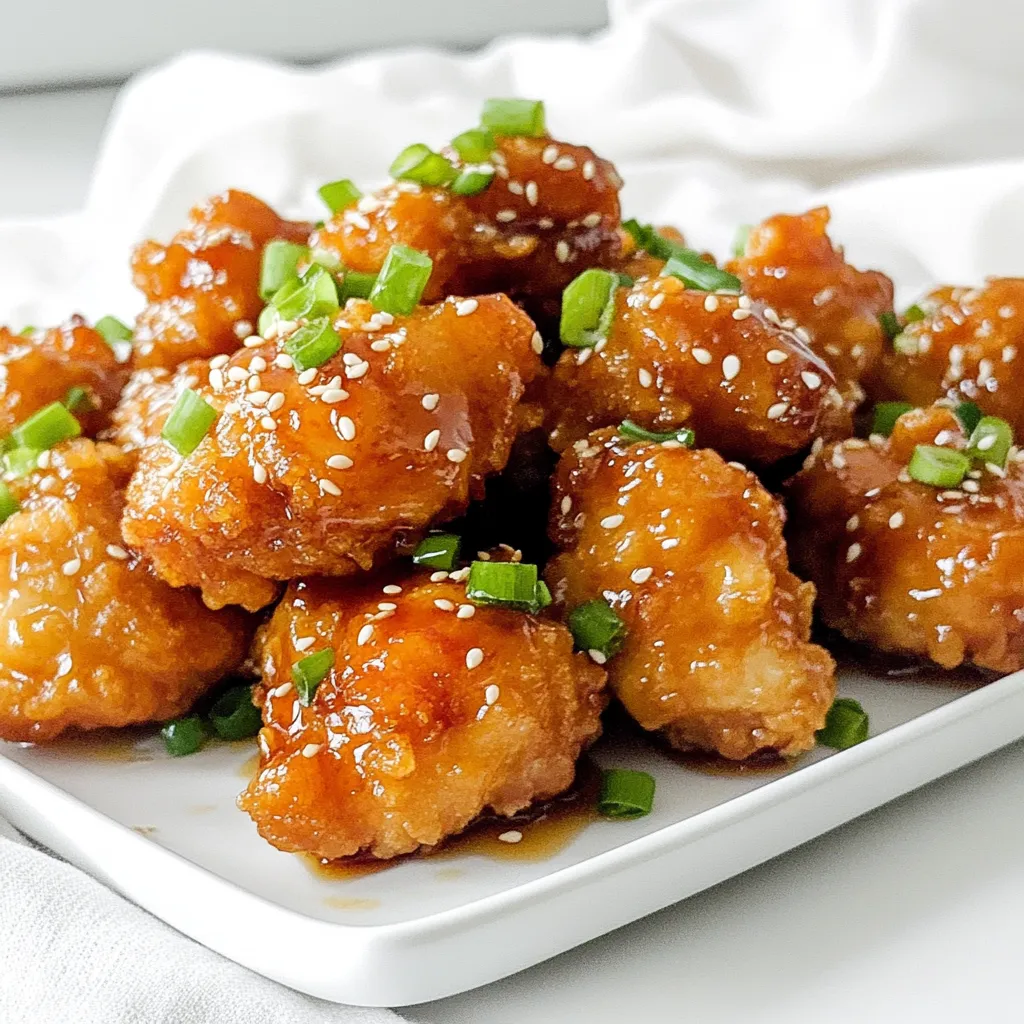
Get ready to enjoy a tasty treat with my Honey Garlic Chicken Bites in the air fryer! This dish combines sweet honey, savory garlic, and tender chicken for a quick and delightful meal. Perfect for any night, these bites are easy to prepare and bursting with flavor. In this guide, I’ll walk you through each step, share essential tips, and help you create mouthwatering chicken that everyone will love. Let’s get cooking!
Ingredients
To make Honey Garlic Chicken Bites in the air fryer, you need simple ingredients. Here is what you will need:
List of Ingredients
– 1 pound boneless, skinless chicken breasts, cut into bite-sized pieces
– 1/4 cup honey
– 3 tablespoons low-sodium soy sauce
– 3 cloves garlic, finely minced
– 1 tablespoon fresh ginger, grated
– 1 teaspoon sesame oil
– 1/2 teaspoon red pepper flakes (optional for a kick)
– Salt and freshly ground black pepper to taste
– 1 tablespoon cornstarch (for coating)
– Chopped green onions and sesame seeds for garnish
These ingredients come together to create a dish bursting with flavor. The chicken provides protein, while the honey and soy sauce give it a sweet and salty taste. Garlic and ginger add depth and warmth.
Using cornstarch helps get that crispy texture you want. The optional red pepper flakes can add some heat if you like spicy food. Don’t forget to garnish with green onions and sesame seeds. They add a nice crunch and look great on the plate.
Gather all these items before you start cooking. It makes the process smoother and more fun. Enjoy cooking!
Step-by-Step Instructions
Preparing the Marinade
First, mix your marinade. In a medium bowl, combine:
– 1/4 cup honey
– 3 tablespoons low-sodium soy sauce
– 3 cloves garlic, finely minced
– 1 tablespoon fresh ginger, grated
– 1 teaspoon sesame oil
– 1/2 teaspoon red pepper flakes (optional)
– A pinch of salt and black pepper
Whisk until smooth. This mixture is key. The longer you marinate, the more flavor your chicken will have. I suggest at least 30 minutes, but 2 hours is best.
Cooking the Chicken
Now, let’s cook! Preheat your air fryer to 400°F (200°C) for about 5 minutes. This helps the chicken cook evenly.
Once preheated, drain excess marinade from the chicken. Coat the chicken pieces in 1 tablespoon of cornstarch. This will give your bites a nice crisp.
Place the chicken in a single layer in the air fryer basket. Do not overcrowd; cook in batches if needed. Air fry for 10-12 minutes. Shake the basket halfway through for even cooking. The chicken should be golden brown and reach 165°F (75°C).
Final Touches
After cooking, remove the chicken from the air fryer. If you want more flavor, toss the cooked bites in any thickened marinade leftover.
For a nice finish, garnish with chopped green onions and a sprinkle of sesame seeds. This adds color and texture. Enjoy your honey garlic chicken bites!
Tips & Tricks
Best Practices for Marinating
Duration recommendations:
Marinating chicken bites for at least 30 minutes makes a big difference. For the best flavor, aim for 2 hours. This allows the chicken to soak up all the tasty marinade.
Enhancing flavors:
Try adding fresh herbs or spices to the marinade. Ingredients like cilantro or lime can boost the flavor. Trust me; a little extra zing goes a long way!
Achieving the Perfect Crispiness
Importance of cornstarch:
Cornstarch is your secret weapon. It helps create that golden, crispy texture. Dust your marinated chicken pieces lightly with cornstarch before cooking. You’ll love the crunch it adds!
Avoiding overcrowding the basket:
Give each chicken piece space in the air fryer. Overcrowding leads to uneven cooking. If needed, cook in batches. This way, you’ll get that perfect crispiness every time.
Serving Suggestions
Complementary sides:
These chicken bites pair well with steamed rice or fresh veggies. You can even serve them on top of a salad for a healthier twist.
Pairing sauces:
For extra flavor, serve with soy sauce or sweet chili sauce. These dips enhance the taste and make the meal more fun. You can also try a spicy mayo for a creamy kick!
Variations
Spicy Honey Garlic Chicken Bites
Want a kick in your chicken bites? Add more red pepper flakes. Start with 1 teaspoon and adjust to taste. This change brings heat and flavor. You can also try other spices. Think of cayenne pepper or smoked paprika. These spices add depth and a different twist.
Healthier Alternatives
Looking for healthier options? Try using air-fried veggies as a side. Broccoli or bell peppers work well. They cook fast and add crunch. You can also swap out some ingredients for low-calorie substitutes. Use a low-calorie honey or sugar substitute. This keeps the taste but cuts calories.
Adding Extra Flavor
Want to explore more flavors? Experiment with different marinades. Try adding orange juice or lime juice for a zesty twist. You can also use alternative proteins. Instead of chicken, try shrimp or tofu. Both cook well in the air fryer and soak up flavors nicely.
Storage Info
Storing Leftovers
To keep your honey garlic chicken bites fresh, use airtight containers. Glass containers work well, but plastic ones are fine too. Store the chicken in the fridge for up to three days. It’s best to refrigerate within two hours of cooking to ensure safety.
Reheating Tips
When reheating, I suggest using the air fryer again. This keeps the chicken crispy and tasty. Set the air fryer to 350°F (175°C) and cook for about 5-7 minutes. Avoid the microwave, as it can make the chicken soggy. If you must use it, heat in short bursts and check often.
Freezing Instructions
If you want to freeze the chicken bites, allow them to cool first. Place them in a single layer on a baking sheet to freeze for about an hour. Then, transfer them to a freezer bag. They can last up to three months in the freezer. For thawing, put them in the fridge overnight. When ready to eat, use the air fryer to reheat. This will help restore their crispiness.
FAQs
Can I use frozen chicken for this recipe?
Yes, you can use frozen chicken. However, you must thaw it first. Place the frozen chicken in the fridge overnight. If you’re short on time, you can use the microwave to defrost it. After thawing, cut the chicken into bite-sized pieces. You may also need to adjust the cooking time. Frozen chicken takes longer to cook.
How do I know when the chicken is fully cooked?
Check the internal temperature with a meat thermometer. The chicken should reach 165°F (75°C). This ensures it is safe to eat. You can also cut a piece in half. The meat should be white and juices should run clear. If the meat is pink, continue cooking.
Can I make this recipe without an air fryer?
Yes, you can use a regular oven or a skillet. For the oven, preheat it to 400°F (200°C). Spread the coated chicken on a baking sheet. Bake for about 15-20 minutes, flipping halfway through. If using a skillet, heat oil over medium-high. Cook the chicken for 6-8 minutes, turning until golden brown.
This blog post guided you through making delicious air-fried chicken bites. We covered essential ingredients, preparation steps, and cooking methods. Remember to marinate for the best flavor and use cornstarch for a crisp finish. Explore variations like spicy honey garlic for extra zest. Don’t forget to store leftovers properly and reheating tips to keep them crispy. Whether you’re a beginner or an expert, these tips will help you create a yummy dish. Enjoy your cooking journey and feel free to experiment!


