Are you ready to level up your salads and snacks? In this blog post, I’ll show you how to make delicious, homemade ranch dressing. With just a few simple ingredients, you can create a creamy and flavorful dressing that beats store-bought options any day. I’ll share easy steps, helpful tips, and fun variations. Say goodbye to bland meals and hello to a burst of tasty goodness! Let’s dive into your new favorite recipe!
Ingredients
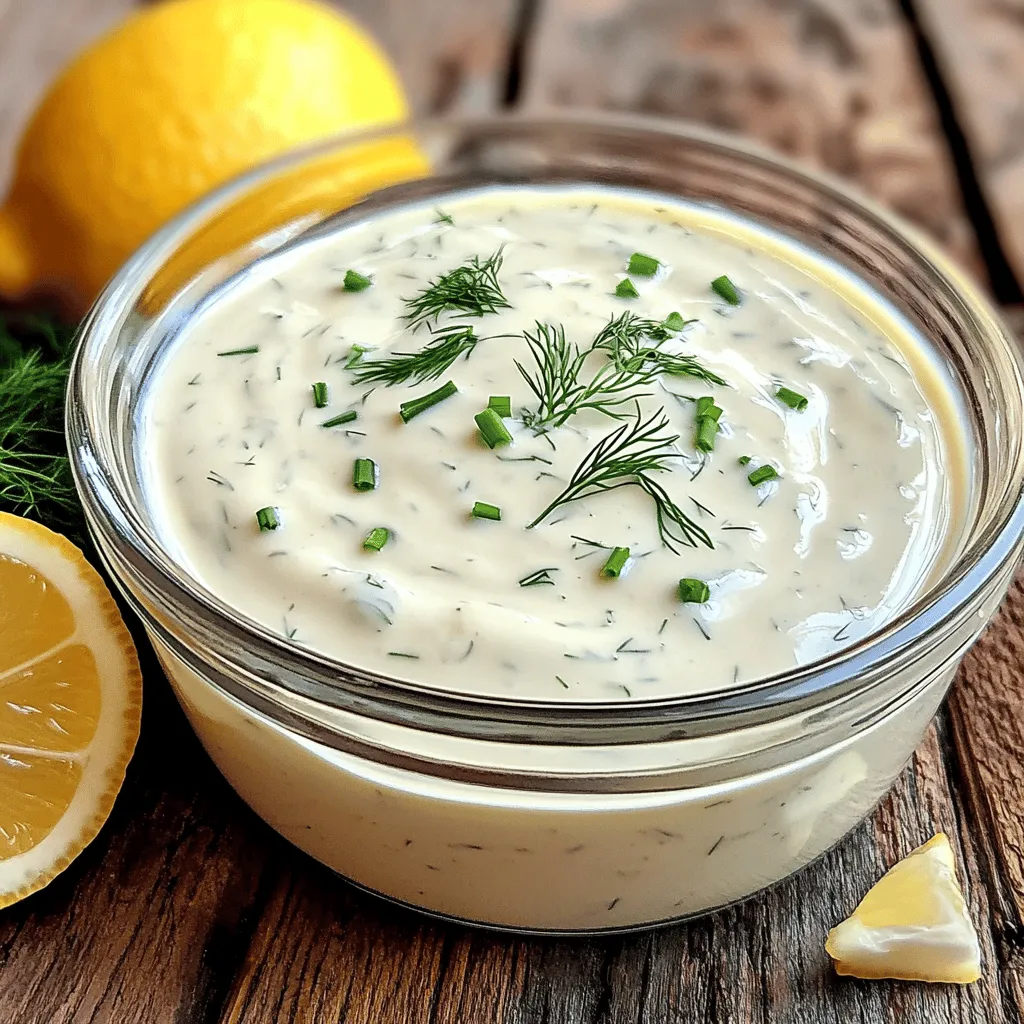
Key Ingredients for Homemade Ranch Dressing
To make a tasty ranch dressing, you need some key ingredients. Here’s what you will need:
– 1 cup sour cream
– 1/2 cup mayonnaise
– 1/2 cup buttermilk (adjust for desired thickness)
– 1 teaspoon garlic powder
– 1 teaspoon onion powder
– 1 teaspoon dried dill
– 1 teaspoon dried chives
– 1/2 teaspoon salt
– 1/4 teaspoon freshly ground black pepper
– 1 tablespoon fresh lemon juice
These ingredients work together to create a rich and creamy base. Sour cream and mayonnaise give it a smooth texture. Buttermilk adds a slight tanginess. The spices bring flavor and aroma to the mix.
Optional Ingredients for Customization
You can also add some optional ingredients to make the dressing your own. Here are a few ideas:
– 1 teaspoon hot sauce (for a spicy touch)
– Fresh herbs like parsley or cilantro
– A pinch of smoked paprika for a smoky flavor
Feel free to experiment with these options. Each addition can change the flavor profile. This way, you can find the perfect taste that you enjoy.
Dietary Considerations for Ingredients
When making ranch dressing, consider any dietary needs. Here are some points to think about:
– Gluten-Free: All the main ingredients are gluten-free.
– Dairy-Free: Use a dairy-free sour cream and mayonnaise for a vegan option.
– Low-Calorie: Substitute Greek yogurt for sour cream to cut calories.
By keeping these options in mind, you can tailor the recipe to fit your diet. Enjoy making this homemade ranch dressing that suits your needs!
Step-by-Step Instructions
Detailed Instructions to Make Creamy Dreamy Ranch Dressing
To make this ranch dressing, start with a medium bowl. Add 1 cup of sour cream and 1/2 cup of mayonnaise. Mix these until smooth with a whisk or spatula. It should be creamy with no lumps. Next, pour in 1/2 cup of buttermilk while whisking. This adds the right amount of liquid. If you want it thinner, add more buttermilk by the tablespoon until you like the thickness. Now, add 1 teaspoon each of garlic powder, onion powder, dried dill, and dried chives. Sprinkle in 1/2 teaspoon of salt and 1/4 teaspoon of black pepper. Stir well to mix all the spices evenly. Then, squeeze in 1 tablespoon of fresh lemon juice. This will make the dressing bright and fresh. Taste it, and adjust the salt or pepper if needed. If you like it spicy, add 1 teaspoon of hot sauce. Mix it in well. Finally, transfer the dressing to an airtight container or cover the bowl with plastic wrap. Chill it in the fridge for at least 30 minutes. This waiting time helps the flavors blend and taste better.
Tips for Achieving the Perfect Consistency
To get the best ranch dressing consistency, start with proper measurements. If the dressing is too thick, slowly add more buttermilk. Be careful not to add too much at once. Whisk continuously while adding to keep it smooth. If it’s too thin, balance it with more sour cream or mayonnaise. Using fresh ingredients also helps. Fresh sour cream and mayonnaise make a richer dressing.
Enhancing Flavor with Additional Seasonings
You can boost the flavor of your ranch dressing with more seasonings. Try adding a pinch of smoked paprika for a smoky taste. Fresh herbs like parsley or basil can add a garden-fresh touch. If you love garlic, add more garlic powder. For a zesty kick, consider a splash of vinegar. Customize the dressing to fit your taste. These extra touches can make your ranch dressing unique and exciting.
Tips & Tricks
Common Mistakes to Avoid
When making ranch dressing, avoid the urge to skip the buttermilk. It adds the key tangy flavor. Also, don’t overmix the herbs. Gently fold them in to keep the dressing fresh. Lastly, check the seasoning. Taste your dressing before serving to ensure it’s just right.
Tips for Making the Dressing Ahead of Time
You can make homemade ranch dressing a day in advance. This allows the flavors to blend better. Store it in an airtight container in the fridge. Just be sure to give it a good stir before serving. If it thickens too much, add a splash of buttermilk to loosen it.
Best Practices for Serving Homemade Ranch Dressing
Serve homemade ranch dressing cold for the best taste. It pairs well with fresh veggies or crispy chips. For a fun twist, try drizzling it over grilled meats or salads. Always offer a spoon or small cup for dipping. This makes it easy for guests to enjoy.
Variations
Healthier Alternatives for Ranch Dressing
If you want a lighter ranch dressing, swap sour cream for Greek yogurt. Greek yogurt gives a nice tang and cuts calories. You can also use low-fat mayonnaise instead of regular. This keeps the creaminess while lowering fat. For a dairy-free option, try coconut yogurt or silken tofu. Both add creaminess without dairy.
Flavor Variations to Try
To change up the flavor, consider adding fresh herbs. Chopped parsley, cilantro, or basil can give a fresh twist. You can also mix in a teaspoon of smoked paprika for a smoky taste. If you like heat, add more hot sauce or even diced jalapeños. These small tweaks can make your ranch dressing unique each time.
Customizing for Dietary Restrictions
For those on a vegan diet, replace the sour cream and mayonnaise with vegan mayo and cashew cream. Cashew cream is easy to make by blending soaked cashews with water until smooth. You can also use almond milk instead of buttermilk. For a low-fat version, reduce the amount of mayo and increase buttermilk. This keeps your ranch light and tasty.
These variations let you personalize your ranch dressing to fit any meal or dietary need. Enjoy experimenting!
Storage Info
Best Ways to Store Homemade Ranch Dressing
You want to keep your ranch dressing fresh and tasty. Use an airtight container to store it. Glass jars work well because they seal tightly. You can also use a plastic container with a good lid. Make sure to label it with the date you made it. This way, you will know when to use it.
How Long Does Homemade Ranch Dressing Last?
Homemade ranch dressing lasts about one week in the fridge. If you keep it in an airtight container, it can stay fresh longer. Always check the date you wrote on the label. If you don’t use it within a week, it’s best to toss it out.
Signs That the Dressing Has Spoiled
Look for signs that the dressing is no longer good. If it smells sour or off, it’s time to throw it away. If you see any mold or unusual changes in color, do not eat it. Tasting a small amount can also help; if it tastes funny, don’t use it. Always trust your senses when it comes to food safety.
FAQs
Can I use Greek yogurt instead of sour cream?
Yes, you can use Greek yogurt. It adds a nice tang and creaminess. Greek yogurt is thicker than sour cream, so your dressing will be richer. Just make sure to adjust the buttermilk to reach your desired thickness. This swap makes the dressing a bit healthier too!
How can I make ranch dressing spicier?
To spice up your ranch, simply add hot sauce! Start with 1 teaspoon and adjust to taste. You can also mix in cayenne pepper or crushed red pepper flakes for more heat. Each option adds a different flavor, so have fun experimenting!
What dishes pair well with homemade ranch dressing?
Homemade ranch dressing tastes great with many dishes. Here are some ideas:
– Fresh salads
– Crispy vegetables like carrots and celery
– Chicken wings or tenders
– Pizza slices
– Chips or crackers
These pairings let you enjoy this flavorful dressing in many yummy ways.
Making homemade ranch dressing is simple and fun. We covered key and optional ingredients, along with dietary needs. I shared step-by-step instructions to blend a creamy, flavorful dressing. I also provided tips to avoid common mistakes and enhance your dressing’s taste. From healthy alternatives to storage advice, there’s a lot to try. Remember, customizing your ranch to fit your taste and health needs makes it even better. Enjoy crafting your perfect ranch dressing and experimenting with new flavors!


