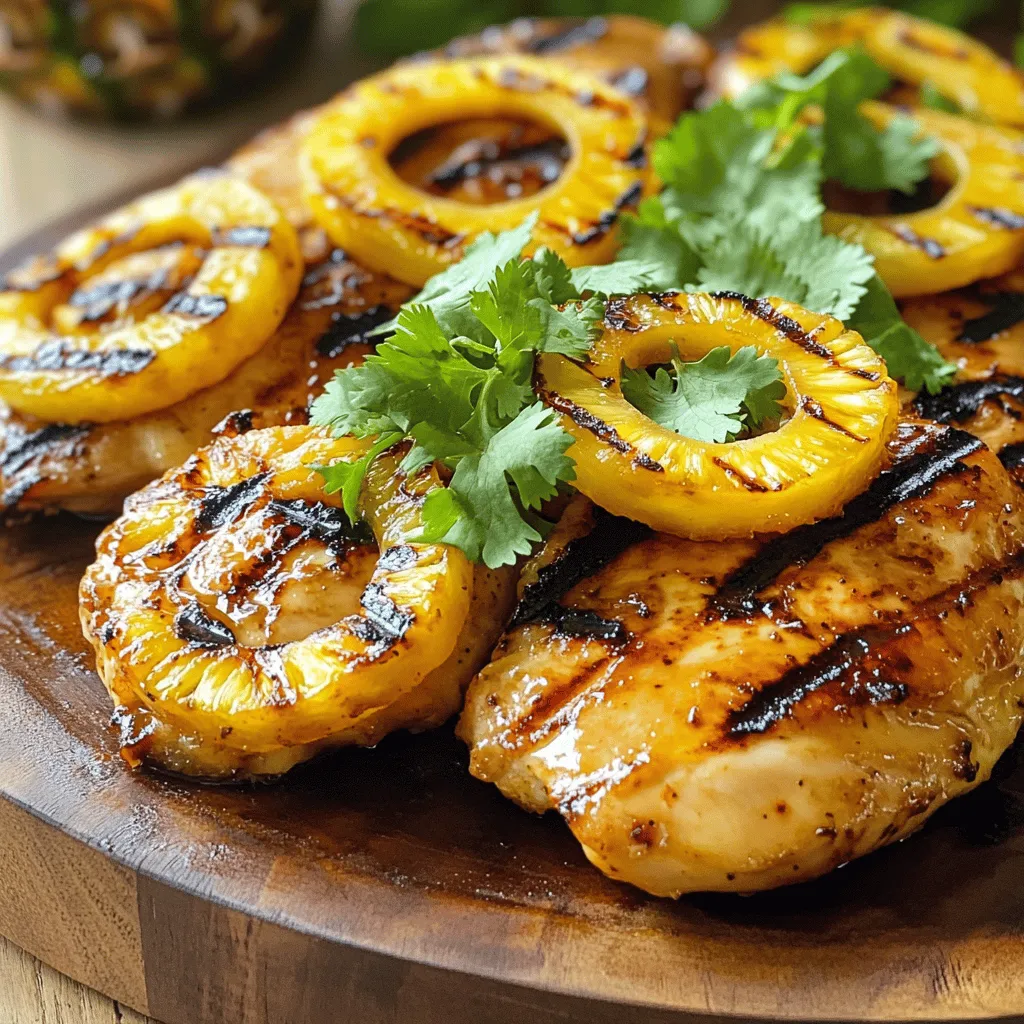
If you’re looking for a dish that bursts with flavor while remaining simple to make, you’ve found it! This Grilled Pineapple Chicken recipe combines juicy chicken with sweet, caramelized pineapple for a taste that will impress anyone. You only need a few basic ingredients and a grill to create a meal that’s both fresh and exciting. Let’s dive into this easy recipe, and you’ll be grilling like a pro in no time!
Ingredients
Main Ingredients
– 2 boneless, skinless chicken breasts
– 1 ripe pineapple, peeled and cut into thick rings
Marinade Ingredients
– 2 tablespoons soy sauce
– 2 tablespoons honey
– 1 tablespoon extra virgin olive oil
– 1 teaspoon garlic powder
– 1 teaspoon ground ginger
– Salt and black pepper, to taste
Garnish Options
– Fresh cilantro leaves (optional)
When you start making grilled pineapple chicken, you need fresh, quality ingredients. The chicken breasts must be boneless and skinless for easy cooking. Choose a ripe pineapple that feels slightly soft. This will give you great sweetness and juiciness.
For the marinade, soy sauce brings salty depth. Honey adds lovely sweetness. The olive oil keeps the chicken moist as it cooks. Garlic powder and ground ginger give it a nice kick. You can adjust salt and pepper to your taste.
For an extra touch, fresh cilantro leaves can add a burst of flavor. You can skip this if you prefer. Make sure to gather everything before you start cooking. This way, you stay organized and focused.Enjoy the bright flavors of grilled pineapple chicken!
Step-by-Step Instructions
Preparing the Marinade
To start, you need to make the marinade. In a bowl, combine these ingredients:
– 2 tablespoons soy sauce
– 2 tablespoons honey
– 1 tablespoon extra virgin olive oil
– 1 teaspoon garlic powder
– 1 teaspoon ground ginger
– Salt and black pepper, to taste
Whisk all the ingredients together until smooth. This marinade packs a punch of flavor. The soy sauce gives it a nice saltiness while the honey adds sweetness.
Marinating the Chicken
Next, take your chicken breasts. Place them in a large resealable bag or a shallow dish. Pour the marinade over the chicken. Ensure each piece is well-coated. Seal the bag or cover the dish. Now, refrigerate for at least 30 minutes. If you have time, let it marinate for up to 4 hours. This helps the flavors soak in.
Grilling Process
When you are ready to cook, preheat your grill to medium-high heat. This step is crucial for a good sear. After marinating, take the chicken out of the bag. Discard any leftover marinade. Place the chicken on the hot grill. Cook each side for about 6-7 minutes. Check that the internal temperature reaches 165°F (75°C) for safety.
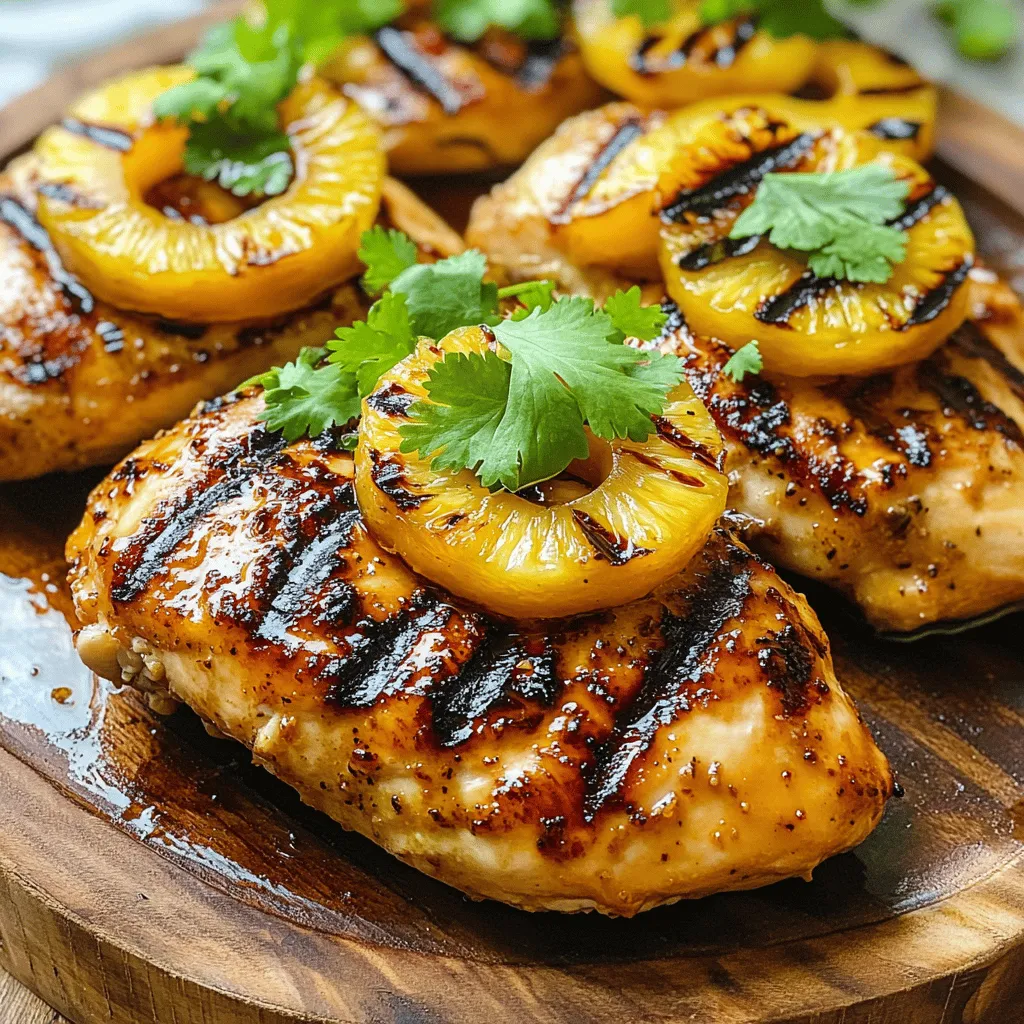
In the last 2 minutes, add your pineapple rings next to the chicken. Grill the pineapple for 2-3 minutes on each side. You want them to caramelize and get nice grill marks. Once everything is cooked, remove the chicken and pineapple from the grill. Let the chicken rest for a few minutes to keep it juicy.
Now you’re ready to enjoy this delicious grilled pineapple chicken.
Tips & Tricks
Perfecting the Marinade
For the best flavor, marinate the chicken for at least 30 minutes. If you have time, let it marinate for up to 4 hours. This allows the flavors to soak into the chicken. You will taste the difference. Make sure you coat the chicken well with the marinade.
Grilling Tips
Before you start grilling, preheat your grill to medium-high heat. This is key for getting nice grill marks and juicy chicken. If the grill is not hot enough, the chicken might cook unevenly. Aim for 375°F to 450°F for perfect grilling results.
Serving Suggestions
When serving grilled pineapple chicken, think about presentation. Place the chicken on a colorful plate. Top it with the caramelized pineapple rings for a vibrant look. You can add fresh cilantro for a pop of green and extra flavor. Serve with a side of rice or a fresh salad for a complete meal. For a rustic touch, try a wooden cutting board. This will make your dish stand out.
Variations
Alternative Ingredients
You can switch up the chicken to keep things fun. Shrimp works great here. Just adjust the cooking time. You could also try mango instead of pineapple. It adds a sweet twist. Slice it thick, like the pineapple. The smoky grill flavor pairs well with both.
Dietary Considerations
If you need low-sodium options, use tamari instead of soy sauce. This swap keeps the taste strong without too much salt. For a gluten-free meal, ensure your soy sauce is labeled gluten-free. You can also use coconut aminos for a sweet touch.
Flavor Profile Adjustments
Want to spice it up? Try adding paprika or chili powder to the marinade. This adds heat and depth. Fresh herbs, like basil or mint, can brighten the dish too. For a tangy twist, add lime juice to the marinade. This gives a fresh flavor that really pops.
Storage Info
Storing Leftovers
To keep grilled pineapple chicken fresh, let it cool first. Place the chicken in an airtight container. You can also add the grilled pineapple. Store it in the refrigerator for up to three days. If you want to keep it longer, freezing is a great option.
Reheating Instructions
When it’s time to eat again, reheat the chicken gently. I find the best way is to use a microwave. Place the chicken on a microwave-safe plate. Cover it with a damp paper towel. Heat in short bursts, about 30 seconds at a time. This method keeps the chicken moist. You could also reheat it in a skillet over low heat. This way, the chicken stays juicy and delicious.
Freezing Tips
To freeze grilled pineapple chicken, wrap it tightly in plastic wrap. Then, place it in a freezer bag. Make sure to remove as much air as possible. This helps prevent freezer burn. For best quality, eat it within three months. To thaw, just move it to the fridge overnight before reheating. This keeps the chicken tasty and safe to eat.
FAQs
What is the best way to ensure chicken is cooked thoroughly?
To check if chicken is safe to eat, use a meat thermometer. Insert it into the thickest part of the chicken. The internal temperature should reach 165°F (75°C). This ensures harmful bacteria are killed. Always let the chicken rest for a few minutes after cooking. This helps keep it juicy and flavorful.
Can I use canned pineapple for this recipe?
Yes, you can use canned pineapple. However, fresh pineapple has a firmer texture and brighter flavor. Canned pineapple tends to be softer and may not grill as well. If you do use canned, make sure to drain it well. This helps avoid excess moisture on the grill.
How long should I marinate the chicken for best flavor?
For great flavor, marinate the chicken for at least 30 minutes. If you have time, up to 4 hours is best. This allows the chicken to absorb all the tasty marinade. Just don’t marinate for too long, as the acid can break down the meat too much.
What side dishes pair well with grilled pineapple chicken?
Grilled pineapple chicken goes well with many side dishes. You can serve it with a fresh salad or some rice. Grilled vegetables also make a great match. Try adding some corn or zucchini for color and taste. These options will enhance your meal and make it more satisfying.
You learned how to make grilled pineapple chicken with simple ingredients. We covered preparing the marinade, marinating the chicken, and grilling it to perfection. I shared tips for flavoring, serving, and storing leftovers. This dish is easy to customize for different tastes and diets. Enjoy cooking, and let your creativity shine as you make this recipe your own!


