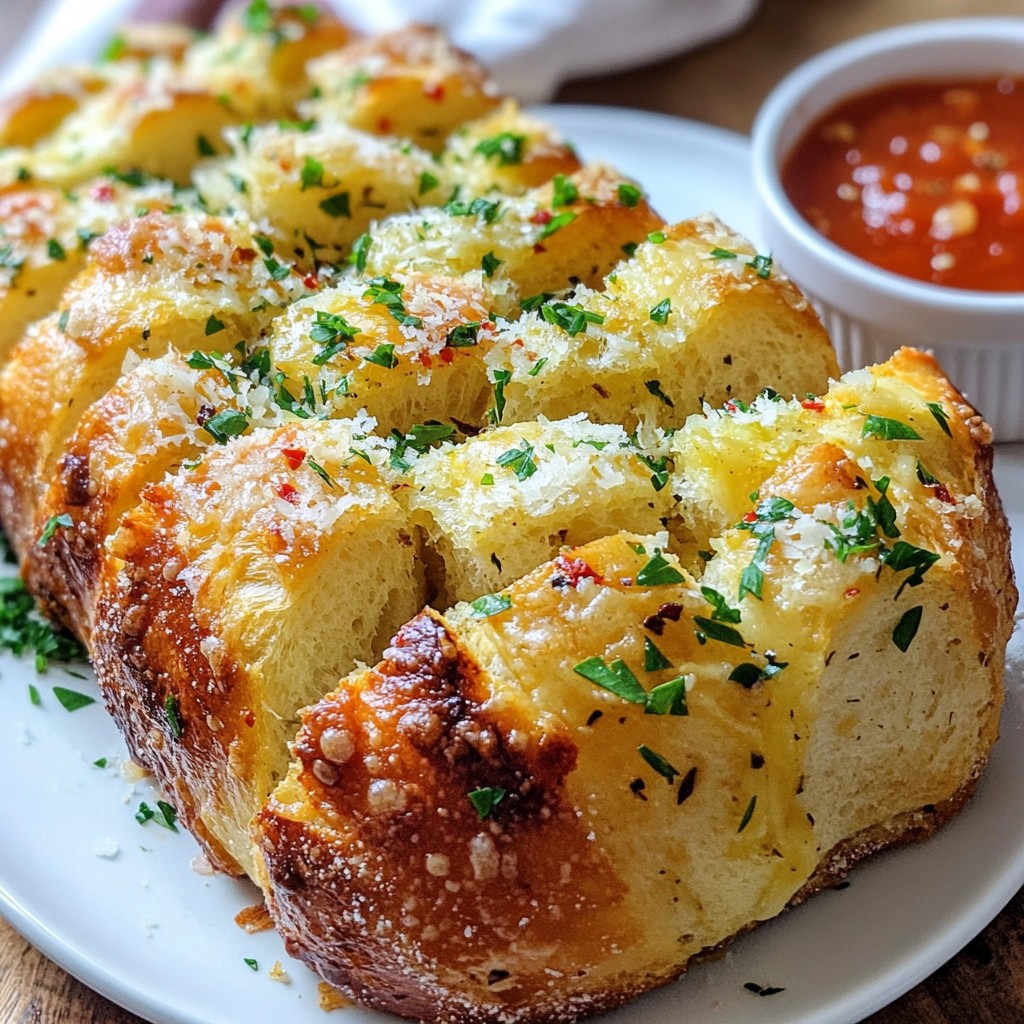
Do you crave a warm, cheesy treat? Garlic Parmesan Pull-Apart Bread is your answer! This easy recipe combines buttery garlic goodness with a crispy crust and melted cheese. Perfect for any occasion, it’s just as great for a cozy night in or entertaining friends. Trust me, once you start pulling apart this bread, you won't want to stop. Let’s dive into this simple, delicious recipe that you and your loved ones will adore!
Why I Love This Recipe
- Irresistible Flavor: The combination of garlic and Parmesan creates a mouthwatering aroma and taste that is hard to resist.
- Easy to Make: This recipe requires minimal prep time and is perfect for both novice and experienced cooks.
- Perfect for Sharing: Pull-apart bread is ideal for gatherings, making it easy for guests to enjoy without the need for utensils.
- Customizable: You can easily modify the recipe by adding herbs, spices, or different types of cheese to suit your taste.
Ingredients
Main Ingredients
- 1 loaf of fresh Italian bread
- 1/2 cup unsalted butter, melted
- 4 cloves garlic, finely minced
Seasonings and Toppings
- 1 cup finely shredded Parmesan cheese
- 1 tablespoon fresh parsley, finely chopped
- 1 teaspoon dried oregano
- 1 teaspoon dried thyme
- 1/2 teaspoon freshly ground black pepper
- 1/4 teaspoon red pepper flakes (optional for heat)
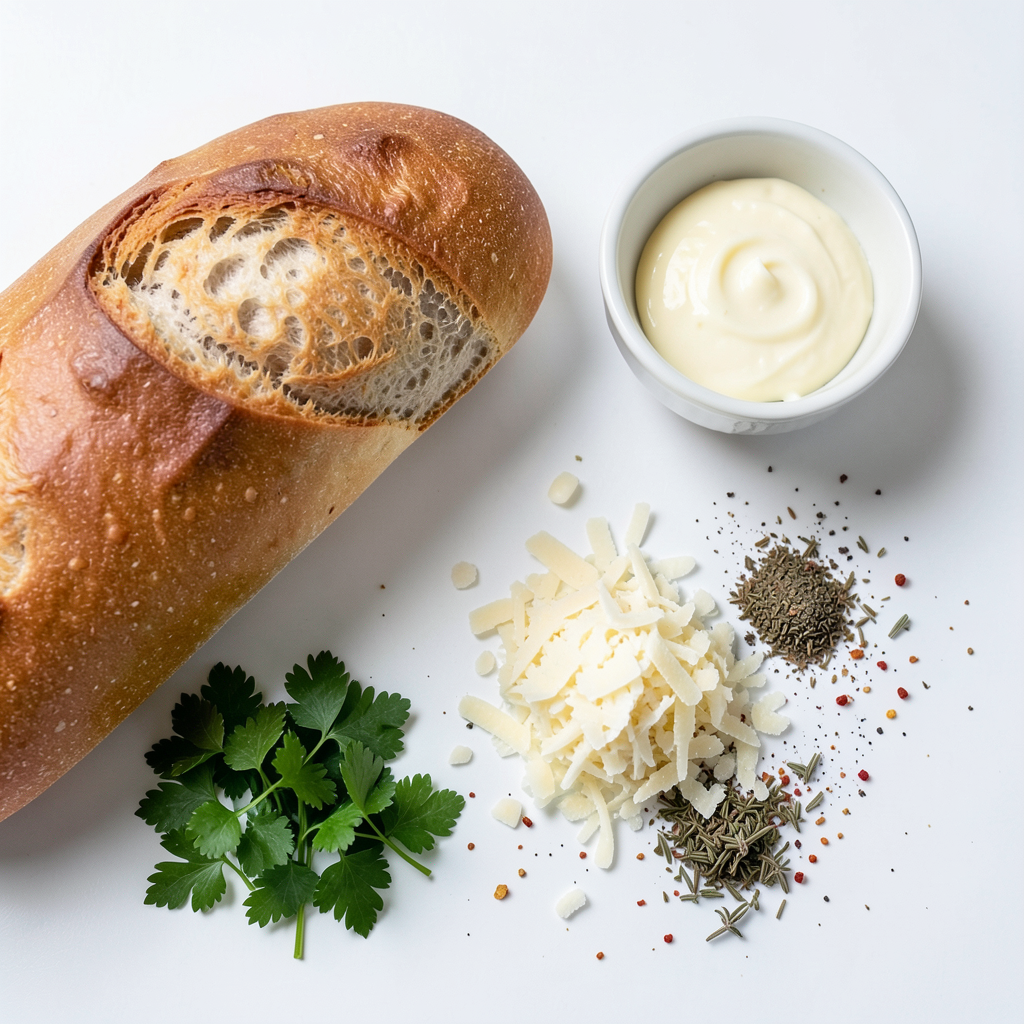
The main ingredients bring the best flavors to the dish. Fresh Italian bread serves as the base. It has a soft inside and a crispy crust. The melted butter adds richness, while garlic gives it that tasty kick.
For seasonings, Parmesan cheese is key. It melts beautifully and adds a nice salty taste. Fresh parsley gives some color and brightness. Oregano and thyme add depth to the dish. Finally, black pepper brings a hint of spice. If you like heat, add red pepper flakes.
Using these ingredients will make the bread truly irresistible. The mix of flavors creates a warm, inviting aroma. You will want to dig in right away!
Step-by-Step Instructions
Preheat the Oven
Set your oven to 375°F (190°C). This makes sure the bread bakes evenly.
Prepare the Garlic Butter Mixture
Combine 1/2 cup of melted butter, 4 minced garlic cloves, and herbs. Use 1 tablespoon of chopped parsley, 1 teaspoon of oregano, 1 teaspoon of thyme, and 1/2 teaspoon of black pepper. If you like heat, add 1/4 teaspoon of red pepper flakes. Mix well to blend all flavors.
Cut the Bread
Take your fresh Italian bread and use a sharp knife. Make diagonal cuts about 1 inch apart. Cut deep but don’t slice through the bottom crust. Create another set of diagonal cuts for a crisscross design.
Apply the Garlic Butter
Grab a pastry brush and generously brush the garlic butter mixture into the cuts. Fill every gap. This adds lots of flavor to each piece.
Stuff with Parmesan Cheese
Take 1 cup of finely shredded Parmesan cheese and stuff it evenly between the cuts. Make sure to spread the cheese across the whole loaf. You want a cheesy bite in every pull-apart piece.
Bake
Wrap the bread in aluminum foil. Place it on a baking sheet to catch any drips. Bake in the preheated oven for 15 minutes. After that, unwrap the foil to let the bread crisp up. Continue baking for another 10-15 minutes until the edges are golden and crisp.
Once done, let it cool for a minute before serving. Enjoy the warm, cheesy goodness!
Tips & Tricks
Ensuring Maximum Flavor
To fill the cuts with garlic butter, first, make your garlic butter mix. Combine melted butter, minced garlic, and seasonings in a bowl. Use a pastry brush to apply this mix into the cuts of the bread. Make sure to fill every gap. The more butter you use, the more flavor your bread will have. This step is key to making each bite taste rich and tasty.
Achieving the Perfect Crisp
Baking uncovered at the end is very important. After wrapping the bread in foil, bake it for 15 minutes. Then, unwrap the foil and bake for another 10-15 minutes. This last step allows the edges to crisp up nicely. Crispy edges make the bread even more fun to pull apart.
Customizing Heat Levels
If you want to adjust heat levels, use red pepper flakes based on your taste. For mild flavor, skip the flakes or use just a pinch. If you love spice, add more flakes. This simple tweak helps you control the heat and make the bread just right for your palate. Tailor it to please everyone at your table!
Pro Tips
- Use Fresh Ingredients: Always opt for fresh Italian bread and quality Parmesan cheese for the best flavor and texture.
- Customize Your Herbs: Feel free to experiment with different herbs like basil or rosemary to create your own flavor profile.
- Extra Crunch: For an even crispier crust, bake the bread uncovered for the last few minutes to achieve that golden finish.
- Perfect Pairing: Serve with a side of marinara or garlic dipping sauce to complement the rich flavors of the bread.
Variations
Herb and Cheese Mix-Ins
You can add extra herbs or cheeses to make this dish your own. Try fresh basil or thyme for a new twist. For cheese lovers, consider using mozzarella or cheddar. These choices add depth and a fun flavor. Mix and match to find your favorite combination!
Adding Meat
For a heartier bread, add cooked bacon or ham. These meats bring a savory kick. Simply chop the cooked meat and sprinkle it between the bread cuts. The salty flavor pairs well with garlic and cheese. You can even use pepperoni or cooked sausage for a pizza-inspired version.
Gluten-Free Adaptation
If you need a gluten-free option, switch the Italian bread. Look for gluten-free bread that has a similar texture. This way, everyone can enjoy this tasty treat. Just follow the same steps to make your garlic butter and fill the bread. You’ll still get that delicious pull-apart effect!
Storage Info
Short-Term Storage
To keep your Garlic Parmesan Pull-Apart Bread fresh, store it at room temperature. Place the leftover bread in a paper bag. This helps maintain its crust while keeping it soft inside. Avoid plastic bags, as they can make the bread soggy. Consume it within two days for the best taste.
Long-Term Storage
If you need to save the bread for a longer time, freezing is a great option. Wrap the bread tightly in plastic wrap. Then, place it in a freezer-safe bag or container. This prevents freezer burn. You can freeze it for up to three months. When you’re ready to enjoy it, just thaw it in the fridge overnight.
Reheating Suggestions
To reheat your pull-apart bread, use an oven for the best results. Preheat your oven to 350°F (175°C). Remove any plastic wrap and place the bread on a baking sheet. Heat it for about 10-15 minutes until warm. This method helps restore the crisp crust and soft inside. You can also use a toaster oven for a quicker option. Enjoy your warm, cheesy bread!
FAQs
Can I make this bread in advance?
Yes, you can make this bread ahead of time. Prepare the garlic butter and cut the bread. Apply the butter to the cuts, but do not bake it yet. Wrap the bread tightly in plastic wrap and store it in the fridge for up to a day. When ready to serve, simply bake it as directed. This makes it easy to enjoy fresh bread without the last-minute rush.
What can I serve with Garlic Parmesan Pull-Apart Bread?
This bread pairs well with many dishes. You can serve it with a bowl of warm marinara sauce for dipping. It also goes great with soups, salads, or pasta. For a fun twist, try serving it alongside a creamy spinach dip. Each option enhances the bread's cheesy goodness and garlic flavor.
How do I prevent the bread from getting soggy?
To keep the bread crispy, store it properly. After baking, let it cool completely. Once cool, wrap it in paper towels and place it in a paper bag. Avoid plastic bags, as they trap moisture. When ready to enjoy, reheat it in the oven at 350°F (175°C) for about 10 minutes. This revives the crispiness and flavor.
This post covered making Garlic Parmesan Pull-Apart Bread. Start with fresh Italian bread and tasty garlic butter. Then, add Parmesan and bake. Use tips to boost flavor and adjust spice to your liking. Experiment with variations like herbs, meats, or gluten-free bread. Store leftovers well and reheat for the best taste. Enjoy this dish as a great side or snack. With these steps and tips, you’ll please any crowd with this easy, delicious recipe!