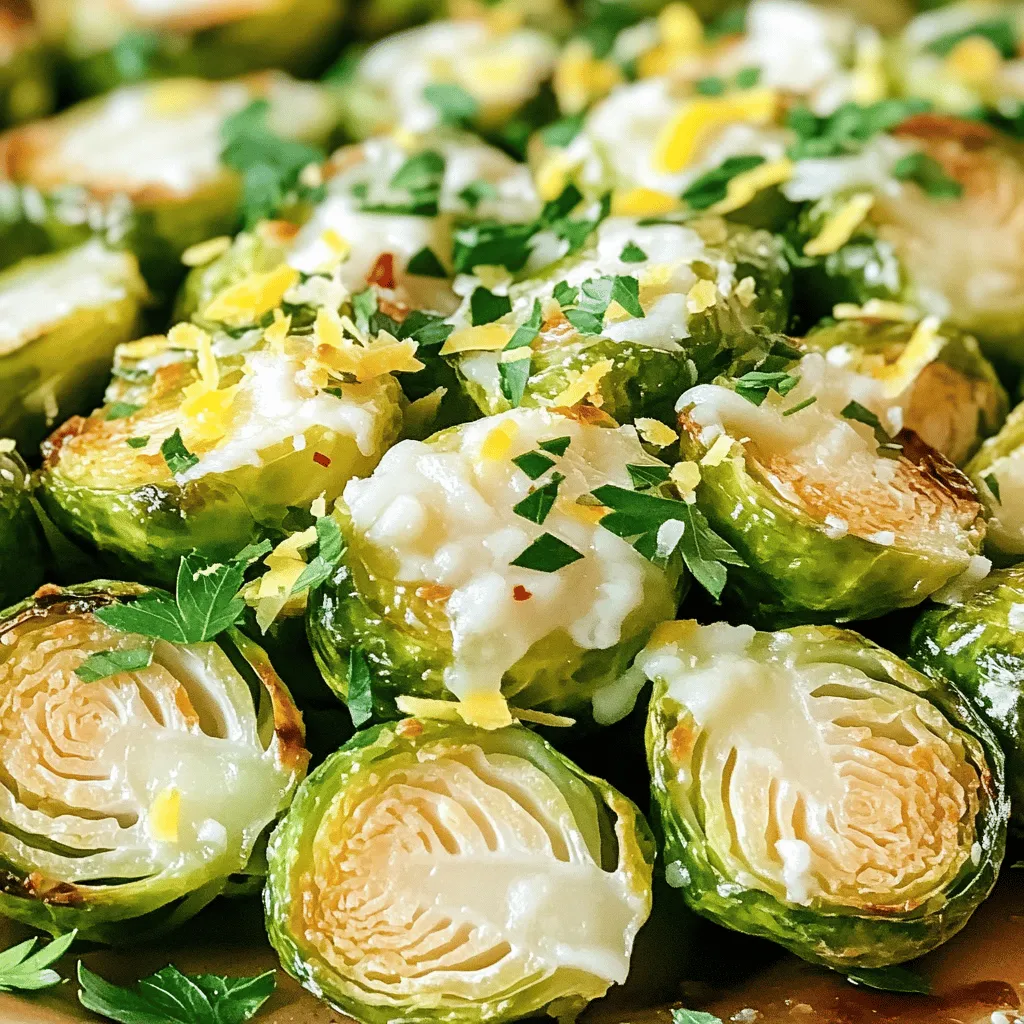
Looking for a side dish that’s simple yet bursting with flavor? My Garlic Parmesan Brussels Sprouts will impress your taste buds! They’re crispy on the outside and tender inside, thanks to a quick roast in the oven. This easy recipe combines fresh ingredients and tips to enhance every bite. Join me as we dive into making this delicious side that pairs perfectly with any meal!
Ingredients
Essential Ingredients for Garlic Parmesan Brussels Sprouts
– 1 lb Brussels sprouts, cleaned and halved
– 3 tablespoons extra virgin olive oil
– 4 cloves garlic, finely minced
– 1/2 cup freshly grated Parmesan cheese
Optional Add-ins
– Zest of 1 lemon
– 1/2 teaspoon red pepper flakes (optional for heat)
– Fresh parsley for garnish
Recommended Seasonings
– Sea salt and freshly cracked black pepper
When I make Garlic Parmesan Brussels sprouts, I always start with the basics. Fresh Brussels sprouts are key. I buy about a pound and clean them well. Halving them helps them cook evenly and adds texture.
Next, I add extra virgin olive oil. It coats the sprouts and gives them a rich flavor. I use about three tablespoons. Garlic is a must. Four cloves of finely minced garlic bring a great kick to the dish.
Parmesan cheese is what makes these sprouts shine. I use half a cup of freshly grated cheese. The cheese melts and creates a tasty crust when roasted.
For extra brightness, I often add zest from one lemon. It lifts the flavors and adds a fresh note. If you like heat, a half teaspoon of red pepper flakes gives the dish a spicy kick.
Lastly, I season with sea salt and freshly cracked black pepper. These simple seasonings enhance the flavor without overpowering it. Don’t forget to garnish with fresh parsley for a pop of color.
This combination of ingredients makes a flavorful side dish that everyone will love.
Step-by-Step Instructions
Preheat and Prepare
– Preheat oven to 400°F (200°C).
– Prepare a baking sheet with parchment paper.
First, you want to make your oven hot. This helps cook the Brussels sprouts fast. The parchment paper makes cleanup simple and helps them roast better.
Tossing the Brussels Sprouts
– Mix Brussels sprouts with olive oil, garlic, and seasonings.
Take your cleaned and halved Brussels sprouts and put them in a big bowl. Add the olive oil, minced garlic, sea salt, and black pepper. Toss everything together. Make sure each sprout gets coated nicely. This mix gives them great flavor.
Roasting Process
– Spread Brussels sprouts on the baking sheet.
– Roast for 20 minutes, stirring halfway through.
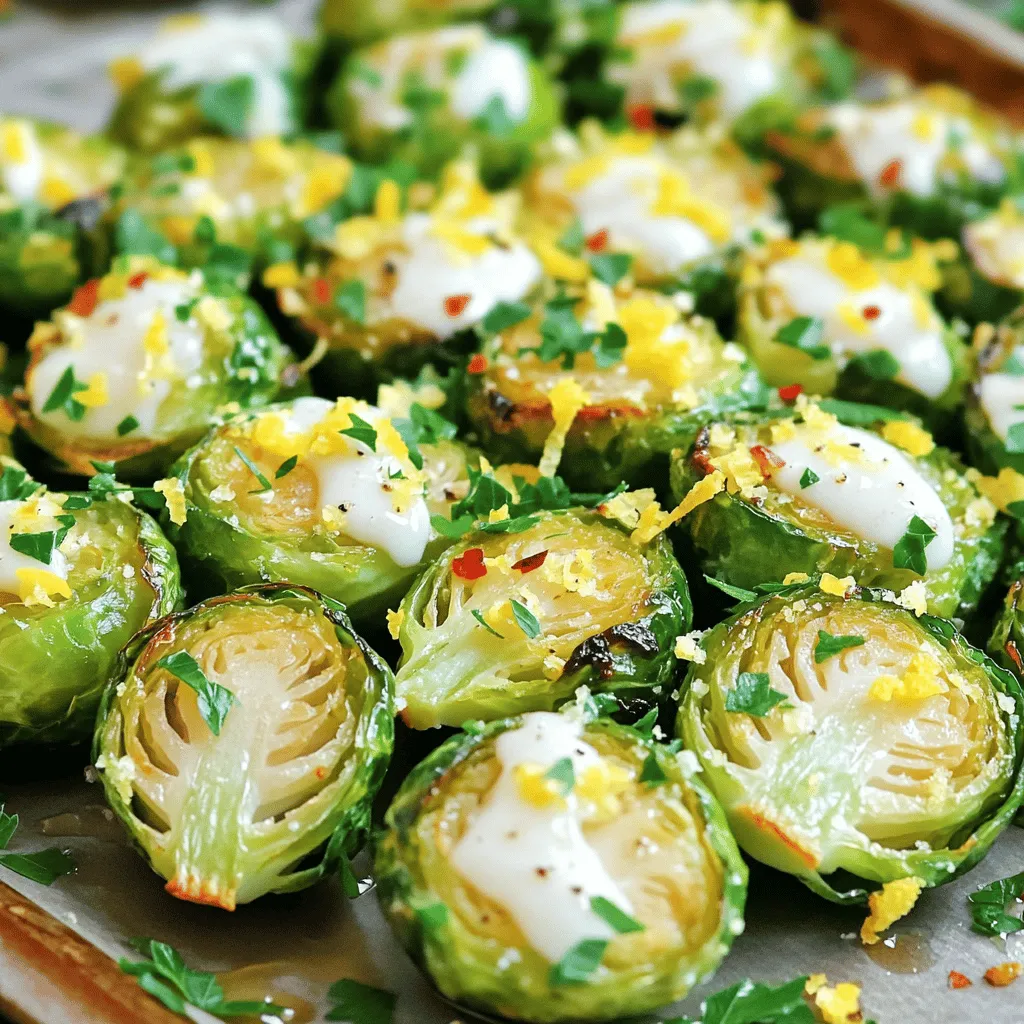
Now, spread the Brussels sprouts out on the baking sheet. Keep them in a single layer to roast evenly. Set the timer for 20 minutes, but remember to stir them halfway. This helps them get golden and crispy all over.
Finishing Touches
– Add Parmesan cheese and return to oven for additional 5-7 minutes.
– Garnish with parsley before serving.
After roasting, take them out and sprinkle the grated Parmesan cheese on top. You can also add lemon zest and red pepper flakes if you like some heat. Put them back in the oven for 5-7 minutes. This melts the cheese and makes it bubbly. Once done, take them out and garnish with parsley. Serve them warm for the best taste.
Tips & Tricks
Achieving Perfect Roasting
To get great Brussels sprouts, keep them in a single layer. This helps them cook evenly. If you crowd them, they will steam instead of roast. Stir them halfway through cooking. This ensures every side gets that nice, crispy brown.
Flavor Enhancements
Want to brighten the dish? Add lemon zest before serving. It gives a fresh taste that pairs well with the savory flavors. You can also try different cheeses. Parmesan is great, but Pecorino Romano adds a nice twist.
Common Mistakes to Avoid
One common mistake is overcrowding the baking sheet. This leads to uneven cooking. Also, watch your cooking time. Undercooking makes them tough, while overcooking turns them mushy. Follow the recipe closely for the best results.
Variations
Different Cheese Options
To switch up the taste, try using different cheeses. Pecorino Romano adds a salty, sharp flavor. It brings a new twist to the dish. If you want a vegan option, use nutritional yeast. It gives a cheesy flavor without dairy. Plus, it’s packed with nutrients!
Incorporating Protein
Adding protein can make your dish heartier. Toss in crispy bacon or pancetta for a savory touch. Their rich flavor pairs well with the sprouts. You can also add cooked chicken pieces. This makes the dish more filling and satisfying.
Vegetarian & Vegan Modifications
For a vegetarian option, substitute the cheese with vegan alternatives. There are many great cheese substitutes that melt well. Use plant-based oil for roasting instead of olive oil. This keeps the dish fully vegan while still being delicious.
Storage Info
Storing Leftovers
Store your Garlic Parmesan Brussels Sprouts in an airtight container. Refrigerating them helps keep their flavor fresh. They are best eaten within 3-5 days for optimal taste and texture.
Reheating Tips
To restore crispiness, reheat the sprouts in the oven. Set your oven to 350°F (175°C) and bake for about 10-15 minutes. If you’re in a hurry, you can use the microwave. However, be aware that the texture may suffer a bit.
Freezing Recommendations
You can freeze Brussels sprouts before roasting for long-term storage. This way, they maintain their flavor.This will help you enjoy them fresh and tasty!
FAQs
How do I make Garlic Parmesan Brussels Sprouts crispy?
To make your Brussels sprouts crispy, follow these tips:
– Use high heat: Roasting at 400°F (200°C) gives the best results.
– Spread them out: Place Brussels sprouts in a single layer on your baking sheet.
– Don’t overcrowd: Give them room to breathe, which helps them roast better.
– Toss halfway: Stir them at the halfway point of roasting for even browning.
– Add cheese last: Sprinkle Parmesan cheese towards the end of the cooking time so it melts but does not burn.
Can I prepare Garlic Parmesan Brussels Sprouts in advance?
Yes, you can prepare Brussels sprouts in advance. Here’s how:
– Clean and cut: Clean and halve the Brussels sprouts the day before.
– Store properly: Keep them in an airtight container in the fridge.
– Roast fresh: When ready to eat, toss them with oil and seasonings, and roast right before serving.
What dishes pair well with this recipe?
Garlic Parmesan Brussels sprouts go well with many dishes. Here are a few:
– Roasted chicken: The savory flavors complement crispy chicken well.
– Grilled steak: The rich flavors of steak pair nicely with the sprouts.
– Pasta dishes: They add a fresh, crunchy element to creamy pastas.
Are Brussels sprouts healthy?
Yes, Brussels sprouts are very healthy! They are:
– Low in calories: Great for weight management.
– High in fiber: Good for digestion.
– Rich in vitamins: They provide vitamin C, vitamin K, and folate. Plus, they have antioxidants that help your body fight disease.
Can I use frozen Brussels sprouts instead?
Yes, you can use frozen Brussels sprouts. Here are some tips:
– Thaw first: Thaw them completely before cooking for even roasting.
– Pat dry: Remove moisture with a paper towel to help them crisp up.
– Adjust cooking time: You may need to roast them a bit longer to achieve the same crispiness.
Garlic Parmesan Brussels sprouts are simple to make and full of flavor. We covered essential ingredients like fresh Brussels sprouts, olive oil, and cheese. You learned step-by-step how to prepare, toss, and roast them. Plus, I shared tips for perfecting your dish and variations to keep it exciting.
Remember, the key to great Brussels sprouts is even cooking and the right flavors. Take your time to enjoy this healthy side dish. You’ll love the taste and how easy it is to make!


