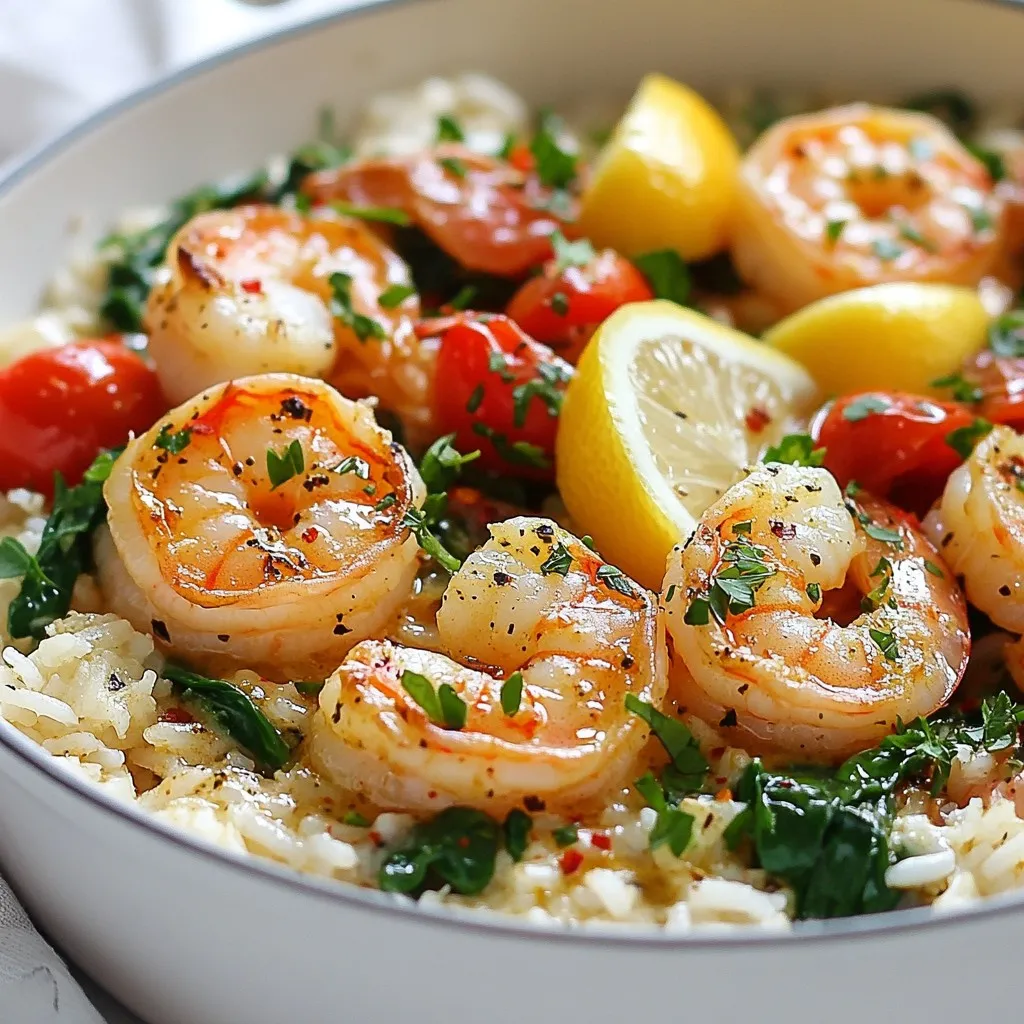
Are you ready for a dish that bursts with flavor and comes together in a flash? Our Garlic Butter Shrimp Rice Skillet combines tender shrimp, rich garlic, and creamy butter over fluffy rice. This dish not only impresses the taste buds but is also easy enough for quick weeknight dinners. Let’s dive into the ingredients that make this meal a cheerful celebration of deliciousness!
Why I Love This Recipe
- Quick and Easy: This recipe comes together in just 20 minutes, making it perfect for a busy weeknight dinner.
- Flavorful Ingredients: The combination of garlic, butter, and fresh vegetables creates a deliciously rich flavor that elevates the shrimp.
- Versatile Dish: You can easily customize it by adding your favorite vegetables or using different types of shrimp.
- One-Pan Wonder: With everything cooked in one skillet, cleanup is a breeze, making it a hassle-free meal option.
Ingredients
Essential Ingredients
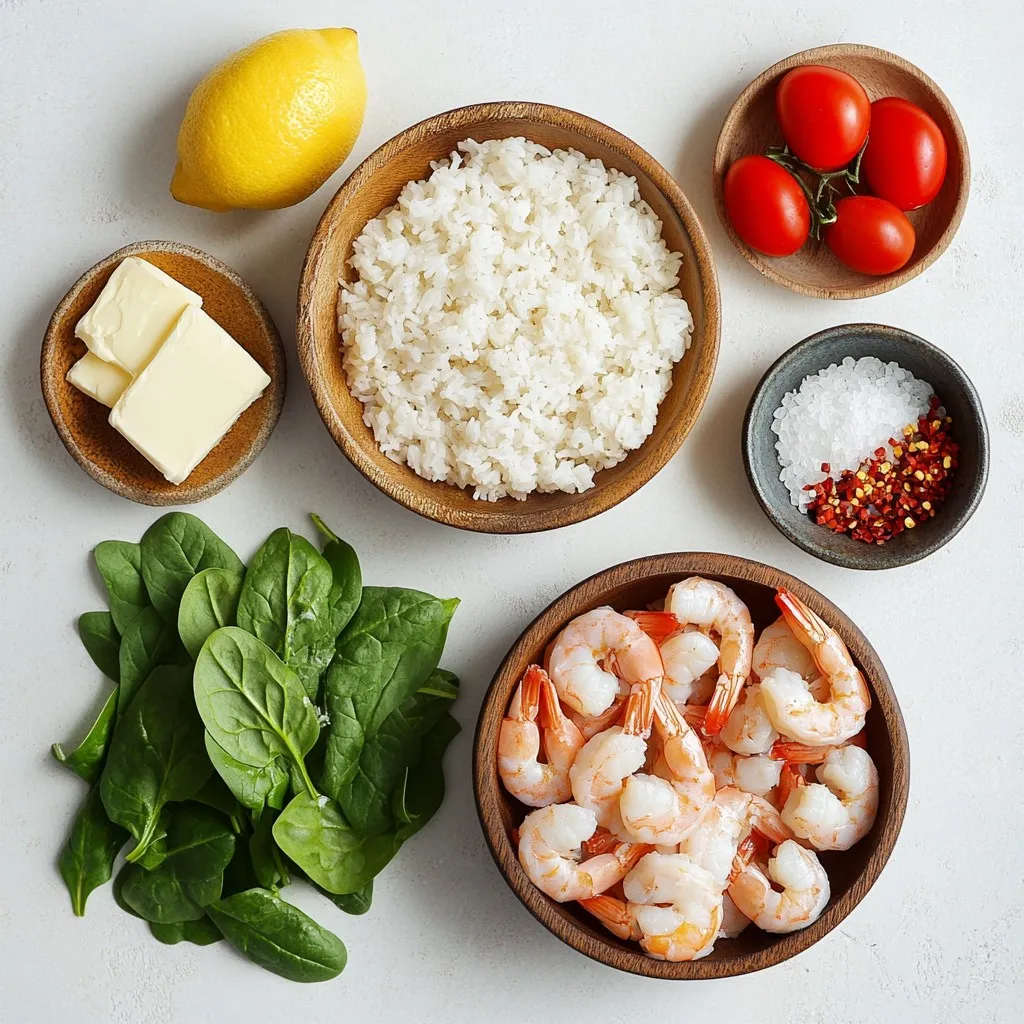
– 1 lb shrimp, peeled and deveined
– 2 cups cooked rice (white or brown)
– 4 cloves garlic, finely minced
– 4 tablespoons unsalted butter, divided
The main star of this dish is the shrimp. Fresh shrimp makes it great, but frozen works too. Cooked rice is key for this skillet meal. You can choose white or brown rice based on your taste. Garlic adds a rich flavor that shines through. The butter binds everything together, giving a nice, creamy texture.
Optional Ingredients
– 1/2 teaspoon red pepper flakes
– 1 cup cherry tomatoes, halved
– 1 cup fresh spinach, roughly chopped
– 1 teaspoon lemon juice
For a little heat, add red pepper flakes. They bring a gentle kick that pairs well with shrimp. Cherry tomatoes add sweetness and color. Spinach gives a fresh touch and brightens the dish. A splash of lemon juice at the end lifts all the flavors.
Seasoning and Garnish
– Salt and black pepper
– Fresh parsley, chopped
Salt and pepper are must-haves for taste. They enhance the natural flavors of shrimp and veggies. Fresh parsley adds a pop of color and freshness. A sprinkle on top makes the dish look beautiful and inviting.
Step-by-Step Instructions
Preparing the Shrimp
– Melting the butter: Start by heating 2 tablespoons of butter in a large skillet. Use medium heat until the butter foams slightly. This step adds richness to the dish.
– Sautéing garlic and red pepper flakes: Once the butter melts, add 4 cloves of minced garlic and 1/2 teaspoon of red pepper flakes. Stir constantly for about 1 minute. You want the garlic to be fragrant but not browned. This creates a strong base flavor.
– Cooking the shrimp: Next, turn the heat up to medium-high. Add 1 pound of peeled and deveined shrimp to the skillet. Cook for 2-3 minutes, stirring gently. The shrimp will turn pink and opaque. Be careful not to overcook them, or they will become rubbery.
Cooking the Vegetables
– Adding tomatoes and spinach: Remove the shrimp and set them aside. In the same skillet, add the remaining 2 tablespoons of butter. Once melted, toss in 1 cup of halved cherry tomatoes and 1 cup of roughly chopped spinach. Sauté for 2-3 minutes. The tomatoes should soften, and the spinach will wilt nicely.
– Incorporating cooked rice: Gradually stir in 2 cups of cooked rice. Mix well to combine the rice with the vegetables and butter. Break up any clumps. This helps the rice soak up all those tasty flavors.
Final Assembly
– Returning shrimp to the skillet: Now it’s time to add the shrimp back to the skillet. Gently stir them in along with the cooked rice and vegetables.
– Mixing in seasonings and lemon juice: Finish by adding 1 teaspoon of freshly squeezed lemon juice, along with salt and freshly ground black pepper to taste. Stir everything together and cook for an additional 2 minutes to warm through. The lemon juice adds a bright note to the dish.
This step-by-step method makes cooking Garlic Butter Shrimp Rice Skillet easy and fun. Enjoy your tasty creation!
Tips & Tricks
Cooking Tips
To avoid overcooked shrimp, watch them closely while cooking. Shrimp turn pink and opaque when done. Cook them for only 2-3 minutes. If they curl up tightly, they are overcooked. Remove them from the skillet as soon as they are ready. This keeps them tender and juicy.
Sautéing garlic properly is key to great flavor. Use medium heat and stir constantly. Garlic can burn quickly and turn bitter. When you smell a strong aroma, it’s ready. Aim for about one minute of cooking time. Remember, the goal is fragrant garlic, not brown garlic.
Serving Suggestions
For a lovely presentation, serve the dish right in the skillet. This adds a homey touch and lets guests help themselves. If you prefer a more polished look, use a large white platter. Place the rice skillet in the center and garnish with fresh parsley and lemon wedges.
Consider pairing this dish with a light salad or crusty bread. A simple green salad with a lemon vinaigrette works well. The fresh flavors balance the richness of the garlic butter shrimp.
Cooking Equipment
A large skillet is best for this recipe. I recommend using a non-stick or cast-iron skillet. Both types heat evenly and make cooking easier. A good spatula helps to stir and serve without sticking.
You will need a sharp knife and a cutting board for chopping. A measuring spoon is useful for adding spices. Having these tools on hand will make your cooking experience smooth and enjoyable.
Pro Tips
- Use Fresh Shrimp: For the best flavor and texture, opt for fresh shrimp whenever possible. Frozen shrimp can also work, but be sure to thaw them properly before cooking.
- Customize Your Heat: Adjust the amount of red pepper flakes based on your spice preference. Start with a small amount and add more if you like it spicier.
- Add More Veggies: Feel free to incorporate other vegetables like bell peppers, zucchini, or peas for added nutrition and flavor.
- Serving Suggestions: Serve with a side of crusty bread or a fresh green salad to complement the richness of the garlic butter shrimp.
Variations
Ingredient Substitutions
You can change the shrimp to other proteins like chicken or tofu. Chicken works well when cut into bite-sized pieces. For tofu, use firm or extra-firm types for the best texture. Simply sauté these in the same way as the shrimp.
If you’re looking for vegan options, you can skip the shrimp and butter. Use olive oil instead of butter and add more veggies. Try chickpeas for added protein and a nice bite.
Flavor Enhancements
To make this dish even more tasty, consider adding spices. Paprika, cumin, or even curry powder can give it a unique twist. You can also try different herbs like basil or thyme for fresh flavors.
Switching up the vegetables can change the dish too. Bell peppers, zucchini, or peas can add color and crunch. You can mix and match based on what you have at home.
Regional Twists
If you want a Mexican-inspired dish, add some black beans and corn. Top it with avocado and a sprinkle of cotija cheese for extra creaminess.
For an Asian twist, include soy sauce or sesame oil. You can also toss in some snap peas or bok choy. These changes will give it a whole new flavor profile while still being simple and delicious.
Storage Info
Refrigerating Leftovers
To keep your leftover Garlic Butter Shrimp Rice Skillet fresh, use proper storage containers. Choose airtight containers to lock in moisture and flavor. Make sure the dish cools to room temperature before sealing. This helps prevent condensation. Your leftovers can stay fresh in the fridge for up to three days.
Reheating Instructions
When it’s time to enjoy your leftovers, reheat them carefully. The best methods are using a skillet or microwave. If using a skillet, add a splash of water or broth to keep it moist. Stir often over low heat until warmed through. In the microwave, cover with a microwave-safe lid or wrap. Heat in short bursts, stirring in between to ensure even heating. This helps retain the flavor and texture of the shrimp and rice.
Freezing Options
You can freeze your Garlic Butter Shrimp Rice Skillet if you want to save it for later. First, let the dish cool completely. Then, portion it into freezer-safe bags or containers. Remove as much air as possible to avoid freezer burn. This dish can last for up to three months in the freezer. When you’re ready to eat, thaw it overnight in the fridge. Reheat it in a skillet or microwave, adding a little liquid to keep it moist. Enjoy your meal just like it was fresh!
FAQs
How long does it take to make Garlic Butter Shrimp Rice Skillet?
Making Garlic Butter Shrimp Rice Skillet takes about 30 minutes. You need 10 minutes to prep and 20 minutes to cook. This quick time means you can enjoy a tasty meal any night of the week.
Can I use frozen shrimp for this recipe?
Yes, you can use frozen shrimp. Just thaw them before cooking. Place the shrimp in cold water for about 10-15 minutes. After they thaw, peel and devein them if needed. This keeps the dish quick and easy.
What type of rice is best for shrimp skillet recipes?
Both white and brown rice work well. White rice cooks faster and has a soft texture. Brown rice has more fiber and a nutty flavor. Choose based on your taste and how healthy you want the dish.
This blog post detailed how to make a tasty Garlic Butter Shrimp Rice Skillet. We covered essential and optional ingredients, seasoning, and cooking steps. I shared tips to avoid overcooked shrimp and suggested serving ideas. You can also play with ingredients for different flavors. Proper storage and reheating tips ensure your meal stays fresh. With these steps, you can enjoy a rich dish that’s easy to prepare and customize. Enjoy cooking and impressing your friends and family with this delicious mea


