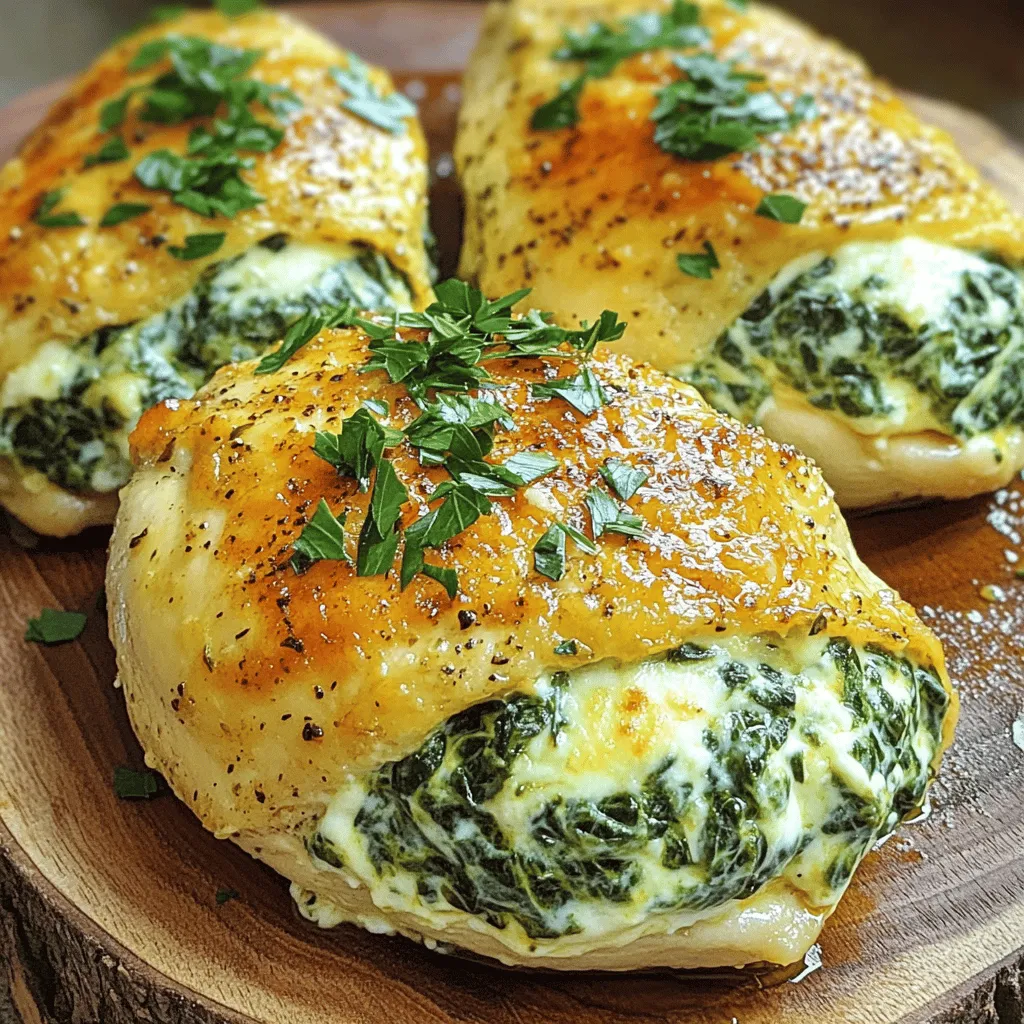
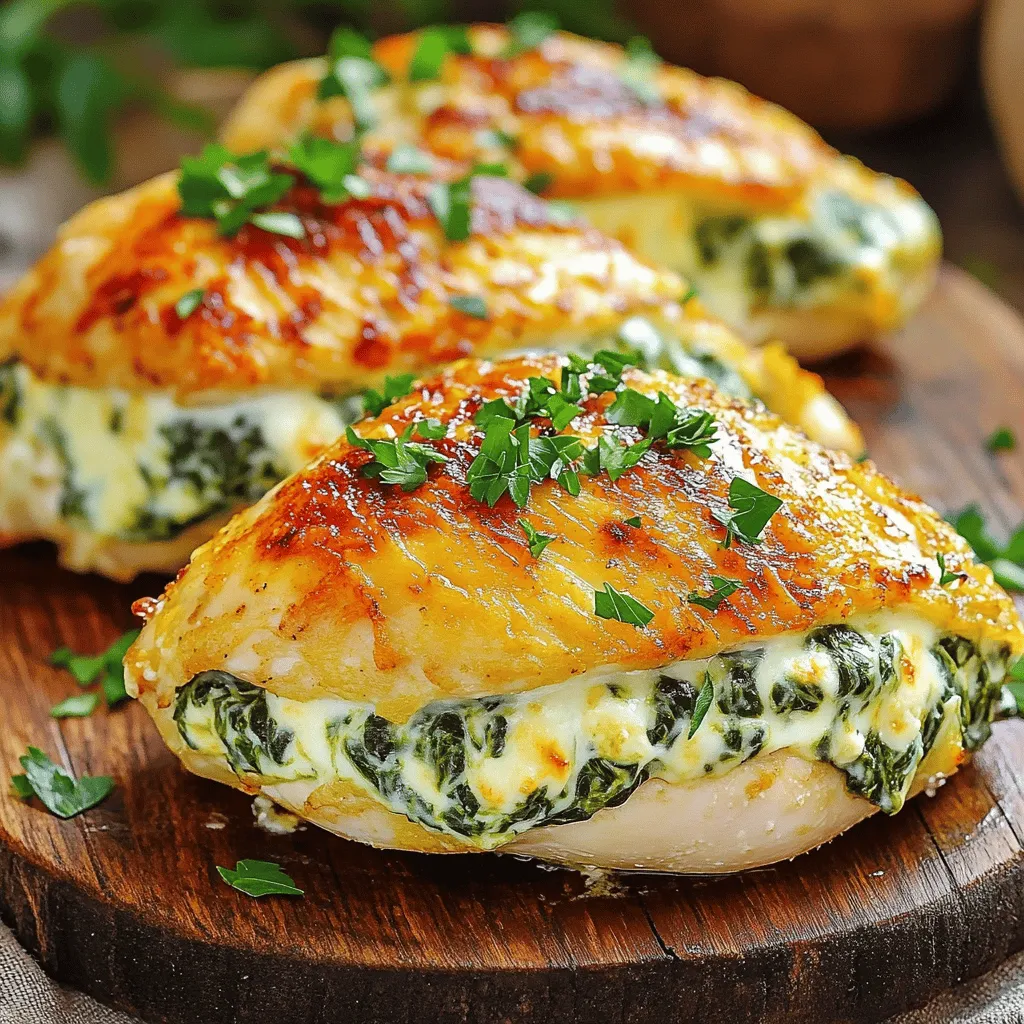
Are you ready to impress your family with an easy, tasty meal? Creamy Spinach Stuffed Chicken is your answer. This dish is simple to make and full of flavor. Whether you’re a busy parent or just want to try something new, you’ll love how quick it is. Let’s dive in and whip up this delightful dish that will have everyone asking for seconds!
Ingredients
Complete Ingredients List
To make Creamy Spinach Stuffed Chicken, gather these ingredients:
– 4 boneless, skinless chicken breasts
– 2 cups fresh spinach, finely chopped
– 1 cup cream cheese, softened
– 1/2 cup grated Parmesan cheese
– 1/2 cup shredded mozzarella cheese
– 2 cloves garlic, minced
– 1 teaspoon onion powder
– 1/2 teaspoon salt
– 1/4 teaspoon black pepper
– 1 tablespoon olive oil
– 1 tablespoon fresh lemon juice
– 1/4 teaspoon red pepper flakes (optional for a kick)
– Fresh parsley, chopped (for garnish)
Ingredient Substitutions
If you need to swap some items, here are a few ideas:
– Use ricotta cheese instead of cream cheese for a lighter taste.
– If you don’t have fresh spinach, frozen spinach works too. Just make sure to drain it well.
– For a different cheese flavor, try using feta or goat cheese.
– You can replace olive oil with butter for a richer taste.
– Add cooked chicken sausage or bacon to the stuffing for extra flavor.
Nutritional Information
This dish is not only tasty but also offers good nutrition. Here’s a quick breakdown (per serving):
– Calories: 400
– Protein: 40g
– Carbohydrates: 4g
– Fat: 25g
– Fiber: 1g
– Sugar: 2g
This creamy spinach stuffed chicken is a delight. It combines protein and greens in a flavorful dish. You can enjoy it with a side salad or your favorite veggies.
Step-by-Step Instructions
Preheat the Oven
Start by preheating your oven to 375°F (190°C). This step is key to getting a perfectly cooked chicken. While the oven heats up, you can prepare the stuffing and chicken.
How to Prepare the Stuffing
In a medium bowl, mix the following ingredients:
– 2 cups fresh spinach, finely chopped
– 1 cup cream cheese, softened
– 1/2 cup grated Parmesan cheese
– 1/2 cup shredded mozzarella cheese
– 2 cloves garlic, minced
– 1 teaspoon onion powder
– 1/2 teaspoon salt
– 1/4 teaspoon black pepper
– 1 tablespoon fresh lemon juice
– 1/4 teaspoon red pepper flakes (optional)
Stir everything together until you get a creamy and smooth mixture. This is the heart of your dish.
Stuffing the Chicken Breasts
Take each boneless, skinless chicken breast. Carefully cut a pocket into each one by slicing horizontally through the thickest part. Make sure not to cut all the way through. This creates a space to hold your creamy spinach mixture.
Generously fill each pocket with the stuffing you prepared. If necessary, use toothpicks to secure the edges, ensuring the filling stays inside during cooking.
Searing and Baking the Chicken
Heat 1 tablespoon of olive oil in a large oven-safe skillet over medium-high heat. Once the oil is hot and shimmering, gently place the stuffed chicken breasts in the skillet. Sear each side for about 4-5 minutes until they are golden brown.
After that, transfer the skillet to your preheated oven. Bake the chicken for another 20-25 minutes. Check that the internal temperature reaches 165°F (74°C) to ensure it’s fully cooked.
After baking, remove the skillet from the oven. Let the chicken rest for about 5 minutes. This step helps keep the chicken juicy and flavorful. Finally, take out any toothpicks used to secure the chicken. Garnish with freshly chopped parsley before serving warm.Enjoy your delicious Creamy Spinach Stuffed Chicken dish!
Tips & Tricks
Best Practices for Searing Chicken
Searing chicken is key to getting a great crust. Start with a hot pan. Use medium-high heat for the olive oil. Wait until the oil shimmers before adding the chicken. This helps seal in the juices. Sear each side for about four to five minutes. Look for a golden-brown color. This adds flavor and visual appeal. Avoid overcrowding the pan to keep the heat steady.
Storing Leftovers Properly
If you have leftovers, store them right away. Let the chicken cool down first. Then place it in an airtight container. It will stay fresh in the fridge for up to three days. If you want to keep it longer, freeze it. Wrap the chicken tightly in plastic wrap, then place it in a freezer bag. It can last for up to three months. Just remember to label it!
How to Tell When Chicken is Done
To check if chicken is fully cooked, use a meat thermometer. Insert it into the thickest part of the chicken. It should read 165°F (74°C). If you don’t have a thermometer, cut into the chicken. The juices should run clear, not pink. Always ensure your chicken is cooked through for safety and taste.
Variations
Spinach and Feta Stuffed Chicken
You can switch things up by adding feta cheese. Feta adds a tangy taste. Simply mix it with the spinach and cream cheese. The flavor blends well with the chicken. This variation gives you a Mediterranean twist.
Add-Ins for Extra Flavor
Want more flavor? Try adding sun-dried tomatoes or chopped artichokes. These ingredients add depth to your filling. A sprinkle of Italian herbs can also enhance the taste. Experiment and find what you love most.
Alternative Cooking Methods (Grilling, Air Frying)
Grilling gives the chicken a nice smoky flavor. Preheat your grill to medium-high. Cook each side for about 6-8 minutes until done. If you prefer air frying, set it to 375°F. Cook for 15-20 minutes, checking the internal temperature. Both methods result in juicy, flavorful chicken.
Storage Info
How to Store Leftover Stuffed Chicken
Store leftover stuffed chicken in an airtight container. Make sure the chicken is cool before sealing. Place it in the fridge. It will stay fresh for up to three days. To keep the flavors, avoid stacking the pieces.
Reheating Tips
Reheat your chicken in the oven or microwave. For the oven, set it to 350°F (175°C). Place the chicken in a baking dish, cover it with foil, and heat for about 15-20 minutes. If using a microwave, heat it on medium power for 2-3 minutes. Check that it is hot all the way through before eating.
Freezing Instructions
You can freeze the stuffed chicken for later. Wrap each piece tightly in plastic wrap. Then, place them in a freezer-safe bag. They can stay in the freezer for up to three months. When ready to eat, thaw in the fridge overnight. Reheat as mentioned above for the best taste.
FAQs
Can I make Creamy Spinach Stuffed Chicken ahead of time?
Yes, you can make this dish ahead. Prepare the chicken and stuff it. Cover it and store in the fridge for up to 24 hours. When you are ready, bake it as usual. This saves time on busy evenings.
What can I serve with Creamy Spinach Stuffed Chicken?
This stuffed chicken pairs well with many sides. Here are some great options:
– Roasted vegetables
– Garlic mashed potatoes
– A fresh green salad
– Quinoa or rice
These sides balance the creamy flavor and add texture to your meal.
Is there a dairy-free version of this recipe?
Yes, you can create a dairy-free version. Use dairy-free cream cheese and non-dairy cheeses. You can also substitute the Parmesan with nutritional yeast for a cheesy flavor. This way, you still enjoy all the taste without dairy.
In this blog post, I shared how to make Creamy Spinach Stuffed Chicken. We covered the key ingredients, step-by-step cooking instructions, and useful tips. Varieties and storage methods help you get the most out of this dish.
Remember, you can customize the recipe to fit your taste. With these tips, you’ll create a delicious meal every time. Enjoy your cooking and share the joy with others!


