Looking to elevate your dinner game? This Creamy Lemon Garlic Chicken dish will do just that! Packed with rich flavors and creamy goodness, it’s simple to make. You'll find tips on how to cook the chicken perfectly and create a sauce that sings with bright lemon notes. Keep reading, and discover how this meal can become your new weeknight favorite! Let’s get cooking!
Why I Love This Recipe
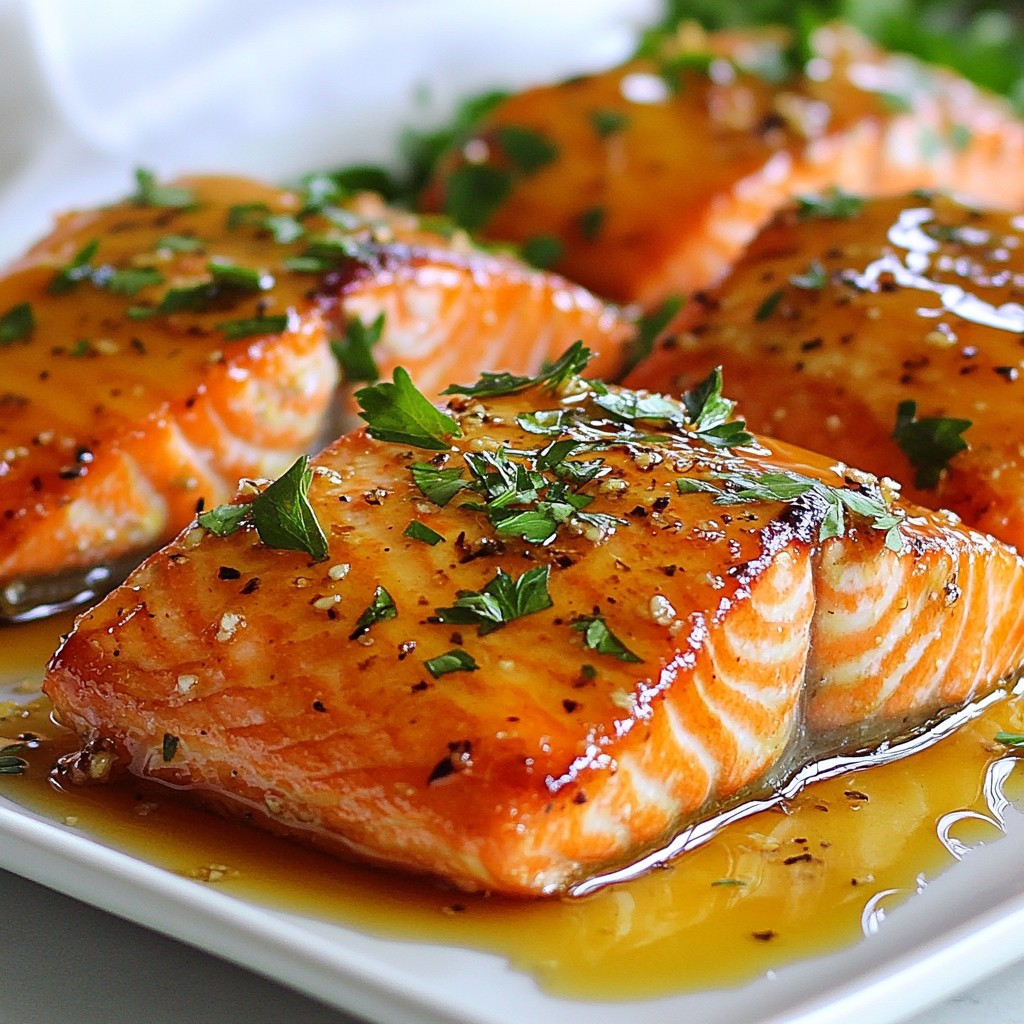
- Deliciously Creamy: The combination of heavy whipping cream and fresh lemon juice creates an irresistibly rich and tangy sauce that elevates the chicken to a whole new level.
- Quick and Easy: This recipe comes together in just 25 minutes, making it perfect for busy weeknights or last-minute dinner guests.
- Flavorful Ingredients: With the aromatic garlic, zesty lemon, and Italian seasoning, every bite is bursting with flavor that will impress your taste buds.
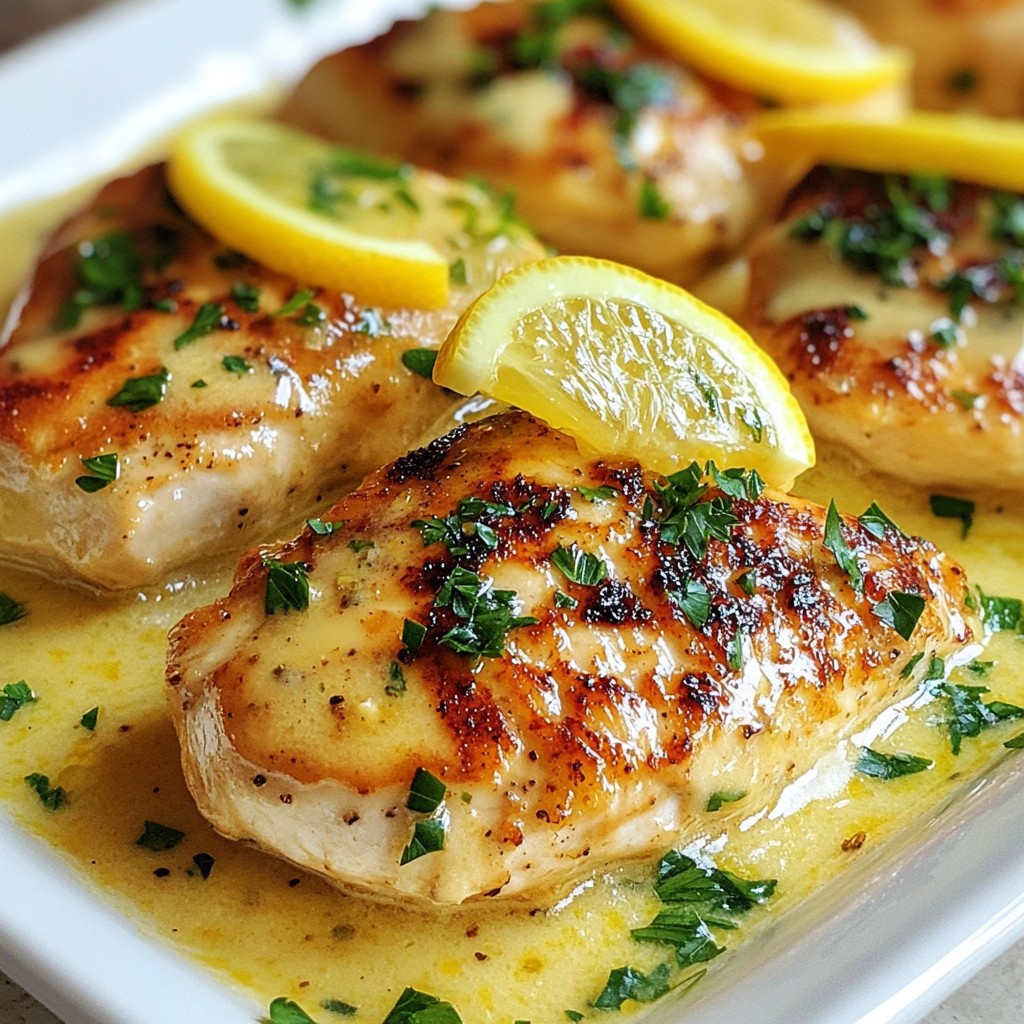
- Elegant Presentation: Garnishing with fresh parsley and lemon slices not only adds a pop of color but also makes this dish look stunning on any table.
Ingredients
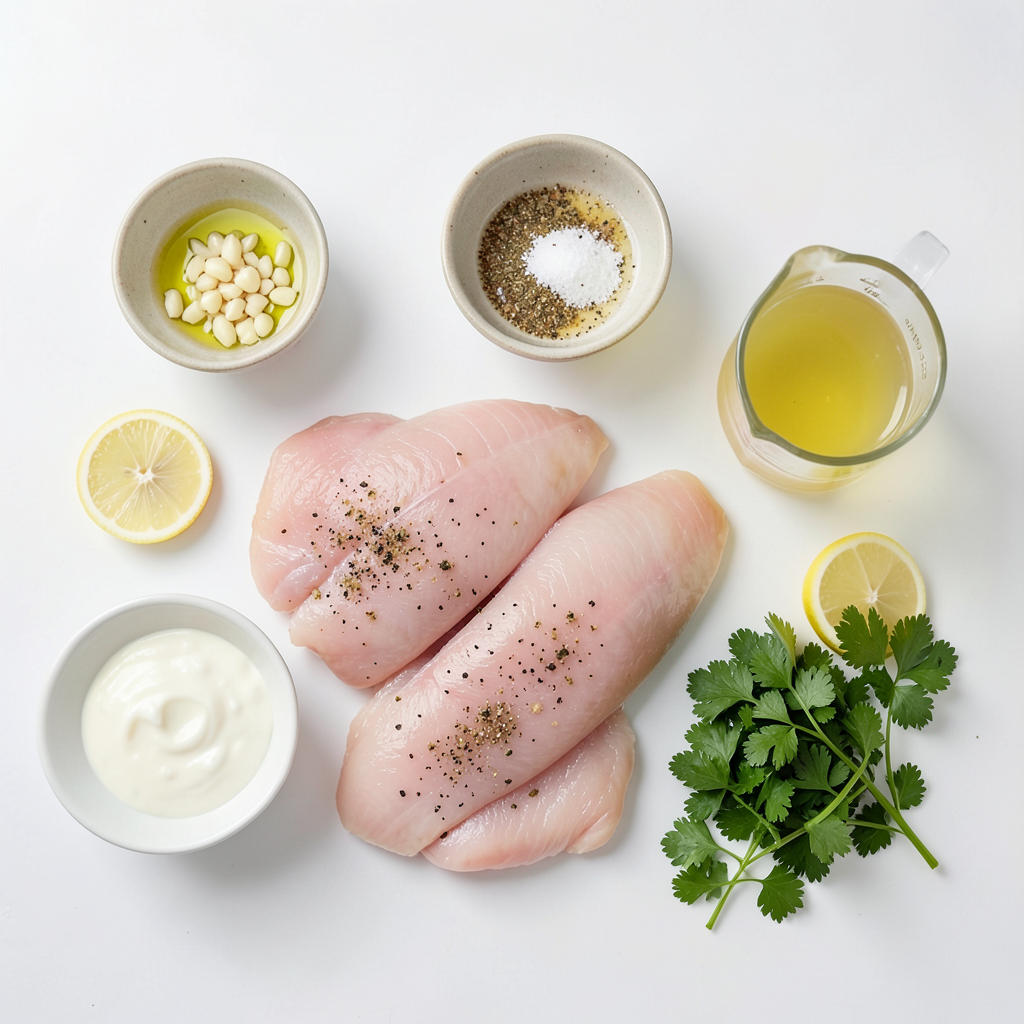
To make Creamy Lemon Garlic Chicken, gather the following fresh ingredients:
- 4 boneless, skinless chicken breasts
- 2 tablespoons extra virgin olive oil
- 4 cloves garlic, finely minced
- 1 teaspoon dried Italian seasoning
- Sea salt and freshly cracked black pepper, to taste
- 1 cup heavy whipping cream
- 1/4 cup low-sodium chicken broth
- Zest of 1 large lemon
- Juice of 1 large lemon
- Fresh parsley, finely chopped (for garnishing)
- Lemon slices, thinly cut (for garnishing)
Each ingredient plays a key role. The chicken breasts provide protein and are tender. The olive oil adds good fat and helps in cooking. Garlic gives a strong, savory flavor that pairs well with lemon. Italian seasoning adds a mix of herbs that enhance the dish. Sea salt and black pepper bring out the taste of all the ingredients.
Heavy cream makes the sauce rich and smooth. Chicken broth adds depth to the flavor. Lemon zest and juice give brightness and tang. Finally, parsley and lemon slices brighten up the dish and make it look beautiful. Using fresh ingredients can really elevate your meal.
Step-by-Step Instructions
Preparation Steps
Seasoning the chicken Start with 4 boneless, skinless chicken breasts. Sprinkle sea salt, black pepper, and dried Italian seasoning on both sides. This step adds great flavor to the chicken.
Searing the chicken Next, heat 2 tablespoons of extra virgin olive oil in a large skillet over medium-high heat. Once the oil is hot, add the seasoned chicken breasts. Sear each side for 5-7 minutes. Look for a golden brown color to know they are ready. Remove the chicken and let it rest on a plate, covering it with aluminum foil to keep it warm.
Sauce Creation
Sautéing garlic In the same skillet, lower the heat to medium. Add 4 cloves of finely minced garlic. Sauté for about 30 seconds, stirring often. You want the garlic to smell good but not burn.
Adding broth and simmering Pour in 1/4 cup of low-sodium chicken broth. Scrape the bottom of the skillet with a wooden spoon. This lifts all the tasty bits stuck to the pan. Let the mixture simmer for about 2 minutes. This step builds flavor in the sauce.
Completing the Dish
Incorporating cream and lemon Now, lower the heat to low. Add 1 cup of heavy whipping cream, the zest of 1 lemon, and the juice of that same lemon. Stir well and let it simmer for 3-4 minutes. The sauce will thicken slightly and become creamy.
Returning chicken to skillet Finally, place the seared chicken back into the skillet. Make sure each piece is well-coated with the sauce. Let it simmer for another 2-3 minutes to reheat the chicken and meld the flavors together. Taste the sauce and add more salt or pepper if you like.
Tips & Tricks
Cooking Tips
- Perfectly searing chicken: Start with a hot skillet and add oil. Ensure the chicken is dry and seasoned. Place the chicken in the pan without overcrowding. This helps achieve a nice golden crust. Sear each side for 5-7 minutes until cooked through.
- Achieving the right sauce consistency: After adding the cream, let the sauce simmer on low. Stir gently and watch it thicken. If it’s too thick, add a splash of chicken broth. This keeps the sauce creamy and smooth.
Serving Suggestions
- Plating and garnishing ideas: Use a large platter to present the chicken. Drizzle the creamy sauce over the top. Add lemon slices around the chicken for color. Sprinkle fresh parsley for a pop of green. This makes your dish look as tasty as it is!
Pro Tips
- Perfectly Sear the Chicken: To achieve a golden-brown crust, ensure the skillet is hot enough before adding the chicken. A hot pan helps to seal in moisture and flavor.
- Garlic Perfection: When sautéing garlic, keep a close eye on it. It should become fragrant quickly—avoid browning to prevent a bitter taste in your dish.
- Thickening the Sauce: If you prefer a thicker sauce, let it simmer longer before adding the chicken back in. This allows it to reduce and intensify the flavors.
- Flavor Boost: For an extra burst of flavor, consider adding a splash of white wine along with the chicken broth. It will elevate the dish with a subtle depth of taste.
Variations
Ingredient Swaps
Alternative proteins: You can swap chicken for turkey, pork, or tofu. Turkey cutlets work well and cook quickly. Pork chops also add a nice flavor. For a plant-based option, use firm tofu. Press it to remove water, then slice. Cook it like chicken for the same texture.
Dairy-free options: If you need a dairy-free version, try coconut cream instead of heavy cream. It adds a rich taste. Use vegetable broth in place of chicken broth. This keeps the dish flavorful without dairy.
Flavor Enhancements
Additional herbs and spices: To boost flavor, add fresh herbs like thyme or rosemary. A sprinkle of red pepper flakes gives a little heat. You can also try smoked paprika for a different taste. These herbs and spices can make your dish unique.
Vegetable additions: Consider adding spinach or kale to the sauce. They add color and nutrition. Mushrooms also work well. Sauté them with the garlic for a deep flavor. Peas or cherry tomatoes can make the dish more vibrant. Add them just before serving for a fresh touch.
Storage Info
Refrigeration Guidelines
Once you finish your Creamy Lemon Garlic Chicken, let it cool down. Place any leftovers in an airtight container. You can store it in the fridge for up to three days. Make sure you seal it well to keep it fresh. If you want to keep it longer, consider freezing it.
Reheating Instructions
When you're ready to enjoy your leftovers, reheating is key. The best method is to use a skillet. Heat the skillet over medium heat. Add a splash of chicken broth or water to help keep the sauce creamy. Place the chicken in the skillet and cover it. This helps the chicken heat evenly. Stir occasionally until everything is hot. You can also use the microwave if you're in a hurry. Just place the chicken in a microwave-safe dish, cover it, and heat in short bursts. This way, you avoid drying it out.
FAQs
What can I serve with Creamy Lemon Garlic Chicken?
You can serve this dish with many sides. Here are some great options:
- Steamed broccoli or green beans
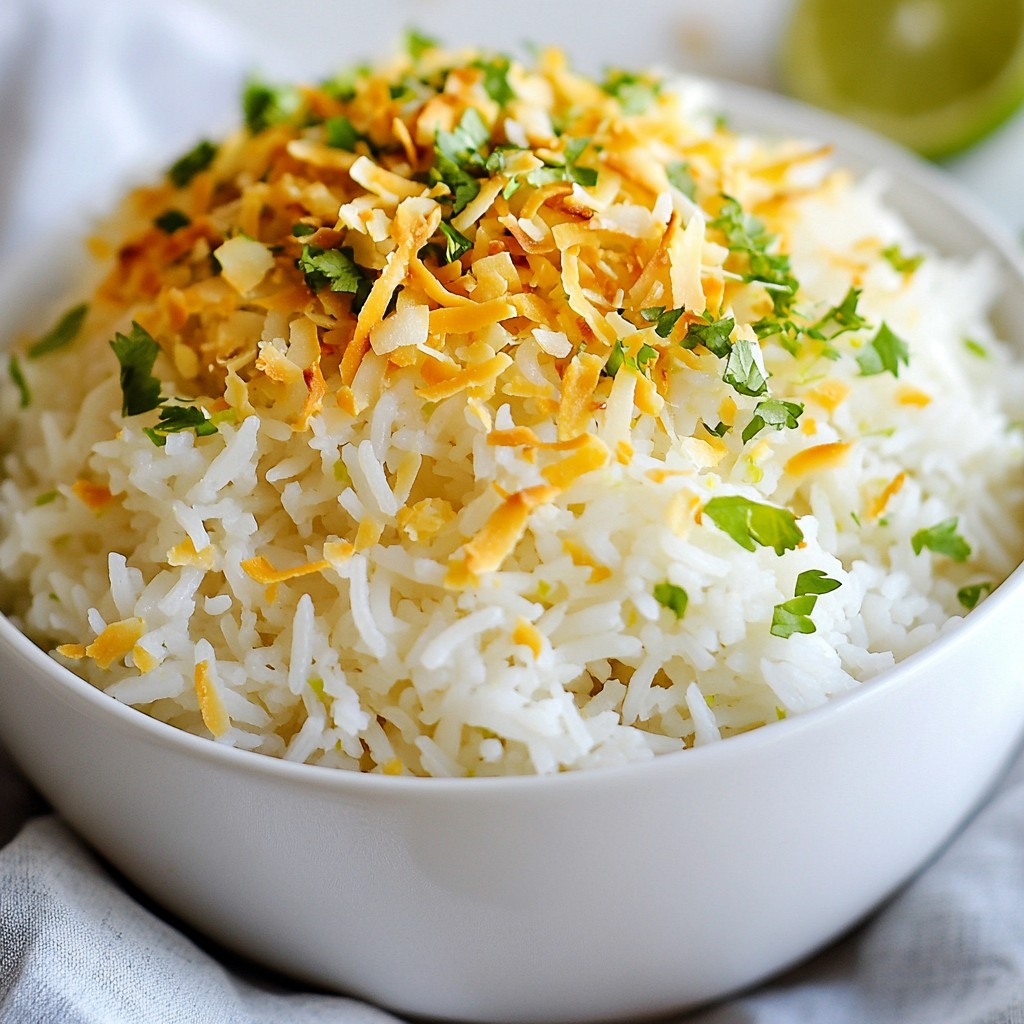
- Mashed potatoes or rice
- A fresh garden salad
- Garlic bread or crusty rolls
Each of these pairs well with the creamy sauce. They add flavor and texture to your meal.
Can I make it ahead of time?
Yes, you can make this dish ahead of time. Cook the chicken and sauce, then store them separately. This keeps the chicken juicy.
When you're ready to eat, reheat the chicken gently. Mix it with the sauce. This keeps the flavors fresh.
Is it suitable for meal prep?
Definitely! Creamy Lemon Garlic Chicken is great for meal prep. You can portion it out into containers. Pair it with your favorite sides.
Store the containers in the fridge. This makes for quick, tasty meals during the week. Just reheat and enjoy!
This blog post covered how to make Creamy Lemon Garlic Chicken. First, we explored the key ingredients needed for this dish. Then, I shared step-by-step instructions for preparing the chicken and creating a tasty sauce. Tips and tricks helped ensure perfect results, while variations showed how to customize the dish. Lastly, I provided storage info and answered common questions.
Now, you have the tools to create a delicious meal. Enjoy making this dish your own!