Craving something chocolaty and rich? You’ve stumbled upon the perfect recipe for classic chocolate brownies. These decadent treats are simple to make and will satisfy any sweet tooth. With a short list of essential ingredients, I’ll guide you step-by-step to create the ultimate gooey brownies. Are you ready to whip up a batch that’s irresistibly delicious? Let’s dive into the world of brownie bliss!
Ingredients
List of Essential Ingredients
– 1 cup (225g) unsalted butter, melted
– 2 cups (400g) granulated sugar
– 4 large eggs
– 1 teaspoon vanilla extract
– 1 cup (130g) all-purpose flour
– 1 cup (90g) unsweetened cocoa powder
– 1/2 teaspoon salt
– 1/2 teaspoon baking powder
– 1 cup (175g) chocolate chips
– 1/2 cup (75g) chopped walnuts or pecans (optional)
The ingredients for classic chocolate brownies are simple but essential. Each one plays a key role in making these treats rich and tasty.
– Butter: It gives the brownies their moist texture and rich flavor. Use unsalted butter for better control of salt levels.
– Sugar: Granulated sugar adds sweetness and helps create that glossy top. You can also experiment with brown sugar for a deeper flavor.
– Eggs: They bind everything together. Use large eggs for the best results.
– Vanilla extract: This adds a lovely aroma and enhances the chocolate flavor.
– All-purpose flour: It provides structure to the brownies. Too much can make them dry.
– Cocoa powder: Unsweetened cocoa gives that deep chocolate taste. Use high-quality cocoa for better results.
– Salt: Just a bit of salt enhances all the flavors.
– Baking powder: This is key for a slight lift, making the brownies less dense.
– Chocolate chips: These add gooey pockets of chocolate. Choose dark or semi-sweet for richness.
– Nuts: Chopped walnuts or pecans add a crunchy texture. They are optional but add a nice bite.
Ingredient Substitutions
– Butter alternatives: If you want a dairy-free version, you can use coconut oil or vegan butter.
– Different types of sugars: You can mix in brown sugar for a richer taste or use coconut sugar for a healthier twist.
– Gluten-free options: For gluten-free brownies, substitute all-purpose flour with almond flour or a gluten-free blend.
These ingredients create a classic brownie that is both decadent and irresistible.
Step-by-Step Instructions
Prepping the Oven and Pan
1. Preheat your oven to 350°F (175°C).
2. Grease or line a 9×13 inch baking pan with parchment paper. This helps with easy removal later.
Making the Batter
1. In a large bowl, mix the melted butter and sugar together. Stir until smooth.
2. Add four large eggs, one at a time. Blend well after each addition.
3. Pour in one teaspoon of vanilla extract. This adds a nice aroma.
4. In another bowl, sift together one cup of all-purpose flour, one cup of cocoa powder, half a teaspoon of salt, and half a teaspoon of baking powder. This prevents lumps.
5. Gradually mix the dry ingredients into the wet mixture. Use a spatula to fold gently. Do not overmix; this keeps your brownies soft.
Baking and Cooling
1. Carefully fold in one cup of chocolate chips and half a cup of chopped nuts if you like.
2. Pour the batter into the prepared pan. Spread it evenly.
3. Bake for 25 to 30 minutes. Test for doneness using a toothpick. It should come out with a few moist crumbs.
4. Let the brownies cool in the pan for about 15 minutes. If you used parchment paper, lift them out for easier cutting. Otherwise, cool them in the pan.
5. Cut into squares and enjoy your decadent treat!
Tips & Tricks
Achieving the Perfect Texture
To get the best brownies, avoid overmixing the batter. When you mix too much, you add air. This can make brownies tough instead of soft. Stir just until the dry and wet ingredients blend together. You want a thick, gooey batter. This ensures your brownies come out rich and fudgy.
To ensure gooey brownies, underbake them slightly. Bake them until a toothpick shows moist crumbs. This means they are perfectly gooey. Let them cool in the pan for a bit before cutting. This helps set the texture.
Enhancing Flavor
For a rich taste, I recommend dark or semi-sweet chocolate chips. They melt beautifully and add depth. You can also add spices or extracts for more flavor. A pinch of cinnamon or a splash of espresso can elevate your brownies. Vanilla extract adds warmth and sweetness.
Cutting and Serving
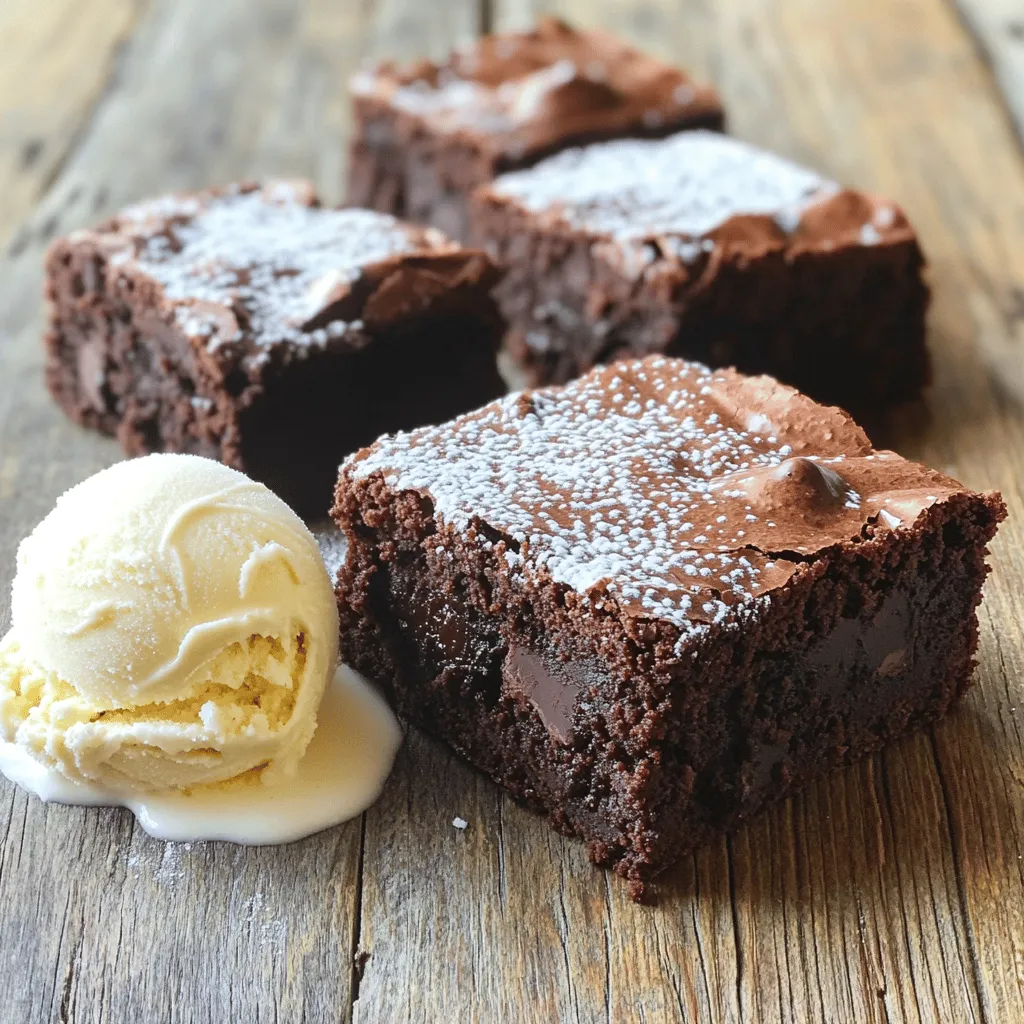
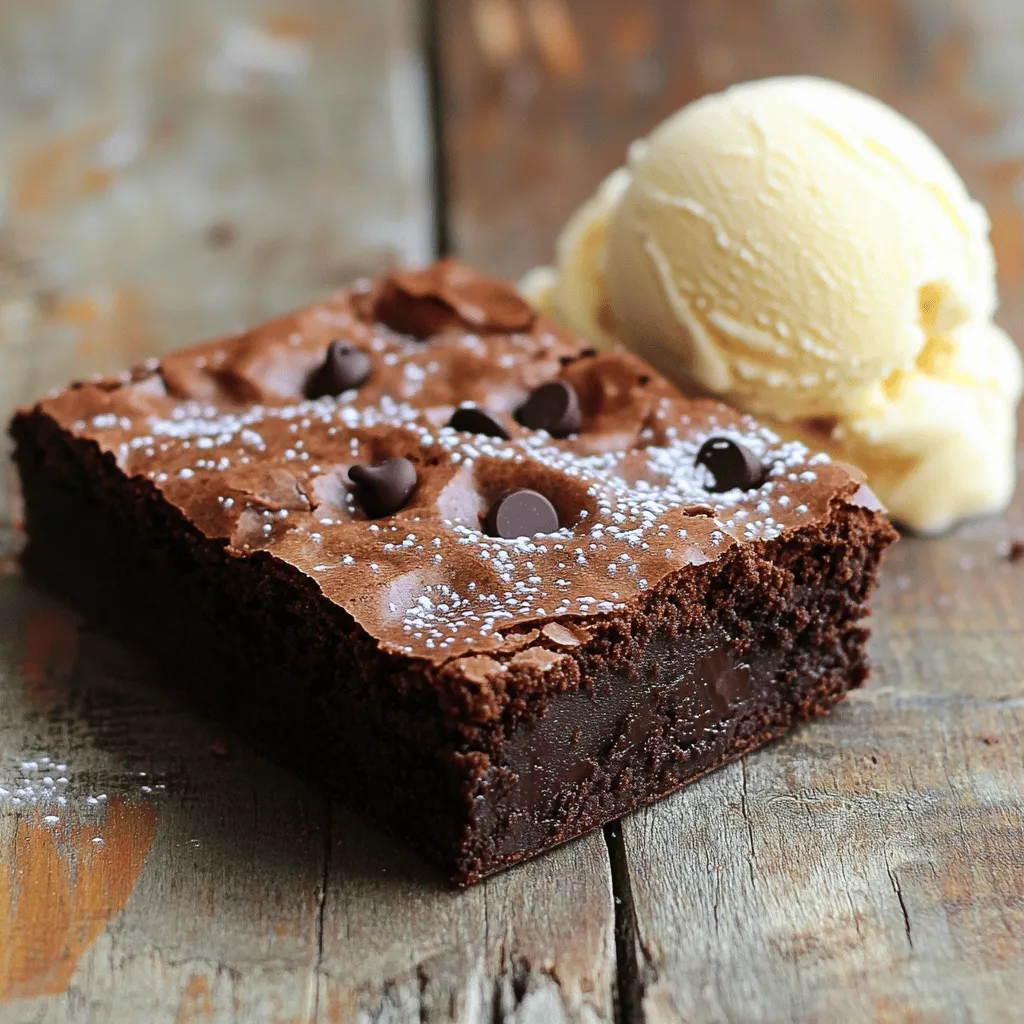
Cutting brownies can be tricky. Use a sharp knife for clean edges. Wipe the knife between cuts to keep the slices neat. For a lovely presentation, dust the brownies with powdered sugar. You can also serve them with a scoop of vanilla ice cream. This makes for a delicious treat.
Variations
Nutty Brownies
You can easily add a nutty crunch to your brownies. Use walnuts or pecans for this. Chop them into small pieces. Fold them gently into the batter before baking. This adds a lovely texture and flavor. The nuts also bring a nice contrast to the smooth chocolate. If you like, you can mix different nuts for fun flavors.
Swirling Add-ins
Swirling flavors into brownies makes them even more special. You can use cream cheese or peanut butter. Just soften them a bit first. Drop spoonfuls into the brownie batter. Then, use a knife to swirl gently. This creates beautiful patterns in your brownies. It also adds a creamy texture that pairs well with chocolate.
Flavor Combinations
Mixing flavors can make your brownies unique. Try mint chocolate brownies for a fresh twist. Just add mint extract to the batter. For coffee lovers, espresso or coffee-infused brownies are great too. Brew some strong coffee and mix it into the batter. Both of these options enhance the chocolate taste and make them extra tasty.
Storage Info
How to Store Brownies
To keep your brownies fresh, consider where to store them. You can choose to keep them at room temperature or in the fridge.
– Room Temperature: Place brownies in an airtight container. This keeps them moist. They will stay good for about 3 to 4 days.
– Refrigerator: Storing brownies in the fridge is great for longer freshness. Use an airtight container. They can last up to a week this way.
For best results, always let brownies cool completely before storing. This prevents excess moisture and keeps them from becoming soggy.
Duration for Freshness
Brownies taste best when eaten fresh. However, they can last a bit longer with proper storage.
– Optimal Taste and Texture: Enjoy your brownies within the first 2 to 3 days for the best flavor and texture.
– Signs of Spoilage: If you see mold or a change in smell, it’s best to throw them away. Brownies that feel dry or hard also indicate they are past their prime.
By following these tips, you can enjoy your decadent chocolate brownies for days!
FAQs
How do I know when brownies are done?
To check if your brownies are done, use a toothpick. Insert it into the center of the brownies. If it comes out with a few moist crumbs, your brownies are ready. If it comes out wet, bake them a bit longer. Keep a close eye on the time, as every oven is different. I recommend checking them a few minutes before the timer goes off. This test helps ensure you get that perfect gooey texture.
Can I freeze brownies?
Yes, you can freeze brownies! First, let them cool completely. Then, cut them into squares. Wrap each square in plastic wrap. Place the wrapped brownies in a freezer-safe bag or container. Make sure to label the bag with the date. To thaw, take them out of the freezer. Leave them in the fridge overnight or on the counter for a few hours. This way, you can enjoy your brownies later.
What makes brownies fudgy vs cakey?
The difference between fudgy and cakey brownies lies in the ingredients and baking time. Fudgy brownies have more fat, like butter and chocolate, and less flour. This creates a dense and rich treat. Cakey brownies contain more flour and baking powder, giving them a lighter and fluffier texture. Bake fudgy brownies for a shorter time for that gooey center. If you want cakey brownies, bake them a bit longer. Adjusting these factors helps you achieve your desired brownie texture.
In this blog post, we explored essential ingredients for delicious brownies, including butter, sugar, and chocolate chips. I shared handy tips on tweaks, like dairy-free options and enhancing flavors. You learned step-by-step instructions, from prepping the oven to achieving the perfect texture.
Remember, you can easily customize your brownies with different nuts or flavor swirls. Store them right to keep them fresh. Now, go ahead and bake some mouth-watering treats that your friends and family will love!


