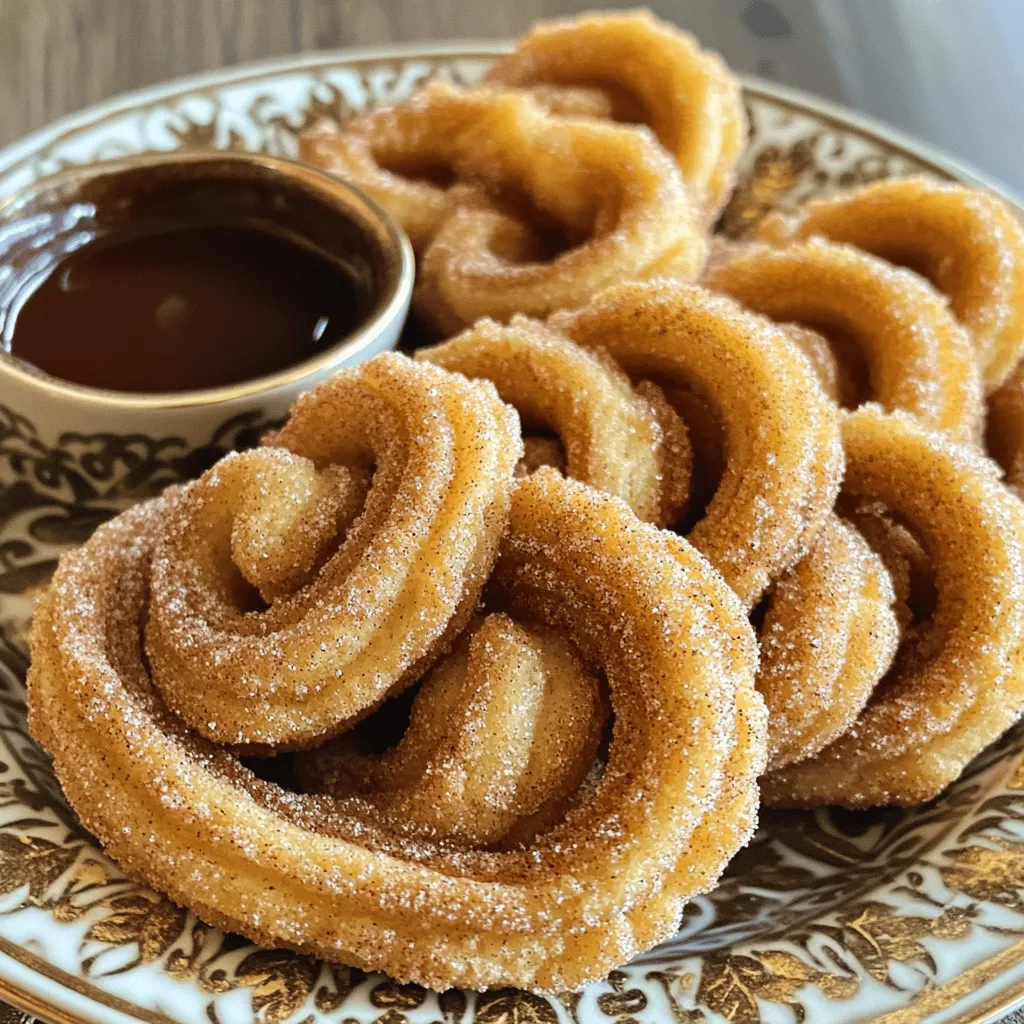
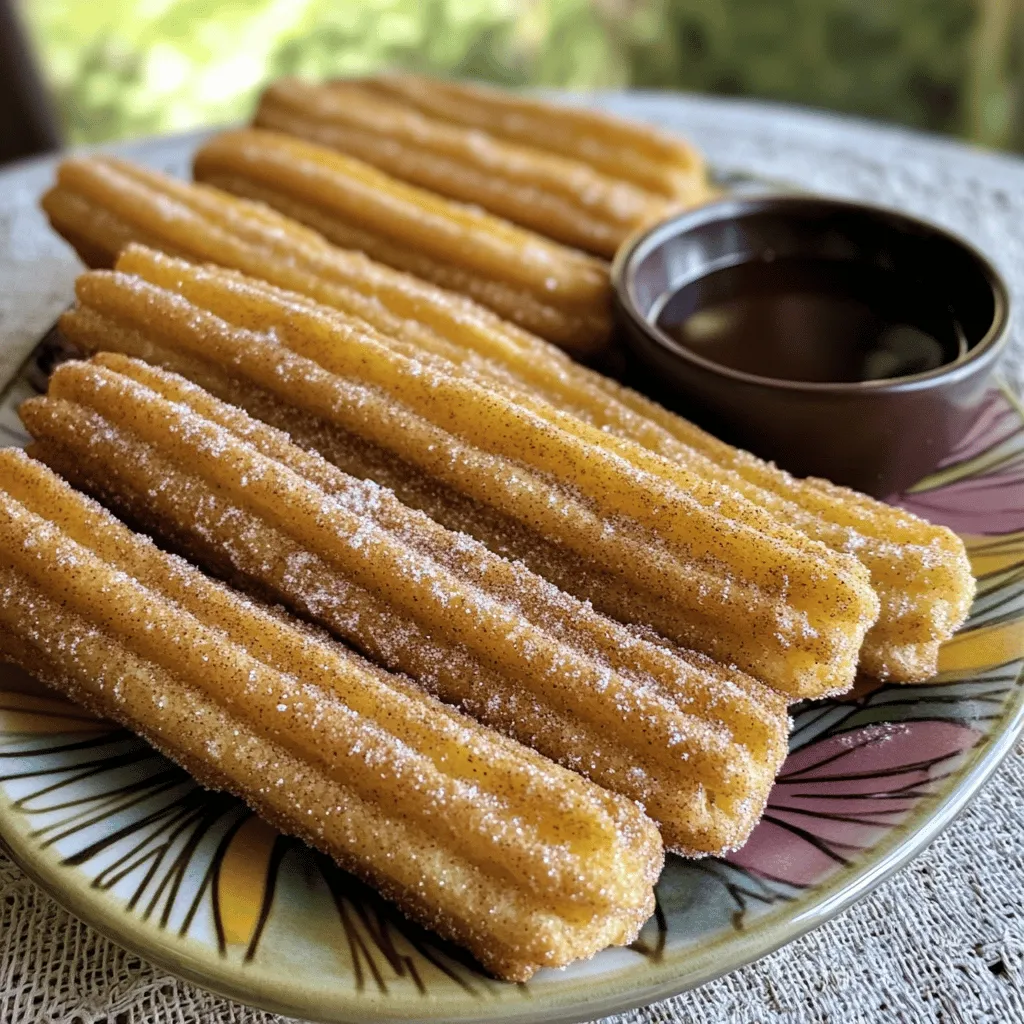
If you love sweet treats, you’re in for a real treat. Cinnamon sugar churro cookies are soft, warm, and coated in sweet cinnamon goodness. In this guide, I’ll show you how to make these cookies step-by-step. You’ll also learn tips, tricks, and fun variations to make them your own. Get ready to bake up something delicious that will wow your family and friends!
Ingredients
Main Ingredients for Cinnamon Sugar Churro Cookies
To make these tasty churro cookies, you need a few key ingredients:
– 1 cup unsalted butter, softened to room temperature
– 1 cup granulated sugar
– 2 large eggs
– 1 teaspoon pure vanilla extract
– 3 cups all-purpose flour
– 1 tablespoon baking powder
– 1 teaspoon fine sea salt
– 2 teaspoons ground cinnamon
These ingredients work together to create a soft, flavorful cookie. The butter gives richness, while the sugar adds sweetness. Eggs help bind everything, and flour gives structure. Baking powder makes the cookies rise. Each ingredient plays a vital role.
Ingredients for Cinnamon Sugar Coating
The coating is where the magic happens. You will need:
– 1/2 cup granulated sugar
– 1 tablespoon ground cinnamon
– 1/4 cup unsalted butter, melted
This coating gives your cookies that classic churro taste. The sugar adds sweetness, while the cinnamon brings warmth and spice.
Tips for Choosing Quality Ingredients
Choosing the best ingredients makes a big difference. Here are some tips:
– Butter: Use high-quality unsalted butter for the best flavor.
– Sugar: Granulated sugar keeps the cookies sweet and helps with texture.
– Eggs: Choose fresh eggs for the best results.
– Flour: All-purpose flour is key for the right texture. Use a brand you trust.
– Cinnamon: Fresh ground cinnamon gives a stronger flavor. Check the date on the jar.
Using quality ingredients ensures your churro cookies taste amazing. Trust me, you will taste the difference!
Step-by-Step Instructions
Preparation Steps Overview
To start, gather all your ingredients. You need butter, sugar, eggs, flour, baking powder, salt, and cinnamon. Measure each one carefully to ensure the best result. Preheat your oven to 350°F (175°C). This step is key for even baking. Prepare two baking sheets by lining them with parchment paper. This will help your cookies not stick.
Detailed Baking Instructions
In a large bowl, cream together the softened butter and sugar. Use an electric mixer on medium speed. Mix it for about 3-4 minutes until light and fluffy. Next, add the eggs one by one. Mix well after each egg. Then add the vanilla extract and mix again.
In a separate bowl, whisk the flour, baking powder, sea salt, and cinnamon. Once mixed, slowly add this dry mixture to the wet ingredients. Mix on low speed until just combined. Don’t overmix; the dough should be soft but thick.
Scoop rounded balls of dough onto the prepared baking sheets. Space them about 2 inches apart. This gives them room to spread while baking. Bake in the oven for 12-15 minutes. Check for lightly golden edges and set centers.
Cooling and Coating Process
While cookies bake, make the cinnamon sugar coating. In a shallow bowl, mix 1/2 cup of sugar and 1 tablespoon of cinnamon. After baking, let the cookies cool for 5 minutes on the sheets. This helps them firm up a bit.
Next, use a pastry brush to coat the tops with melted butter. Then roll each cookie in the cinnamon sugar mixture. Ensure they are fully covered for that delicious flavor. Finally, transfer the cookies to a wire rack to cool completely. Enjoy them warm or save some for later!
Tips & Tricks
Achieving the Perfect Texture
To get soft and chewy churro cookies, start with softened butter. Cream it well with sugar until fluffy. This step adds air, making cookies light. When combining wet and dry ingredients, mix until just combined. Overmixing can lead to tough cookies. After baking, let them cool slightly before rolling in cinnamon sugar. This keeps them tender inside.
Common Mistakes to Avoid
One common mistake is forgetting to measure ingredients correctly. Always use proper measuring cups. Too much flour can make cookies dry. Another mistake is baking for too long. Keep an eye on them. The edges should be golden, but the center should look set. Lastly, don’t skip the melted butter before rolling in the cinnamon sugar. This helps the sugar stick well.
How to Store and Reheat Cookies
To keep your cookies fresh, store them in an airtight container. They will stay good for about a week. If you want to enjoy them later, you can freeze them. Place cookies in a single layer in a freezer bag. When ready to eat, let them thaw at room temperature. For a warm treat, pop them in the microwave for a few seconds. Enjoy delicious, warm cookies anytime!
Variations
Unique Flavor Combinations
You can make these churro cookies even more fun. Try adding chocolate chips or nuts for a crunchy twist. You can mix in some orange zest for a bright flavor. If you love spice, add a pinch of cayenne pepper to the dough. This gives a nice kick! You can also explore different extracts, like almond or coconut, for a new taste.
Dietary Adjustments for Gluten-Free or Vegan Options
Making these cookies gluten-free is easy! Use a 1:1 gluten-free flour blend instead of all-purpose flour. For vegan churro cookies, swap the butter for coconut oil and the eggs for flax eggs. Mix one tablespoon of ground flaxseed with three tablespoons of water and let it sit for a few minutes. This will help bind your dough.
Decorating Ideas for Special Occasions
To make these cookies stand out, try using colorful sprinkles on top of the cinnamon sugar. For a festive touch, drizzle melted chocolate over the cookies. You can also shape the dough into fun forms like stars or hearts for parties. Adding a scoop of ice cream on the side makes for a delightful dessert. These small changes can make your cookies an eye-catching treat!
Storage Info
Best Practices for Storing Cookies
To keep your cinnamon sugar churro cookies fresh, let them cool completely first. Place them in an airtight container. This will help keep them soft and tasty. Use parchment paper between layers if stacking. This prevents sticking and helps them stay nice.
Freezing Instructions for Longer Storage
If you want to save some cookies for later, freezing is a great option. First, let the cookies cool down. Then, wrap each cookie in plastic wrap. After that, place them in a freezer-safe bag. Make sure to remove any air before sealing. You can freeze them for up to three months. When you want a cookie, just thaw it at room temperature.
Shelf Life of Cinnamon Sugar Churro Cookies
Cinnamon sugar churro cookies last about a week at room temperature in an airtight container. If you store them in the fridge, they can last about two weeks. Just remember, the longer they sit, the less fresh they taste. Always check for any signs of staleness before enjoying!
FAQs
How do I know when the cookies are done baking?
You can tell the cookies are done when the edges turn light golden. The centers should look set but soft. They will firm up as they cool. Keep an eye on them during the last few minutes. Set a timer for 12 minutes and check for doneness. If they need more time, add only a minute or two.
Can I make the dough ahead of time?
Yes, you can make the dough ahead of time. After mixing, wrap it well in plastic wrap. Store it in the fridge for up to 2 days. When ready to bake, let it sit at room temperature for about 10 minutes. This helps the dough soften for easier scooping.
What can I substitute if I don’t have unsalted butter?
If you don’t have unsalted butter, you can use salted butter. Just skip adding extra salt in the dough. You can also use coconut oil or vegetable shortening. Both will work, but they may change the taste a bit.
How to reheat the cookies for the best taste?
To reheat the cookies, preheat your oven to 350°F (175°C). Place the cookies on a baking sheet. Heat them for about 5 minutes. This method keeps them soft and fresh. You can also use the microwave. Heat them for 10-15 seconds, but be careful not to overdo it.
Cinnamon sugar churro cookies are a treat that brings joy. We covered the main ingredients and the best ways to prepare them. I shared tips for achieving perfect texture and avoiding common mistakes. You can explore variations to make them unique for any event. Lastly, we discussed the best storage practices to keep your cookies fresh. Try making these cookies, enjoy them, and share them with friends. They are sure to love every bite!


