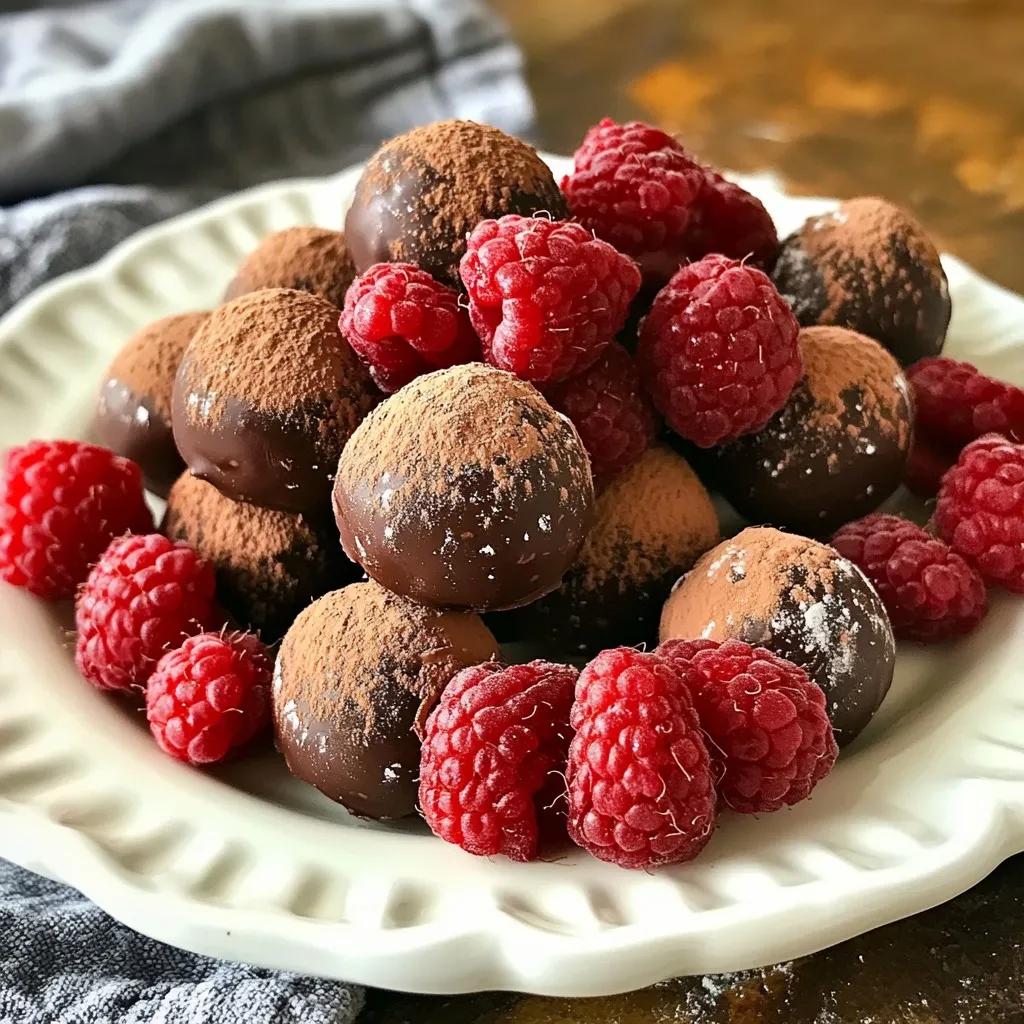
Welcome to your new favorite treat: chocolate covered raspberry truffles! These little bites of joy blend rich chocolate with tangy raspberry. You’ll love how easy they are to make! I’ll guide you through the best ingredients, simple steps, and helpful tips. Whether you’re a pro or just starting, you’ll impress everyone with these goodies. Get ready to delight your taste buds and learn all the secrets behind this indulgent recipe!
Why I Love This Recipe
- Indulgent Flavor Combination: The rich dark chocolate paired with the tartness of fresh raspberries creates an exquisite flavor experience that is simply irresistible.
- Simple Preparation: This recipe requires minimal ingredients and effort, making it perfect for both novice and experienced bakers alike.
- Perfect for Gifting: These truffles make a stunning homemade gift, beautifully packaged to impress your friends and family during special occasions.
- Customizable Delight: You can easily adapt the recipe by adding different flavors or coatings, allowing you to create your own unique truffle variations.
Ingredients
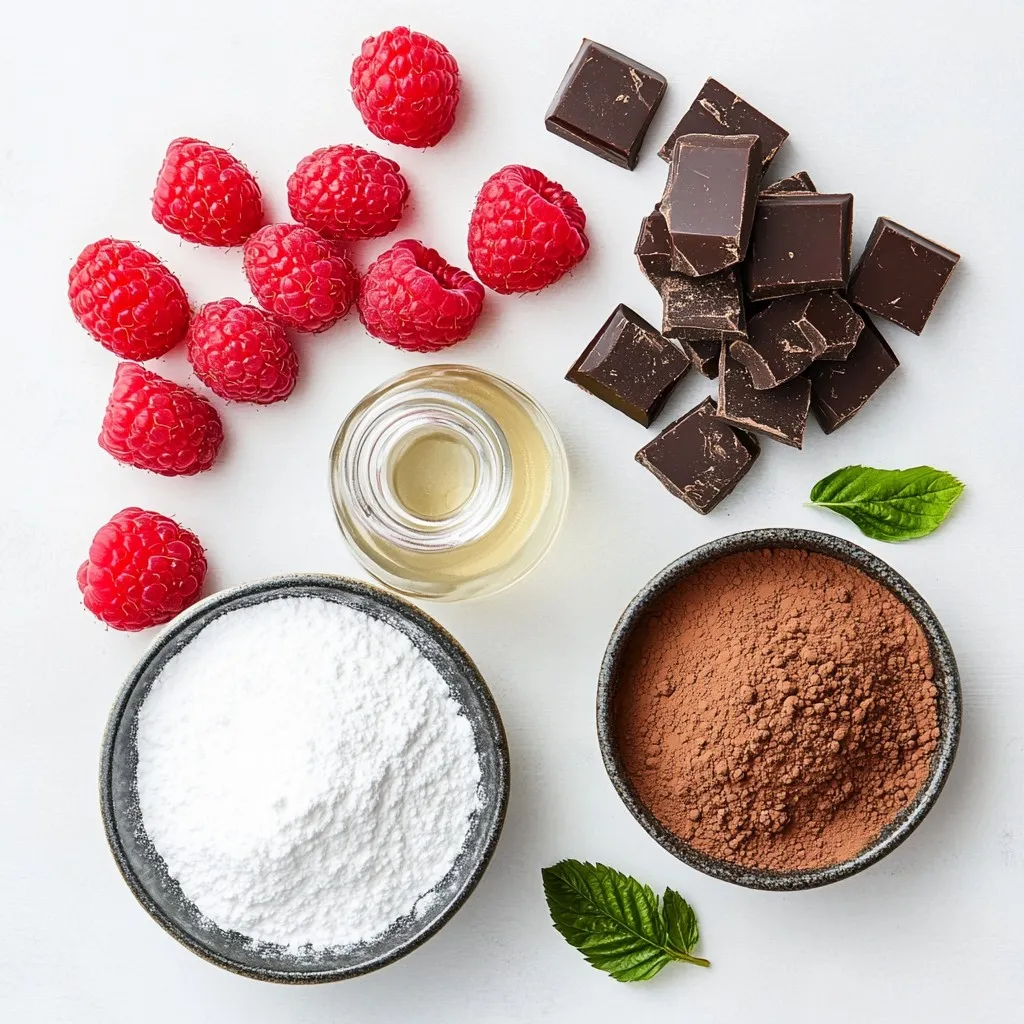
List of Ingredients
– 1 cup fresh raspberries, gently rinsed and dried
– 8 ounces high-quality dark chocolate (70% cocoa), finely chopped
– 1/2 cup heavy cream
– 1 teaspoon pure vanilla extract
– 1 tablespoon unsweetened cocoa powder, for dusting
– 1/4 cup powdered sugar, for dusting
– A pinch of flaky sea salt
Importance of Ingredient Quality
Using high-quality ingredients makes a big difference in truffles. Fresh raspberries add natural sweetness and tang. Dark chocolate gives a rich taste. I recommend chocolate with at least 70% cocoa for the best flavor. Heavy cream creates a smooth, creamy texture. If the ingredients are fresh and good quality, your truffles will shine.
Suggested Substitutions
You can swap ingredients for different flavors. If fresh raspberries are not available, use frozen ones. Just thaw and drain them well. For a dairy-free option, try coconut cream instead of heavy cream. You could also use white chocolate if you prefer a sweeter taste. These changes can help you enjoy the truffles even more!
Step-by-Step Instructions
Overview of Cooking Process
Making chocolate covered raspberry truffles is simple and fun. You start by heating cream, then mix in chocolate. After that, fold in raspberries. Chill, roll, and coat the truffles for a tasty treat.
Detailed Cooking Steps
1. Heat the heavy cream in a small saucepan over medium heat. Stir until it simmers gently.
2. Remove the pan from heat and add the chopped dark chocolate. Let it sit for one minute. Stir until it melts and becomes smooth.
3. Gently fold in the fresh raspberries. Be careful to keep them whole for a burst of flavor.
4. Add the vanilla extract and a pinch of flaky sea salt. Stir carefully until it is well mixed.
5. Pour the mixture into a bowl. Cover it tightly with plastic wrap. Refrigerate for 1-2 hours until it firms up.
6. Once chilled, scoop out small portions with a melon baller or your hands. Roll them into smooth balls.
7. Place the rolled truffles on a baking sheet lined with parchment paper.
8. Mix the cocoa powder and powdered sugar in a shallow dish. Roll each truffle in this mix until they are well coated.
9. Return the truffles to the lined baking sheet and chill for another 30 minutes to set completely.
Tips for Each Step
– For heating cream, watch closely to avoid boiling. It should just simmer.
– When adding chocolate, let it rest for a minute. This makes stirring easier.
– When folding in raspberries, do it gently. You want them to stay whole.
– Use good-quality dark chocolate for the best taste. Aim for 70% cocoa or higher.
– If the mixture is too soft after chilling, let it sit in the fridge longer.
– Roll the truffles quickly to keep them smooth. Warm hands can make them sticky.
– Coat the truffles well in the cocoa mix. This adds flavor and prevents stickiness.
– Give the truffles time to chill again. This helps them keep their shape.
Tips & Tricks
Common Mistakes to Avoid
When making chocolate covered raspberry truffles, avoid overcooking the cream. If the cream boils, it can ruin the texture. Also, don’t rush the cooling time. Chilling the mixture helps it firm up for easy rolling. Lastly, be gentle when folding in the raspberries. This keeps their shape and ensures a nice burst of flavor.
How to Achieve a Perfect Texture
For a smooth truffle, use high-quality dark chocolate. The cocoa content should be at least 70%. When you mix the chocolate with the cream, let it sit for a minute before stirring. This step helps create a silky texture. If your mixture feels too soft, chill it longer. A well-chilled mixture is easy to shape.
Best Practices for Flavor Enhancement
To enhance the flavor, use fresh raspberries. Their natural sweetness pairs well with dark chocolate. Adding a pinch of flaky sea salt boosts the chocolate’s taste. You can also experiment with other extracts, like almond or orange, for a twist. Dusting with cocoa powder and powdered sugar adds a nice contrast and enhances the overall flavor.
Pro Tips
- Quality Chocolate Matters: Always use high-quality dark chocolate for the richest flavor and smoothest texture in your truffles.
- Keep Raspberries Whole: Gently fold the raspberries into the chocolate mixture to maintain their shape and provide a delightful burst of flavor.
- Chill Thoroughly: Make sure to chill the truffle mixture until it’s firm enough to handle; this ensures a neat and tidy rolling process.
- Dusting Techniques: For a beautiful finish, roll the truffles in a mix of cocoa powder and powdered sugar, creating a balance of sweetness and bitterness.
Variations
Alternative Flavor Profiles
You can change the taste of your truffles easily. Try adding a splash of orange zest for zest and brightness. You might also mix in a few drops of peppermint extract for a cool twist. Want a nutty flavor? Add finely chopped nuts like hazelnuts or almonds for a crunchy surprise. You can even play with spices like cinnamon or chili powder to add warmth. Each of these flavors gives your truffles a new life.
Dietary Adjustments (Vegan, Gluten-Free)
Making vegan truffles is simple! Swap the heavy cream with coconut cream. Use dark chocolate labeled dairy-free to keep it vegan. If you prefer gluten-free options, all the ingredients listed are naturally gluten-free. Just ensure that your chocolate does not contain gluten. This way, everyone can enjoy the tasty treat without worries.
Creative Serving Suggestions
For a fun twist, serve the truffles in small cupcake liners. This adds charm and makes them easy to grab. You can stack them in a jar for a lovely display or gift them in a decorative box. To impress your guests, use a sprinkle of sea salt on top before serving. This adds flavor and a touch of elegance. For a fresh touch, garnish the platter with whole raspberries. Each of these ideas makes your truffles even more delightful!
Storage Info
Best Storage Practices
To keep your chocolate covered raspberry truffles fresh, store them in an airtight container. Line the container with parchment paper to avoid sticking. Place a layer of truffles, then add another layer of parchment before adding more truffles. This method helps preserve their texture and flavor.
How Long Do They Last?
When stored correctly, these truffles last about a week in the fridge. If you keep them at room temperature, they will only last for a couple of days. The cool temperature of the fridge helps maintain the truffles’ creamy texture and rich taste.
Freezing and Thawing Guidelines
You can freeze these truffles for longer storage. To freeze, place them on a baking sheet and freeze until solid. Then, transfer them to an airtight container with parchment between layers. They can last up to three months in the freezer. To thaw, move them to the fridge for a few hours before enjoying. Avoid thawing at room temperature, as it may affect their texture.
FAQs
What is the best chocolate to use for truffles?
The best chocolate for truffles is high-quality dark chocolate. I recommend using chocolate with at least 70% cocoa. This chocolate gives a rich flavor and a smooth texture. Brands like Valrhona or Ghirardelli work well. Avoid using chocolate chips, as they do not melt as smoothly.
Can I make these truffles ahead of time?
Yes, you can make these truffles ahead of time. They stay fresh in the fridge for about a week. Just store them in an airtight container. You can also freeze them for up to three months. Thaw them in the fridge before serving. This makes them perfect for parties or special events.
How do I prevent the truffles from sticking together?
To prevent sticking, roll the truffles in cocoa powder and powdered sugar. This adds a nice layer and keeps them from touching. Use parchment paper on your baking sheet to avoid sticking. If they still stick, chill them for a bit longer before rolling.
This blog post covered key elements for making tasty truffles. We discussed the right ingredients and why their quality matters. I shared recipes and cooking steps to make it easy for you. You learned tips to enhance flavors and avoid common mistakes. We also explored variations for special diets and fun serving ideas. Lastly, I provided storage advice to help keep your truffles fresh. Overall, these insights aim to boost your truffle-making skills and inspire creativity in the kitchen. Enjoy crafting your own delightful treat
<!-- /wp:freefo


