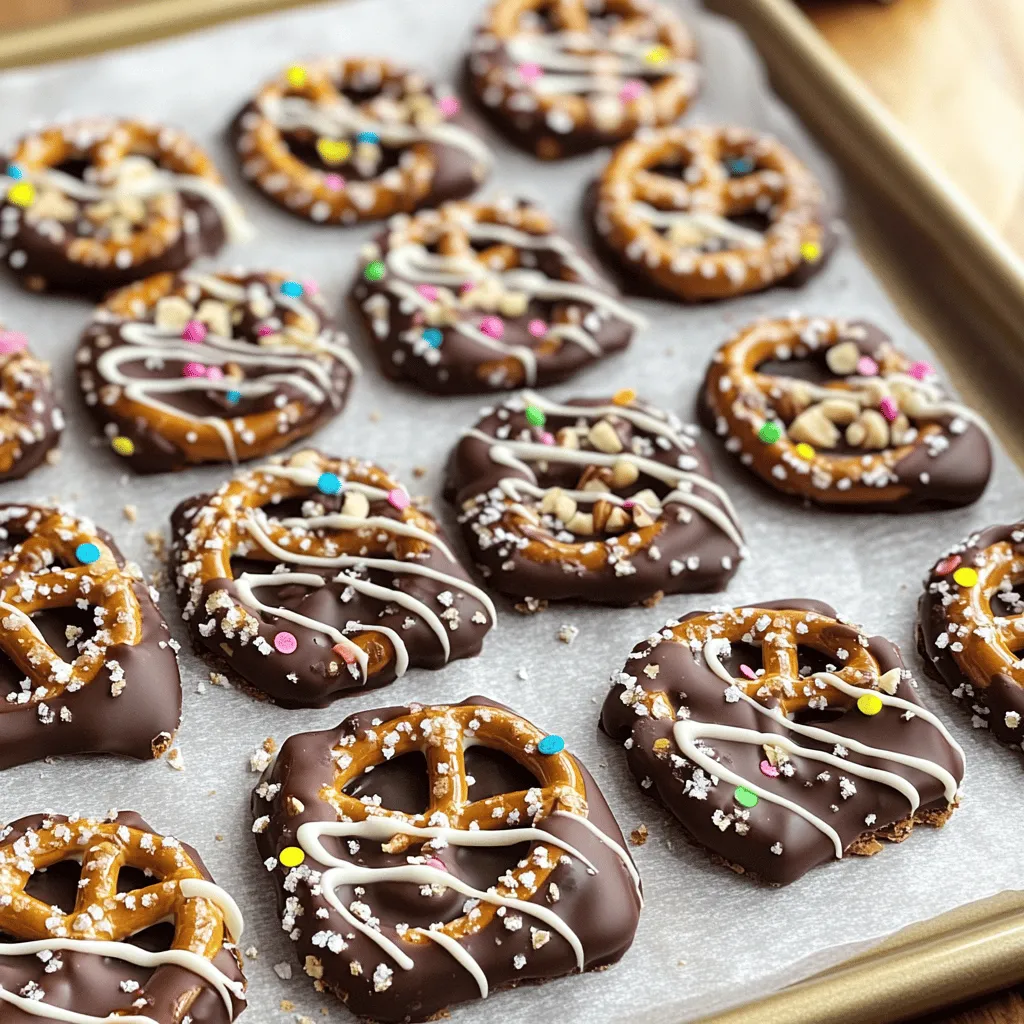
If you love sweet and salty snacks, you’re in for a treat! Chocolate Covered Pretzel Bark is a quick and easy dessert that you can whip up in no time. With a perfect mix of crunchy pretzels, rich chocolate, and fun toppings, it’s hard to resist. In this post, I’ll guide you through each simple step and share tips to make this delightful treat shine. Let’s dive into the sweet world of chocolate bark!
Ingredients
List of Ingredients
– 2 cups pretzel sticks
– 1 cup semi-sweet chocolate chips
– 1 cup creamy white chocolate chips
– 1/2 cup finely crushed nuts (such as almonds, peanuts, or walnuts)
– 1/4 cup fun sprinkles (optional)
– Flaky sea salt, to taste
Ingredient Notes
For best flavor, use high-quality semi-sweet and white chocolate. They melt better and taste richer. If you need substitutes, you can use gluten-free pretzels or omit nuts for a nut-free version. You can also swap in different nuts like pecans or cashews. Make sure your nuts are finely crushed to spread evenly.
Step-by-Step Instructions
Preparation Steps
– Prepare the baking sheet: Take a baking sheet and line it with parchment paper. Make sure to cover the whole surface. This helps when you need to lift the bark later.
– Melt the chocolates separately: In a microwave-safe bowl, add the semi-sweet chocolate chips. Heat them in 30-second bursts. Stir after each round until smooth. Do the same for the white chocolate chips in a different bowl.
Combining and Spreading
– Combine pretzels and melted semi-sweet chocolate: In a large bowl, pour the melted semi-sweet chocolate over the pretzel sticks. Gently mix with a spatula. Make sure each pretzel gets coated well.
– Spread pretzel mixture on the baking sheet: Transfer the chocolate-covered pretzel mix onto the lined baking sheet. Spread it out evenly. Avoid clustering the pretzels too much in one spot.
Final Touches
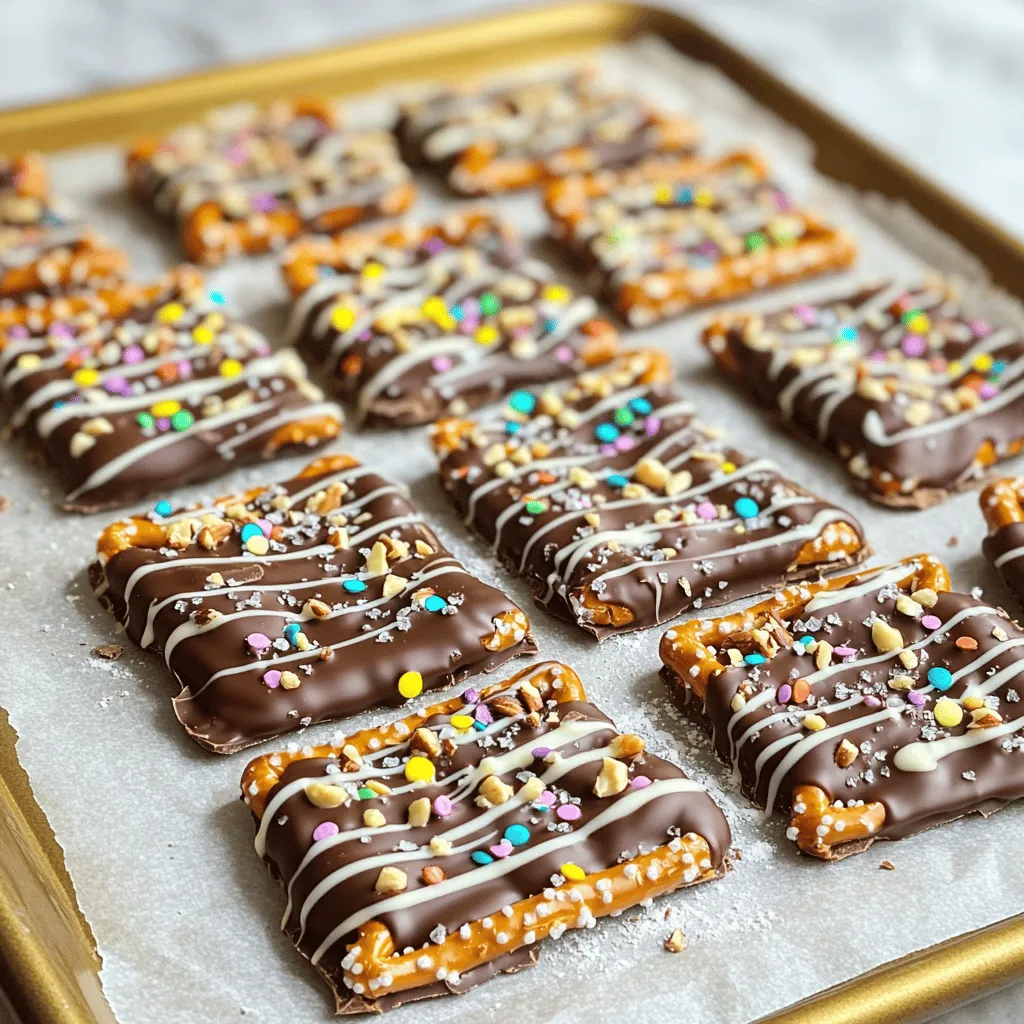
– Drizzle white chocolate and add toppings: With a spoon or piping bag, drizzle the melted white chocolate in a zigzag pattern over the pretzel mix. This adds a fun design.
– Chill until set and break into pieces: Place the baking sheet in the fridge for about 30 minutes. Wait until the chocolate hardens. Once set, remove it from the fridge and break it into uneven pieces for a rustic look.
Tips & Tricks
Achieving the Perfect Texture
How to melt chocolate without burning:
To melt chocolate, use a microwave-safe bowl. Place semi-sweet chocolate chips in the bowl. Microwave them for 30 seconds. Stir well, then microwave again. Repeat until smooth. For white chocolate, follow the same steps. This method helps keep the chocolate silky and avoids burning.
Tips for even coating of pretzels:
To coat the pretzels, pour the melted semi-sweet chocolate over them. Use a spatula to fold and stir gently. Make sure every pretzel gets chocolate. This way, each bite is delicious.
Presentation Ideas
Serving suggestions for parties or snacks:
For a fun party treat, serve your bark on a colorful platter. Choose a plate that matches your theme. Guests will love the look and taste. You can also break the bark into smaller pieces for easy snacking.
Creative ways to package as gifts:
If you want to gift the bark, package each piece in small bags. Use clear bags for a nice view of the pretzel bark. Tie them with colorful ribbons. This adds a personal touch and makes great party favors.
Common Mistakes to Avoid
Overcrowding the baking sheet:
When spreading the chocolate-covered pretzels, give them space. If they are too close, they may stick together. This makes it hard to break them apart later. Aim for an even layer on the baking sheet.
Not allowing chocolate to set properly:
After you finish, chill the bark for about 30 minutes. This step is key for a nice crunch. If you skip it, the chocolate might not set well. Make sure to wait until it is firm before breaking the bark into pieces.
Variations
Flavor Customizations
You can make your chocolate-covered pretzel bark more fun with add-ins. Try mixing in dried fruits like cranberries or cherries. Toffee bits add a sweet crunch. Crushed cookies, like Oreos, can add a delightful twist.
Don’t forget to play with different types of chocolate. Dark chocolate gives a rich taste. Milk chocolate is sweeter and loved by many. You can even try flavored chocolates, like mint or caramel. The options are endless!
Themed Toppings
Let your creativity shine with themed toppings. For Halloween, use spooky sprinkles like ghosts or pumpkins. At Christmas, go for red and green colors. You can even use pastel colors for spring or bright shades for summer.
For added crunch, sprinkle crushed pretzels on top. This gives extra texture and a salty kick. You can mix and match themes and textures to suit any occasion.
Dietary Modifications
If you have dietary needs, don’t worry! You can make vegan bark using dairy-free chocolate. Look for gluten-free pretzels for a tasty treat.
For those with nut allergies, skip the nuts altogether. Add more sprinkles or try seeds like pumpkin or sunflower instead. This way, everyone can enjoy the bark without worry!
Storage Info
Storing Your Bark
To keep your chocolate-covered pretzel bark fresh, store it in an airtight container. This helps to keep moisture out and flavor in. Use a container that fits the bark well, so it does not break apart. You can keep the bark at room temperature for up to two weeks. If you want it to last longer, consider refrigerating it.
Freezing Chocolate Bark
If you wish to extend the life of your bark, freezing is a great option. First, cut the bark into pieces. Then, wrap each piece in plastic wrap or place them in a freezer-safe bag. This prevents freezer burn and keeps the taste intact. You can freeze the bark for up to three months. When you’re ready to enjoy it, take the pieces out and let them thaw in the fridge for about an hour. This keeps the texture smooth and tasty.
FAQs
What is the best way to melt chocolate for baking?
You can melt chocolate in two ways: the microwave or a double boiler.
– Microwave Method: Place chocolate chips in a bowl. Heat in short bursts of 30 seconds. Stir between each burst until smooth. This method is fast and easy.
– Double Boiler Method: Heat water in a pot. Place a heat-safe bowl on top. Add chocolate chips to the bowl. Stir until melted. This method gives you more control and helps prevent burning.
Using either method works well. Just be patient and keep stirring!
Can I use other types of pretzels?
Yes, you can use different pretzels. The choice adds fun and flavor.
– Flavors: Try chocolate-covered pretzels for a sweet twist. Honey wheat pretzels add a nice touch too.
– Sizes: Mini pretzels work great for bite-sized pieces. Rod-shaped pretzels give a crunchy, longer shape.
Feel free to mix and match to find your favorite!
How do I know when the bark is fully set?
Check for a few signs to know when your bark is ready.
– Firmness: Lightly touch the surface. If it feels solid and cool, it’s set.
– Shiny Appearance: The chocolate should look smooth and glossy.
– Time: Usually, it takes about 30 minutes in the fridge.
If it passes these checks, you can break it into pieces!
Is it okay to add more toppings?
Absolutely! Adding more toppings can make your bark even better.
– Nuts: Use different nuts like pistachios or hazelnuts for variety.
– Fruits: Dried fruits like cranberries or apricots add sweetness.
– Candy: Crushed candy bars or toffee bits give extra crunch.
Get creative! Mix and match toppings for a unique treat.
Now you know how to make a tasty chocolate bark. We covered the key ingredients, step-by-step instructions, and handy tips for a great finish. You can customize it with different flavors and toppings as you like. Remember, the right texture and storing method keep your bark fresh. If you follow these steps, you’ll impress friends and family with your treats. Get creative and enjoy this simple recipe!


