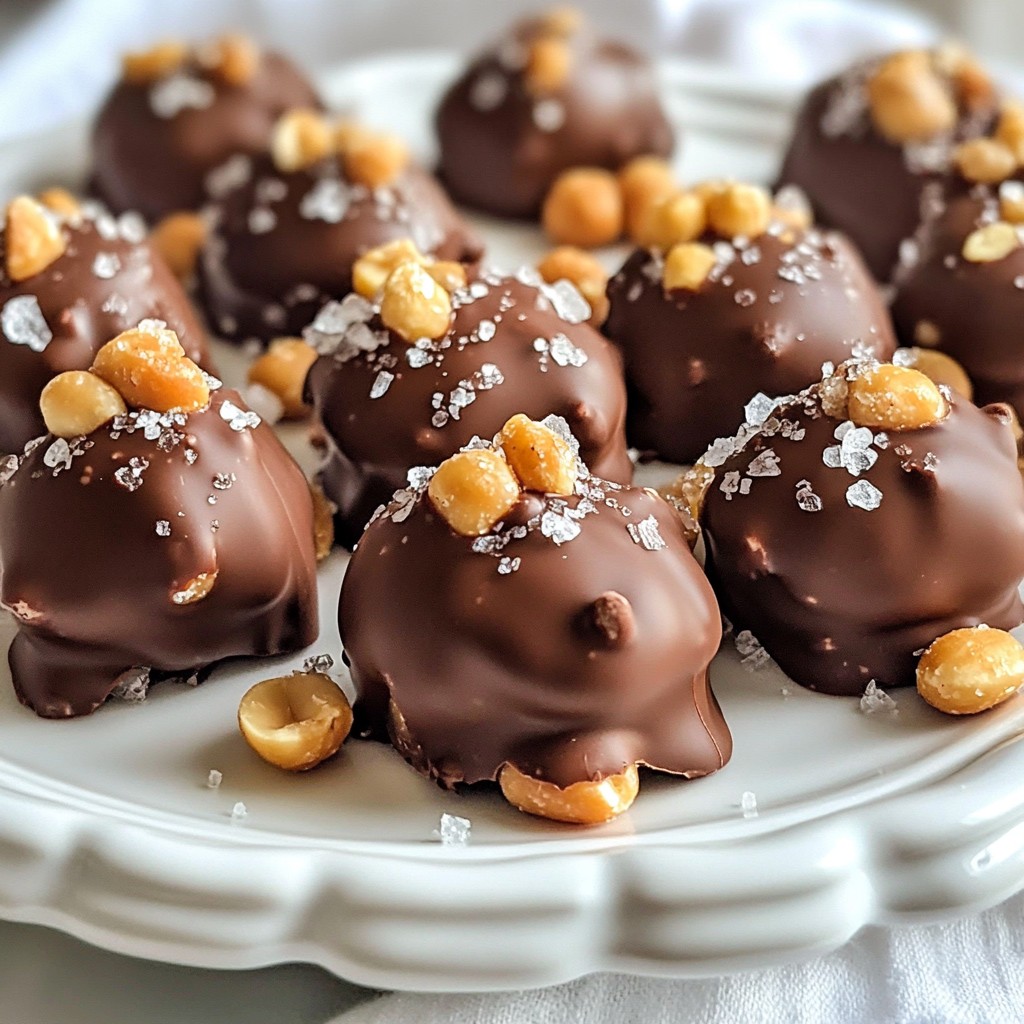
If you love a sweet and salty snack, you’re in for a treat! Chocolate Covered Peanut Clusters are simple to make and oh-so-delicious. With just a few ingredients like roasted peanuts and chocolate chips, you can create a snack that will impress everyone. Plus, I’ll share tips for tasty variations and how to store your treats. Get ready to enjoy an irresistible bite of happiness!
Why I Love This Recipe
- Irresistible Flavor Combination: The rich, creamy chocolate perfectly complements the crunchy, salty peanuts, creating a delightful contrast in every bite.
- Quick and Easy: This recipe takes only 15 minutes of prep time, making it a convenient treat to whip up for any occasion.
- Perfect for Gifting: These clusters make a thoughtful homemade gift, especially when packaged beautifully in cellophane bags.
- Customizable Treats: You can easily modify the recipe by adding different nuts or drizzling additional chocolate on top for extra flair.
Ingredients
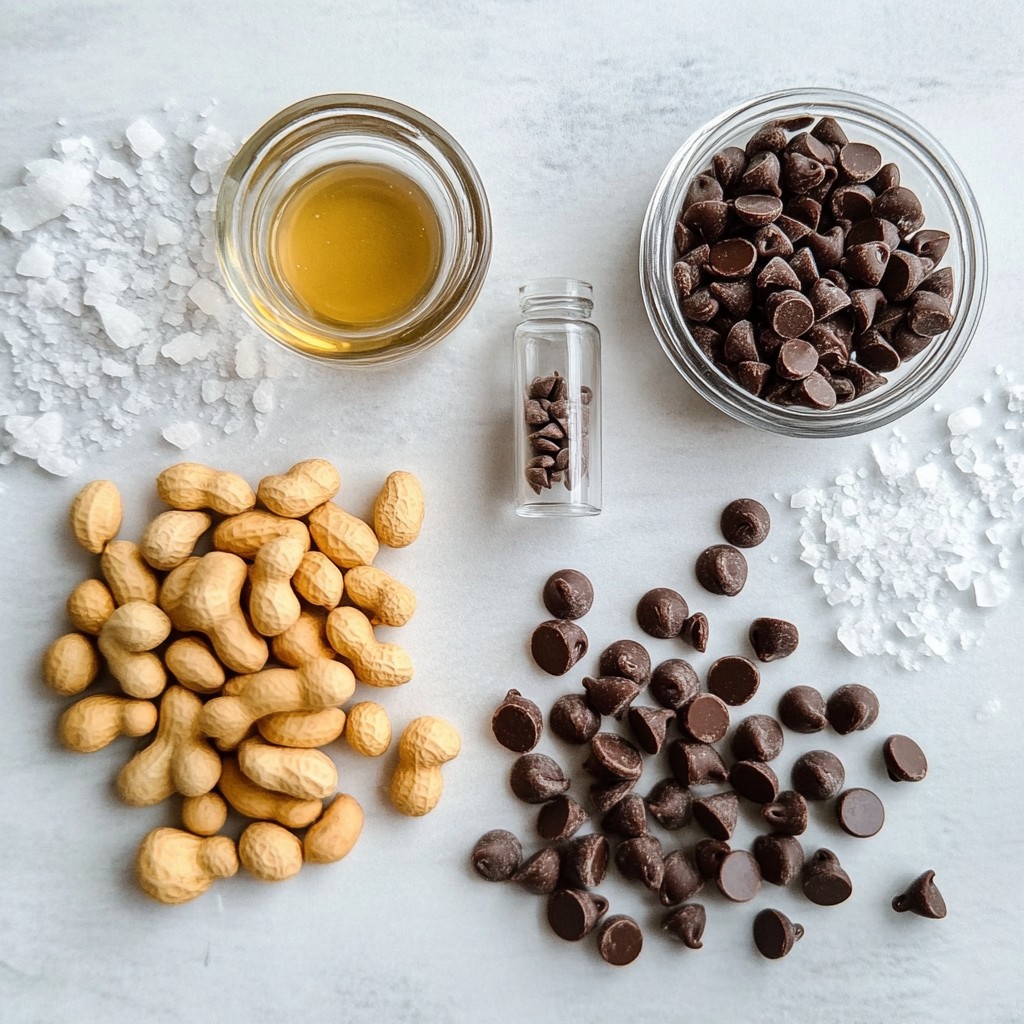
List of Main Ingredients
- 2 cups roasted unsalted peanuts
- 1 ½ cups semi-sweet chocolate chips
- ½ cup milk chocolate chips
- 1 teaspoon pure vanilla extract
- Sea salt for optional sprinkling
I love using roasted unsalted peanuts for this recipe. They give a nice crunch and flavor. The chocolate is the star, so I use both semi-sweet and milk chocolate chips. This mix balances rich and sweet notes.
Pure vanilla extract adds a warm touch and enhances the chocolate's flavor. After you mix the ingredients, a sprinkle of sea salt can make a big difference. It brings out the sweetness and adds a fun twist.
Optional Ingredients for Variations
- Dark chocolate chips
- White chocolate chips
- Assorted nuts (e.g., almonds, cashews)
If you want to switch things up, try dark chocolate chips. They add a deeper taste. White chocolate chips are also a fun choice for a sweeter treat. You can also use other nuts like almonds or cashews for extra crunch. Mixing different nuts gives a unique flavor and texture.
Step-by-Step Instructions
Preparation Steps
1. Prepare the baking sheet with parchment paper: Start by lining your baking sheet with parchment paper. This will stop the clusters from sticking. It also makes cleaning up much easier later.
2. Melt the chocolate chips using a microwave: In a medium bowl, mix the semi-sweet and milk chocolate chips. Heat this bowl in the microwave. Use 30-second intervals. Stir the chocolate after each interval. Keep heating until it is fully melted and smooth. This should take about 1 to 2 minutes.
Mixing and Forming Clusters
1. Incorporate vanilla and mix in peanuts: After the chocolate melts, take it out of the microwave. Stir in the pure vanilla extract. This will enhance the flavor. Then, gently fold in the roasted unsalted peanuts. Mix until every peanut is covered in chocolate. Be careful not to break any peanuts.
2. Form and drop clusters onto the baking sheet: Use a spoon or small cookie scoop to drop rounded clusters of the chocolate-peanut mix onto the baking sheet. Aim for about one tablespoon for each cluster. This will help keep the size even.
Cooling and Serving Suggestions
1. Cool in the refrigerator and set: Place the baking sheet in the refrigerator. Let the clusters cool for about 30 to 45 minutes. They need this time to harden.
2. Tips for serving and presentation: Once the chocolate is firm, lift the clusters off the parchment paper. Put them in an airtight container. For serving, place them in a pretty bowl or on a tiered stand. If you want to gift them, wrap each cluster in cellophane with a nice ribbon.
Tips & Tricks
Melting Chocolate Techniques
To avoid burning chocolate, use low heat. I suggest melting it in short bursts. Start with 30-second intervals in the microwave. Stir the chocolate after each interval. This keeps the chocolate smooth and shiny. If you need another method, use a heat-proof bowl over simmering water. This is called a double boiler. It provides gentle heat and works well for melting chocolate without burning.
Achieving Perfect Clusters
For consistent sizing, use a tablespoon or cookie scoop. This helps each cluster look similar. It makes them more appealing. The cooling time is key for texture. Let the clusters chill for 30 to 45 minutes. This ensures the chocolate hardens well. If you skip this step, your clusters may be too soft.
Enhancing Flavor
You can make your clusters more exciting with toppings. Try adding crushed pretzels or sea salt. They add a crunchy texture and a salty bite. For extra flavor, consider mixing in other ingredients. Dried fruits like cranberries or raisins work well. They add a sweet and chewy contrast to the crunchy peanuts.
Pro Tips
- Use Quality Chocolate: Opt for high-quality chocolate chips for a richer flavor and smoother texture in your clusters.
- Experiment with Nuts: Feel free to mix in other nuts like almonds or cashews for added variety and flavor.
- Storage Tips: Store your clusters in a cool, dry place to keep them fresh and prevent the chocolate from melting.
- Customize with Add-ins: Add dried fruits or shredded coconut to the mixture for extra texture and flavor.
Variations
Different Chocolate Options
You can change the chocolate type for different flavors. Using dark chocolate gives a richer taste. Dark chocolate has a bold flavor that pairs well with peanuts. It also adds depth to the treat. Mixing milk and dark chocolate chips creates a nice balance. The milk chocolate adds sweetness, while dark chocolate brings a slight bitterness. This blend can satisfy many taste buds.
Nut Alternatives
If you want to switch things up, try using other nuts. Almonds and cashews can work great in this recipe. They add unique flavors and textures. If you're making a nut-free version, use seeds instead. Sunflower seeds or pumpkin seeds are excellent choices. They still provide crunch and pair well with chocolate.
Flavor Add-ins
You can be creative with flavor add-ins. Adding spices, like cinnamon, gives warmth to the chocolate. Just a pinch can change the whole taste. You could also mix in dried fruits, such as cranberries. They add a burst of sweetness that complements the chocolate. Try different combinations to find your favorite mix.
Storage Info
Best Practices for Storing Clusters
To keep your chocolate-covered peanut clusters fresh, use airtight containers. This method helps to lock in flavor and prevents the clusters from drying out. Store them in a cool, dry place away from sunlight. Ideally, they should last about two weeks if stored correctly.
Freezing Chocolate-Covered Peanut Clusters
You can freeze chocolate-covered peanut clusters to enjoy later. To freeze, place clusters in a single layer in an airtight container. Make sure to add parchment paper between layers to avoid sticking. When you want to eat them, take the container out of the freezer and let it sit at room temperature for about 20 minutes. This way, the clusters keep their crunchy texture and rich flavor after thawing.
FAQs
Common Questions About the Recipe
How long do chocolate covered peanut clusters last? Chocolate covered peanut clusters can last up to two weeks when stored properly. Keep them in an airtight container at room temperature. If you want them to last longer, you can refrigerate them. This will help maintain their texture and flavor.
Can I make this recipe vegan or dairy-free? Yes, you can make this recipe vegan or dairy-free. Use dairy-free chocolate chips in place of semi-sweet and milk chocolate chips. Many brands offer great options that melt well and taste delicious.
Questions about Ingredients
Can I use salted peanuts instead of unsalted? Yes, you can use salted peanuts. They will add a nice contrast to the sweet chocolate. Just be aware that the clusters may taste saltier than intended.
What is the best chocolate for melting? The best chocolate for melting is semi-sweet chocolate chips. They melt evenly and create a smooth texture. You can mix them with milk chocolate chips for a richer flavor.
Serving and Presentation Queries
How to serve chocolate-covered peanut clusters for parties? Serve chocolate-covered peanut clusters in a decorative bowl or on a tiered cake stand. This makes them look fancy and inviting. You can also place them in small paper cups for easy grabbing.
Can these clusters be used as a gift or party favor? Absolutely! You can wrap individual clusters in cellophane bags tied with ribbons. This adds a personal touch and makes them a lovely gift. They are perfect for birthdays or holidays.
You learned how to make delicious chocolate-covered peanut clusters. We covered key ingredients, step-by-step instructions, and helpful tips. Don't forget the fun variations you can try, too. Remember to store your clusters well to keep them fresh. Whether you share them or enjoy them solo, these treats are sure to satisfy. Jump into your kitchen and create your own tasty version today! Enjoy the sweet and crunchy bites that you made all by yourself.


