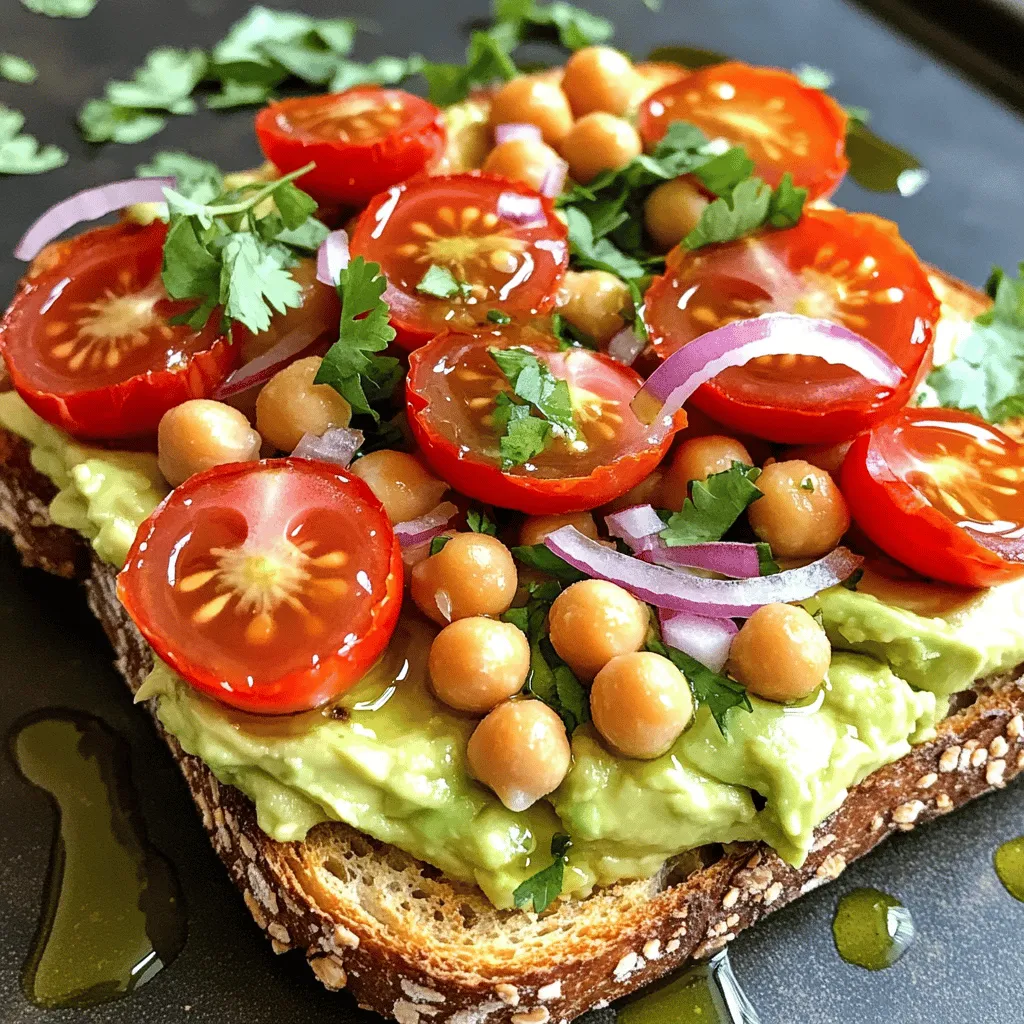
Are you ready to elevate your breakfast game? Chickpea avocado toast is a fresh and flavorful delight that combines creamy avocados and hearty chickpeas for a nutritious meal. It’s simple to make, perfect for any time of day. Read on to discover the ingredients, step-by-step instructions, and tasty variations that will help you craft this delicious, satisfying dish. Your new favorite recipe awaits!
Ingredients
Main Ingredients
– 1 can (15 oz) chickpeas, drained and rinsed
– 2 ripe avocados
– 1 tablespoon fresh lemon juice
– 1 clove garlic, finely minced
Chickpeas and avocados are the stars of this dish. Chickpeas give a nice, hearty feel. They are rich in protein and fiber. Ripe avocados add creaminess and healthy fats. Lemon juice brightens the mix, while garlic adds depth.
Additional Ingredients
– 1/4 teaspoon ground cumin
– Salt and freshly ground black pepper
– 4 slices of whole grain bread
Cumin brings warmth to the mix. Salt and pepper help enhance the flavors. Whole grain bread gives a hearty base that complements the toppings well. Choose bread that toasts nicely for the best crunch.
Toppings and Garnishes
– 1 small red onion, finely chopped
– 1/2 cup cherry tomatoes, halved
– Fresh cilantro or parsley, chopped
– Extra virgin olive oil for drizzling
Toppings add fun and flavor. Red onion gives a sweet bite, while cherry tomatoes add freshness. Fresh herbs like cilantro or parsley add color and taste. A drizzle of olive oil adds richness that ties everything together.
Step-by-Step Instructions
Preparation of Chickpea Mixture
1. Start by opening the can of chickpeas. Drain and rinse them well. This helps remove extra sodium and gives a cleaner taste.
2. In a medium bowl, use a fork or potato masher to lightly mash the chickpeas. Aim for a mix of chunky and smooth. This texture makes the spread more fun to eat.
3. Next, scoop out the ripe avocados and add them to the bowl. The creaminess of the avocado balances the chickpeas perfectly.
4. Pour in the fresh lemon juice and add the minced garlic. This gives your mixture a zesty kick.
5. Sprinkle in the ground cumin, salt, and black pepper. Adjust the seasonings based on your taste. Mix everything together until it’s creamy but still a bit chunky.
Toasting Bread
1. Take your slices of whole grain bread. Lightly toast them in a toaster or on a skillet. Aim for a golden brown color.
2. For a perfect crunch, keep an eye on the bread while toasting. Too light and it’s soft; too dark and it burns. You want that nice, crispy bite.
Assembling the Toast
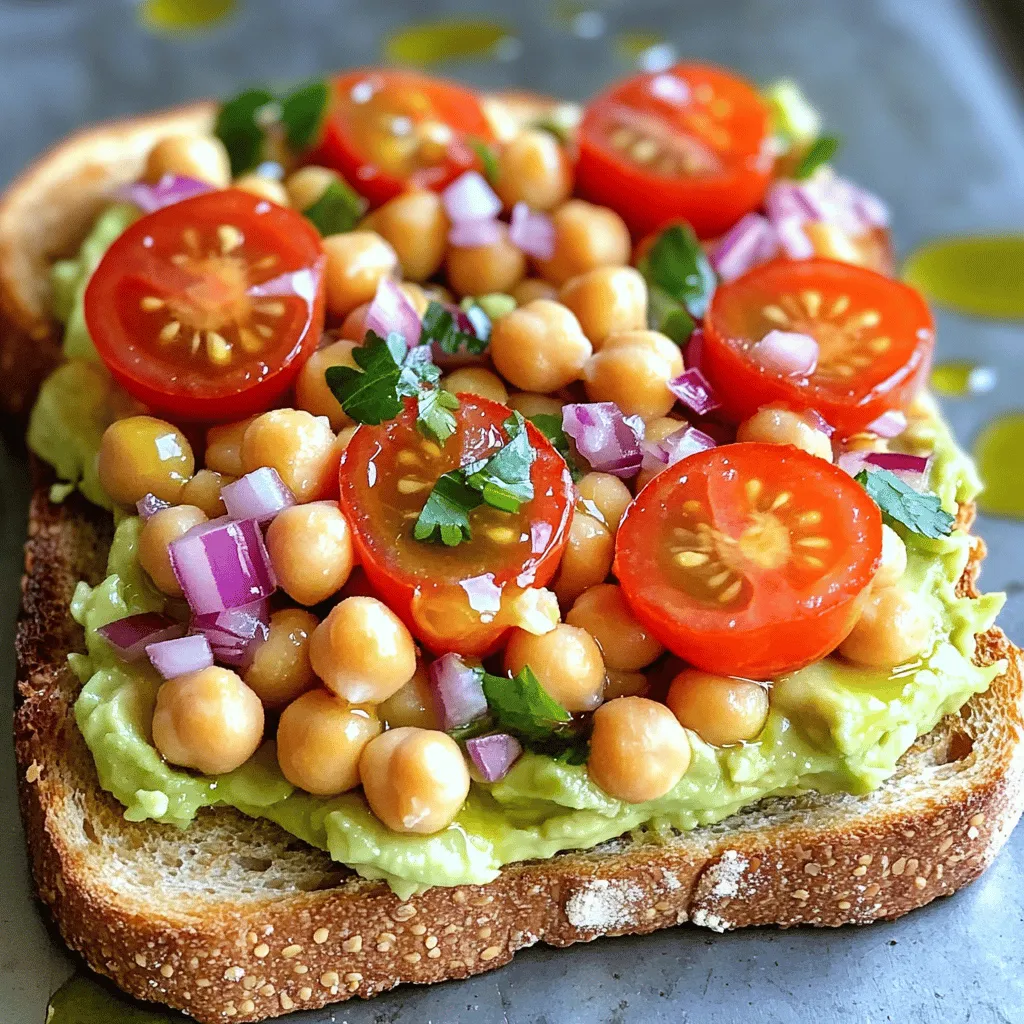
1. Once your bread is ready, take a generous scoop of the chickpea-avocado mixture. Spread it evenly over each slice of toast.
2. Now, chop the red onion finely and halve the cherry tomatoes. Scatter these colorful toppings over the spread for a fresh crunch.
3. Drizzle a touch of extra virgin olive oil over the top. This adds richness and a lovely finish.
4. Finish with a sprinkle of fresh cilantro or parsley. This not only looks great but also adds a burst of flavor.Enjoy your vibrant and flavorful chickpea avocado toast!
Tips & Tricks
Enhancing Flavor
To make your chickpea avocado toast burst with flavor, start by adjusting the seasonings. Everyone’s taste is different, and you may want more lemon or salt. Adding spices can also elevate the taste. Fresh ingredients are key. Ripe avocados give a creamy texture that blends beautifully with chickpeas. Use freshly squeezed lemon juice for the best zing.
Achieving the Right Texture
When mashing chickpeas, aim for a mix of chunky and smooth. This gives a nice texture that feels great on the palate. Use a fork or potato masher for this. Avoid over-mashing; you want some bits to stay whole. Ripe avocados are essential too. If they are too firm, the mixture won’t be creamy. Look for avocados that yield slightly when pressed.
Presentation Tips
Presentation matters when serving your toast. Arrange the toasts on a wooden or elegant platter. This adds a rustic charm. You can also place extra cherry tomatoes around the toasts. This makes the dish look colorful and fresh. Drizzle olive oil on top for a glossy finish. A sprinkle of herbs adds a pop of green and invites your guests to dig in.
Variations
Different Flavor Profile Ideas
You can easily change the flavor of your chickpea avocado toast. Start by adding spices like smoked paprika or chili flakes. They give a warm kick that brings out the creaminess of the avocado. You might also try adding fresh herbs like basil or dill. These herbs add a fresh twist and brighten up your dish.
Alternative Toppings
Explore different toppings to make your toast unique. Adding protein like feta cheese crumbles or a poached egg can boost flavor and nutrition. For extra crunch, consider adding thinly sliced radishes or refreshing cucumbers. These toppings not only add texture but also enhance the color of your dish.
Serving Options
Chickpea avocado toast is great for brunch or a light lunch. You can serve it with a side salad or crispy sweet potato fries for a hearty meal. Pair it with a refreshing iced tea or a glass of lemonade to complete the experience. Each bite is a fresh and flavorful delight that you can enjoy any time of day.
Storage Info
Storing Leftovers
To keep your chickpea mixture fresh, store it in an airtight container. This helps lock in flavors. Always refrigerate the mixture right after you finish your meal. For the toasted bread, keep it separate from the chickpeas. Wrap the slices in foil or place them in a zip-top bag. This prevents the bread from getting soggy.
Freezing Options
Yes, you can freeze the chickpea-avocado mixture! Just place it in a freezer-safe container. Leave some space at the top, as it will expand. When you’re ready to use it, take it out and thaw it in the fridge overnight. For serving, give it a quick stir. This helps bring back its creamy texture.
Shelf Life
You can refrigerate leftovers for about three days. After that, the quality drops. Always check for signs of spoilage. If the mixture smells off or looks discolored, it’s best to toss it. Keep an eye out for any mold or an unusual texture. It’s better to be safe than sorry when it comes to food!
FAQs
What is the best bread to use for chickpea avocado toast?
For chickpea avocado toast, I love using whole grain bread. Its dense texture holds the spread well. Sourdough also works great; it adds a tangy taste. If you want something softer, try multigrain bread. Look for bread that is sturdy enough to support the toppings without getting soggy.
Can I make this recipe vegan?
Yes, this recipe is vegan! Both chickpeas and avocados are plant-based. You can enjoy this dish without any animal products. Just ensure that your bread is vegan-friendly too. Most whole grain and multigrain breads are vegan.
How can chickpea avocado toast be made gluten-free?
To make this recipe gluten-free, choose gluten-free bread. Many stores offer a variety of gluten-free options now. Check the label to ensure it’s truly gluten-free. Also, all other ingredients in this recipe are gluten-free. You can enjoy this delicious toast without worry.
What are the health benefits of chickpeas and avocados?
Chickpeas are high in protein and fiber. They help keep you full and satisfied. Avocados provide healthy fats, which are good for your heart. Together, they make a nutritious combo.
In terms of calories, this dish is balanced. One serving has around 300 calories, depending on the bread. Each ingredient adds its own nutrients. This makes chickpea avocado toast great for a snack or meal.
This blog post covered the ingredients for chickpea avocado toast, how to prepare it, and tips for great flavor and texture. You learned about various toppings, ways to store leftovers, and how to adapt the recipe to meet dietary needs. Remember, chickpea avocado toast is fun to make and packed with nutrients. You can customize it for any meal. Try different flavors and toppings to keep things exciting. Enjoy experimenting and creating your own delicious versions!


