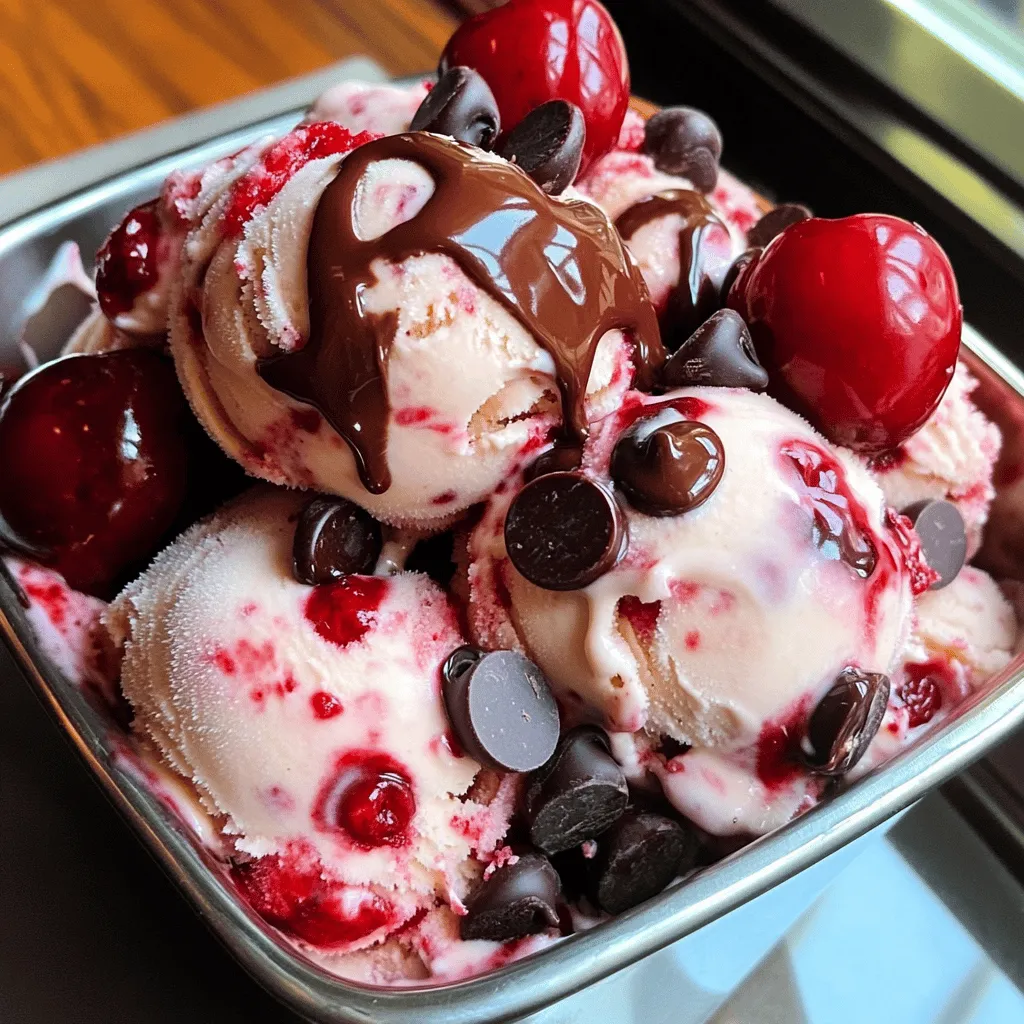
Craving a sweet treat? You’re in for a delight with homemade Cherry Chocolate Chip Ice Cream! This easy recipe combines fresh cherries, creamy goodness, and rich chocolate chips for a perfect summer dessert. I’ll guide you through choosing the best ingredients, making the ice cream, and storing it for later. Get ready to impress your friends and family with this delicious homemade treat! Dive in for all the yummy details!
Ingredients
Fresh Ingredients for Cherry Chocolate Chip Ice Cream
– 2 cups fresh cherries
– 1 cup heavy cream
– 1 cup whole milk
To make this ice cream, start with fresh cherries. Choose firm, ripe ones for the best taste. These cherries bring a bright flavor that pairs well with chocolate. Heavy cream adds richness, while whole milk keeps it smooth. Together, they create a creamy base.
Essential Pantry Ingredients
– 3/4 cup granulated sugar
– 1 teaspoon pure vanilla extract
– 1 small pinch of salt
Next, grab some sugar. It sweetens the cream and balances the tart cherries. Pure vanilla extract enhances the overall flavor. A pinch of salt boosts taste and rounds out the sweetness. These ingredients are simple but important for a great ice cream.
Additional Flavor Enhancements
– 1/2 cup dark chocolate chips
Now, let’s talk about chocolate chips. Dark chocolate adds a rich, deep flavor. It contrasts nicely with the sweet cherries. Using quality chocolate chips makes a big difference. They melt slightly in the ice cream, adding to the creamy texture. Enjoy every scoop of this delicious homemade treat!
Step-by-Step Instructions
Preparing the Cherries
Start by chopping 2 cups of fresh cherries. Place them in a small bowl. Toss the cherries with 1/4 cup of granulated sugar. Let the mixture sit for about 15 minutes. This step helps the cherries release their natural juices. It also makes them taste sweeter.
Making the Cream Base
In a large bowl, mix together 1 cup of heavy cream, 1 cup of whole milk, and 1/2 cup of granulated sugar. Add 1 teaspoon of pure vanilla extract and a small pinch of salt. Whisk all the ingredients for 2 to 3 minutes. Make sure the sugar is fully dissolved. This creamy base is the heart of your ice cream.
Combining Ingredients
Once the cherries have released their juices, gently fold the cherry mixture into the cream base. Use a rubber spatula for this. Be careful to mix slowly to keep the cherries intact. This step ensures every bite has the right balance of cream and fruit.
Chilling and Churning
Cover the bowl with plastic wrap and place it in the refrigerator. Chill the mixture for at least 2 hours. This allows the flavors to meld. After chilling, pour the mixture into your ice cream maker. Churn it according to the manufacturer’s instructions. It usually takes about 20 to 25 minutes for a soft-serve texture.
Final Steps Before Serving
In the last 5 minutes of churning, add 1/2 cup of dark chocolate chips. This method ensures the chips spread evenly throughout the ice cream. Once churned, transfer the ice cream to an airtight container. Smooth the top and freeze it for at least 4 hours. This final step makes the ice cream firm and scoopable.
Tips & Tricks
Achieving the Best Flavor
Fresh cherries make all the difference. They add bright taste and juicy goodness. Look for cherries that are firm, shiny, and deep red. The darker the cherry, the sweeter it is. This sweetness really boosts the flavor of your ice cream.
When choosing dark chocolate chips, go for high-quality brands. They should contain at least 60% cocoa for rich taste. Try to avoid chips with added wax or fillers. This helps keep your ice cream smooth and tasty.
Enhancing Texture
To prevent chocolate chips from sinking, add them in the last few minutes of churning. This way, they stay evenly spread throughout the ice cream. If you add them too soon, they will fall to the bottom.
For a creamy consistency, whisk the cream and milk until the sugar dissolves completely. This step is key. Also, chilling the mixture for a few hours helps it churn better. The colder it is, the creamier your ice cream will be.
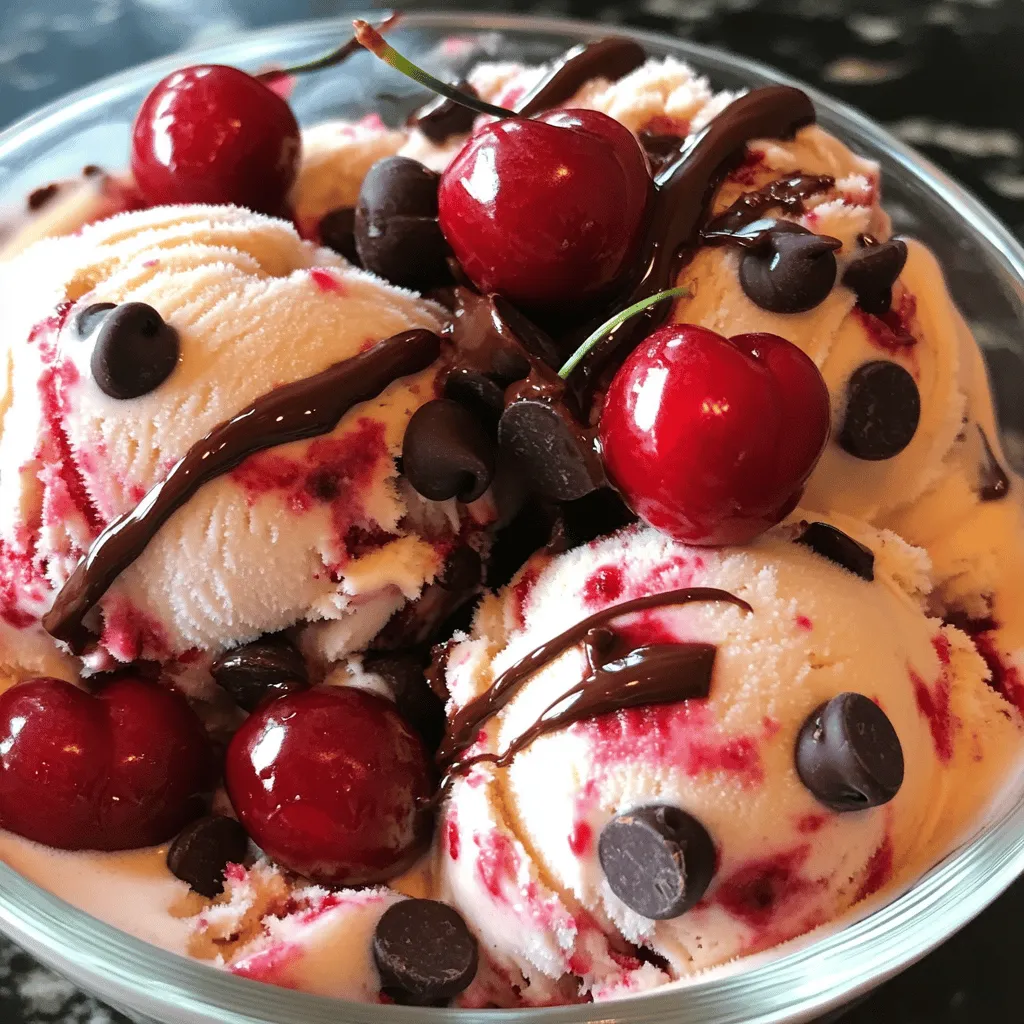
Serving Suggestions
For a lovely presentation, serve the ice cream in chilled bowls. You can top each bowl with a whole cherry for a fun touch. A drizzle of chocolate sauce adds elegance and extra flavor.
Pair this treat with fresh mint leaves or crushed nuts for added crunch. The contrast of flavors makes each scoop even more enjoyable.
Variations
Alternative Fruits
You can swap out cherries for other fruits. Try fresh strawberries, raspberries, or blueberries. These berries add a different taste and color. Using seasonal fruits also brings new flavors. In summer, peaches or apricots work great. In fall, try apples or pears for a cozy treat.
Chocolate Variants
Change the chocolate type to suit your taste. Use white or milk chocolate chips instead of dark. This gives a sweeter flavor and creamier texture. Adding cocoa powder can deepen the chocolate taste. Mix in a few tablespoons to boost that rich chocolate flavor.
Dairy-Free or Vegan Versions
You can make this ice cream dairy-free. Use coconut milk or almond milk instead of cream and milk. These options add a nice creaminess and flavor. Sweeten with agave or maple syrup for a vegan treat. This keeps it tasty without dairy.
Storage Info
Best Practices for Storing Ice Cream
To keep your ice cream fresh, use airtight containers. These help seal in flavor and keep ice crystals from forming. If ice crystals form, they can affect the texture. Always scoop out the amount you want, then seal it back up tight. This way, it stays creamy and delicious.
Recommended Shelf Life
Homemade ice cream can last about two weeks in the freezer. After that, it may start to lose flavor. Watch for signs of spoilage, like ice crystals on the top or a strange smell. If you see or smell something off, it’s best to toss it.
Reviving Frozen Ice Cream
When you’re ready to serve, sometimes ice cream can be too hard. Let it sit at room temperature for about 5 minutes. This helps soften it without melting too much. If you want to reheat scoops, place them in a warm bowl for a minute. This gives you a nice, smooth scoop to enjoy!
FAQs
How do I make cherry chocolate chip ice cream without an ice cream maker?
You can make this ice cream without a machine. First, mix your cream, milk, sugar, and vanilla. Add the cherries like normal. Then, pour the mix into a shallow dish. Freeze it for about 2 hours. Every 30 minutes, stir it with a fork. This keeps it creamy and breaks up ice crystals. After about 4 hours, it should be ready to scoop!
Can I use frozen cherries instead of fresh?
Yes, you can use frozen cherries. They can be just as tasty. Frozen cherries save time and are often picked at peak ripeness. However, let them thaw before using. Drain any extra juice. This helps keep your ice cream from becoming too watery.
What are some common mistakes to avoid?
Here are a few common mistakes:
– Not chilling the mixture long enough. This makes it harder to churn.
– Adding chocolate chips too early. They can sink to the bottom.
– Over-churning the ice cream. This can make it icy instead of creamy.
– Skipping the salt. A pinch of salt helps bring out the flavors.
Can I add more chocolate chips?
Absolutely! If you love chocolate, feel free to add more chips. Start with an extra 1/4 cup and see how it tastes. Just remember that too many can change the texture. Balance is key for the best taste!
This blog post covered how to make cherry chocolate chip ice cream from fresh ingredients. You learned about preparing cherries, making a creamy base, and mixing the flavors. I provided tips for the best taste and texture, plus ways to customize your ice cream. Lastly, we discussed proper storage and answered common questions.
Making ice cream at home is fun and rewarding. Enjoy the sweet results of your hard work!


