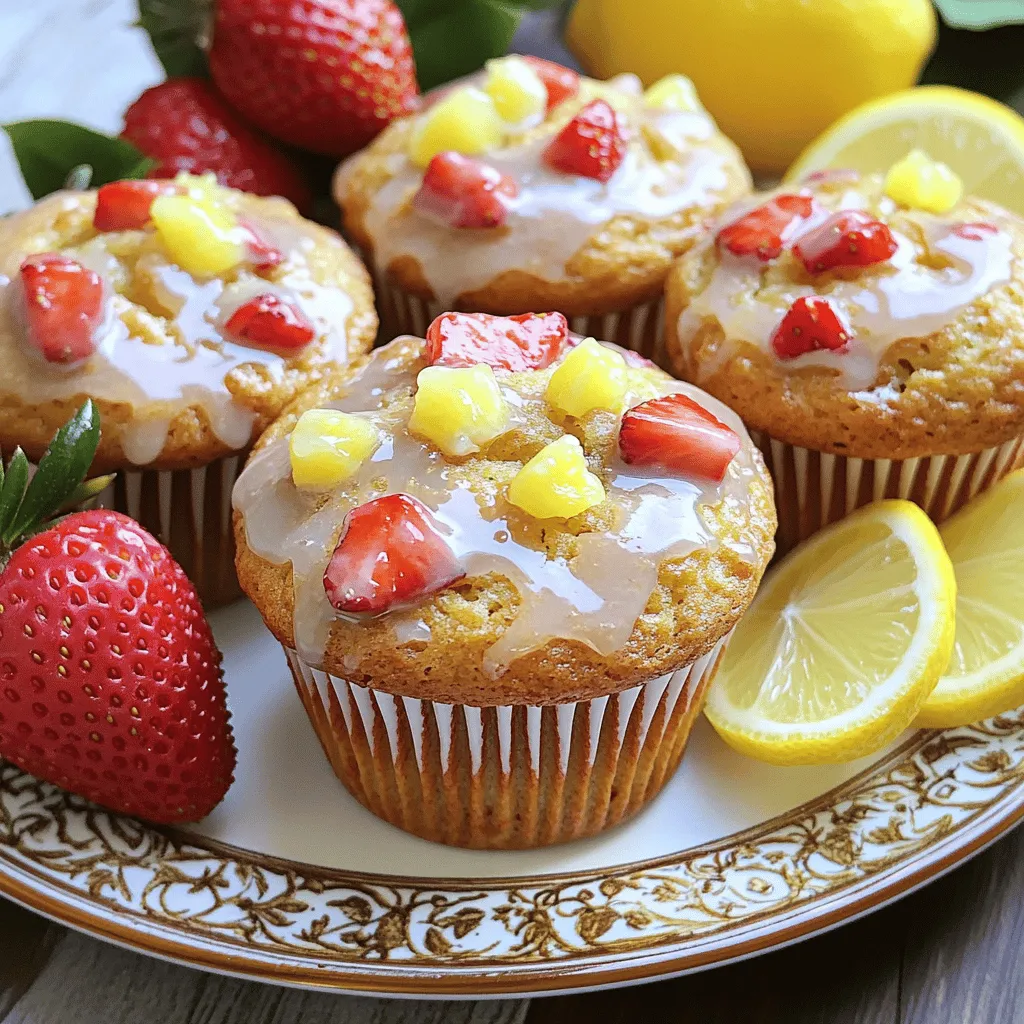
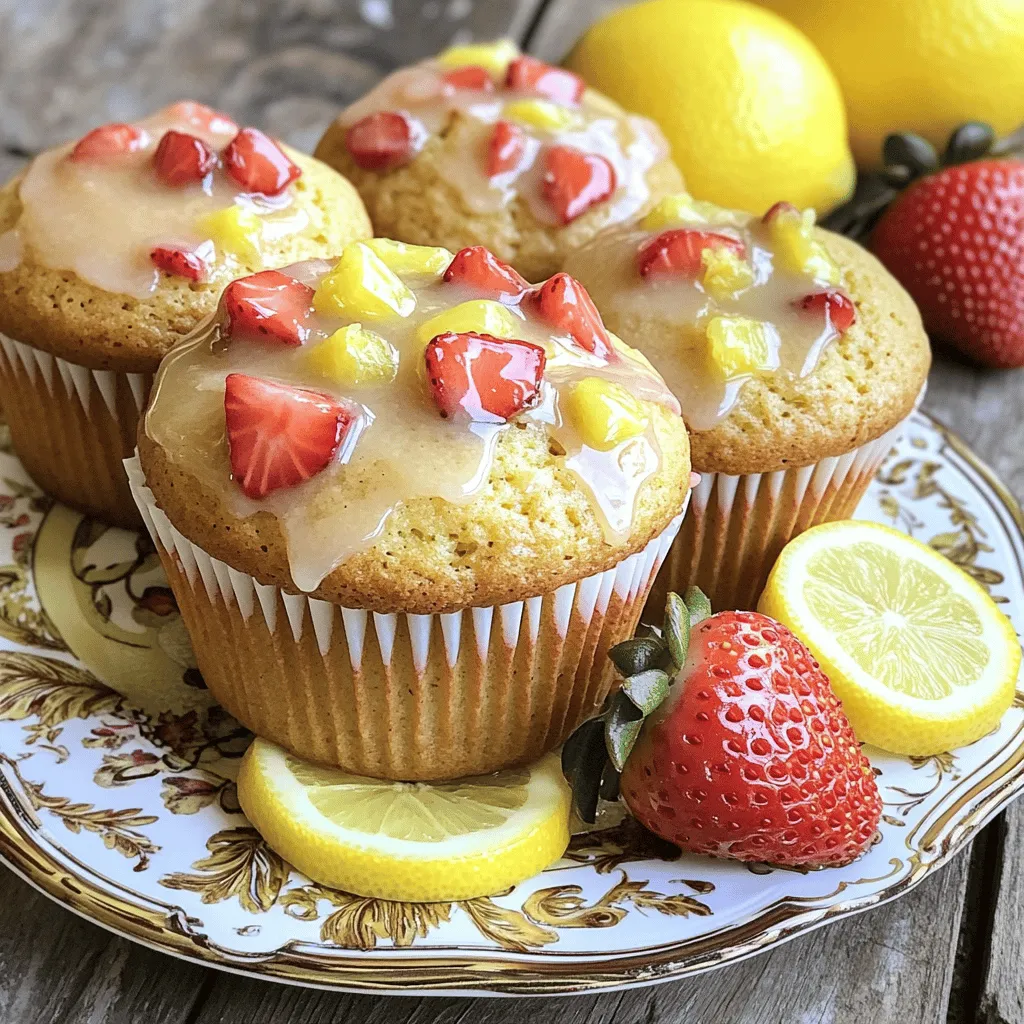
Do you crave mouth-watering muffins that taste like they came from your favorite bakery? In this guide, I’ll show you how to make Bakery-Style Strawberry Lemonade Muffins that are bursting with fresh flavors. From the perfect blend of strawberries and lemon zest to a delightful glaze, these muffins will impress everyone. Get ready to whip up a treat that’s both easy and delicious! Let’s dive into the recipe!
Ingredients
Dry Ingredients
– 1 cup all-purpose flour
– 1 cup whole wheat flour
– 1 cup granulated sugar
– 2 teaspoons baking powder
– 1/2 teaspoon baking soda
– 1/4 teaspoon salt
The dry ingredients form the base of our muffins. All-purpose flour gives a light texture. Whole wheat flour adds a nutty flavor and extra fiber. Granulated sugar sweetens the muffins. Baking powder and baking soda help them rise. Salt balances the sweetness.
Wet Ingredients
– 3/4 cup buttermilk (or substitute: 3/4 cup milk + 1 tablespoon lemon juice)
– 1/3 cup vegetable oil
– 2 large eggs
– Zest of 1 lemon
– 1/4 cup fresh lemon juice
The wet ingredients add moisture and flavor. Buttermilk keeps the muffins soft and fluffy. If you don’t have it, mix milk with lemon juice as a quick substitute. Vegetable oil keeps them moist. Eggs bind the ingredients. Lemon zest and juice give that bright, zesty flavor.
Add-ins
– 1 cup fresh strawberries, diced
– 1/4 cup powdered sugar (for glaze)
– 1 tablespoon lemon juice (for glaze)
Fresh strawberries are the star here. They add sweetness and juicy bites. The glaze, made from powdered sugar and lemon juice, boosts the flavor. Drizzling it on top makes the muffins look and taste special.
Step-by-Step Instructions
Preparation and Baking
1. Preheating the oven: Start by preheating your oven to 375°F (190°C). This helps the muffins bake evenly.
2. Mixing dry ingredients: In a large bowl, mix together the all-purpose flour, whole wheat flour, granulated sugar, baking powder, baking soda, and salt. Stir well until all dry ingredients are combined.
3. Combining wet ingredients: In another bowl, whisk the buttermilk, vegetable oil, eggs, lemon zest, and lemon juice. Mix until everything is smooth and well-blended.
4. Merging wet and dry mixtures: Slowly pour the wet mixture into the dry ingredients. Use a spatula to fold everything together gently. Stop mixing when you see a few lumps; this keeps the muffins light and fluffy.
Adding Strawberries
1. Carefully folding in strawberries: Dice the fresh strawberries into small pieces. Gently fold them into the batter. Be careful not to crush the strawberries, so they stay whole.
2. Dividing batter into muffin cups: Use a spoon or ice cream scoop to fill each muffin cup about three-quarters full. This allows space for the muffins to rise while baking.
Baking the Muffins
1. Baking time and doneness check: Place the muffin pan in the oven. Bake for 18-20 minutes. To check if they are done, insert a toothpick into the center of a muffin. It should come out clean.
2. Cooling process: Once baked, remove the muffins from the oven. Let them cool in the pan for about 5 minutes. Then, transfer them to a wire rack to cool completely. Enjoy the warm muffins with your favorite beverage!
Tips & Tricks
Perfecting Bakery-Style Muffins
To make the best muffins, avoid overmixing. When you mix the wet and dry ingredients, do it gently. A few lumps are just fine. This helps keep the muffins light and fluffy.
Next, ensure uniformity in the batter. Mix the strawberries in carefully. You want them spread out, not crushed. Fold them in gently to keep the muffins intact.
Glazing Techniques
To prepare the glaze, whisk together powdered sugar and lemon juice until smooth. Start with a small bowl for easy mixing. After the muffins bake, let them cool for five minutes. Then drizzle the glaze on top while they are warm. This helps the glaze soak in for extra flavor.
For optional garnishing, you can add whole strawberries or lemon slices. A sprinkle of powdered sugar on top makes the muffins look fancy.
Serving Suggestions
For presentation, arrange the muffins on a bright plate. Garnish with whole strawberries and lemon slices. This adds color and makes the muffins pop.
Pair these muffins with iced tea or lemonade. The bright flavors match perfectly. Enjoy them at brunch or for a sweet snack!
Variations
Flavors & Add-ins
You can switch up the berries in these muffins. Blueberries and raspberries work great too. Just use the same amount as strawberries. The flavors blend well with lemon. You can even try mixing berries for a fun twist.
You can also use different citrus fruits. Oranges or limes can add a fresh taste. Just be sure to match the juice and zest amounts to keep the flavor strong.
Dietary Substitutions
If you want gluten-free muffins, swap the all-purpose flour. Use a gluten-free flour blend instead. It should work well with the other ingredients. Check the blend’s instructions for the best results.
For vegan muffins, you can replace the eggs. Use flax eggs or applesauce as substitutes. Also, use plant-based milk instead of buttermilk. This keeps the muffins moist and tasty.
Muffin Size Adjustments
You can make mini muffins if you prefer smaller bites. Just fill the mini muffin cups about halfway. Bake them for around 12-15 minutes. Check for doneness with a toothpick.
If you want standard-sized muffins, stick to the original recipe. Fill the cups about three-quarters full. This helps them rise nicely in the oven. Adjust baking time slightly if you change the size.
Storage Info
Short-term Storage
To keep your strawberry lemonade muffins fresh, let them cool completely. Place them in an airtight container. You can store them at room temperature for up to three days. If you want them to last longer, refrigerate them for up to a week. Avoid stacking the muffins directly on top of each other. This helps stop them from getting squished.
Freezing Muffins
For long-term storage, freezing muffins works great. First, wrap each muffin in plastic wrap. Then, place them in a freezer bag or a container that seals tight. You can freeze them for up to three months. When you want to eat them, take out a muffin and let it thaw at room temperature. For a faster option, you can microwave them for 20-30 seconds.
Reheating Tips
To reheat muffins, use the oven for the best results. Preheat it to 350°F (175°C). Place the muffins on a baking sheet and heat for about 5-10 minutes. You can also use a microwave. Heat for 10-15 seconds at a time until warm. If you want to keep them moist, place a small cup of water in the microwave with the muffins. This helps them stay soft and tasty.
FAQs
Common Questions
How can I tell when the muffins are done?
You can check if the muffins are done by inserting a toothpick into the center. If it comes out clean, they are ready. If it has wet batter, bake a few more minutes and check again.
Can I use frozen strawberries instead of fresh?
Yes, you can use frozen strawberries. Just thaw and drain them first. This keeps the batter from getting too wet.
What can I substitute for buttermilk?
If you don’t have buttermilk, mix 3/4 cup of milk with 1 tablespoon of lemon juice. Let it sit for five minutes. This will create a similar tangy flavor.
Baking Troubleshooting
Why did my muffins not rise?
Muffins may not rise if you overmix the batter or if your baking powder is old. Make sure to mix just enough to combine the ingredients. Check the expiration date on your baking powder too.
How do I prevent muffins from sticking to the pan?
You can prevent sticking by lining the muffin pan with paper liners or greasing each cup well. Also, let the muffins cool for a few minutes before removing them from the pan.
Flavor Enhancements
What spices can be added for extra flavor?
You can add cinnamon or nutmeg for a warm flavor boost. A pinch of ginger can also add a nice zing. Just be careful not to overpower the lemon and strawberry flavors.
Can I omit the glaze?
Yes, you can skip the glaze if you prefer a less sweet muffin. The muffins are delicious on their own, but the glaze adds a nice finish if you want it!
In this guide, we explored making delightful strawberry muffins, covering key ingredients and step-by-step instructions. We talked about dry and wet ingredients, tips for bakery-style muffins, and fun variations. Remember, you can adapt the recipe to your taste and dietary needs. Proper storage keeps your muffins fresh, and the FAQs clear up any doubts. Enjoy creating these yummy treats in your kitchen! Let your baking journey be tasty and fun.


