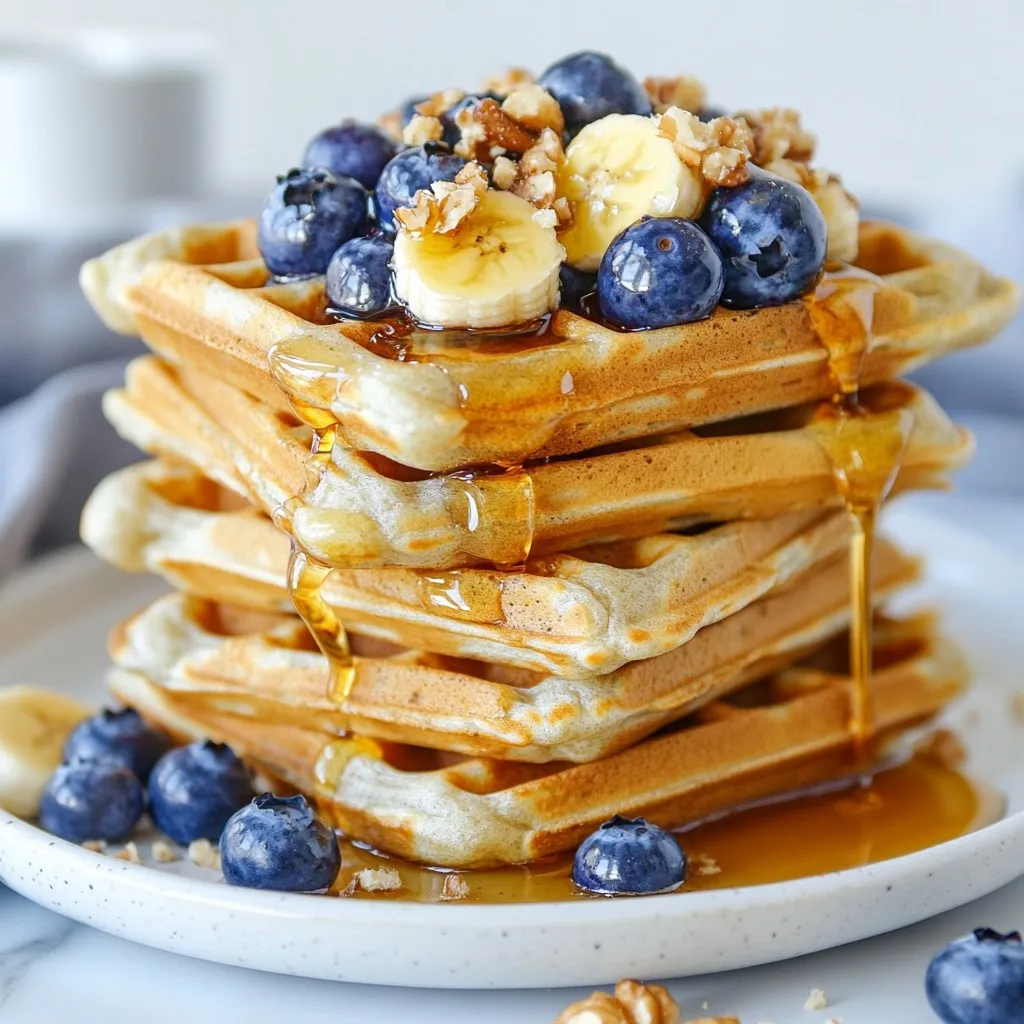
Blueberry Banana Protein Waffles Nutritious and Easy
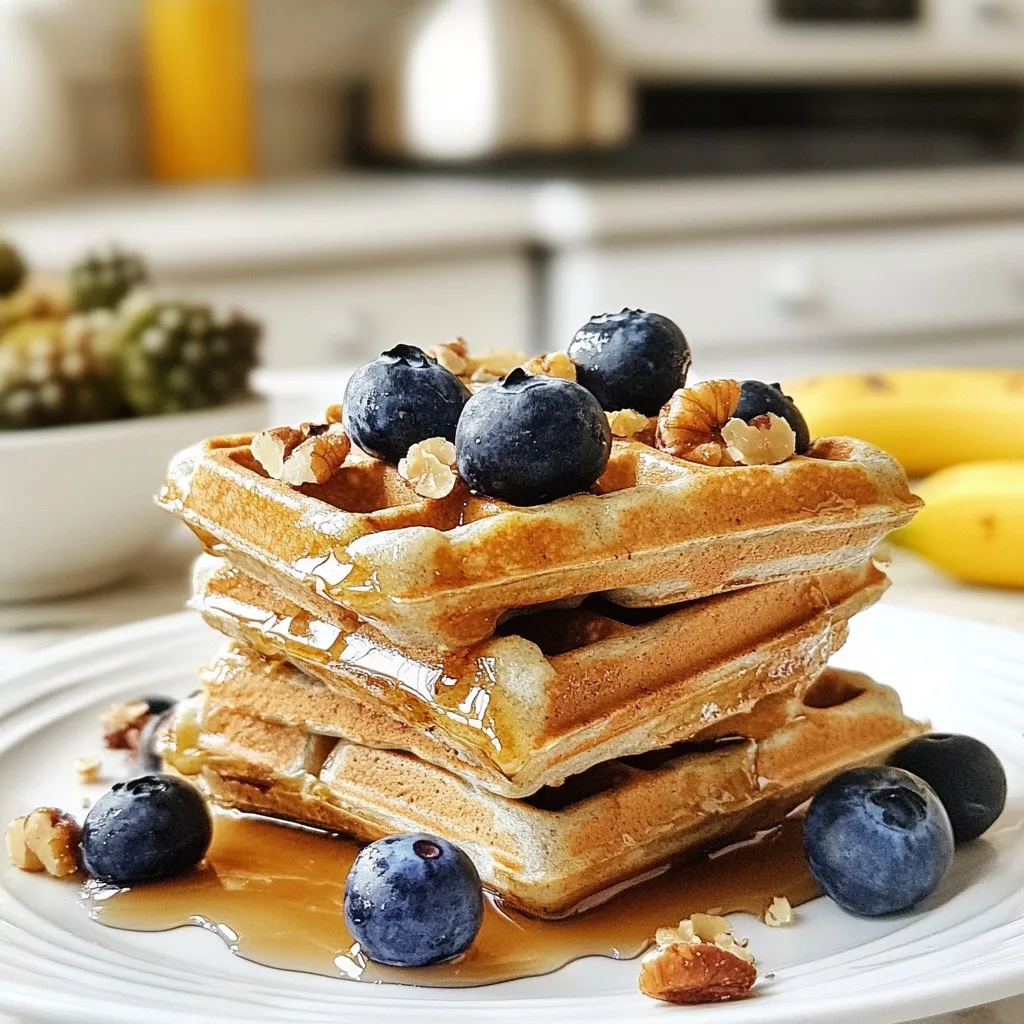
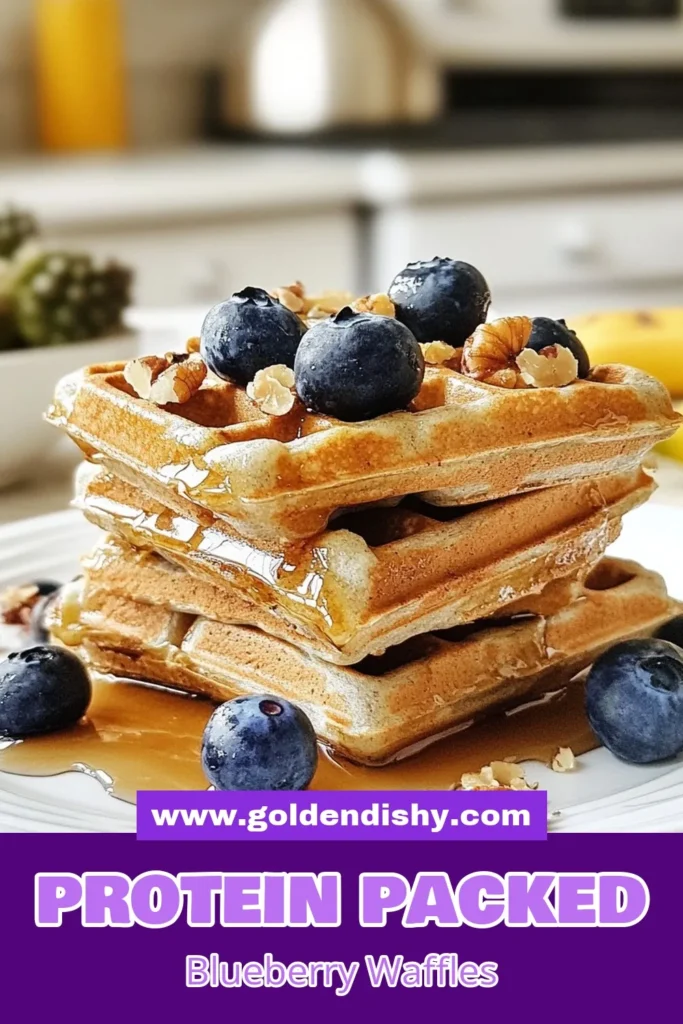
Looking for a delicious and easy way to fuel your morning? Try my Blueberry Banana Protein Waffles! Packed with wholesome ingredients like oats, cottage cheese, and, of course, blueberries, these waffles offer a tasty boost of protein to start your day right. You’ll love how simple they are to make, and they’ll leave you feeling satisfied and energized. Let’s dive into the recipe and get you cooking!
Why I Love This Recipe
- Delicious Flavor Combination: The sweet banana and tart blueberries create a deliciously balanced flavor that is both satisfying and refreshing.
- High Protein Content: With the addition of cottage cheese and protein powder, these waffles are packed with protein, making them a great post-workout meal.
- Quick and Easy: This recipe takes just 20 minutes from start to finish, perfect for busy mornings or a quick breakfast treat.
- Customizable: You can easily adapt this recipe by adding your favorite mix-ins like nuts, seeds, or even chocolate chips for extra flavor!
Ingredients
Main Ingredients
– 1 ripe banana (thoroughly mashed)
– 1 cup rolled oats
– 1 cup cottage cheese (preferably low-fat)
– 1/2 cup blueberries (fresh or frozen)
– 3 large eggs
Additional Ingredients
– 1 scoop vanilla protein powder
– 1 teaspoon baking powder
– 1 teaspoon vanilla extract
– A pinch of salt
Optional Toppings
– Maple syrup or honey
– Chopped nuts (walnuts or almonds)
– Extra blueberries
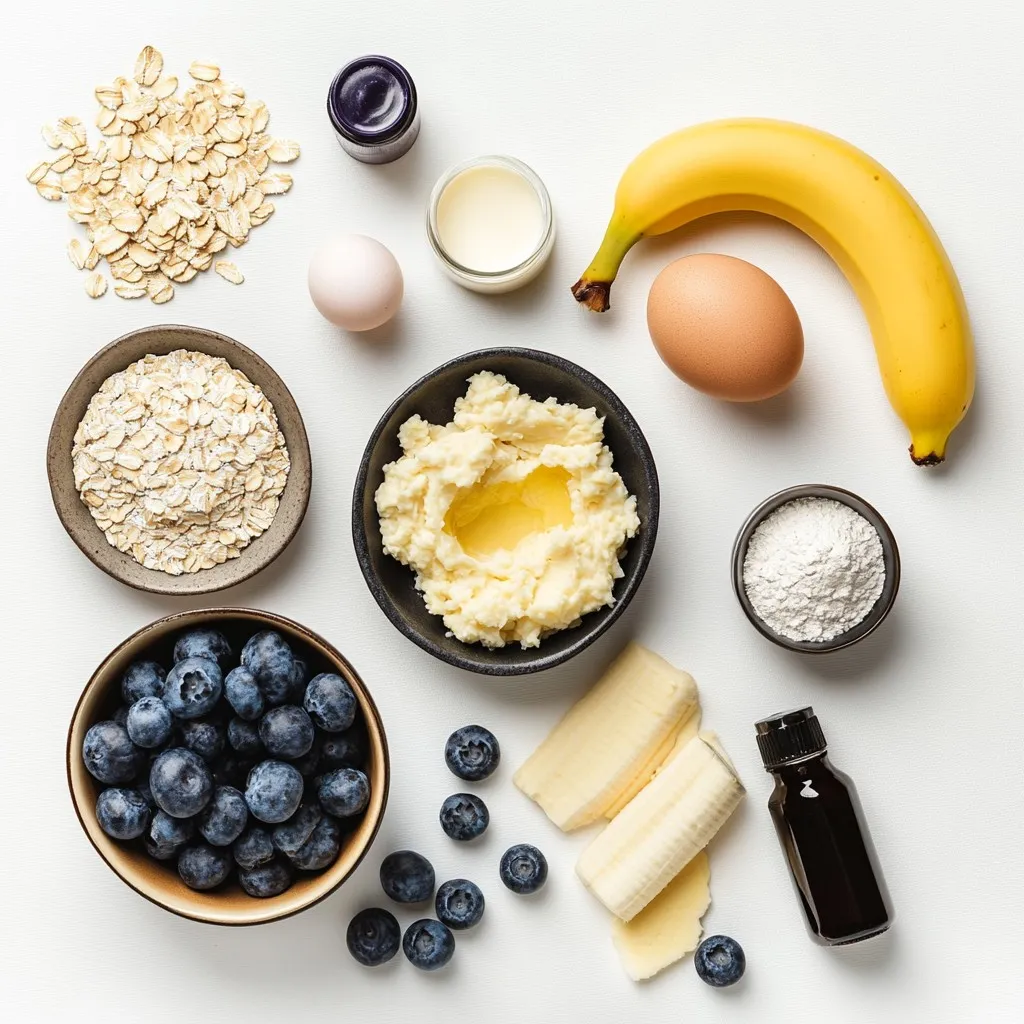
The main ingredients create a tasty base for your waffles. The ripe banana adds natural sweetness and moisture. Rolled oats give texture and help bind the mixture. Cottage cheese boosts protein, making these waffles filling. Blueberries provide a burst of flavor and color. Lastly, the eggs help the waffles rise and hold together.
For the additional ingredients, the vanilla protein powder enhances the protein content. Baking powder helps the waffles become fluffy. The vanilla extract adds a nice flavor, while the salt balances the sweetness.
You can customize your waffle experience with optional toppings. Drizzling maple syrup or honey adds sweetness. Chopped nuts give a nice crunch and extra protein. Extra blueberries can add even more flavor if you love them. Enjoy mixing and matching these ingredients to create your perfect breakfast!
Step-by-Step Instructions
Preparation Steps
– Preheat your waffle iron according to the maker’s instructions. This step is key for crispy waffles.
– Take one ripe banana and mash it in a bowl. Use a fork or potato masher to make it smooth.
Mixing the Batter
– In the same bowl, add one cup of rolled oats, one cup of cottage cheese, and three large eggs. Mix these well until smooth and free of lumps.
– Next, stir in one scoop of vanilla protein powder, one teaspoon of baking powder, one teaspoon of vanilla extract, and a pinch of salt. Keep stirring until the batter is fully blended.
Cooking the Waffles
– Carefully fold in half a cup of blueberries. Be gentle to keep the blueberries whole.
– Lightly grease the preheated waffle iron with non-stick spray or a brush of oil.
– Pour about 1/2 to 3/4 cup of batter into the waffle iron. Close it and cook for 3-5 minutes until golden brown.
– Once done, carefully remove the waffles from the iron. Serve them warm or keep them warm while cooking the rest.
Tips & Tricks
Cooking Tips
To make great waffles, preheat your waffle iron well. This step is key for crispy edges and a fluffy center. Each waffle maker is different, so check your model’s guide for the best cooking time. Most take about 3-5 minutes. If your waffles are too soft, cook them a bit longer.
Ingredient Tips
Use ripe bananas for the best taste. A ripe banana adds natural sweetness and flavor. When picking protein powder, go for vanilla flavor. This choice blends well with the banana and blueberries. It also enhances the overall taste of your waffles.
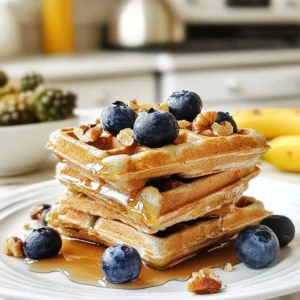
Serving Suggestions
There are many fun ways to serve your waffles. Stack them high and top with fresh blueberries. A drizzle of maple syrup or honey adds sweetness. For added crunch, sprinkle chopped nuts on top. You can also serve them with yogurt or fresh fruit on the side for a tasty breakfast!
Pro Tips
- Use Ripe Bananas: The riper the banana, the sweeter the waffles will be. Look for bananas with brown spots for optimal sweetness and flavor.
- Adjust Cooking Time: Waffle irons can vary significantly; keep an eye on your waffles and adjust the cooking time as necessary for perfect crispiness.
- Experiment with Add-Ins: Don’t hesitate to customize your waffles by adding ingredients like chocolate chips, nuts, or spices such as cinnamon for additional flavor.
- Serve Fresh: For the best experience, serve the waffles immediately after cooking. If making in batches, keep them warm in the oven at a low temperature.
Variations
Flavor Variations
You can spice up your blueberry banana protein waffles easily. Adding a pinch of cinnamon or nutmeg gives a warm flavor. These spices enhance the natural sweetness of the bananas. You can also mix in other fruits. Strawberries and raspberries work great. They add a fresh twist and extra nutrients.
Dietary Modifications
If you need gluten-free options, use alternative oats like almond or coconut flour. These keep the texture light and fluffy. For a dairy-free twist, swap cottage cheese for plant-based yogurt. This change still keeps the waffles moist and tasty.
Sweetness Adjustments
You can reduce sugar in your recipe. Unsweetened applesauce is a fantastic substitute. It adds moisture without extra sugar. You can also use natural sweeteners like honey or maple syrup. These options bring a pleasant sweetness while keeping it healthy.
Storage Info
Short-term Storage
After making your blueberry banana protein waffles, you can keep leftovers in the refrigerator. Place them in an airtight container. This way, they stay fresh for up to three days. When you’re ready to eat, reheat them in a toaster or microwave. For the toaster, a few minutes will crisp them up nicely. If using a microwave, heat them for about 30 seconds.
Long-term Storage
If you want to save waffles for a long time, freezing is a great option. Let the waffles cool completely before freezing. Stack them with parchment paper in between. This keeps them from sticking together. Store them in a freezer-safe bag or container. They can last for up to three months in the freezer. For the batter, you can store it in the fridge for a day or two. However, it’s best to cook the batter right away for the best texture.
Shelf Life
These waffles stay fresh for about three days in the fridge. If you freeze them, they can last for up to three months. Always check for signs of spoilage before eating. If they smell sour or look discolored, it’s best to throw them out. Enjoy these tasty waffles while they are fresh for the best taste and nutrition!
FAQs
Common Questions
How can I make blueberry banana protein waffles without eggs?
You can replace eggs with flaxseed meal. Mix 1 tablespoon of flaxseed meal with 2.5 tablespoons of water. Let it sit for five minutes to thicken. This mix acts like an egg in the batter.
Can I use old-fashioned oats instead of rolled oats?
Yes, you can use old-fashioned oats. They will give your waffles a heartier texture. Just blend them a bit for a smoother batter if you prefer.
What can I substitute for cottage cheese in the batter?
Greek yogurt is a great substitute for cottage cheese. It offers a similar texture and adds a nice creaminess. You can also use silken tofu for a dairy-free option.
Nutritional Information
Overview of calories per waffle
Each waffle has about 150 calories. This makes it a light yet filling meal.
Breakdown of protein content
Each waffle contains around 10 grams of protein. This protein comes from the cottage cheese, eggs, and protein powder.
Serving Size
How many waffles does this recipe yield?
This recipe makes four waffles. This is perfect for sharing or meal prep.
Information on portion control for different diets
If you are on a diet, you can enjoy one waffle as a serving. Pair it with fresh fruit or yogurt for balanced meals. Adjust the number of waffles based on your hunger and activity level.
You now have a complete guide for making blueberry banana protein waffles. We covered the main ingredients, preparation steps, and tips to make them perfect. You learned about variations to suit your taste and dietary needs. Finally, I shared storage info to keep your waffles fresh.
Enjoy these tasty and healthy waffles. They fit well into any meal plan. With this knowledge, you can create a fun breakfast or snack anytime. Happy cookin
Blueberry Banana Protein Waffles
Ingredients
- 1 banana ripe banana, thoroughly mashed
- 1 cup rolled oats
- 1 cup cottage cheese (preferably low-fat)
- 1/2 cup blueberries (fresh or frozen)
- 3 large eggs
- 1 scoop vanilla protein powder
- 1 teaspoon baking powder
- 1 teaspoon vanilla extract
- a pinch salt
Instructions
- Begin by preheating your waffle iron according to the manufacturer's instructions, ensuring it's ready for cooking.
- In a large mixing bowl, add the thoroughly mashed banana. Use a fork or a potato masher to ensure it's smooth.
- Incorporate the rolled oats, cottage cheese, and eggs into the bowl. Blend these ingredients together until they form a unified mixture, ensuring there are no visible lumps.
- Introduce the protein powder, baking powder, vanilla extract, and a pinch of salt to the mixture. Stir vigorously until the batter is smooth, ensuring that all dry ingredients are well mixed in.
- Carefully fold in the blueberries, taking care to maintain their integrity and prevent crushing. This will ensure delightful bursts of flavor in every bite.
- Lightly grease the preheated waffle iron using non-stick cooking spray or a small brush of oil to prevent sticking.
- Pour an appropriate amount of the prepared batter onto the preheated waffle iron, generally around 1/2 to 3/4 cup, depending on your waffle maker's size.
- Close the waffle iron and cook the batter according to the manufacturer’s suggested time, typically around 3-5 minutes, or until the waffles are golden brown and crispy.
- Carefully remove the cooked waffles from the iron. Serve immediately or keep warm while you use the remaining batter.
. This recipe includes all the details you need for perfecting this rich side dish. Enjoy making it! We covered the key steps to make creamy garlic mashed potatoes. First, we explored essential ingredients and shared brands to try. Next, I laid out easy prep instructions and tips for texture and flavor. Then, we looked at tasty variations, like vegan options. Finally, I highlighted how to store and reheat your potatoes. These mashed potatoes will elevate your meals. Try new variations to keep things exciting. Enjoy crafting this dish that your family will love!](https://goldendishy.com/wp-content/uploads/2025/06/88d864b9-3d37-4779-9fe5-8809feb11d6c-768x768.webp)
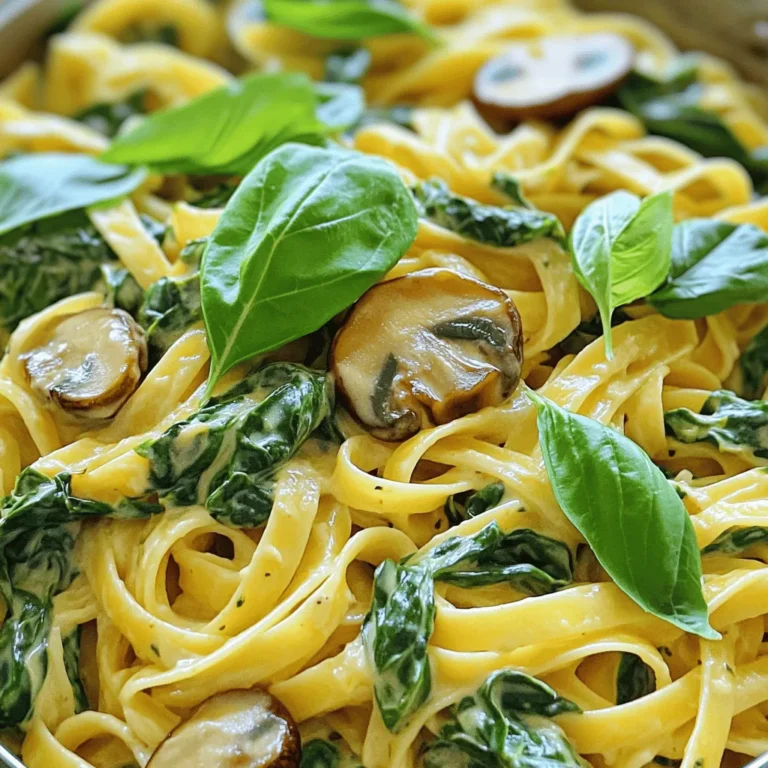
![To make vegan creamy pesto pasta, gather these fresh and simple ingredients. - 12 oz pasta (penne, spaghetti, or your favorite variety) - 2 cups fresh basil leaves, tightly packed - 1/2 cup raw cashews (soaked in water for at least 2 hours) - 1/4 cup nutritional yeast (for a cheesy flavor) - 3 cloves garlic, minced - 1/4 cup extra virgin olive oil - 1 tablespoon fresh lemon juice - Sea salt and freshly ground black pepper, to taste - 1 cup cherry tomatoes, halved (for topping) - Extra fresh basil leaves (for garnish) Each ingredient plays a vital role. The pasta is the base, while basil brings freshness. Cashews create a rich, creamy texture. Nutritional yeast adds a cheesy taste, perfect for vegan dishes. Garlic gives depth, while olive oil provides smoothness. Lemon juice brightens the flavors. Salt and pepper enhance everything. Cherry tomatoes add color and sweetness. Extra basil leaves make the dish look beautiful. For the full recipe, check out the link to ensure a delicious meal! First, fill a large pot with water and add a generous amount of salt. Bring the water to a rapid boil. This step is key; the salt helps flavor the pasta. Once boiling, add 12 ounces of your favorite pasta, like penne or spaghetti. Cook according to the package instructions. You want the pasta to be al dente, which means it should be tender but still firm to bite. Usually, this takes about 8 to 12 minutes. When the pasta is ready, drain it well and set it aside. Next, it’s time to make the vegan pesto. Grab your blender or food processor. Add 2 cups of fresh basil leaves, 1/2 cup of soaked raw cashews, and 1/4 cup of nutritional yeast. Also, include 3 cloves of minced garlic and 1 tablespoon of fresh lemon juice. Season with a pinch of sea salt and freshly ground black pepper. Blend this mixture until it becomes smooth and creamy. If it doesn't blend well, scrape down the sides of the blender and blend again until you get a silky texture. Now, combine the drained pasta with the creamy pesto sauce. Use a large mixing bowl for this. Pour the pesto over the pasta. With a pair of tongs or a spatula, toss everything together. Ensure that each piece of pasta gets coated with the vibrant pesto. If the sauce looks too thick, add a little water, one teaspoon at a time, until it reaches the desired consistency. Don't forget to taste! Adjust the seasoning with more salt, pepper, or lemon juice if needed. Finally, gently fold in 1 cup of halved cherry tomatoes for a fresh burst of flavor. Serve this delicious dish warm, garnished with extra basil leaves. Enjoy your vegan creamy pesto pasta! For the complete recipe, check the [Full Recipe]. Soaked cashews are the secret to a smooth and creamy sauce. They soften and blend well, making the pesto rich. Soak them in water for at least two hours before use. This step is key for a silky texture. If your pesto is too thick, don’t worry. Just add water! Start with a teaspoon at a time. Blend until you reach your desired creaminess. This helps the sauce hug the pasta perfectly. Don’t stop at just basil! You can spice it up with some red pepper flakes for heat. A pinch of black pepper adds depth. Try adding a bit of garlic powder for more flavor. Lemon juice adds freshness, but balance is key. If it’s too tangy, add a pinch of sugar or more cashews. This helps round out the flavors and brings the dish to life. Pair this pasta with roasted vegetables for a colorful plate. A side salad adds crunch and freshness. For a drink, consider a light white wine, like Sauvignon Blanc. As for portion sizes, aim for about one and a half cups per person. This ensures everyone leaves satisfied. Enjoy this dish warm for the best flavor experience! {{image_4}} You can change nuts or seeds in your pesto. Try using almonds or sunflower seeds. Each option brings a unique taste. For those avoiding gluten, select gluten-free pasta. Options like brown rice or chickpea pasta work well. Both choices give a nice texture and flavor. To mix up the flavor, add different herbs like parsley or spinach. These herbs bring extra freshness to your dish. You can also incorporate various vegan cheeses. Options like cashew cheese or nutritional yeast can enhance the creamy taste. This helps create layers of flavor in your pesto. Make your dish fresh by using seasonal veggies. For example, zucchini or asparagus can add crunch and color. You can also try different tomatoes. Roasted tomatoes can bring a sweet touch, while cherry tomatoes add a pop of freshness. Finish with garnishes like pine nuts or extra basil for a lovely look. For the complete recipe, check the Full Recipe. After enjoying your vegan creamy pesto pasta, store any leftovers in an airtight container. This keeps the pasta fresh and tasty. Place it in the fridge right away. The best storage time is up to 3 days. Beyond that, the pasta may lose its flavor and texture. To reheat your pasta, the best method is using a stovetop. Heat a pan over medium heat. Add a splash of water or olive oil to keep it moist. Stir gently to warm it up. When reheating, avoid high heat, as this can dry out the sauce. You want to keep that creamy goodness intact. Enjoy your delicious meal again! To make vegan creamy pesto pasta, follow these simple steps: 1. Cook the Pasta: Bring salted water to a boil. Add 12 oz of your pasta and cook until tender. This usually takes about 8-12 minutes. Drain and set aside. 2. Prepare the Pesto: In a blender, add 2 cups of fresh basil leaves, 1/2 cup of soaked raw cashews, and 3 minced garlic cloves. Pour in 1/4 cup of nutritional yeast and 1 tablespoon of lemon juice. Add a pinch of sea salt and black pepper. Blend until smooth. 3. Emulsify with Olive Oil: While blending, slowly add 1/4 cup of extra virgin olive oil. Keep blending until creamy. If it’s too thick, add water, one teaspoon at a time. 4. Combine Pasta and Pesto: In a large bowl, mix the drained pasta with your creamy pesto. Toss gently to coat the pasta well. 5. Final Touches: Taste the mix and adjust the seasoning. Fold in 1 cup of halved cherry tomatoes for a fresh touch. 6. Serve: Serve warm with extra basil leaves on top. Enjoy your delicious vegan creamy pesto pasta! Yes, you can freeze vegan creamy pesto pasta. Here are some tips to keep it tasty: - Cool Before Freezing: Let the pasta cool down before packing it. - Use Airtight Containers: Store the pasta in airtight containers or freezer bags. - Leave Space: Leave some room in the container for the pasta to expand. - Label and Date: Always label your containers with the date. Use within 2-3 months for best quality. When ready to eat, thaw in the fridge overnight. Reheat gently on the stove or in the microwave. Add a splash of water if it seems dry. If you don’t have nutritional yeast, try these alternatives: - Grated Vegan Cheese: Use a dairy-free cheese for a similar flavor. - Ground Flaxseed: This can add a nutty taste, though it won't mimic the cheese flavor. - T nutritional yeast: You can use this if you want a similar profile. - Parmesan Substitute: Some brands offer vegan parmesan that works well in pesto. Each substitute will change the flavor a bit, so adjust to your taste! This blog post covered how to make vegan creamy pesto pasta. You learned about ingredients, cooking pasta, and blending the pesto. We explored tips for smooth texture and flavor. I shared variations to keep things fresh, plus storage and reheating advice. In the end, making this dish is quick and fun. Enjoy experimenting with flavors and textures. This pasta will please vegans and non-vegans alike!](https://goldendishy.com/wp-content/uploads/2025/07/928f57b2-1357-48f3-b20e-4d7b01e4c937-768x768.webp)