White Cheddar Mac and Cheese Comforting Cheesy Delight

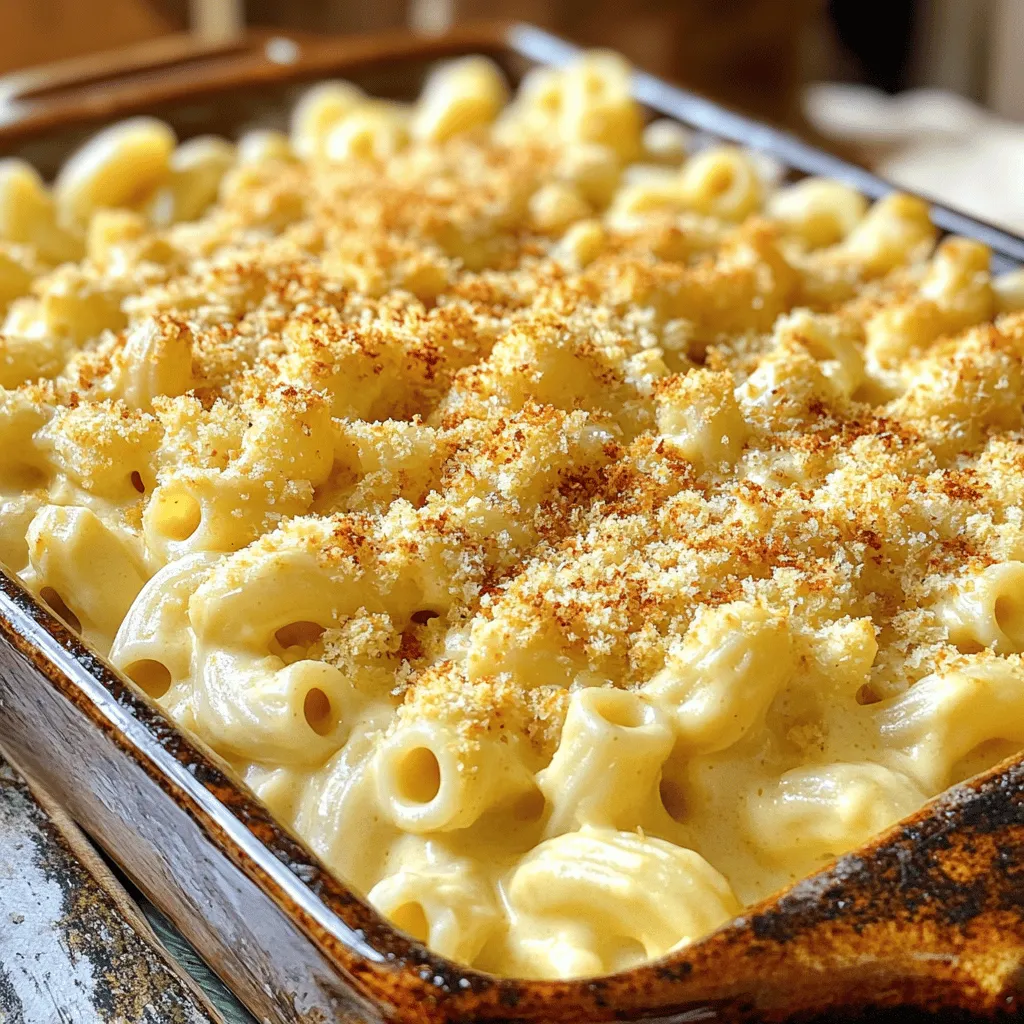
Craving a warm, cheesy hug in a bowl? My White Cheddar Mac and Cheese is the perfect comfort food. Creamy white cheddar and a hint of Gruyère create a rich flavor that’ll leave you wanting more. Plus, with easy-to-follow steps and a few tasty add-ins, you can make this dish your own. Let’s dive into the cheesy delight that will warm your heart and your stomach!
Ingredients
Main Ingredients
– 8 oz elbow macaroni
– 2 tablespoons unsalted butter
– 2 tablespoons all-purpose flour
– 2 cups milk (whole or 2%)
– 2 cups white cheddar cheese, shredded
Additional Ingredients
– 1 cup Gruyère cheese, shredded
– 1 teaspoon Dijon mustard
– 1/2 teaspoon garlic powder
– 1/4 teaspoon cayenne pepper (optional for a kick)
– Salt and pepper to taste
Topping Ingredients
– 1/2 cup breadcrumbs (Panko for extra crunch)
– 1 tablespoon olive oil
When planning to make white cheddar mac and cheese, gather these simple yet key ingredients. The elbow macaroni forms the base of the dish. It holds the creamy cheese sauce well, making every bite rich and cheesy. Unsalted butter and flour create a roux, which thickens the sauce. This process adds depth of flavor to your meal.
Next, milk brings creaminess. I recommend using whole or 2% milk for the best results. The star of the dish is, of course, the white cheddar cheese. It melts beautifully and gives a sharp, tangy taste that elevates the dish. Gruyère cheese adds another layer of flavor. It blends smoothly and enhances the creaminess.
To add complexity, you can include Dijon mustard, garlic powder, and a touch of cayenne pepper. These ingredients provide a hint of heat and depth. Don’t forget to season with salt and pepper to taste.
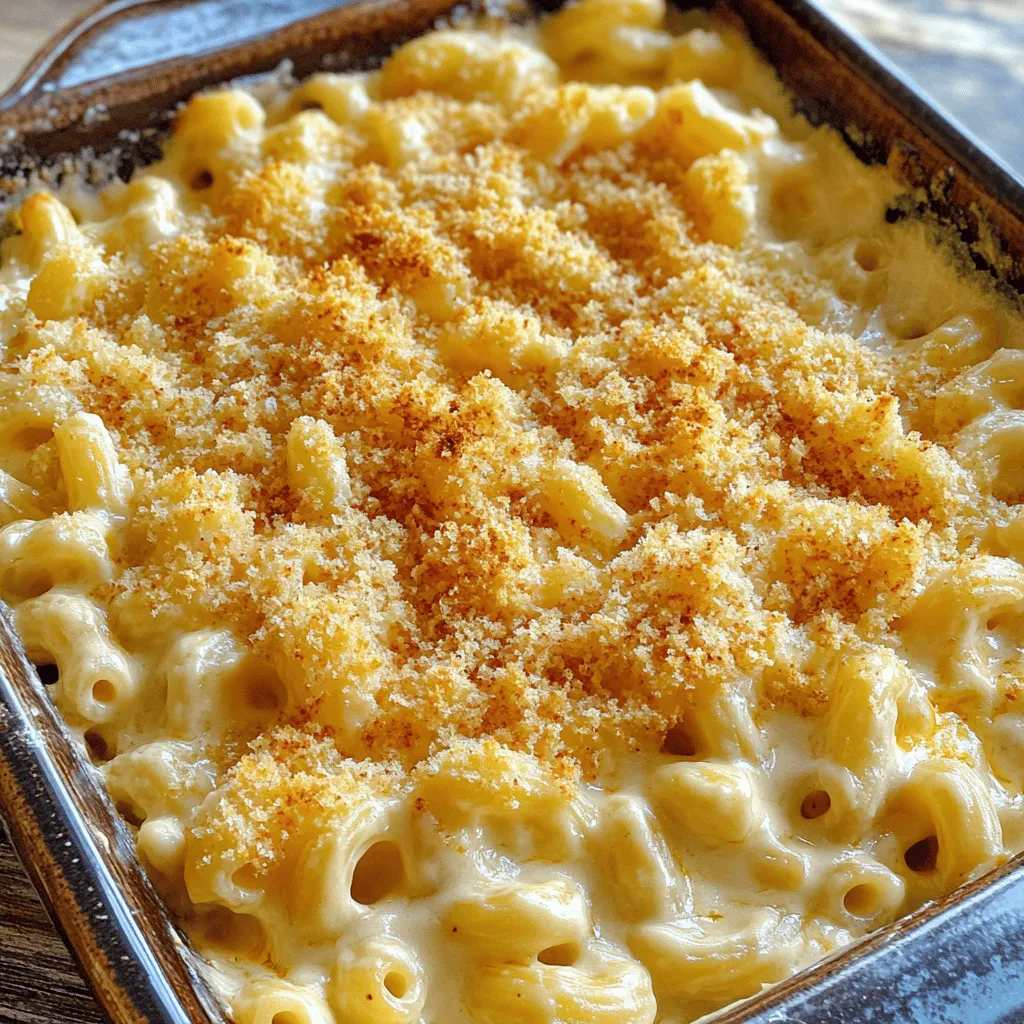
For that crunchy topping, use breadcrumbs mixed with olive oil. Panko breadcrumbs are a great choice for extra crunch. They create a lovely contrast to the creamy pasta below.
Step-by-Step Instructions
Cooking the Pasta
– Bring a large pot of salted water to a boil.
– Add the elbow macaroni and cook until al dente, about 7-8 minutes.
– Drain the pasta and set it aside.
Preparing the Roux
– Return the empty pot to medium heat.
– Melt the unsalted butter in the pot.
– Whisk in the all-purpose flour to form a roux.
– Cook the roux until it turns a light golden color, about 1-2 minutes.
Making the Cheese Sauce
– Gradually whisk in the milk, making sure to avoid lumps.
– Heat the mixture until it thickens, about 5-7 minutes.
– Lower the heat and mix in the shredded white cheddar and Gruyère cheese.
– Stir until the cheeses melt and the sauce is creamy.
Combining Pasta and Cheese Sauce
– Mix in the Dijon mustard, garlic powder, and seasonings.
– Add the drained macaroni to the cheese sauce.
– Stir gently until all the pasta is coated in the rich cheese sauce.
Baking the Dish
– Preheat your oven to 350°F (175°C).
– In a small bowl, mix the breadcrumbs with olive oil until glossy.
– Transfer the mac and cheese mixture to a greased baking dish.
– Sprinkle the breadcrumb mixture evenly on top.
– Bake for about 25-30 minutes until the top is golden brown and bubbly.
Tips & Tricks
Cooking Tips
– Always use freshly shredded cheddar. It melts better and tastes great.
– Stir the milk in slowly. This helps avoid lumps in your sauce.
Serving Suggestions
– Use individual bowls for each person. It makes serving easy and fun.
– Add parsley or extra cheese on top. This makes the dish look nice.
Adjusting Flavor
– Try different cheeses like gouda or mozzarella. Each adds a new twist.
– Add spices like paprika or thyme for more depth. They can change the whole dish.
Follow these tips to create a white cheddar mac and cheese that shines. Each step adds to the creamy delight. Enjoy cooking!

Variations
Additions to Consider
You can add fun ingredients to make your mac and cheese unique. Try mixing in cooked bacon or ham for a meaty twist. The salty flavor of bacon pairs well with the creamy cheese. If you want a healthier option, add steamed vegetables like broccoli or spinach. They add color and nutrients, making the dish more balanced.
Different Cheeses
Cheese is the star of this dish, so don’t be shy! You can try different cheese blends for a gourmet touch. Mixing in cheeses like mozzarella or fontina can create new flavors. For a bolder taste, use sharp cheddar. It adds a nice kick that many people enjoy.
Spice Levels
If you like some heat, you can spice things up! Add jalapeños or red pepper flakes for a spicy kick. They will bring warmth and excitement to each bite. You can also adjust cayenne pepper based on your taste. Just a pinch can enhance the flavor without overwhelming the dish.
These variations allow you to personalize your white cheddar mac and cheese. Each addition makes it special and delicious.
Storage Info
Refrigeration
Store leftovers in an airtight container in the fridge for up to 3 days. Keeping them covered helps prevent drying out. This way, you can enjoy your creamy white cheddar mac and cheese later. Just make sure to cool it first before sealing.
Freezing
You can freeze cooked mac and cheese for up to 2 months. To do this, place it in a freezer-safe container. When you want to eat it, thaw it in the fridge overnight before reheating. This method helps keep the texture nice.
Reheating Instructions
To reheat, use the oven or microwave. If using the oven, add a splash of milk to restore creaminess. Heat it at a low temperature to avoid drying out. Stir occasionally to ensure even heating. Enjoy the same cheesy goodness as when it was fresh!
FAQs
What is the best type of cheese for mac and cheese?
The best options include white cheddar and Gruyère for flavor and texture. White cheddar gives a sharp taste. Gruyère adds a rich creaminess. Together, they create a delicious mac and cheese that everyone loves.
Can I make mac and cheese ahead of time?
Yes, you can prepare it a day in advance and bake it right before serving. Just store the uncooked dish in the fridge. This helps the flavors meld. When ready, pop it in the oven. It will still taste fresh and cheesy.
How do I make mac and cheese creamy?
Ensure the cheese is freshly shredded and incorporate milk while reheating to maintain creaminess. This prevents clumping and keeps it smooth. You can also add a bit more milk if it seems dry. The goal is a rich, velvety sauce that coats every noodle perfectly.
This blog post covered the basics of a delicious mac and cheese recipe. We explored the main, additional, and topping ingredients. I shared step-by-step cooking instructions and helpful tips for the best results. You can even adjust the flavors to match your taste or add extra ingredients for variety.
In short, this dish is easy to customize and sure to please. Enjoy making this classic comfort food with your own unique twist!


![- 2 boneless, skinless chicken breasts - 1 cup buttermilk - 1 cup all-purpose flour - 1 teaspoon baking powder - 1 teaspoon smoked paprika - 1/2 teaspoon garlic powder - 1/2 teaspoon cayenne pepper - Salt and freshly ground black pepper, to taste - 4 ready-made waffles (or homemade) - 2 tablespoons honey - Maple syrup, for drizzling - Fresh parsley, chopped, for garnish In this easy chicken and waffles recipe, you start with two boneless, skinless chicken breasts. Soak them in one cup of buttermilk. This step makes the chicken juicy and tender. Next, prepare the breading mix. You need one cup of all-purpose flour, one teaspoon of baking powder, one teaspoon of smoked paprika, half a teaspoon of garlic powder, and half a teaspoon of cayenne pepper. Don’t forget to add salt and pepper to taste. For the waffles, you can use four ready-made waffles or make your own. To finish, you will need two tablespoons of honey and maple syrup for drizzling. Chop some fresh parsley for garnish. This dish combines sweet and savory flavors, making it a favorite for many. Check out the Full Recipe to see how to put it all together. - Immerse chicken in buttermilk. - Cover and refrigerate. Start by taking two boneless, skinless chicken breasts. Place them in a bowl and pour in one cup of buttermilk. Make sure the chicken is fully coated. Cover the bowl with plastic wrap and set it in the fridge. Let it sit for at least one hour, or overnight for the best flavor. The buttermilk helps tenderize the chicken and adds a nice tang. - Combine flour and spices. - Mix to create a uniform dry mixture. Next, grab a shallow dish. In it, combine one cup of all-purpose flour with one teaspoon of baking powder, one teaspoon of smoked paprika, half a teaspoon of garlic powder, and half a teaspoon of cayenne pepper. Add salt and black pepper to taste. Mix well until everything is even. This blend will give your chicken a delicious crust. - Dredge marinated chicken in flour mixture. - Shake off excess flour. After marinating, take the chicken out of the fridge. Let the extra buttermilk drip off. Now, dredge each piece in the flour mixture. Make sure to coat both sides well. Once coated, shake off any excess flour. This step is key for achieving a crispy texture. - Heat oil in a skillet. - Fry chicken until golden-brown. In a large skillet, heat about half an inch of oil over medium-high heat. Wait until the oil is shimmering. Carefully place the coated chicken breasts into the skillet. Fry each piece for about 5-7 minutes on each side. They should turn a beautiful golden-brown color. Check the internal temperature; it should reach 165°F. Once cooked, transfer the chicken to a plate lined with paper towels to soak up excess oil. - Toast waffles according to instructions. While the chicken fries, it’s time to warm the waffles. You can use ready-made waffles or make your own if you prefer. Just toast them according to the package instructions until they are crispy and heated through. This will balance the hot chicken nicely. - Layer waffle and chicken. - Drizzle with honey and maple syrup. To assemble, take a warm waffle and place it on a serving plate. Top it with a piece of the golden fried chicken. Now, for the fun part! Drizzle honey generously over the chicken. Then, add a touch of maple syrup according to your taste. This sweet and savory combo makes every bite a delight. - Ensure oil is hot before frying. Hot oil makes the chicken crispy. - Don’t overcrowd the skillet. This helps keep the oil hot and even. - Stack chicken slightly off-center. This adds height and looks appealing. - Garnish with parsley and drizzle syrup. It gives color and extra flavor. - Consider brining chicken overnight. This makes it juicier and more flavorful. - Experiment with different spices. Try herbs or blends for new tastes. For a detailed guide, check out the Full Recipe. {{image_4}} You can switch things up with grilled chicken instead of fried. Grilled chicken has a nice smoky flavor. Plus, it's a lighter option. I love using chicken thighs for this dish. They are more juicy and tender than breasts. Thighs also add great flavor to the meal. For the waffles, try adding flavors like cinnamon or vanilla. These will give your dish a fun twist. You can also make mini waffles. They are perfect for a bite-sized treat. Kids love them, and they are easy to share. If you want to change the sweet element, try agave syrup instead of honey. It’s a nice alternative for a sweeter touch. You can also use a fruit compote. Fresh berries or peaches work great and add a fruity burst. These options make your chicken and waffles even more special. For the full recipe, check out the ingredients and steps above! After you savor your chicken and waffles, store any leftovers in an airtight container. This keeps the food fresh and safe. The dish is best consumed within 2 days. If you wait too long, the taste and texture will suffer. You can freeze the cooked chicken and waffles for later. Be sure to store them separately. This way, the waffles do not get soggy. When you are ready to eat, reheat the chicken and waffles in the oven for best results. This helps keep everything crispy and tasty. When it's time to enjoy leftovers, use an oven or air fryer to reheat the chicken. This method preserves the crispy coating. Avoid using a microwave, as it can make the chicken chewy and wet. Keeping the texture nice is key to enjoying your meal again. To make homemade waffles, start with a simple batter. Mix together: - 1 cup all-purpose flour - 1 tablespoon sugar - 1 teaspoon baking powder - 1/2 teaspoon salt - 1 cup milk - 1 large egg - 2 tablespoons melted butter Combine all the dry ingredients in one bowl. In another bowl, whisk the wet ingredients. Mix them together until just combined. Cook in a preheated waffle maker for about 5 minutes until golden brown. You can also use my [Full Recipe] for a quick option with ready-made waffles. Yes! You can explore using turkey or even tofu for a vegetarian option. Turkey breast works well as a leaner choice. For tofu, press it to remove excess moisture, then marinate like the chicken. This adds great flavor and keeps it moist. To get crispy chicken, keep the oil hot. Heat it to about 350°F before frying. This helps form a crust. Don't overcrowd the skillet; fry in batches if needed. Cook until golden brown, about 5-7 minutes per side. Yes, meal prepping is easy! You can marinate the chicken in advance. Also, cook and freeze the chicken separately from the waffles. Store in airtight containers. This meal stays tasty for up to two days in the fridge. You can spice up your chicken with different seasonings. Try adding more cayenne pepper or smoked paprika for heat. Top your waffles with fresh fruit or whipped cream. Maple syrup adds sweetness, but feel free to experiment! For sides, think about fresh fruit or a light salad. Sliced strawberries or mixed berries add a nice touch. A simple green salad can balance the dish’s richness. You can also serve it with sweet potato fries for a fun twist. You learned how to make a tasty chicken and waffles dish. We covered marinating chicken, preparing breading, and frying until golden-brown. You also saw tips for storage and variations. Don't be afraid to try different spices or use grilled chicken. This dish is fun and delicious. Enjoy making it and sharing with friends!](https://goldendishy.com/wp-content/uploads/2025/06/c6fcab88-53c4-4cda-8439-7edbb7c77c72-768x768.webp)
![- Bell peppers and their colors: You can use four large bell peppers. Choose any color you like: red, yellow, green, or orange. Each adds its own taste and look to the dish. - Protein options: For the filling, you can select either ground turkey or beef. Both options will give you a hearty and satisfying meal. - Base ingredients: You will need one cup of cooked rice. You can use either white or brown rice. Additionally, add one cup of black beans, rinsed and drained, and one cup of corn. You can choose fresh, frozen, or canned corn. - Flavor enhancers: To boost the flavor, use one cup of salsa. You can pick your favorite brand or make it homemade. Also, add one tablespoon of taco seasoning. You can use store-bought or make your own. - Toppings: For the top of the peppers, use one cup of shredded cheddar cheese. This cheese gives a nice gooey texture. You can add extra cheese for a more decadent touch. Fresh cilantro is a great garnish, adding color and a bit of fresh flavor. You can find the full recipe in the earlier sections of this article. Happy cooking! Preheat the oven to 375°F (190°C). This helps cook the peppers evenly. While it heats, grab a baking dish. Set it aside for the stuffed peppers. Prepare the bell peppers by slicing the tops off. Remove the seeds and membranes, which can taste bitter. Brush each pepper with olive oil. This adds flavor and helps them roast nicely. Place the peppers upright in the baking dish. Cook the meat in a large skillet over medium heat. Add 1 pound of ground turkey or beef. Break it apart with a spatula as it cooks. Make sure it browns well. Once cooked, drain any excess fat. This keeps the filling lean and tasty. Next, add rice, black beans, corn, salsa, and seasoning to the skillet. Use 1 cup of cooked rice, 1 cup of rinsed black beans, and 1 cup of corn. Pour in 1 cup of salsa and 1 tablespoon of taco seasoning. Sprinkle some salt and pepper too. Mix everything well. Simmer the mixture for about 5 minutes. This lets the flavors meld together, making the filling more delicious. Stir it occasionally to avoid sticking. Now, mix in half of the shredded cheddar cheese. This makes the filling creamy and rich. Remove the skillet from heat. Stuff the peppers by spooning the mixture into each one. Press down gently to pack it in well. This ensures every bite is full of flavor. Top with more cheese by sprinkling the remaining cheddar over each filled pepper. It will melt and brown nicely while baking. Bake the peppers by covering the baking dish with aluminum foil. Place it in the oven for 25-30 minutes. In the last 10 minutes, remove the foil. This helps the cheese bubble and turn golden. Once done, cool the peppers for a few minutes before serving. The filling will be very hot. If you like, garnish with fresh cilantro for extra flavor. Enjoy your taco stuffed bell peppers! Remember, you can find the full recipe above for all the details. How to choose fresh bell peppers: Pick bell peppers that are firm and shiny. Look for smooth skin with no blemishes. A good pepper feels heavy for its size. Colors like red, yellow, and orange are sweeter. Green peppers are a bit more bitter. All colors work well in this dish. Ensuring optimal cooking temperature and timing: Set your oven to 375°F (190°C) before you start cooking. This temperature helps the peppers cook evenly. Bake them for 25-30 minutes. In the last 10 minutes, uncover the dish to let the cheese brown. Suggestions for additional spices or ingredients: Add cumin or chili powder for an extra kick. You can also mix in diced tomatoes or jalapeños for more flavor. If you love heat, try adding some hot sauce to the filling. Offering a vegetarian option: For a vegetarian version, swap the meat for lentils or extra beans. You can use quinoa instead of rice for a healthy twist. This way, everyone can enjoy taco stuffed bell peppers! Plating ideas for presentation: Serve the peppers on a colorful platter. You can place them upright for a fun look. Add a dollop of sour cream on the side. Fresh cilantro on top adds a pop of green. Recommended side dishes for a complete meal: Pair your stuffed peppers with a fresh salad or tortilla chips. A side of guacamole or salsa also works great. These sides make the meal more fun and filling. For the full details, check out the Full Recipe! {{image_4}} You can mix up the protein in taco stuffed bell peppers. If you want a meatless option, try using black beans or lentils. They add great flavor and protein. For a twist, you can also use ground chicken or pork. When it comes to cheese, feel free to get creative. While cheddar is classic, you might try Monterey Jack or pepper jack for extra spice. You can also use cream cheese for a creamier filling. For salsa, any kind works! Chunky salsa adds texture, while smooth salsa blends in. You can even make your own with fresh tomatoes, onions, and peppers. Grilling adds a smoky flavor. Wrap the stuffed peppers in foil and place them on the grill. Cook for about 15 to 20 minutes until tender. You can also use a slow cooker. Place the stuffed peppers in the slow cooker with a bit of sauce. Cook on low for 4 to 6 hours for a hands-off approach. If you need a quick meal, the microwave is your friend. Just place the stuffed peppers in a microwave-safe dish. Cover with a lid or plastic wrap. Heat for about 5 to 7 minutes, checking for doneness. Using seasonal veggies makes your dish brighter. In summer, add fresh zucchini or corn. In fall, consider adding diced sweet potatoes or pumpkin. These add flavor and nutrition. For holidays, you can theme your peppers. For Halloween, use orange peppers and stuff them with spicy fillings. For Christmas, use red and green peppers and add festive spices. It’s a fun way to celebrate! For the full recipe, check out [Full Recipe]. To store leftovers, place the stuffed peppers in an airtight container. This keeps them fresh and tasty. You can keep them in the fridge for up to three days. Make sure they cool down first to avoid steam build-up. If you want to save some for later, freezing is a great option. Wrap each stuffed pepper tightly in plastic wrap. Then, place them in a freezer-safe bag. They can last for up to three months in the freezer. When you’re ready to eat, thaw them overnight in the fridge. To reheat, bake at 350°F (175°C) for about 25 minutes, or until heated through. For easy meal prep, you can cook a big batch in advance. Make the filling and stuff the peppers ahead of time. Store them in the fridge for two days before baking. This way, you can have a quick meal ready on busy nights. You can also use different colors of bell peppers for fun and variety. What can I substitute for rice in the recipe? You can use quinoa or cauliflower rice instead of regular rice. Quinoa adds protein and fiber. Cauliflower rice keeps it low-carb. Both options work well and keep the dish tasty. How do I know when the peppers are fully cooked? The peppers should be tender but not mushy. You can poke them with a fork. If they give easily but hold their shape, they are ready. The cheese should be melted and bubbly on top too! Caloric content and portion sizes Each stuffed pepper is about 300 calories. This includes the filling and toppings. If you use ground turkey, it may be lower in calories. Adjust the portion size based on your hunger. Health benefits of ingredients used Bell peppers are rich in vitamins A and C. They help boost your immune system. Black beans provide protein and fiber, promoting good digestion. Corn adds vitamins and a sweet crunch. What drinks pair well with taco stuffed bell peppers? A refreshing drink like lemonade or iced tea works great. For adults, a light beer or margarita adds fun. Choose drinks that balance the spice of the peppers. Can taco stuffed bell peppers be made in advance for gatherings? Yes! You can prepare the stuffed peppers ahead of time. Just store them in the fridge. Bake them when your guests arrive. They will taste fresh and hot from the oven! For the full recipe, check the earlier section. Taco stuffed bell peppers are fun and easy to make. We covered the key ingredients, steps, and helpful tips for a great dish. You learned how to mix flavors and pack ingredients for maximum yum. With ideas for storage and meal prep, you’re ready to enjoy these peppers anytime. Get creative with variations to keep things fresh. Whether for a family dinner or a gathering, these peppers can impress. Happy cooking!](https://goldendishy.com/wp-content/uploads/2025/06/e36cd186-0c48-4bd5-9184-2d07a9c06671-768x768.webp)
