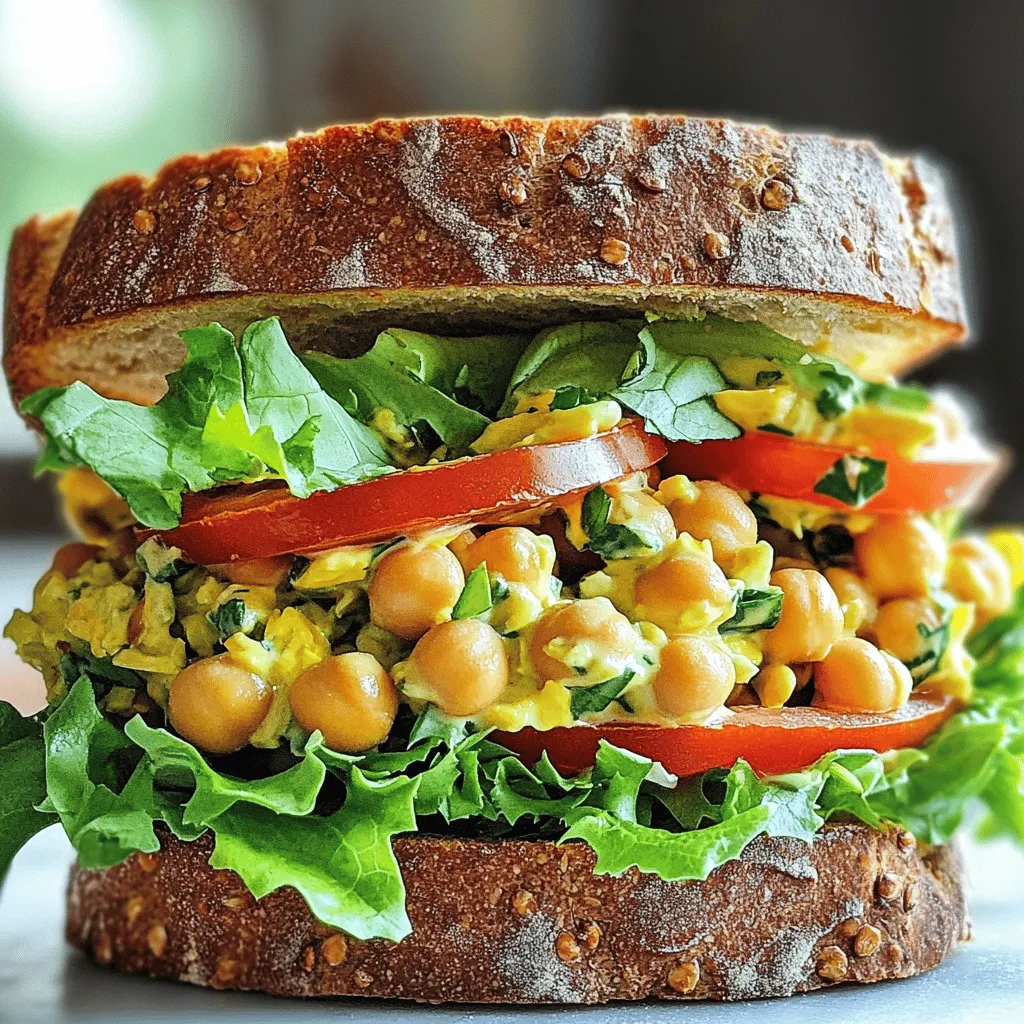
Are you looking for a quick and tasty meal? This Vegan Chickpea Salad Sandwich is a healthy choice that’s full of flavor. You’ll love how simple it is to make. With just a handful of ingredients, you can whip up a satisfying lunch that keeps you fueled throughout the day. Let’s dive into the easy steps that will have you enjoying your sandwich in no time!
Ingredients
Main Ingredients for Vegan Chickpea Salad Sandwich
To make a tasty vegan chickpea salad sandwich, gather these main ingredients:
– 1 can (15 oz) chickpeas, thoroughly drained and rinsed
– 1/4 cup vegan mayonnaise
– 1 tablespoon Dijon mustard
– 1 tablespoon fresh lemon juice
– 1/4 red onion, finely diced
– 1 celery stalk, finely chopped
– 1 small carrot, grated
– 1/4 cup fresh parsley, finely chopped
– 1/2 teaspoon garlic powder
– Salt and black pepper, to taste
– 4 slices of whole grain bread
– Crisp lettuce leaves, for garnish
– Fresh sliced tomatoes, for garnish
These ingredients create a creamy and crunchy mix that packs a punch of flavor. The chickpeas serve as a hearty base. The vegan mayonnaise and mustard add creaminess and tang. Fresh veggies bring in crunch and color.
Optional Ingredients to Enhance Flavor
You can also add some optional ingredients to boost the taste:
– Avocado for creaminess
– Cucumber for extra crunch
– Bell peppers for sweetness
– Pickles for a tangy kick
– Nutritional yeast for a cheesy flavor
These ingredients allow you to customize your sandwich. Feel free to mix and match based on what you like.
Nutritional Information for a Balanced Meal
This vegan chickpea salad sandwich is not only tasty but also nutritious. Here’s a quick look at its benefits:
– Chickpeas provide protein and fiber, helping you feel full.
– Veggies add vitamins and minerals for overall health.
– Whole grain bread offers complex carbs for energy.
In each serving, you get a balance of protein, healthy fats, and fiber. This meal supports a healthy diet while also being delicious.
Step-by-Step Instructions
Preparation Steps for Chickpea Salad
1. Start with a can of chickpeas. Drain and rinse them well in a colander.
2. Place the chickpeas in a large mixing bowl. Use a fork or potato masher to mash them. Aim for a chunky texture, not a puree.
3. Add the vegan mayonnaise, Dijon mustard, and fresh lemon juice to the bowl. Mix until everything blends well and is creamy.
4. Fold in the red onion, celery, grated carrot, chopped parsley, and garlic powder. Make sure the veggies are evenly mixed.
5. Taste the salad. Season with salt and black pepper as you like. Mix again to blend the flavors.
Assembling the Vegan Sandwich
1. Toast your slices of whole grain bread until they reach your desired crispness.
2. Take two slices of the toasted bread. Spread a generous amount of the chickpea salad on each slice.
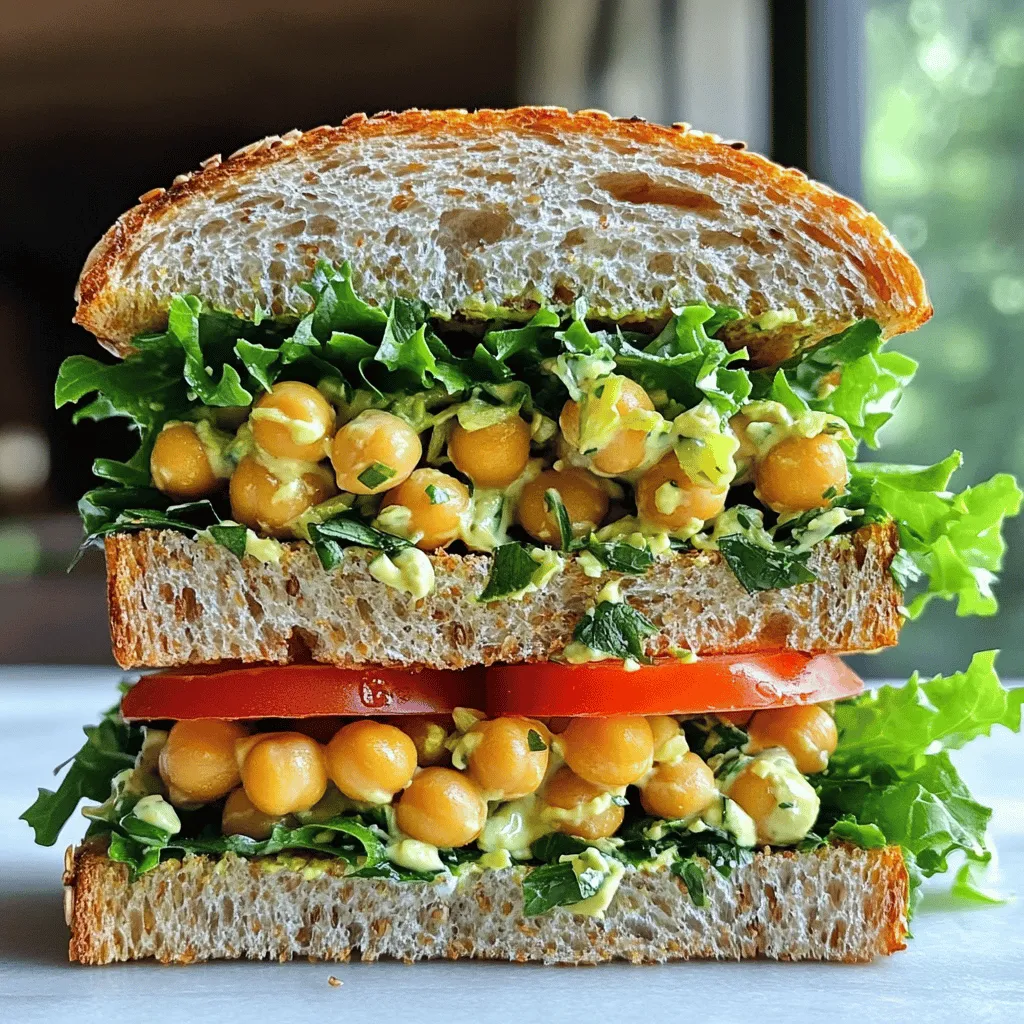
3. Add a few crisp lettuce leaves on top of the salad. Then, layer fresh slices of tomato for extra crunch.
4. Place the remaining slices of toasted bread on top to finish your sandwich.
5. Cut each sandwich in half diagonally for easy eating.
Tips for Toasting Bread Perfectly
– Use a toaster or a skillet for even toasting.
– If using a skillet, heat it over medium heat. Add a little olive oil for extra flavor.
– Toast until golden brown and crunchy. This adds a nice contrast to the creamy salad filling.
Tips & Tricks
Best Practices for Mashing Chickpeas
To get the best texture, start with drained chickpeas. Place them in a large bowl. Use a fork or potato masher to mash them. Aim for a chunky consistency, not a puree. This keeps the salad hearty. If you prefer a smoother texture, add more vegan mayo.
Flavor Enhancements and Seasoning Suggestions
Adding flavor boosts the salad. Try mixing in fresh herbs like dill or chives. A pinch of cayenne pepper adds a nice kick. Use lemon zest for a citrusy pop. You can also adjust salt and pepper to taste. Taste as you go for best results.
Alternate Garnishes for an Elevated Presentation
Presentation matters! Serve your sandwich on a colorful plate. Add extra sliced tomatoes or a sprinkle of parsley for color. You can also layer in avocado slices for creaminess. Use radish slices for a crunchy bite. These small touches make your meal look special.
Variations
Adding Different Vegetables
You can add many veggies to your chickpea salad. Think about using bell peppers, cucumbers, or spinach. Each veggie brings its own taste and crunch. For example, diced bell peppers add sweetness. Chopped cucumbers give a fresh and cool bite. Spinach adds nice color and nutrients. Mix and match based on what you have. This way, your sandwich stays interesting and fun.
Alternative Spreads for Unique Flavors
While vegan mayonnaise is great, you can try other spreads. Hummus gives a creamy texture with extra flavor. Avocado spread can make it rich and smooth. You could even use pesto for a herby twist. Each spread changes the taste of your sandwich. This lets you explore new flavors every time you make it.
Making it Gluten-Free: Options for Bread Substitutes
If you need a gluten-free option, there are many choices. Use lettuce leaves to make a wrap. You can also find gluten-free bread at most stores. Another option is rice cakes, which make a crunchy base. These choices help you enjoy the same great flavors without gluten.
Storage Info
How to Properly Store Leftover Chickpea Salad
To keep your leftover chickpea salad fresh, place it in an airtight container. Make sure to seal it tightly to block air. The salad lasts about 3 to 5 days in the fridge. If you notice any change in color or smell, it’s best to throw it away.
Keeping Sandwiches Fresh for Meals On-the-Go
If you plan to take your sandwich for lunch, wrap it in plastic or foil. This keeps the sandwich fresh and prevents squishing. For extra crunch, add lettuce or tomatoes just before eating. If you make sandwiches ahead of time, try to eat them within a day for the best taste.
Freezing Tips for Long-Term Storage
You can freeze chickpea salad if you want it for later. Use a freezer-safe container and leave some space at the top. This allows the salad to expand as it freezes. It’s best to use the salad within 3 months. When you are ready to use it, thaw it in the fridge overnight. Stir well before serving to mix the flavors.
FAQs
Can I use canned chickpeas for this recipe?
Yes, you can use canned chickpeas. They are quick and easy. Just drain and rinse them well. This saves time and still gives you great flavor. Fresh or dried chickpeas take longer to cook. Canned chickpeas are perfect for a fast meal.
How long does the chickpea salad last in the fridge?
The chickpea salad lasts about three to four days in the fridge. Store it in an airtight container. This keeps it fresh and tasty. Just remember to give it a good stir before serving. If it looks a bit dry, add a splash of lemon juice or vegan mayo.
What other bread options can I use for this sandwich?
You can use many types of bread for this sandwich. Whole grain is great, but try sourdough, rye, or gluten-free bread. Each type adds a unique taste and texture. You can even use wraps or pita for a fun twist.
Is it possible to make a large batch of chickpea salad?
Yes, making a large batch is easy. Just multiply the ingredients by the number of servings you need. This salad is perfect for meal prep or feeding a crowd. Just remember to store it properly in the fridge to keep it fresh.
This vegan chickpea salad sandwich brings fun and health together. We covered the main and optional ingredients, key steps for prepping, and how to store leftovers. Plus, we shared tips for mashing chickpeas and adding your favorite flavors. You learned how to mix up the recipe with different veggies and spreads.
Now, you can enjoy a tasty meal that’s easy to make. Dive in and get creative with your own twist on this dish!


