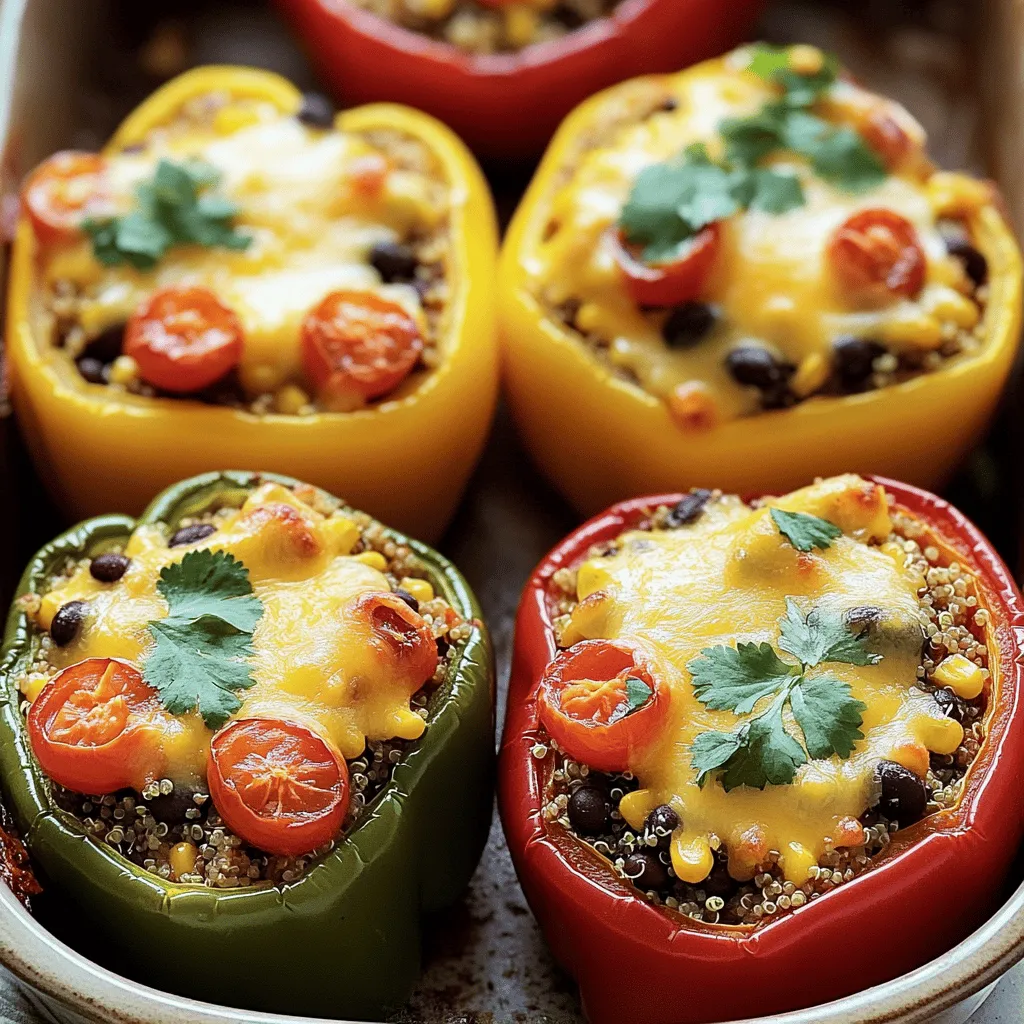
Are you ready to dive into a fun, vibrant dish that is both easy to make and packed with flavor? Stuffed bell pepper boats are not only a feast for the eyes but also a healthy option for lunch or dinner. This recipe combines nutritious ingredients like quinoa, beans, and colorful peppers for a meal that delights your taste buds. Let’s get started on crafting your new favorite dish!
Ingredients
List of Ingredients
– 4 large bell peppers (any vibrant color)
– 1 cup quinoa, thoroughly rinsed and drained
– 2 cups vegetable broth
– 1 can (15 oz) black beans, well rinsed and drained
– 1 cup corn (fresh, frozen, or canned, drained)
– 1 cup cherry tomatoes, halved
– 1 teaspoon ground cumin
– 1 teaspoon smoked paprika
– 1 teaspoon garlic powder
– Salt and freshly cracked black pepper to taste
– 1 tablespoon extra virgin olive oil
– ½ cup shredded cheddar cheese (optional but recommended)
– Fresh cilantro or parsley, finely chopped for garnish
Optional Add-ins
– Additional vegetables (e.g., zucchini, mushrooms)
– Spices and herbs (e.g., oregano, chili powder)
When making stuffed bell pepper boats, you have many options. I love using colorful bell peppers. They add a fun look to your dish. Choose ones that are firm and bright.
For the filling, I use quinoa. It’s not only healthy but also tasty. Rinse it well before cooking. The vegetable broth adds flavor and makes it rich.
Black beans are another great choice. They are filling and packed with protein. Rinse them well too, to get rid of extra salt.
Corn brings sweetness to the dish. You can use fresh, frozen, or canned corn. Cherry tomatoes add a nice juicy burst.
Spices like cumin and paprika give depth. Garlic powder adds that warm flavor we all love. Don’t forget to season with salt and pepper to make it pop.
Finally, I drizzle olive oil on the filling. It helps everything blend together. If you love cheese, add some cheddar on top for creaminess.
Feel free to customize your stuffed peppers with optional add-ins. You can mix in other veggies like zucchini or mushrooms. Extra spices can make a big impact too.
This recipe is flexible. You can adjust it to fit your taste. Explore and have fun with your stuffed bell pepper boats!
Step-by-Step Instructions
Preheating and Preparing
– Preheat the oven to 375°F (190°C).
– Prepare the bell peppers by cutting off their tops. Carefully remove the seeds and membranes. Make sure they sit upright in a baking dish.
Cooking the Quinoa
– Combine 1 cup of quinoa and 2 cups of vegetable broth in a saucepan.
– Bring this mix to a boil, then reduce the heat to low. Cover the pot and let it simmer. Cook for about 15 minutes or until the quinoa is fluffy and the broth has absorbed.
Mixing the Filling
– In a large mixing bowl, combine the cooked quinoa with one can of black beans, one cup of corn, and spices.
– Add 1 teaspoon of ground cumin, 1 teaspoon of smoked paprika, and 1 teaspoon of garlic powder. Season with salt and black pepper.
– Drizzle 1 tablespoon of olive oil over the mixture. Stir until everything is well blended.
Assembling the Peppers
– Carefully spoon the filling into each prepared bell pepper. Press it down gently to pack it in.
– If you like, top each stuffed pepper with ½ cup of shredded cheddar cheese for added flavor.
Baking Instructions
– Pour a little water into the bottom of the baking dish. Cover the dish with aluminum foil. This helps keep the peppers moist.
– Bake the stuffed peppers in the preheated oven for 25-30 minutes. Check for doneness; they should be fork-tender.
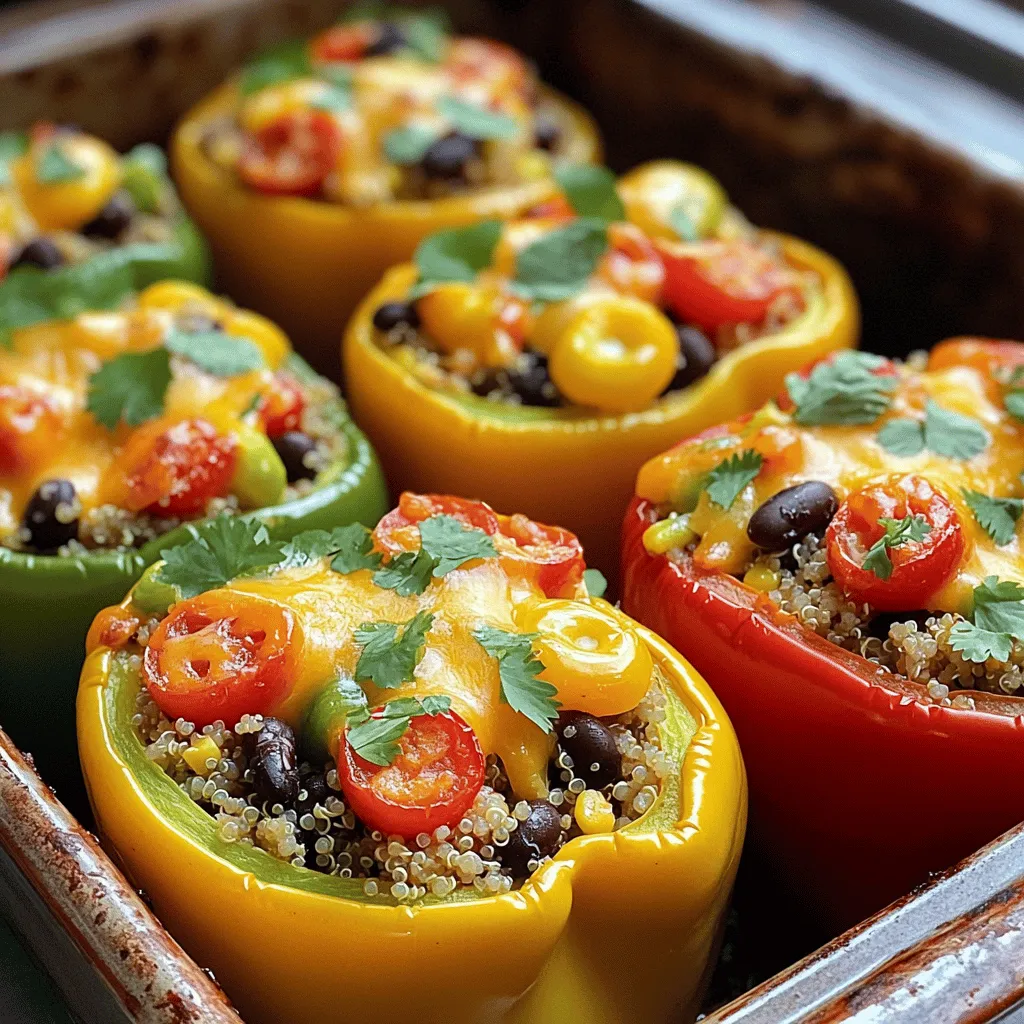
Enjoy your delicious Stuffed Bell Pepper Boats with vibrant colors and flavors!
Tips & Tricks
Perfecting Your Stuffed Peppers
To start, cutting bell peppers right matters. Slice off the tops using a sharp knife. Be careful not to cut too deep. Next, remove the seeds and white membranes inside. A small spoon works great for this. Rinse the peppers under cold water to clean them.
For even cooking, place your stuffed peppers tightly in the baking dish. This helps them cook at the same rate. Mixing flavors is key, too. Use spices like cumin and smoked paprika to boost taste. You can taste the filling before you stuff the peppers. Adjust the salt and pepper as needed.
Presentation Suggestions
Serving your stuffed bell pepper boats can be fun. Use a colorful platter to catch the eye. Arrange the peppers upright, showing off their filling. You can add a wedge of lime on the side for a fresh touch. A sprinkle of chopped cilantro or parsley adds color and flavor.
Make-Ahead and Serving Ideas
You can prepare stuffed peppers ahead of time. Stuff them and cover with foil. Store them in the fridge for up to a day. This makes meal prep easy for busy nights.
For sides, consider a fresh salad or crusty bread. You can also pair them with rice or quinoa for a filling meal. These peppers are great for family dinners or potlucks.
Variations
Vegetarian Options
You can easily make this dish vegetarian. Substituting quinoa with rice or couscous works well. Rice gives a nice texture, while couscous cooks faster. Both options taste great in these stuffed bell pepper boats. Adding different vegetables also boosts flavor and nutrition. Try diced zucchini, mushrooms, or spinach. These veggies add color and crunch. You can mix and match to fit your taste.
Meat-Filled Alternatives
Want to add meat? Ground turkey or beef makes a hearty filling. Just cook the meat before adding it to the quinoa mixture. This step ensures the meat is safe to eat. When adding meat, adjust the spices. You might want to use more cumin or paprika. This adjustment gives the dish a richer taste.
Cheese and Sauce Enhancements
Cheese can take your stuffed peppers to the next level. Mozzarella or feta are great choices. Mozzarella melts beautifully, while feta adds a tangy twist. For even more flavor, add layers of salsa or sauce. It keeps the filling moist and adds a kick. You can also drizzle some sauce on top before baking. This extra step makes the dish even more delicious.
Storage Info
Refrigeration Tips
To keep your stuffed bell pepper boats fresh, store them in an airtight container. This helps lock in moisture and flavor. You can keep them in the fridge for about 3 to 4 days. If you want to save them for later, allow them to cool completely before storing.
Freezing Instructions
You can freeze stuffed peppers both before and after baking. If you freeze them before cooking, wrap them tightly in plastic wrap and then in aluminum foil. This keeps out air and prevents freezer burn. If you choose to freeze them after baking, let them cool first. Then, place them in a freezer-safe container. They will stay good for up to 3 months.
Reheating Methods
To reheat your stuffed peppers, the oven works best. Preheat it to 350°F (175°C). Place the peppers in a baking dish and cover with foil. Bake for about 20 to 25 minutes until heated through. You can also use a microwave if you’re in a hurry. Just place one pepper on a plate and heat for 2 to 3 minutes. This method may make them a bit softer, but they’ll still taste great!
FAQs
How do I make stuffed bell peppers in advance?
To make stuffed bell peppers in advance, prepare the filling first. Cook the quinoa and mix it with your beans, corn, and spices. Once mixed, stuff each bell pepper with the filling. You can store them in the fridge for up to two days before baking. Cover them tightly to keep them fresh. When ready to bake, just pop them into the oven. This saves you time and effort on busy nights.
Can I use other types of peppers?
Yes, you can use other types of peppers! Try using poblano, Anaheim, or even jalapeño peppers. Each type adds a unique flavor and spice level. Poblano peppers are mild and have a rich taste. They also hold a good amount of filling. If you like a bit of heat, jalapeños are a great choice. Just remember to adjust the cooking time if your peppers are smaller.
What can I serve with stuffed bell pepper boats?
Stuffed bell pepper boats pair well with many side dishes. Some great options include a fresh green salad, roasted vegetables, or rice. You can also serve them with a side of guacamole or salsa for added flavor. If you want something warm, consider serving bread or cornbread. These sides complement the flavors and make for a complete meal.
How can I adjust the spice level?
To adjust the spice level, you can add or reduce spices. For less heat, skip the cumin and paprika. If you want more flavor, add some chili powder or crushed red pepper. You can also mix in diced jalapeños or hot sauce. Start with a little and taste as you go. This way, you can find the perfect balance for your taste.
Is the dish gluten-free?
Yes, this dish can be gluten-free! The main ingredients, like quinoa and beans, are naturally gluten-free. Just be sure to check that your vegetable broth is gluten-free as well. If you add other ingredients, like sauces or spices, check their labels. This way, you can enjoy a safe and tasty meal.
Stuffed bell peppers are simple and fun to make. We covered the key ingredients and steps to prepare them. You learned how to customize flavors and presentation. Remember, you can use different spices, grains, or veggies. These peppers can please everyone, regardless of diet. Enjoy your meal prep and share these tasty, healthy treats with friends and family. Happy cooking!


