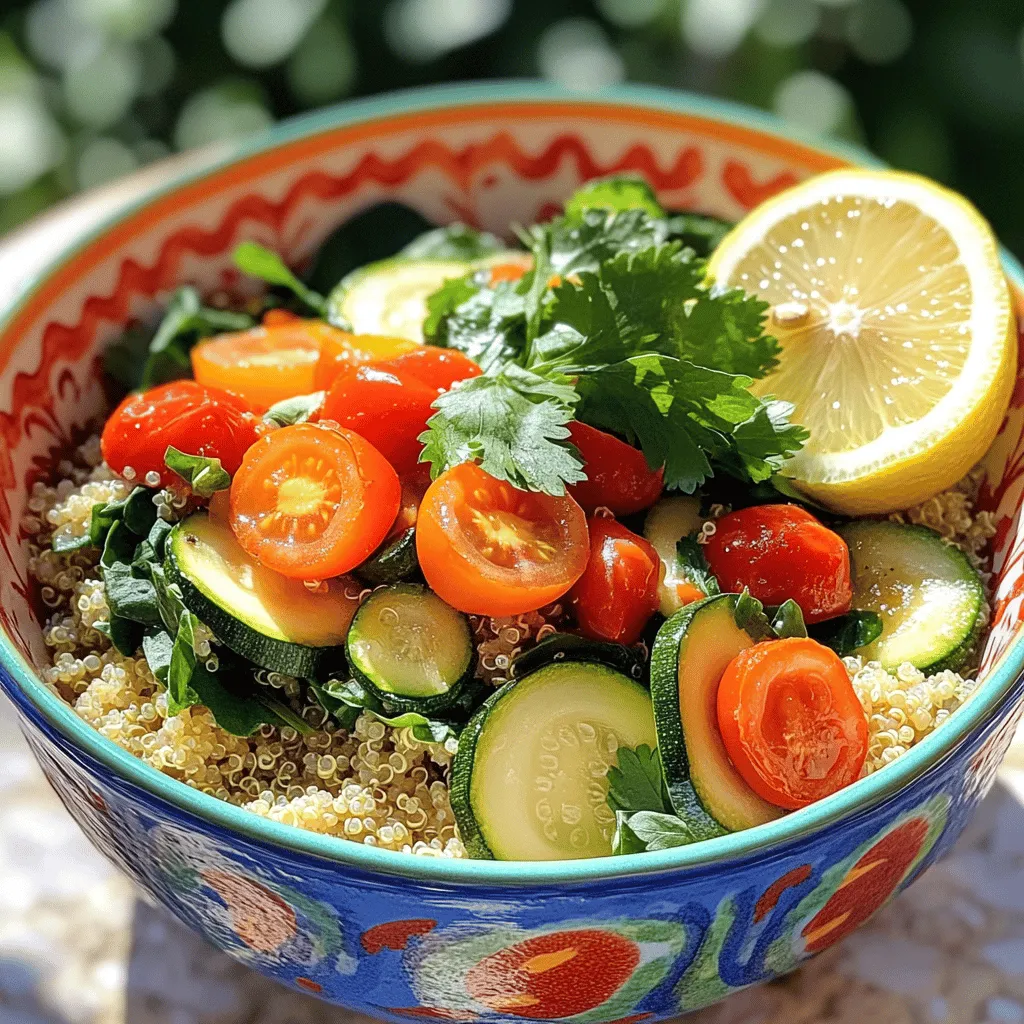
Looking for a quick, tasty meal? You’re in the right place! This Savory Quinoa and Veggie Bowl is your answer. Packed with fresh veggies and wholesome quinoa, it’s not just healthy but also bursting with flavor. I’ll walk you through each step, share handy tips, and even suggest fun variations. Whether you’re a busy parent or a meal-prepping pro, this dish fits right into your life. Let’s dive in!
Ingredients
Essential Ingredients for Savory Quinoa and Veggie Bowl
To make a tasty Savory Quinoa and Veggie Bowl, gather these key ingredients:
– 1 cup quinoa, thoroughly rinsed
– 2 cups vegetable broth (or water)
– 1 cup cherry tomatoes, halved
– 1 medium zucchini, diced
– 1 large red bell pepper, diced
– 1 cup baby spinach, loosely packed
– 1/2 cup canned black beans, drained and rinsed
– 1/4 cup red onion, finely chopped
– 2 cloves garlic, minced
– 1 teaspoon ground cumin
– 1 teaspoon smoked paprika
– Salt and freshly ground black pepper to taste
– 2 tablespoons extra virgin olive oil
These ingredients come together to create a rich and hearty meal. Quinoa is the base and adds protein and fiber. The veggies add color and nutrition.
Optional Garnishes to Enhance Flavor
You can take your bowl to the next level with these optional garnishes:
– Fresh cilantro or parsley, chopped
– A wedge of lemon
Fresh herbs give a nice pop of flavor. A lemon wedge adds brightness. Don’t skip these; they make a big difference.
Nutritional Benefits of Key Ingredients
Each ingredient in this bowl offers health benefits that are hard to ignore:
– Quinoa: Packed with protein and fiber, it helps you feel full longer.
– Spinach: Rich in vitamins A and C, it supports your immune system.
– Bell Peppers: High in vitamin C, they help keep your skin healthy.
– Black Beans: A great source of protein and iron, they fuel your body.
– Olive Oil: Contains healthy fats that support heart health.
Choosing fresh, whole ingredients makes your meal not only delicious but also good for you.
Step-by-Step Instructions
Cooking the Quinoa Perfectly
To cook quinoa just right, start with a medium pot. Bring 2 cups of vegetable broth to a boil. Add 1 cup of rinsed quinoa to the boiling broth. Stir it gently, then cover the pot. Lower the heat and let it simmer for about 15 minutes. You will know it’s done when all the liquid is gone. Fluff the quinoa with a fork to separate the grains. This will give it a nice texture.
Sautéing the Vegetables: A Guide
While the quinoa cooks, grab a large skillet. Heat 2 tablespoons of olive oil over medium heat. Add 1/4 cup of finely chopped red onion and sauté for 2-3 minutes. You want it translucent and fragrant. Next, add 2 cloves of minced garlic, 1 teaspoon of ground cumin, and 1 teaspoon of smoked paprika. Stir for 1 minute to wake up those spices. Now, toss in 1 medium diced zucchini and 1 diced red bell pepper. Cook these for 5-7 minutes. The veggies should be tender but still crisp.
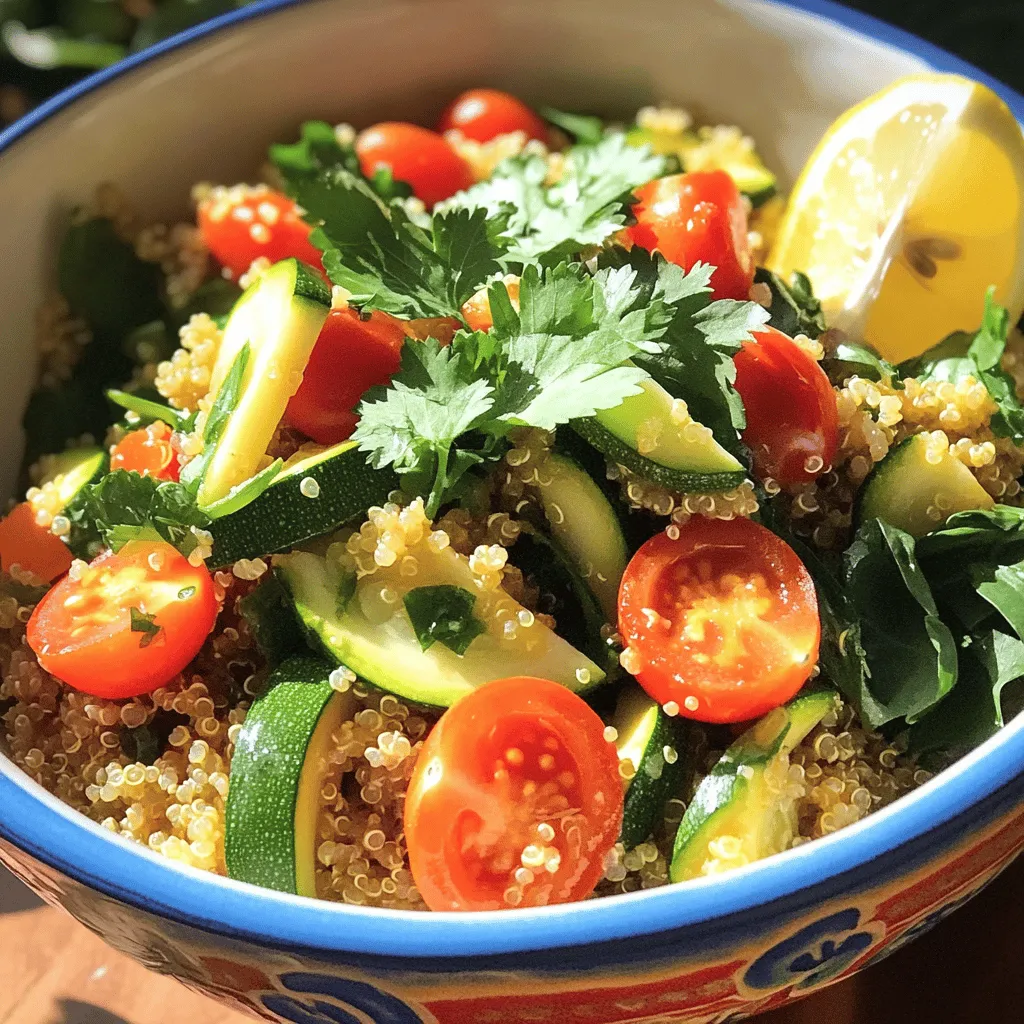
Combining Flavors in the Final Dish
Now it’s time to bring it all together. Add 1 cup of halved cherry tomatoes, 1 cup of baby spinach, and 1/2 cup of drained black beans to the skillet. Stir gently and cook for another 3-4 minutes. You want the spinach to wilt and the tomatoes to soften a bit. Don’t forget to season with salt and pepper to taste. When ready to serve, create a base with the fluffy quinoa in bowls. Top it with your vibrant veggie mix. For a final touch, sprinkle fresh cilantro or parsley on top. This meal is not just healthy; it’s a feast for the eyes!
Tips & Tricks
Cooking Quinoa: Common Mistakes to Avoid
When cooking quinoa, rinsing the grains is key. This removes the bitter coating called saponin. Not rinsing can lead to an off taste. Use the right water ratio; two cups of water for one cup of quinoa works well. Also, avoid lifting the lid while it cooks. This helps the quinoa steam properly.
Enhancing Flavor Profiles with Spices
Spices can take your quinoa bowl from bland to grand. Ground cumin adds warmth and depth. Smoked paprika gives a nice, smoky flavor. You can also try adding a pinch of cayenne for heat. Always taste as you go. Adjust salt and pepper to suit your liking.
Best Practices for Veggie Preparation
Chop vegetables evenly for even cooking. Dice zucchini and bell peppers into similar sizes. This helps them cook at the same rate. Sauté onions and garlic first to build flavor. Add sturdier vegetables like zucchini next, as they take longer to cook. Finish with delicate greens like spinach to keep them vibrant.
Variations
Protein Add-ins for a Heartier Bowl
You can make your quinoa bowl more filling by adding protein. Here are some great options:
– Grilled chicken or turkey
– Shrimp, sautéed or grilled
– Tofu, cubed and pan-fried
– Chickpeas, roasted for extra crunch
– Hard-boiled eggs, sliced or chopped
These proteins not only boost flavor but also add nutrients. For a great taste, season your protein with salt, pepper, or your favorite spices.
Different Vegetable Combinations to Try
Mixing up your veggies keeps things exciting. Here are some tasty swaps:
– Broccoli or cauliflower for a crunchy texture
– Carrots, shredded or diced, for sweetness
– Asparagus, chopped and sautéed, for a fresh bite
– Sweet potatoes, roasted for a hearty flavor
– Kale, for added nutrients and a great color
Feel free to use seasonal vegetables for the best taste. You can even roast some veggies for a deeper flavor.
Flavor Swaps: Dressings and Sauces
The right dressing can elevate your bowl. Here are some ideas:
– Lemon juice and olive oil for a fresh taste
– Balsamic vinegar for a sweet tang
– Tahini dressing for a creamy texture
– Salsa for a zesty kick
– Hot sauce for a spicy twist
These sauces can change the vibe of your dish. Experiment to find what you love!
Storage Info
How to Store Leftovers Properly
To keep your savory quinoa and veggie bowl fresh, store leftovers in an airtight container. Place the container in the fridge within two hours of cooking. Your bowl will stay good for about three to four days. Make sure to separate the quinoa and veggies if you want to keep the texture nice.
Reheating Your Savory Quinoa and Veggie Bowl
When you are ready to eat, reheating is simple. You can use the stove or microwave. For the stove, warm a skillet over medium heat. Add a splash of water to keep it moist. Stir gently until heated through. If using a microwave, place your bowl in and heat for about 1-2 minutes, stirring halfway. Always check the temperature before eating.
Meal Prep Tips for Busy Weekdays
Meal prep can save you time and stress on busy days. Cook a big batch of quinoa on the weekend. Store it in the fridge or freezer. Chop veggies ahead of time and keep them in containers. You can mix and match different veggies each day for variety. This way, you can whip up your savory quinoa and veggie bowl in just minutes.
FAQs
What can I substitute for quinoa?
If you cannot find quinoa, you have options. You can use rice, farro, or millet. These grains cook well and provide a nice base. Rice takes longer to cook, while farro adds a nutty flavor. Millet is smaller and cooks quickly, but it has a different texture. Each option gives a tasty twist to the dish.
How to make this recipe vegan-friendly?
This recipe is already mostly vegan. You just need to check the broth. Use vegetable broth instead of chicken broth. Ensure your canned black beans are vegan too. You can also add more veggies or use tofu for extra protein. This keeps the dish healthy and full of flavor.
Can I prepare this dish ahead of time?
Yes, you can prepare this dish ahead. Cook the quinoa and store it in the fridge for up to five days. You can also cook the veggies and keep them in a separate container. Just heat everything when you are ready to eat. This makes for a quick meal on busy days.
What are the best side dishes to serve with a quinoa bowl?
Serve your quinoa bowl with a side salad or some roasted veggies. A fresh green salad adds crunch. Roasted veggies bring out sweet flavors and pair nicely. You can also include a slice of crusty bread or a simple fruit salad. These sides complement the quinoa bowl well.
In this post, we explored the savory quinoa and veggie bowl. We covered essential ingredients, cooking steps, and tips for success. You learned about nutritious options and ways to switch up flavors. Remember to store and reheat leftovers smartly. This dish is simple, healthy, and flexible for any meal. With practice, you will create delicious bowls that fit your taste and needs. Enjoy your cooking journey and the many variations you can create!


