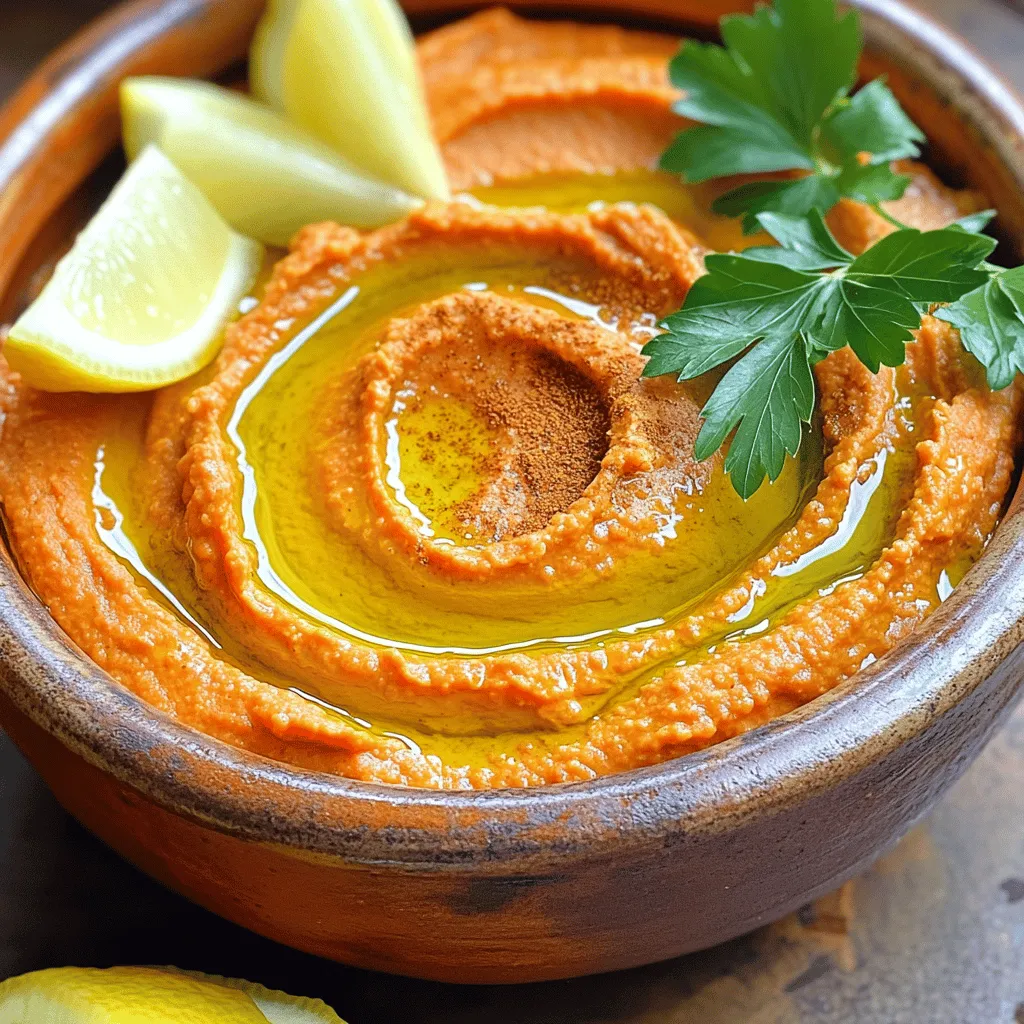
Are you ready to elevate your snack game? This Roasted Red Pepper Hummus is a creamy and flavorful dip that will wow your taste buds. Made with simple ingredients like chickpeas, tahini, and roasted red peppers, it’s easy to whip up. I’ll guide you through every step, from blending to perfecting the flavors. Get ready to impress your family and friends with this delicious treat! Let’s dive into the details!
Ingredients
Main Ingredients
– Chickpeas
– Roasted Red Pepper
– Tahini
Chickpeas are the base of this hummus. They give it a smooth, creamy texture. Use one can of chickpeas, about 15 ounces. Drain and rinse them well before using. This step removes the excess sodium and helps with flavor.
Roasted red pepper adds a sweet and smoky taste. You can buy them in jars or make your own at home. If you roast at home, char the skin, then peel it off for the best flavor.
Tahini is a paste made from ground sesame seeds. It adds a rich, nutty flavor to the dip. Just two tablespoons are enough to enhance the taste.
Additional Flavors
– Garlic
– Lemon Juice
– Ground Cumin
Garlic gives hummus a powerful punch. Use one clove, finely minced, for a bold taste. If you like it milder, reduce the amount.
Lemon juice brightens the flavor. One tablespoon is enough to add freshness. Freshly squeezed juice is best, as it has a vibrant taste.
Ground cumin brings warmth and depth to the mix. Just one teaspoon adds a subtle spice that balances well with the other flavors.
Optional Ingredients
– Extra Virgin Olive Oil
– Salt
– Water for consistency
Extra virgin olive oil adds richness and smoothness. You can drizzle it on top before serving or mix it in for a creamier dip. Use about two tablespoons for the best effect.
Salt is essential for flavor. Add it to taste, but start with a little. You can always add more later.
Water helps adjust the consistency. If the hummus is too thick, add a tablespoon at a time while blending until it reaches your preferred creaminess.
Step-by-Step Instructions
Preparation of Chickpeas
First, open the can of chickpeas. Drain them well to remove excess liquid. Rinse the chickpeas under cold water. This step helps get rid of any salt or preservatives. Now, place the drained and rinsed chickpeas in a food processor. Pulse them until they are crumbly. You want them broken down but not completely smooth. This texture gives the hummus a better bite.
Blending the Mixture
Next, add the roasted red pepper, tahini, olive oil, minced garlic, lemon juice, and ground cumin to the food processor. Blend everything together on high. Stop to scrape down the sides of the bowl. This ensures all ingredients mix well. Keep blending until the mixture turns creamy and smooth. This may take a few minutes, so be patient.
Adjusting Texture
If your hummus is too thick, don’t worry! Gradually add water, one tablespoon at a time, while blending. This step helps you control the thickness. Blend until you reach your desired creaminess. After that, taste the hummus. Add salt to your liking and blend briefly again. This final touch makes sure all the flavors mix well. Now you’re ready to enjoy this creamy and flavorful dip!
Tips & Tricks
Perfecting Flavor
To make roasted red pepper hummus shine, it’s key to balance salt and acidity. Salt enhances flavors, while lemon juice adds brightness. Start with a little salt, then taste and adjust as needed. Fresh ingredients matter too. Use ripe, high-quality peppers and fresh garlic for the best taste.
Texture Recommendations
Creaminess is vital for great hummus. To achieve this, blend the ingredients well. If your hummus feels thick, add water slowly, one tablespoon at a time, until it’s just right. Scraping the bowl sides often is important. This ensures all ingredients mix evenly for a smooth texture.
Presentation Ideas
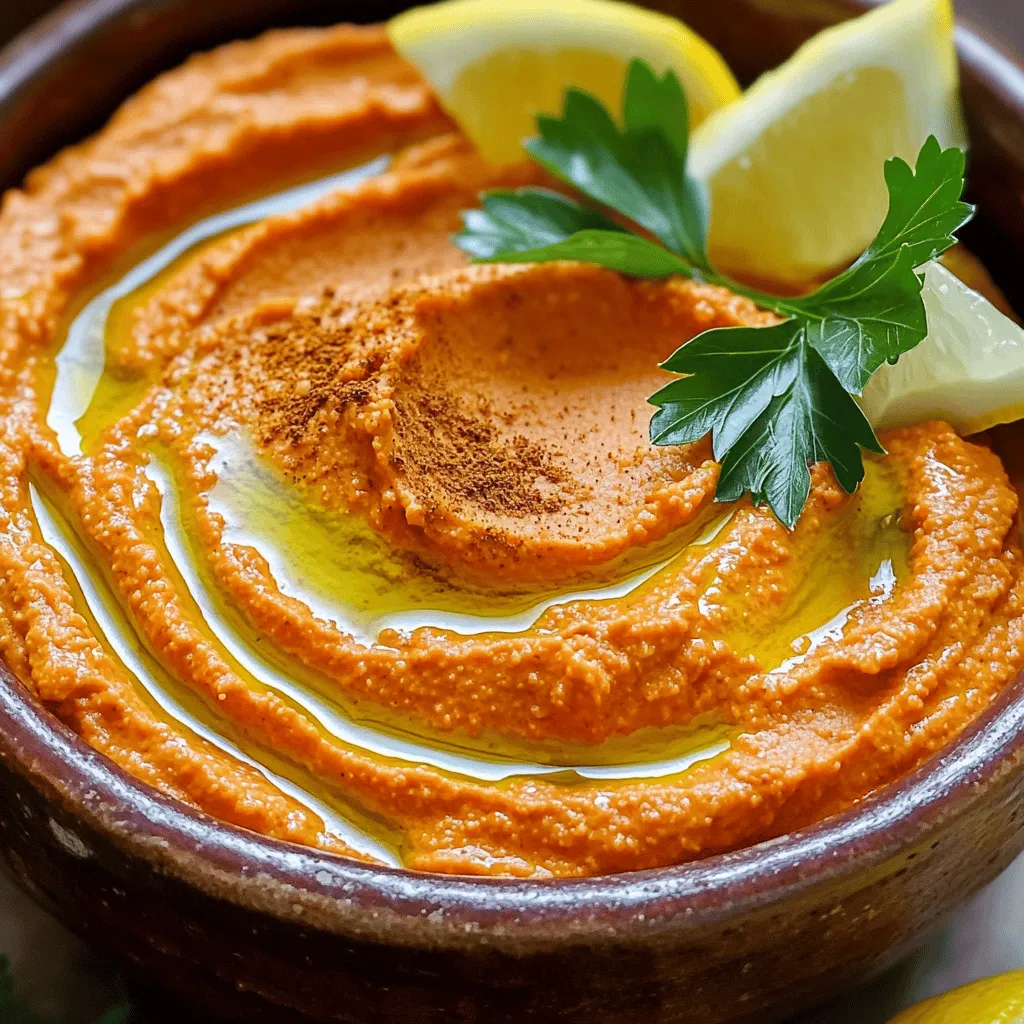
Garnishing makes your hummus pop! Drizzle olive oil on top and sprinkle ground cumin or paprika for color. Serve with warm pita or fresh veggie sticks for a fun and healthy snack. These details elevate your dish and make it more inviting for guests. Enjoy your roasted red pepper hummus!
Variations
Flavor Enhancements
You can easily change the taste of your hummus. For a spicy kick, try making spicy roasted red pepper hummus. Just add some chili flakes or diced jalapeños to the mix. This adds heat and makes it exciting.
For a fresh twist, use herbs to make herb-infused hummus. Basil, cilantro, or parsley work well. Chop the herbs finely and blend them into the hummus. This gives a bright flavor and a nice green touch.
Alternative Ingredients
If you need gluten-free options, you can still enjoy hummus. All the ingredients in roasted red pepper hummus are naturally gluten-free.
You can also swap out chickpeas for other beans. White beans or black beans can create a unique taste. Each type of bean adds its own flavor while still keeping the dip creamy.
Serving Suggestions
Roasted red pepper hummus is versatile. It makes a great dip for fresh vegetables. Carrots, cucumbers, and bell peppers pair well. Cut them into sticks for easy dipping.
You can also use hummus as a spread on sandwiches. It adds flavor and creaminess. Try it on a veggie sandwich or a wrap for a tasty meal.
Storage Info
Refrigerating Hummus
To keep your hummus fresh, store it in an airtight container. This helps keep out air and moisture. When stored well, your hummus lasts about 4 to 7 days in the fridge. Always check for any off smells or changes in color before eating.
Freezing Options
You can freeze hummus for longer storage. To freeze, place the hummus in a freezer-safe container. Leave some space at the top, as it will expand. You can freeze it for up to 3 months. When you’re ready to eat it, take it out and thaw it in the fridge overnight. This keeps the flavor and texture nice.
Reheating and Using Leftovers
Leftover hummus can be used in many ways. You can spread it on sandwiches or mix it into salads for extra flavor. If you find it too thick after thawing, add a little water and blend. This keeps it creamy and easy to use. Remember to check the taste and adjust the seasoning if needed. For a fun twist, use hummus as a dip for chips or veggies.
FAQs
Can I make Roasted Red Pepper Hummus without tahini?
Yes, you can skip tahini. Use sun-dried tomatoes for a tasty swap. You can also try peanut butter or Greek yogurt for a different flavor. These options still add creaminess and depth to your hummus.
What can I serve with Roasted Red Pepper Hummus?
Roasted red pepper hummus pairs well with many foods. Serve it with warm pita bread for a classic touch. Fresh vegetable sticks, like carrots and cucumbers, make great dippers too. You can also use it as a spread on sandwiches or wraps.
How do I make my hummus creamier?
To achieve creaminess, blend your hummus longer. Start with smooth chickpeas for a better base. If it’s still thick, add water slowly. Blend after each addition to check the texture. A little olive oil can also help make it richer.It gives you all the steps and tips you need to make this delicious dip at home.
You now know the key ingredients and steps to make delicious Roasted Red Pepper Hummus. Focus on balancing flavors and achieving the right texture. Use fresh ingredients for the best taste. Remember, you can adjust this recipe with variations and serving ideas. Store any leftovers properly, so you enjoy them later. With these tips, you will impress your friends and family. Enjoy your tasty hummus creation!


