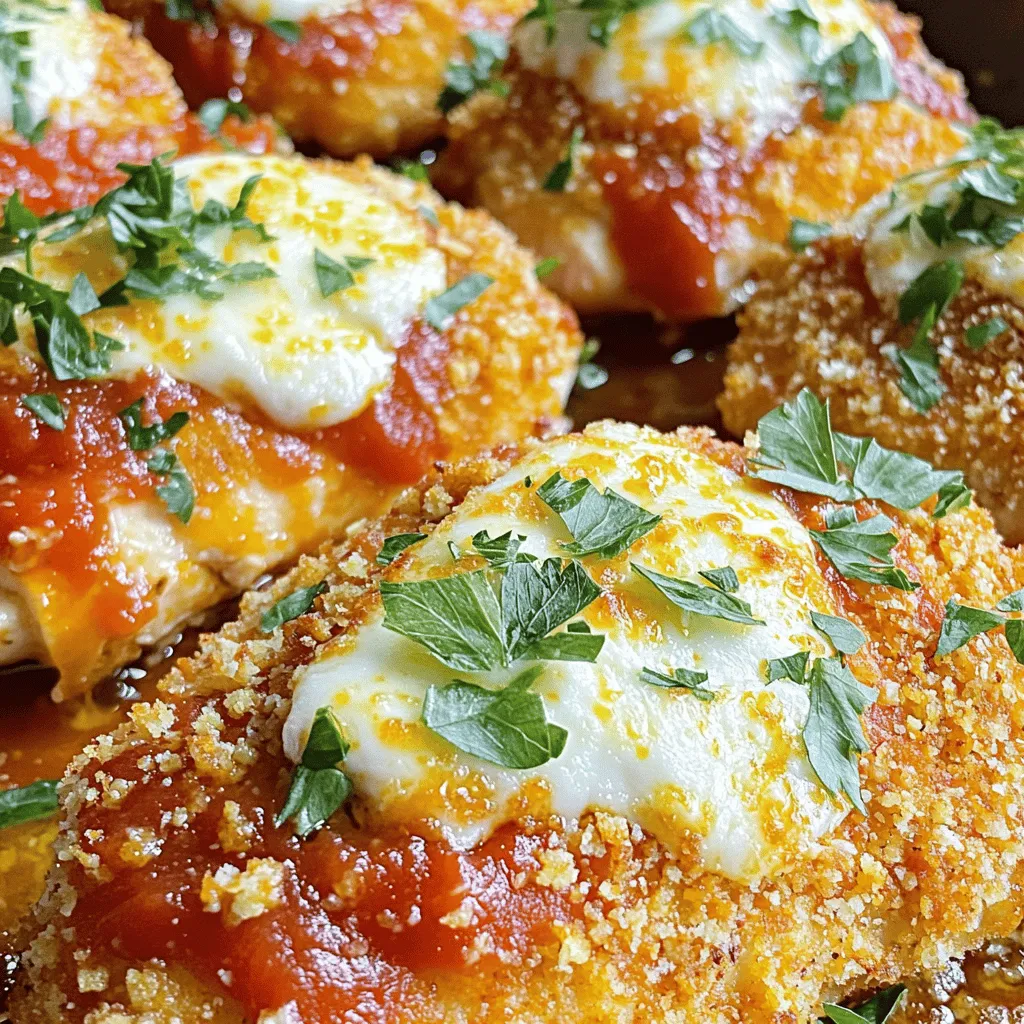
Are you ready to spice up your dinner routine? In this post, I’ll guide you through my delicious recipe for Pickle Ranch Chicken Parmesan. This dish combines the tangy kick of pickles with the richness of classic chicken parmesan. It’s easy to make, and you’ll love how it transforms your weeknight meals. Let’s dive into the ingredients and get cooking!
Ingredients
Main Ingredients for Pickle Ranch Chicken Parmesan
For this tasty dish, gather the following main ingredients:
– 4 boneless, skinless chicken breasts
– 1 cup dill pickle juice (for marinating)
– 1 cup ranch dressing
– 1 cup breadcrumbs (Italian or panko)
– 1 cup grated Parmesan cheese
– 1 cup marinara sauce
– 1 cup shredded mozzarella cheese
These ingredients make the base of your chicken parmesan. The chicken stays juicy from the pickle juice, and the ranch dressing adds a creamy flavor.
Seasonings and Coatings
Next, you will need these seasonings:
– 1 tablespoon olive oil
– 1 teaspoon garlic powder
– 1 teaspoon Italian seasoning
– Salt and pepper to taste
These seasonings give your chicken a great taste. The garlic powder and Italian seasoning work together to create a cozy flavor. The salt and pepper help balance everything.
Optional Garnishes and Sides
For a more colorful dish, consider these garnishes:
– Fresh parsley for garnish (optional)
You can also serve your chicken with sides like:
– Pasta
– Fresh green salad
These sides add color and texture to your meal. They keep things fresh and light.
Step-by-Step Instructions
Marinating the Chicken
To start, take 4 boneless, skinless chicken breasts. Place them in a resealable plastic bag. Pour 1 cup of dill pickle juice over the chicken. Make sure they are fully submerged. Seal the bag tight. Put it in the fridge and let it marinate for at least 1 hour. If you want a stronger taste, let it sit for up to 4 hours.
Preparing the Coating
Next, preheat your oven to 400°F (200°C). In a shallow dish, mix 1 cup of breadcrumbs, 1 cup of grated Parmesan cheese, 1 teaspoon of garlic powder, and 1 teaspoon of Italian seasoning. Add a pinch of salt and pepper to taste. Stir these dry ingredients well. This mix gives the chicken a tasty and crunchy coat.
Baking and Serving the Chicken
After marinating, take the chicken out and pat it dry with paper towels. Dip each piece into 1 cup of ranch dressing, coating both sides well. Then, dredge the chicken in the breadcrumb mix. Press lightly to ensure it sticks.
In a large, oven-safe skillet, heat 1 tablespoon of olive oil over medium heat. Once it shines, add the coated chicken breasts. Sear each side for about 3-4 minutes. They should turn a nice golden brown.
After searing, pour 1 cup of marinara sauce over the chicken. Make sure each piece is covered. Then, sprinkle 1 cup of shredded mozzarella cheese on top. This adds a gooey touch.
Now, transfer the skillet to your preheated oven. Bake for 20-25 minutes. Ensure the chicken reaches an internal temperature of 165°F (75°C). The cheese should be melted and slightly golden brown.
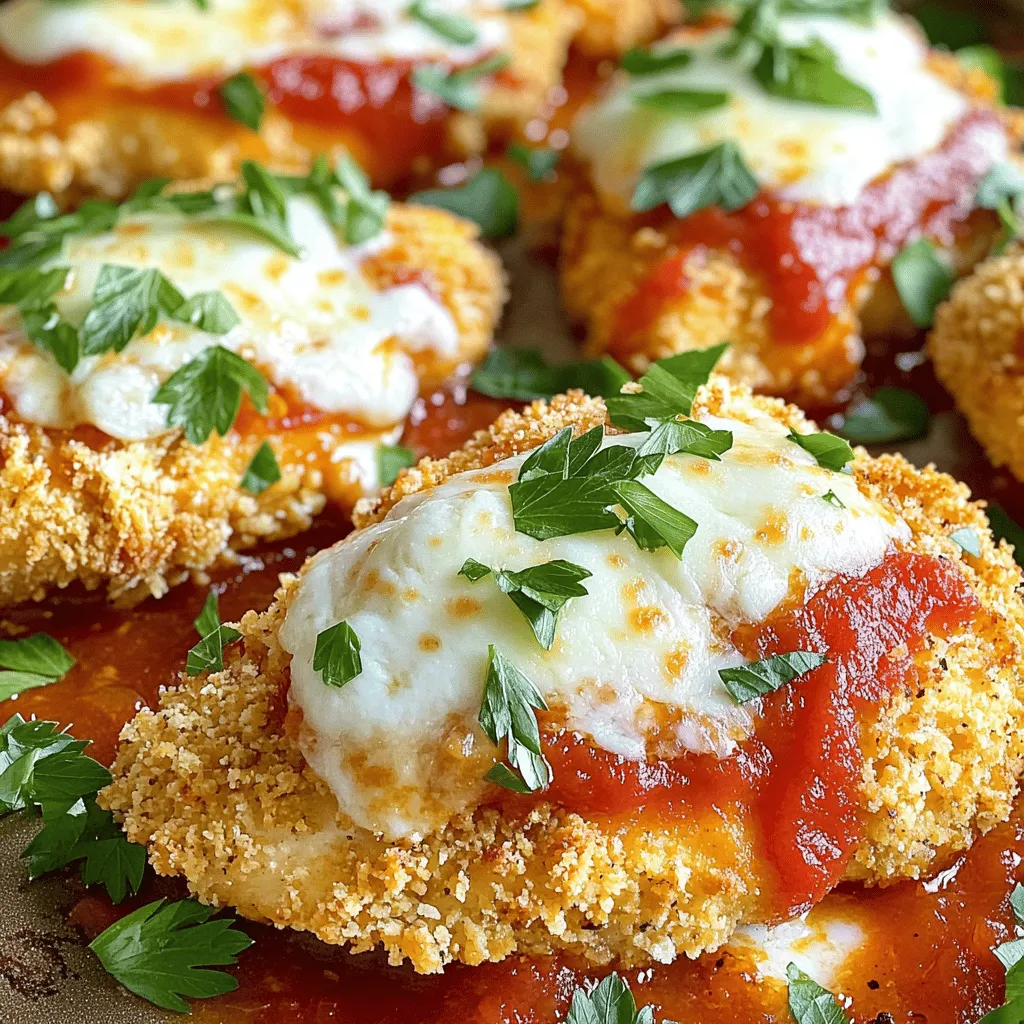
Once done, take the skillet out and let it cool for a few minutes. If you like, sprinkle fresh parsley on top for a burst of color and flavor. Serve it up and enjoy the delicious blend of flavors in your pickle ranch chicken parmesan.
Tips & Tricks
How to Achieve the Perfect Coat
To get the best crust on your chicken, start with dry chicken. After marinating, pat the chicken dry with paper towels. This helps the coating stick well. Next, dip the chicken in ranch dressing. Make sure to coat both sides. Then, dredge it in the breadcrumb mix. Press down lightly to pack on that flavor. For extra crunch, you can double-coat the chicken. Just repeat the ranch and breadcrumbs steps.
Storing Leftovers Effectively
If you have leftovers, store them in an airtight container. This keeps the chicken fresh. Place the chicken in the fridge and eat it within three days. To reheat, use an oven or air fryer. This way, you keep that crispy texture. Avoid the microwave, as it can make the coating soggy.
Enhancing Flavor Profiles
To boost flavor, try adding spices to your breadcrumb mix. A pinch of cayenne pepper adds heat. You might even try smoked paprika for a smoky taste. Another option is to mix in some chopped herbs. Fresh basil or oregano can really brighten up the dish. Don’t forget to drizzle some extra ranch on top just before serving. These small changes can make your Pickle Ranch Chicken Parmesan even more tasty!
Variations
Substitutions for Dietary Preferences
You can easily adapt this recipe for various diets. Here are some ideas:
– Gluten-Free: Use gluten-free breadcrumbs or crushed cornflakes.
– Dairy-Free: Substitute the ranch dressing with a dairy-free version. Try coconut yogurt or a cashew-based alternative.
– Low-Carb: Replace breadcrumbs with crushed nuts or pork rinds for a crunchy topping.
Add-ins for Extra Flavor
Want to boost flavors? Consider these add-ins:
– Spices: Add cayenne pepper for heat or smoked paprika for depth.
– Herbs: Mix in fresh basil or oregano to the marinara for freshness.
– Veggies: Layer sliced bell peppers or mushrooms under the cheese for added taste and texture.
Alternative Cooking Methods
Not in the mood to bake? Try these methods instead:
– Air Fryer: Cook at 375°F (190°C) for about 15-18 minutes, flipping halfway.
– Grill: Grill the marinated chicken on medium heat for 5-7 minutes per side. Add the sauce and cheese in the last few minutes to melt.
– Slow Cooker: Cook on low for 4-6 hours with sauce and cheese on top for a tender dish.
These variations make the recipe fit your lifestyle. Enjoy customizing your Pickle Ranch Chicken Parmesan!
Storage Info
Proper Storage Techniques
To keep your Pickle Ranch Chicken Parmesan fresh, store it in an airtight container. Let the chicken cool to room temperature first. Once cooled, transfer it to the container and seal tightly. It can last in the fridge for 3 to 4 days. To keep flavors intact, try to use it up within that time.
Reheating Instructions
When it’s time to enjoy leftovers, preheat your oven to 350°F (175°C). Place the chicken in an oven-safe dish. Cover it with foil to prevent drying out. Heat for about 15 to 20 minutes, or until it’s warmed through. You can also reheat in the microwave, but the oven keeps the chicken crispy.
Freezing Options
If you want to save some for later, freezing is a great option. Wrap each chicken breast tightly in plastic wrap and then in foil. This helps prevent freezer burn. You can freeze it for up to 3 months. To reheat, thaw in the fridge overnight, then follow the reheating instructions. Enjoy your meal anytime!
FAQs
How long should I marinate the chicken?
You should marinate the chicken for at least 1 hour. This helps the meat soak up the pickle juice. For even more flavor, try marinating for up to 4 hours. This longer time allows the tangy taste to infuse deeper.
Can I make Pickle Ranch Chicken Parmesan ahead of time?
Yes, you can prepare this dish ahead of time. Marinate the chicken and coat it as directed. Then, store it in the fridge for up to 24 hours before baking. When ready, just bake it as per the recipe.
What are good side dishes to serve with this recipe?
There are many tasty sides that go well with Pickle Ranch Chicken Parmesan. Here are some ideas:
– Garlic bread
– Pasta with marinara sauce
– A fresh green salad
– Roasted vegetables
– Mashed potatoes
Feel free to mix and match to find your favorite pairings!
We’ve covered how to make Pickle Ranch Chicken Parmesan. We discussed key ingredients, step-by-step instructions, and helpful tips. You learned about storage and variations to fit your taste. Remember, this dish is fun and easy to customize. Enjoy exploring new flavors and methods in your cooking. With practice, you’ll master this recipe and impress others. Ready to make your own? Now, it’s your turn to get creative in the kitchen!


