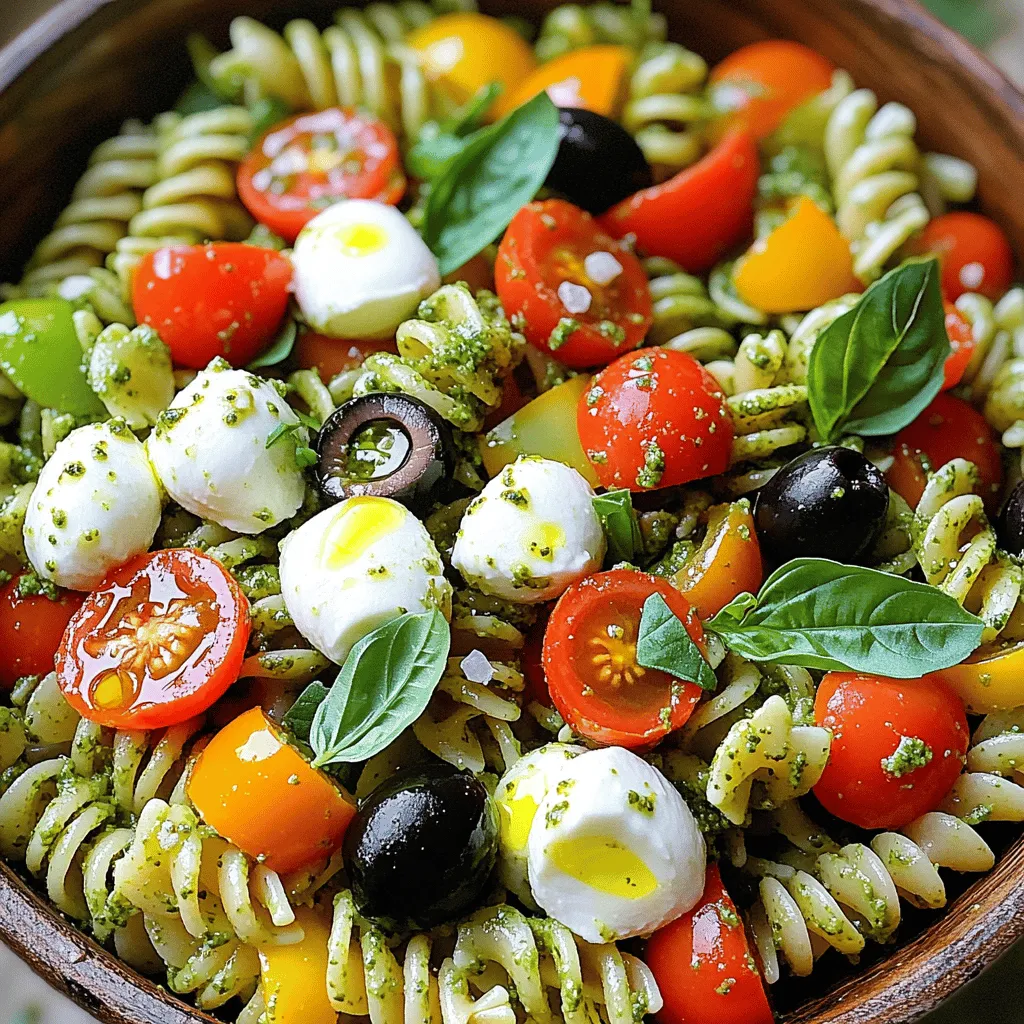
Looking for a light and tasty dish this summer? You’ve found it! This Pesto Pasta Salad is simple, fresh, and bursting with flavor. Made with fusilli pasta, vibrant veggies, and creamy pesto, it’s the perfect side or main dish for hot days. Plus, you can easily customize it to suit your taste. Let’s dive into how to whip up this delightful meal step by step!
Ingredients
Essential Ingredients for Pesto Pasta Salad
– 12 oz fusilli pasta
– 1 cup homemade or high-quality store-bought pesto
– 1 cup cherry tomatoes, halved
– 1 cup fresh mozzarella balls, halved
– 1/2 cup black olives, pitted and sliced
– 1/2 cup bell pepper, diced
– 1/4 cup fresh basil leaves, roughly chopped
– 2 tablespoons extra-virgin olive oil
– Salt and freshly ground black pepper to taste
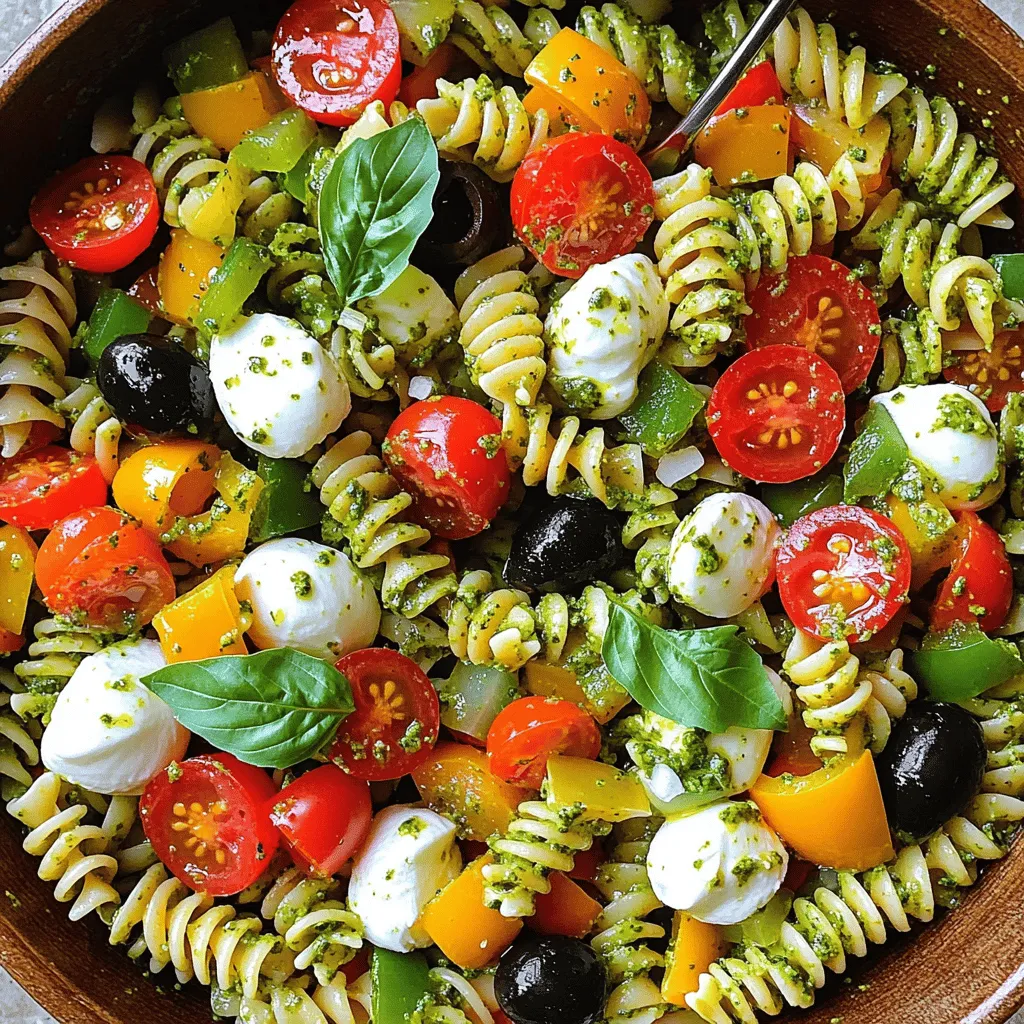
The heart of this dish lies in its vibrant ingredients. Fusilli pasta holds the pesto well, giving every bite flavor. Pesto sauce adds a fresh, herby taste that makes this salad sing. Fresh veggies like cherry tomatoes and bell peppers bring color and crunch. Cheese and olives add creaminess and a touch of briny goodness.
Optional Ingredients for Customization
– Cheese Varieties (Parmesan, feta, or goat cheese)
– Additional Vegetables (spinach, arugula, or zucchini)
– Protein Additions (grilled chicken, shrimp, or chickpeas)
You can easily change this salad to fit your taste. Adding different cheeses can create new flavors. Toss in more veggies for extra crunch or nutrition. If you want protein, grilled chicken or shrimp works great. Chickpeas also make for a tasty, vegetarian option.
Recommended Pantry Staples
– Extra-Virgin Olive Oil
– Salt and Pepper
– Fresh Herbs
Having the right pantry staples makes cooking easier. Extra-virgin olive oil adds richness and depth. Salt and pepper enhance every flavor in your dish. Fresh herbs like basil or parsley can brighten up the meal. I recommend keeping these handy for any recipe, especially for this one.
Step-by-Step Instructions
Cooking the Pasta
Boil a large pot of salted water. Add 12 oz of fusilli pasta and cook it. Follow the package instructions until the pasta is al dente. This means it should be firm but not hard. After boiling, drain the pasta in a colander. Let it cool for a few minutes. This step helps prevent mushy pasta in your salad.
Mixing the Salad
Grab a large mixing bowl. Add your cooled fusilli pasta. Pour in 1 cup of your favorite pesto. Use a spatula or a wooden spoon to mix. Ensure every piece of pasta is coated with the pesto. This gives the salad its rich flavor. Next, add in the fresh ingredients like halved cherry tomatoes, mozzarella balls, sliced olives, and diced bell pepper. Gently fold these into the pasta. This keeps their shape and adds crunch.
Final Touches
Drizzle 2 tablespoons of extra-virgin olive oil over the salad. This adds richness and depth to the dish. Sprinkle salt and black pepper to taste. Mix well to combine all the flavors. Now, add 1/4 cup of chopped basil leaves for freshness. Give everything a gentle toss again. Finally, cover the bowl and chill the salad in the fridge for at least 30 minutes. This allows the flavors to blend. Serve it cool or at room temperature. For an eye-catching presentation, use a large dish and top with more basil and a drizzle of olive oil.
Tips & Tricks
Perfecting Your Pesto Pasta Salad
To get the best flavor, balance is key. Use a mix of fresh and bright ingredients. The pesto should shine, so adjust the amount to your taste. You can add a bit more or less pesto as needed. This keeps the dish fresh and exciting.
Cooking pasta seems simple, but it matters. Use plenty of salted water when you boil the pasta. This adds flavor. Cook the fusilli until it is al dente. This means it should still have a little bite. Then, drain it and let it cool to stop the cooking process.
Ingredient Substitutions
If you run out of fresh mozzarella, try feta or goat cheese. They add a tangy flavor that works well. You can swap black olives for green ones if you prefer. They give a different taste and color to the dish.
For vegan options, replace cheese with avocado or nuts. You can also use a plant-based pesto. For gluten-free pasta, choose rice or corn-based options. Both taste great and keep the dish light.
Presentation Ideas
For a beautiful display, use a wide, shallow bowl. This allows the colors to pop. Top the salad with extra basil leaves for a fresh look. A drizzle of olive oil adds a nice touch too.
To make it even more appealing, serve with crusty bread. This gives a nice crunch and complements the pasta salad well. It not only looks good but also makes the meal more satisfying.
Variations
Seasonal Pesto Pasta Salad Ideas
You can change up your pesto pasta salad based on the season. In summer, add fresh fruits and veggies. Think sweet peaches, juicy strawberries, or crisp cucumbers. These flavors bring a bright twist to the dish. You can also try adding fresh herbs like mint or dill for extra zest. In winter, use hearty vegetables like roasted Brussels sprouts or butternut squash. These give warmth and depth to your salad.
International Twists on Pesto Pasta Salad
Want to explore new flavors? Try some international twists! For a Mediterranean flair, add sun-dried tomatoes, artichokes, and feta cheese. This gives your salad a tangy taste. You can also include capers or roasted red peppers for added punch. For an Asian-inspired version, use sesame oil instead of olive oil. Toss in edamame, shredded carrots, and sliced green onions. Add a splash of soy sauce for a savory kick.
Dietary-Specific Variations
If you follow a keto diet, replace the fusilli with spiralized zucchini or cauliflower rice. This keeps it low-carb while still being delicious. You can also use a pesto made from nuts and cheese, but skip the oil or use less. For a low-carb option, try chickpea pasta. It has more protein and fiber while being tasty. Get creative and enjoy your pesto pasta salad your way!
Storage Info
Proper Storage Techniques
– Best Practices for Refrigeration: Store your pesto pasta salad in an airtight container. This keeps it fresh and tasty. Always place it in the fridge right after serving. It’s best to chill it for at least 30 minutes before serving to allow flavors to blend.
– Freezing Instructions: I do not recommend freezing this salad. The texture of the pasta and fresh veggies can change when thawed. If you must freeze it, do not add the fresh veggies. Only freeze the pasta and pesto mixture.
Shelf Life
– How Long Does It Last? When stored correctly, the salad lasts about 3 to 5 days in the fridge.
– Signs of Spoilage: Check for any off smell or slimy texture. If the pasta looks dull or the veggies are mushy, it’s best to toss it.
Reheating Instructions
– Best Ways to Reheat Pasta Salad: If you want to serve it warm, add a little olive oil and heat gently in a pan. Stir it slowly to avoid breaking the pasta.
– Tips for Maintaining Texture and Flavor: Add a splash of water or more pesto to boost flavor. This helps keep the pasta from drying out.
FAQs
What is the best type of pasta for pesto salad?
For pesto pasta salad, I recommend using fusilli. Its spiral shape holds the pesto well. Other great options are farfalle (bowtie) and penne. These shapes mix nicely with fresh veggies and cheese. Choose pasta that you enjoy, as it adds to the fun of the dish.
Can I make this pasta salad ahead of time?
Yes, you can make this salad ahead of time! Prepare it a day before serving. Just store it in a covered bowl in the fridge. This allows the flavors to blend well. When ready to eat, give it a quick stir and enjoy.
How can I add protein to my pesto pasta salad?
You can add grilled chicken for a hearty touch. Shrimp also works well and adds a nice twist. For a vegetarian option, try chickpeas or diced tofu. These proteins pair perfectly with pesto and add nutrition to your salad.
What can I serve with pesto pasta salad?
Pesto pasta salad pairs well with grilled veggies or a side of garlic bread. A fresh green salad complements it nicely. If you’re thirsty, serve it with lemonade or iced tea. These options bring out the bright flavors of the pasta salad and make a great meal.
Pesto pasta salad is easy to make and offers many tasty options. We covered essential ingredients like fusilli, pesto sauce, and fresh veggies. You learned how to mix and chill your salad for the best flavor. Remember, you can customize it with different cheeses and proteins. Use seasonal ingredients for fun twists and follow proper storage tips to keep it fresh. You’ll wow your friends and family with delicious flavors every time. Enjoy exploring this dish, as it can fit any meal or gathering perfectly!


