Craving a zesty dessert that’s easy to make? You’ve found it! This No-Bake Lemon Cheesecake is the perfect combo of creamy and tangy. With simple steps and fresh flavors, you can whip up this refreshing treat in no time. Whether for a gathering or a quiet night in, this cheesecake will impress. Let’s dive into the ingredients and get started on your delicious masterpiece!
Ingredients
Essential Ingredients for No-Bake Lemon Cheesecake
– 1 ½ cups graham cracker crumbs
– ½ cup unsalted butter, melted
– 2 tablespoons granulated sugar
– 16 oz cream cheese, softened at room temperature
– 1 cup powdered sugar
– 1 cup heavy whipping cream, chilled
– Zest of 2 fresh lemons
– ½ cup freshly squeezed lemon juice
– 1 teaspoon pure vanilla extract
– Pinch of fine salt
To make a delightful no-bake lemon cheesecake, you need simple ingredients. Each one plays a key role in the flavor and texture. The graham cracker crumbs form a crunchy crust. When mixed with melted butter and sugar, they create a perfect base.
Cream cheese gives the cheesecake its rich and creamy texture. Softening the cream cheese at room temperature helps it mix smoothly. Powdered sugar adds sweetness without making the filling grainy. Heavy whipping cream is essential for making the cheesecake light and airy.
Fresh lemons bring bright flavors. The zest adds a fragrant touch, while the juice gives it a tangy kick. A hint of vanilla extract rounds out the flavors, and a pinch of salt enhances everything.
Optional Toppings and Garnishes
– Fresh berries
– Whipped cream
– Mint leaves
Once your cheesecake is set, consider adding toppings. Fresh berries like strawberries or blueberries add color and flavor. Whipped cream gives a fluffy touch. Mint leaves add a pop of green and freshness. These toppings make your cheesecake look stunning and taste even better.
Step-by-Step Instructions
Preparing the Crust
– In a medium bowl, combine 1 ½ cups of graham cracker crumbs, ½ cup of melted unsalted butter, and 2 tablespoons of granulated sugar.
– Mix until the crumbs absorb the butter and feel like wet sand.
– Firmly press this mixture into the bottom of a 9-inch springform pan. Use the bottom of a measuring cup to compact it well.
– Place the crust in the refrigerator to chill while you make the filling.
Making the Filling
– In a large bowl, beat 16 oz of softened cream cheese with an electric mixer until smooth. This should take about 2-3 minutes.
– Gradually add 1 cup of powdered sugar. Mix until there are no lumps and it’s fully blended.
– Stir in the zest of 2 fresh lemons, ½ cup of fresh lemon juice, 1 teaspoon of pure vanilla extract, and a pinch of salt. Mix until smooth.
Combining Ingredients
– In a separate bowl, whip 1 cup of heavy whipping cream until stiff peaks form. This will make the cheesecake light and fluffy.
– Gently fold the whipped cream into the lemon cream cheese mixture. Use a spatula and be careful not to deflate it.
– Pour the filling over the chilled crust and smooth the top with a spatula.
Setting the Cheesecake
– Cover the cheesecake with plastic wrap and refrigerate it.
– Allow it to set for at least 4 hours, or overnight for best results. This helps the flavors meld together and ensures a perfect slice.
This no-bake lemon cheesecake is a simple and refreshing treat you will love!
Tips & Tricks
Achieving the Perfect Texture
To get the best texture for your cheesecake, use room temperature ingredients. This helps the cream cheese blend smoothly. Cold cream cheese can create lumps in your filling. Always soften it for at least 30 minutes before mixing.
When you whip the cream, stop when you see stiff peaks. This adds air to your cheesecake, making it light and fluffy. When folding whipped cream into the cheese mixture, use a spatula. Gently lift and fold to keep the air in. Avoid stirring too hard, as this can deflate the cream.
Common Mistakes to Avoid
One common mistake is overmixing the filling. This can make your cheesecake dense rather than airy. Mix just until everything is combined.
Another mistake is not chilling the crust long enough. The crust needs time to set before adding the filling. Aim for at least 30 minutes in the fridge. A firm crust holds up better when you slice the cheesecake.
Serving Suggestions
Serve the cheesecake cold for the best flavor. It should be firm but creamy. Let it sit for about 10 minutes at room temperature before serving. This helps enhance the flavors.
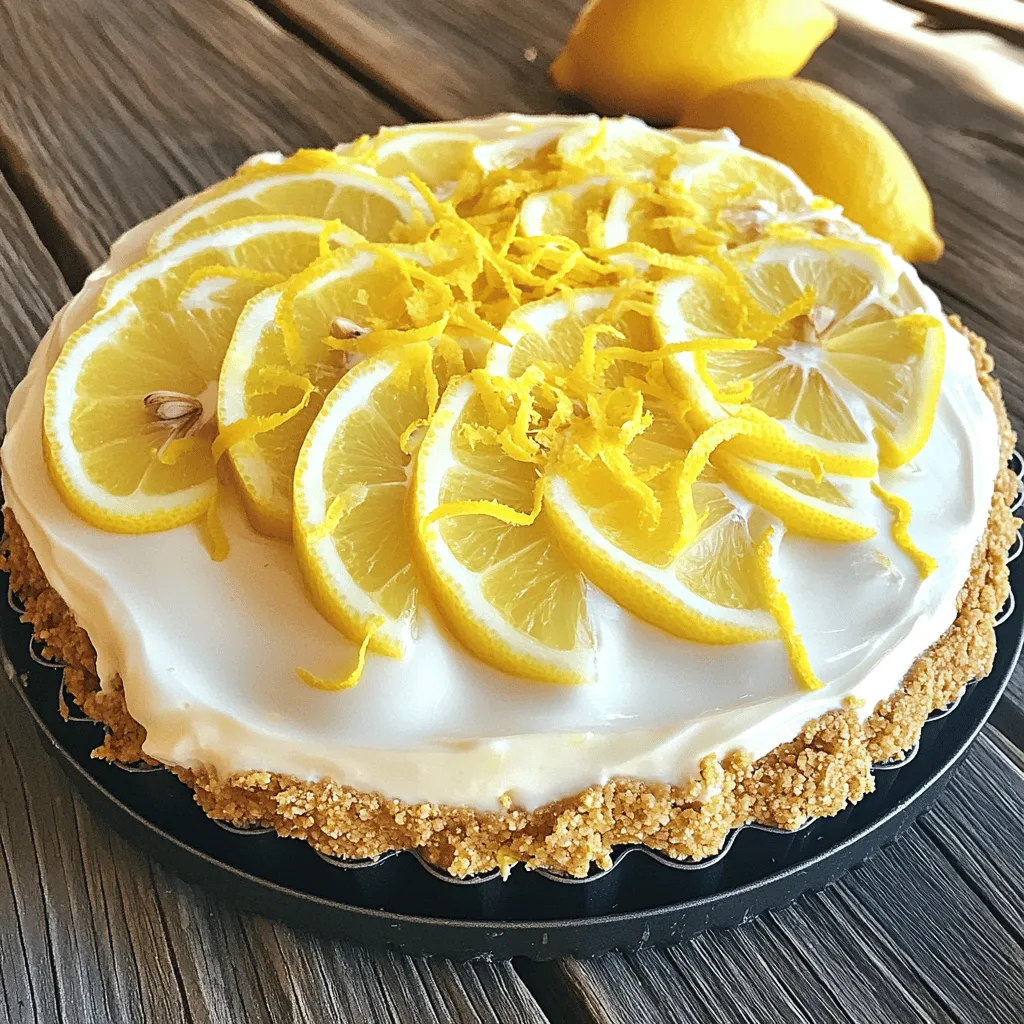
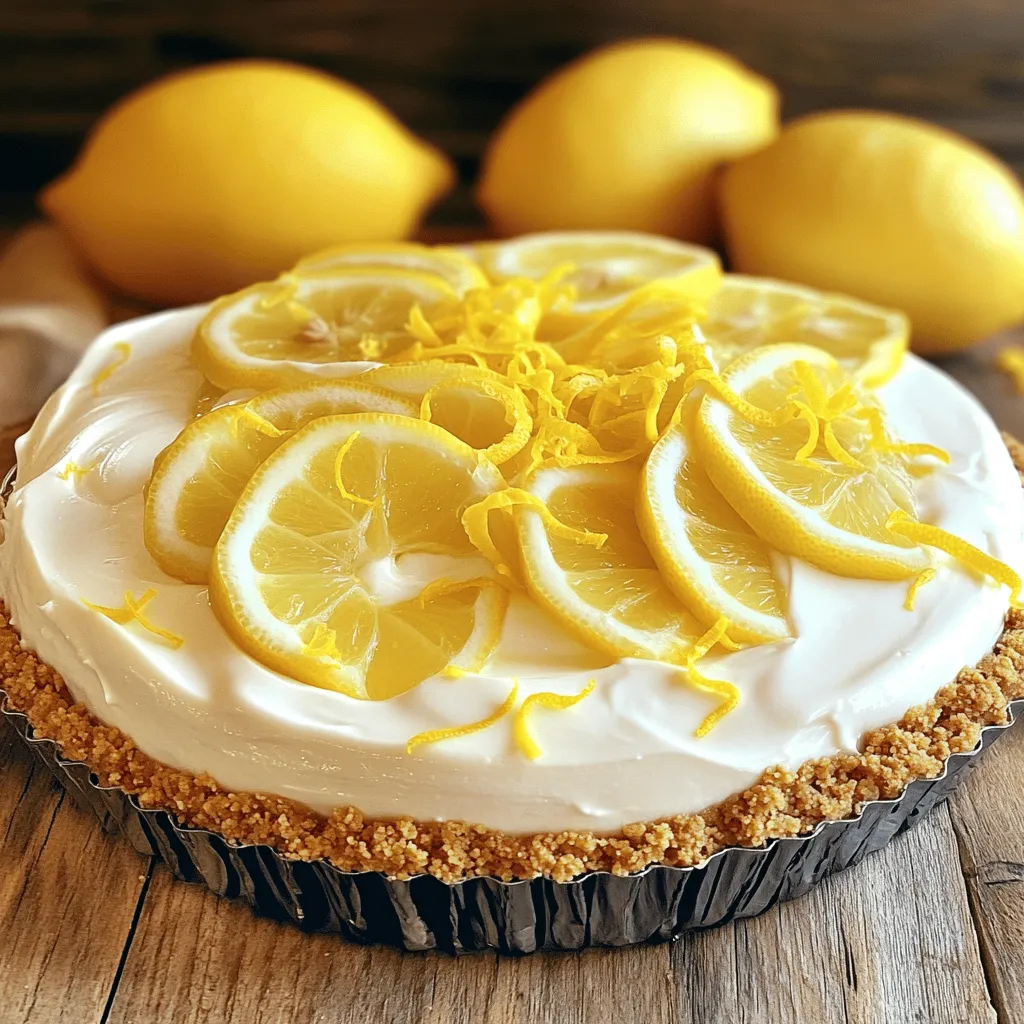
For a fun twist, try creative plating. You can garnish with lemon zest or fresh berries. Place thin lemon slices around the edge for a bright touch. Each slice will look as good as it tastes!
Variations
Flavor Variations
You can add fun flavors to your cheesecake. Try fruit purees like blueberry or strawberry. They bring a sweet and tangy taste that pairs well with lemon. You can also experiment with different citruses. Lime or orange will give it a unique twist. Each fruit adds its own character, making the dessert exciting.
Crust Alternatives
If you want a different crust, consider almond flour. It’s a great gluten-free option. The nutty flavor complements the cheesecake nicely. For something richer, use a chocolate cookie crust. This adds a delicious chocolatey taste that pairs well with lemon. You can switch up the crust to match your mood.
Dietary Modifications
Want a vegan option? You can easily make a no-bake lemon cheesecake without dairy. Use coconut cream instead of heavy cream. For the cream cheese, try a vegan alternative. There are many brands that taste great. You can also make low-sugar versions. Use natural sweeteners like stevia or monk fruit. These options help keep the treat lighter but still tasty. You can enjoy a guilt-free dessert while satisfying your cravings.
Storage Info
Best Storage Practices
To keep your leftover cheesecake fresh, store it properly. Place any uneaten pieces in an airtight container. This helps maintain flavor and texture. If you don’t have a container, cover the cheesecake tightly with plastic wrap. It is best to store the cheesecake in the fridge. It will stay good for about five days.
Freezing Instructions
You can also freeze no-bake lemon cheesecake. To do this, first, let it cool completely in the fridge. Then, cut it into slices. Wrap each slice in plastic wrap. Place the wrapped slices in a freezer-safe bag. This way, you can enjoy a piece later! When you want to eat it, take out a slice. Thaw it in the fridge overnight.
To keep its texture, do not refreeze the cheesecake once it has thawed. The creamy filling may change if frozen too long. You can still enjoy your cheesecake with great taste and texture by following these steps.
FAQs
How long does no-bake cheesecake last in the fridge?
No-bake cheesecake lasts about 4 to 5 days in the fridge. I recommend covering it well. Use plastic wrap or a lid to keep it fresh. After that, it may lose its texture and flavor.
Can I use fat-free cream cheese for this recipe?
Yes, you can use fat-free cream cheese. However, the texture may be less creamy. It might not set as well, but you can still enjoy a lighter version.
How do I know when the cheesecake is set?
You can tell the cheesecake is set when it feels firm. It should not jiggle in the middle. After chilling for at least 4 hours, check the sides and center for firmness.
Can I make this cheesecake in advance?
Absolutely! Making it a day ahead is a great idea. This gives the flavors time to blend and deepen. Plus, it makes your dessert planning easier.
What can I substitute for lemon juice if I don’t have any?
If you lack lemon juice, try lime juice. It will still give a zesty kick. You can also use vinegar, but that will change the flavor more.
Is it normal for a no-bake cheesecake to be softer than a baked one?
Yes, it is normal. No-bake cheesecakes are creamier and less dense. They use whipped cream to add lightness, resulting in a softer texture. Enjoy the creaminess that comes with this style!
Ingredients:
– 1 ½ cups graham cracker crumbs
– ½ cup unsalted butter, melted
– 2 tablespoons granulated sugar
– 16 oz cream cheese, softened at room temperature
– 1 cup powdered sugar
– 1 cup heavy whipping cream, chilled
– Zest of 2 fresh lemons
– ½ cup freshly squeezed lemon juice
– 1 teaspoon pure vanilla extract
– Pinch of fine salt
Instructions:
1. Prepare the Crust: Mix graham cracker crumbs, melted butter, and granulated sugar. Stir until it looks like wet sand.
2. Form the Crust: Press the crumb mixture into the bottom of a 9-inch springform pan. Use a measuring cup for even pressure. Chill in the fridge while you make the filling.
3. Cream the Cheese: Beat the softened cream cheese until it’s smooth and creamy for about 2-3 minutes.
4. Incorporate Sweetness: Gradually add the powdered sugar, mixing until there are no lumps left.
5. Add Flavors: Mix in the lemon zest, fresh lemon juice, vanilla extract, and a pinch of salt until it’s well blended.
6. Whip the Cream: In a chilled bowl, whip the heavy cream until stiff peaks form. This makes the cheesecake light.
7. Combine Mixtures: Fold the whipped cream into the lemon cream cheese mixture gently. Be careful not to deflate it.
8. Pour and Smooth: Pour the filling over the chilled crust. Use a spatula to smooth the top.
9. Chill and Set: Cover with plastic wrap and refrigerate for at least 4 hours, or overnight if you can wait.
10. Serve: Once set, remove it from the springform pan. Transfer to a plate and slice.
This refreshing dessert serves 8-10 people. To make it extra special, add lemon zest on top or place thin lemon slices around the edges. Enjoy every bite!
This no-bake lemon cheesecake recipe offers a simple way to enjoy a creamy dessert. We covered essential ingredients, easy instructions, and tips for success. You learned about flavor variations and storage tips, too.
Now, you can impress friends and family with your baking skills. Use this recipe as a base for your own creations. Enjoy the bright flavors and have fun making it!


