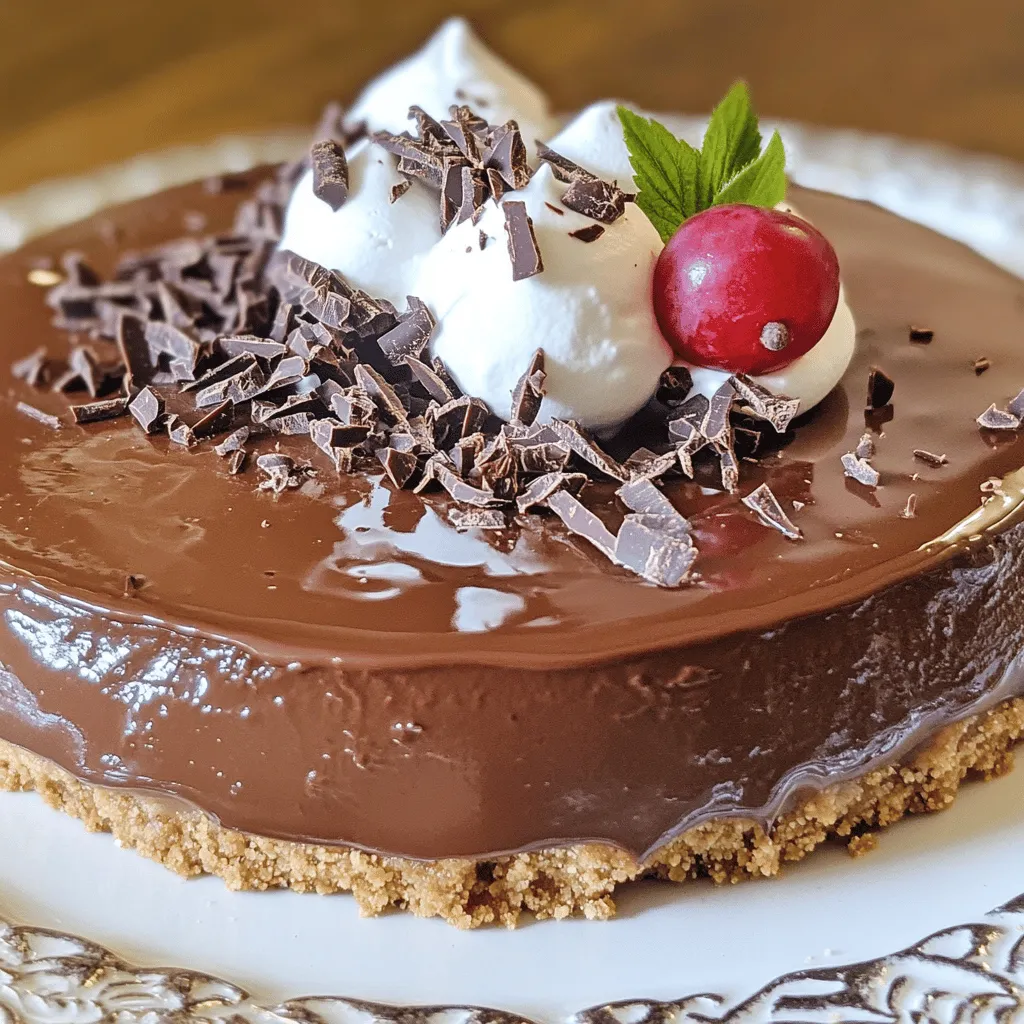
Are you ready to indulge in a deliciously creamy treat? This No-Bake Chocolate Cheesecake is a dessert delight that needs no oven! With rich chocolate flavors and a smooth texture, you’ll impress your friends and family with this easy recipe. Plus, it’s perfect for any occasion. Let’s dive into the simple steps, must-have ingredients, and tips that will ensure your cheesecake is a hit!
Ingredients
To make the no-bake chocolate cheesecake, you will need these key ingredients:
– 1 ½ cups graham cracker crumbs
– ½ cup unsweetened cocoa powder
– ¼ cup granulated sugar
– ½ cup unsalted butter, melted
– 16 oz cream cheese, softened to room temperature
– 1 cup powdered sugar
– 1 cup heavy whipping cream
– ½ cup semi-sweet chocolate chips, melted and slightly cooled
– 1 teaspoon pure vanilla extract
– Pinch of fine sea salt
Each ingredient plays a vital role. The graham cracker crumbs create a tasty crust. Cocoa powder adds rich chocolate flavor. Granulated sugar sweetens the crust and the filling. Unsalted butter helps bind the crust together. Cream cheese forms the base of the filling, giving it a creamy texture. The powdered sugar sweetens the filling further. Heavy whipping cream makes the cheesecake light and fluffy. Semi-sweet chocolate chips contribute to the chocolate taste, while vanilla adds depth. The pinch of salt balances the sweetness and enhances the flavors.
Step-by-Step Instructions
Prepare the Crust
– Combine the following in a mixing bowl:
– 1 ½ cups graham cracker crumbs
– ½ cup unsweetened cocoa powder
– ¼ cup granulated sugar
– ½ cup unsalted butter, melted
Mix these ingredients until it looks like damp sand. When you squeeze it, it should hold together.
– Press this crumb mixture into a 9-inch springform pan. Make sure it is even and packed tightly. This helps the crust stay firm. Place the crust in the refrigerator to set while you prepare the filling.
Make the Filling
– In a new bowl, beat 16 oz of softened cream cheese. Use an electric mixer on medium speed. Mix for about 2 minutes until it’s smooth.
– Gradually add 1 cup of powdered sugar. Keep mixing until it looks silky and well-blended.
– Now, gently fold in:
– ½ cup semi-sweet chocolate chips, melted and slightly cooled
– 1 teaspoon pure vanilla extract
– A pinch of fine sea salt
Stir until everything is smooth and the chocolate is mixed in well.
Incorporate Whipped Cream
– In another bowl, whip 1 cup of heavy whipping cream on high speed. Keep going until stiff peaks form. This step makes your cheesecake light and fluffy.
– Carefully fold this whipped cream into the chocolate mixture. Use a spatula to keep it fluffy. Mix until there are no streaks left.
Assemble the Cheesecake
– Pour the chocolate filling over the crust. Use a spatula to spread it evenly.
– Cover the cheesecake with plastic wrap or foil. Refrigerate for at least 4 hours, but overnight is best. This helps it set properly.
Once it is set, you can gently remove the sides of the springform pan and move it to a serving plate.
Tips & Tricks
Achieving the Best Texture
To get the best texture for your no-bake chocolate cheesecake, start with softened cream cheese. Softening the cream cheese makes it easy to mix and prevents lumps. You can leave it out at room temperature for about an hour. If you’re short on time, microwave it for 10 seconds. Just don’t let it melt!
Next, whip your heavy cream until you see stiff peaks. This step adds air and lightness to your cheesecake. Use a chilled bowl and beaters for better results. Whip on high speed, and you’ll see the cream transform in just a few minutes.
Serving Suggestions
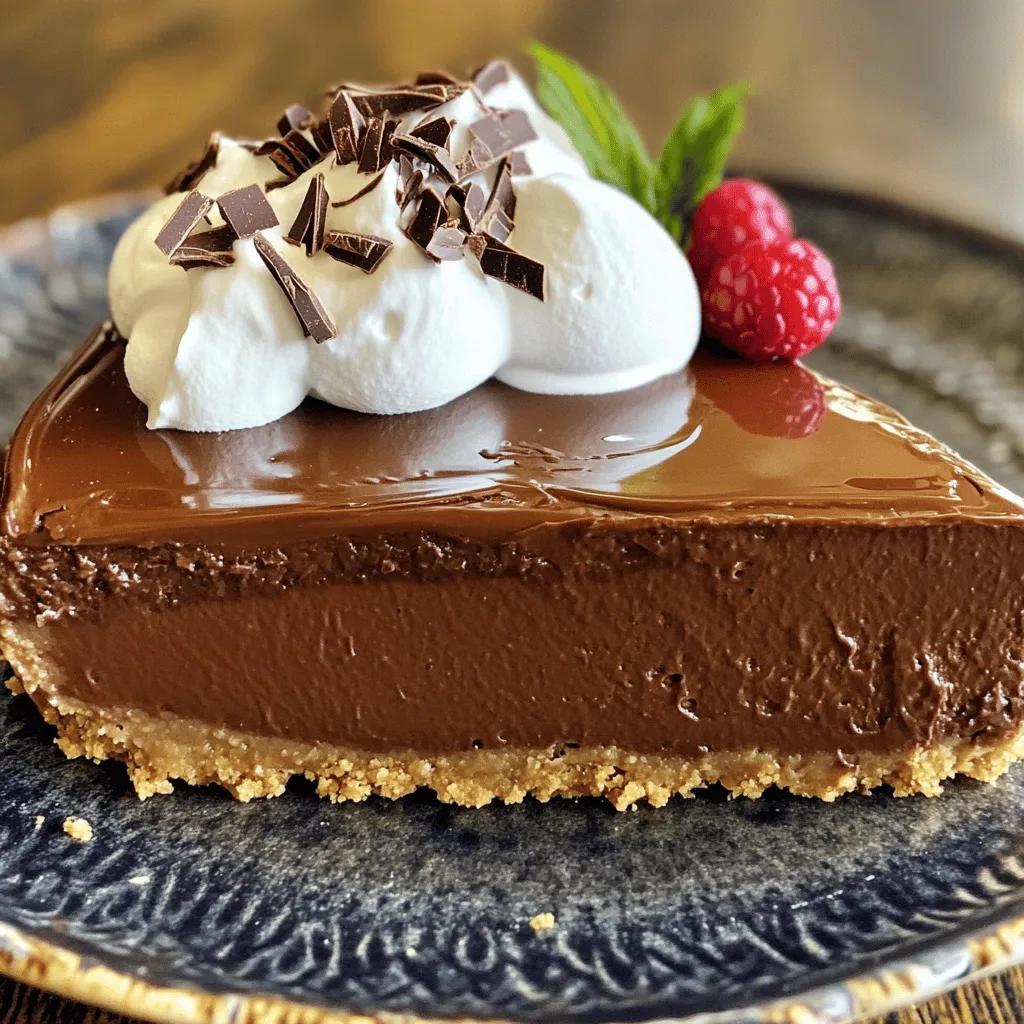
Presentation matters! Garnish your cheesecake with chocolate shavings and dollops of whipped cream. This adds elegance and a tasty touch. You can also sprinkle some fresh berries on top or around the plate. Berries give a pop of color and a fresh flavor. For extra sweetness, drizzle chocolate sauce over the top before serving.
Common Mistakes to Avoid
One common mistake is overmixing the filling. Mix just until combined; too much mixing can make it dense. Another mistake is not chilling the cheesecake long enough. You need at least 4 hours in the fridge, but overnight is best. This waiting time allows it to set properly and enhances the flavor.
Variations
Flavor Variations
You can add a twist to your no-bake chocolate cheesecake by mixing in espresso or coffee. This gives the dessert a rich mocha flavor that coffee lovers will adore. Just use about one tablespoon of instant coffee or espresso powder. Mix it with the cream cheese before adding the chocolate.
Feel free to experiment with different types of chocolate too. Dark chocolate adds a bold taste, while milk chocolate gives a sweeter flavor. You can even mix them for a perfect balance. Just remember to adjust the sugar if you’re using sweeter chocolate.
Alternative Crusts
If you want a different crust option, try using Oreo cookie crumbs instead of graham crackers. This gives your cheesecake a chocolatey base that pairs well with the filling. Simply crush the cookies and mix them with melted butter, just like you would with graham crackers.
For those needing gluten-free options, use gluten-free cookie crumbs. You can find many brands that offer gluten-free cookies. This way, everyone can enjoy this delicious dessert!
Topping Ideas
Toppings can make your cheesecake even more exciting. Swirl some chocolate ganache on top for a glossy finish. To make ganache, melt chocolate with heavy cream until smooth. Then, let it cool and drizzle it over the cheesecake.
You can also add fresh fruit or nuts for extra flavor and texture. Chopped strawberries, raspberries, or crushed nuts like almonds or walnuts work great. They not only add taste but also make your cheesecake look beautiful.
Storage Info
Proper Storage Techniques
To keep your no-bake chocolate cheesecake fresh, cover it well. Use plastic wrap or aluminum foil to cover the cheesecake tightly. This helps avoid any unwanted odors from the fridge. Store it in the fridge for easy access. If you want to freeze it, cut it into slices first. Place slices in an airtight container or wrap them in plastic wrap. This way, you can enjoy a piece without thawing the whole cake.
Shelf Life
In the fridge, your cheesecake stays fresh for about 5 days. Make sure to check for any signs of spoilage. If you see a change in color or smell, it’s best to throw it out. If the cheesecake has a slimy texture, that is also a sign it is no longer good. Always trust your senses when it comes to food safety. Enjoy your cheesecake while it’s fresh for the best taste!
FAQs
Can I make this cheesecake in advance?
Yes, you can make this cheesecake ahead of time. It actually tastes better after chilling. To prepare, follow the recipe steps up to pouring the filling into the crust. Then, cover it well with plastic wrap or foil. You can store it in the fridge for up to four days before serving.
How long should I chill the cheesecake?
Chill the cheesecake for at least four hours. For best results, refrigerate it overnight. This will help it set properly. A longer chill time enhances the flavors and texture. Remember, patience is key to a great cheesecake!
Can I substitute ingredients?
Yes, you can substitute some ingredients. For a dairy-free option, use vegan cream cheese. You can also use coconut cream instead of heavy cream. If you need a gluten-free crust, choose gluten-free graham crackers or nuts. These swaps still keep your cheesecake delicious.
This cheesecake is a delightful treat with easy steps. We explored key ingredients, like graham cracker crumbs and cream cheese, plus simple methods to prepare it. I shared tips for texture, serving ideas, and common mistakes to avoid. You can also try tasty variations, like adding espresso or using an Oreo crust. Finally, I discussed storage tips to keep your cheesecake fresh. Baking this dessert can bring joy and impress loved ones. Enjoy creating your own delicious cheesecake masterpiece!


