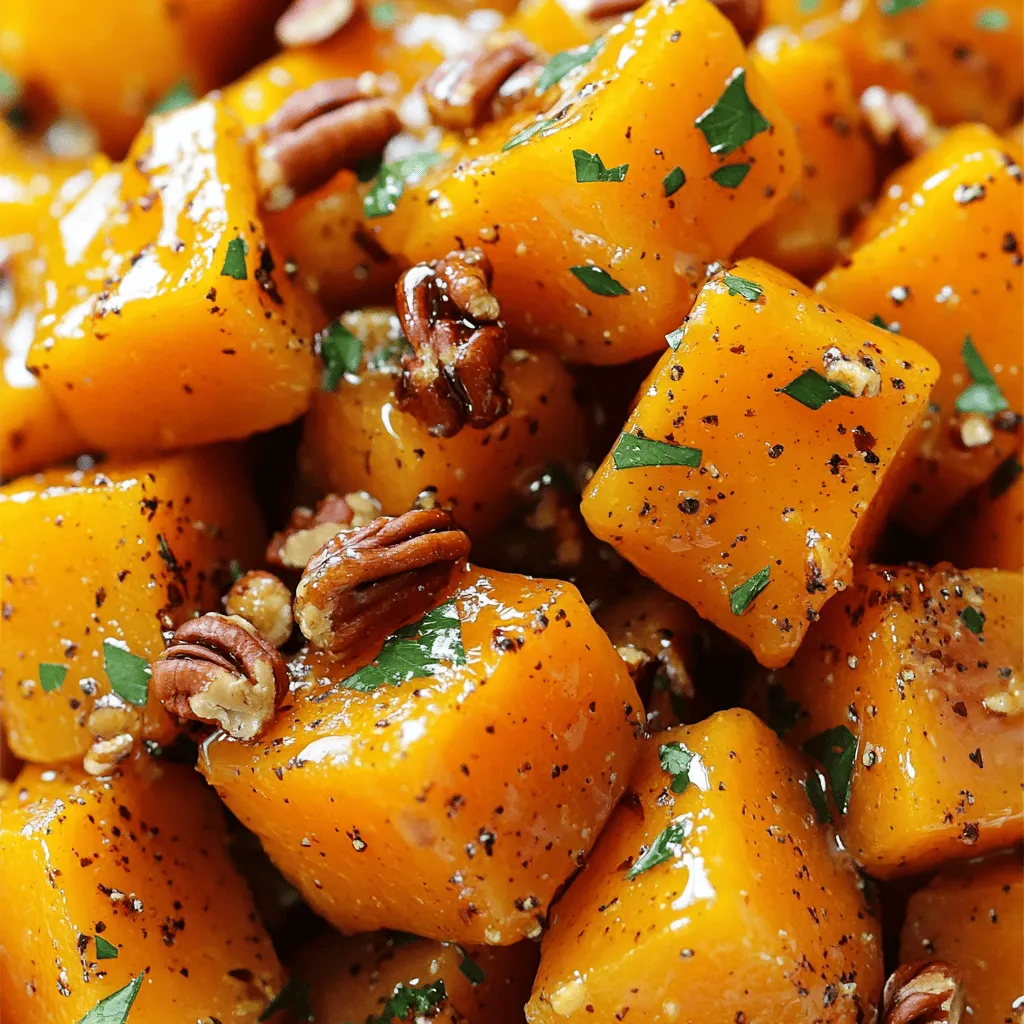
Are you ready to transform your meals with the sweet and savory taste of Maple Glazed Butternut Squash? This simple recipe is perfect for any occasion and easy enough for anyone to master. You’ll find all the ingredients, step-by-step instructions, and handy tips to make your dish shine. Let’s dive into this flavorful journey that will impress your friends and family without breaking a sweat!
Ingredients
List of Ingredients
To make maple glazed butternut squash, you’ll need the following items:
– 1 medium butternut squash, peeled and cut into 1-inch cubes
– 3 tablespoons pure maple syrup
– 2 tablespoons extra virgin olive oil
– 1 teaspoon ground cinnamon
– 1/2 teaspoon freshly grated nutmeg
– 1/4 teaspoon cayenne pepper (optional, for a kick)
– Sea salt and freshly cracked black pepper, to taste
– 1/4 cup pecans, roughly chopped (for garnish)
– Fresh parsley, finely chopped (for garnish)
Measuring Tips for Accuracy
When cooking, measuring accurately is key. Use dry measuring cups for solid items like squash and nuts. For liquids, use a liquid measuring cup. Always level off dry ingredients with a straight edge. This step ensures you get the right amount for best results.
Substitutions and Allergens
You can swap ingredients based on your needs. If you prefer a sweeter taste, try honey instead of maple syrup. For a nut-free option, skip the pecans or use seeds like pumpkin seeds. Always check for allergies, especially with nuts and spices.
Step-by-Step Instructions
Preparation Steps
To make maple glazed butternut squash, start by gathering your ingredients. You’ll need:
– 1 medium butternut squash, peeled and cut into 1-inch cubes
– 3 tablespoons pure maple syrup
– 2 tablespoons extra virgin olive oil
– 1 teaspoon ground cinnamon
– 1/2 teaspoon freshly grated nutmeg
– 1/4 teaspoon cayenne pepper (optional)
– Sea salt and freshly cracked black pepper, to taste
– 1/4 cup pecans, roughly chopped (for garnish)
– Fresh parsley, finely chopped (for garnish)
First, preheat your oven to 400°F (200°C). This step is key for good roasting. Next, peel and cube the butternut squash. Place the cubes in a large bowl.
Drizzle the olive oil and maple syrup over the squash. Then, sprinkle the ground cinnamon, nutmeg, cayenne, sea salt, and black pepper. Toss gently until all the pieces are well coated.
Cooking Process
Now, it’s time to roast your squash. Line a baking sheet with parchment paper. This helps prevent sticking and makes cleanup easy. Spread the coated squash in a single layer on the sheet.
Place the baking sheet in the oven. Roast the squash for 25-30 minutes. About halfway through the cooking time, stir the squash. This ensures all sides caramelize and cook evenly.
When the squash is fork-tender and has a nice golden color, it’s done. Remove it from the oven and let it cool for 2-3 minutes.
How to Achieve Perfect Caramelization
To get that perfect caramelization, watch your cooking time closely. Stirring halfway through helps. The key is to spread the squash out evenly. If it’s too crowded, it will steam instead of roast.
You can also adjust the maple syrup for sweetness. A little extra can help with caramelization. If you like a kick, add the cayenne pepper. It balances the sweet and savory flavors beautifully.
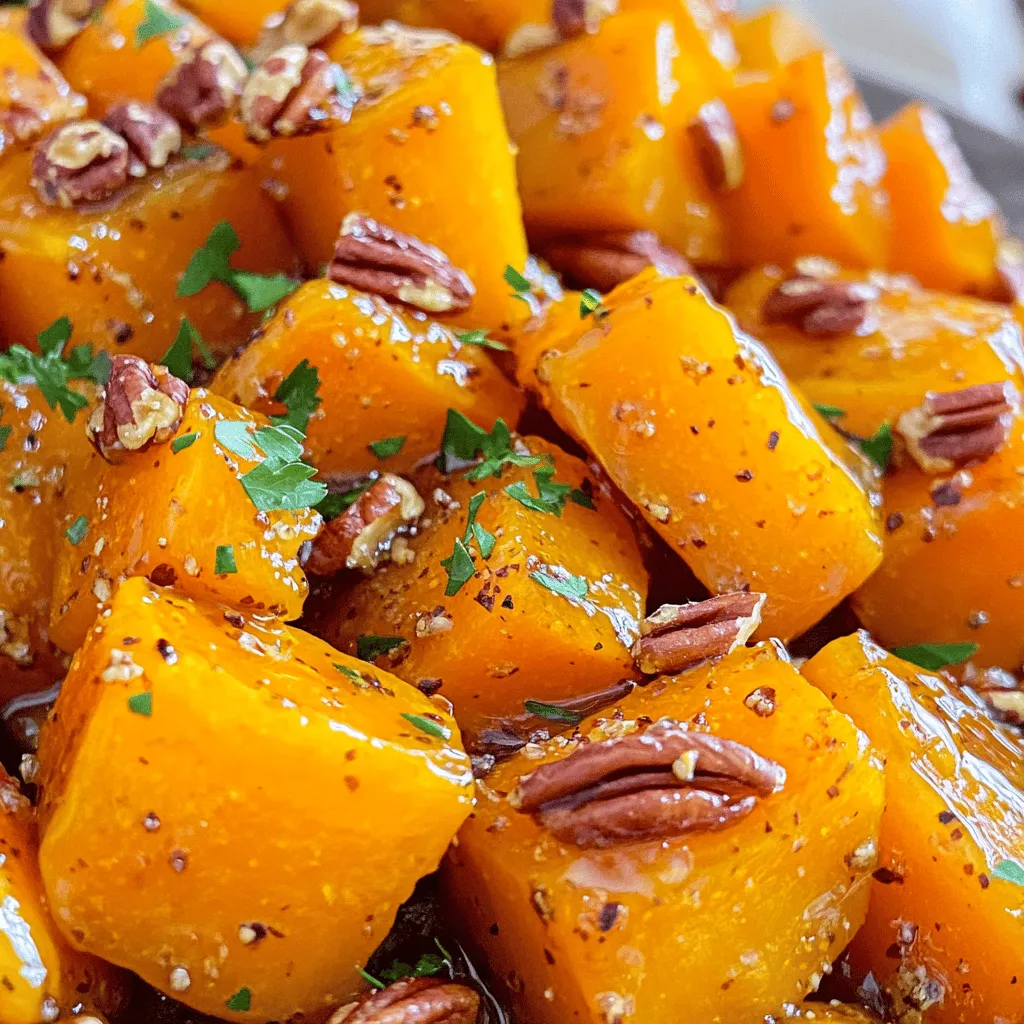
Once cooked, transfer the squash to a serving dish. Top with chopped pecans and parsley for a fresh touch. This dish is sure to impress!
Tips & Tricks
Common Mistakes to Avoid
When making maple glazed butternut squash, avoid cutting the squash too small. Smaller pieces cook too fast and can burn. Also, don’t skip the olive oil. It helps the squash caramelize and adds flavor. Overcrowding the baking sheet is another mistake. Leave space between the cubes to ensure even cooking.
Enhancing Flavor Profiles
To boost the flavor, add a splash of balsamic vinegar before roasting. This adds depth to the sweetness. Try different spices, too. A pinch of smoked paprika can give a nice twist. For a savory touch, mix in garlic powder or fresh garlic. These will elevate your dish.
Best Cooking Equipment to Use
Use a sturdy baking sheet lined with parchment paper. This helps with easy cleanup and prevents sticking. A large mixing bowl is great for tossing the squash and spices. If you have one, a vegetable peeler makes peeling the squash quick and easy. For a perfect roast, an oven thermometer ensures your oven is at the right temperature.
Variations
Adding Your Favorite Vegetables
You can make this dish even better by adding other veggies. Try sweet potatoes for a richer flavor. Carrots add sweetness and color, while red onions bring a slight bite. Just cut them into similar sizes as the squash. Toss them in the same maple glaze for a yummy blend. You’ll create a colorful and flavorful dish that everyone will love.
Spice It Up: Alternative Seasonings
Want to change the taste? You can use different spices. Try ginger for a warm kick. If you like it spicy, add more cayenne pepper. You can also use smoked paprika for a smoky flavor. Experiment with herbs like thyme or rosemary. Just remember to keep it balanced, so no single flavor overpowers the dish.
Dietary Adaptations (Vegan, Gluten-Free)
This recipe is naturally vegan and gluten-free. You can enjoy it without worry. If you want to add protein, try chickpeas. They pair well with the flavors and add a nice crunch. For those who need low-carb options, skip the maple syrup and use a sugar substitute. It’s easy to adapt this dish to fit your needs.
Storage Info
Proper Storage Techniques
To keep your maple glazed butternut squash fresh, store it in an airtight container. Let the squash cool down after cooking. Then, place it in the fridge. It will stay fresh for about 3 to 5 days. If you want to keep it longer, consider freezing.
Reheating Instructions
Reheat your butternut squash in the oven for the best results. Preheat your oven to 350°F (175°C). Spread the squash on a baking sheet. Heat it for about 10-15 minutes or until warm. You can also use the microwave. Place it in a microwave-safe dish and cover it. Heat in short bursts, checking to avoid overcooking.
Freezing for Future Use
Freezing is a great way to save this dish for later. First, let the squash cool completely. Then, spread it on a baking sheet in a single layer. Freeze it for about 1-2 hours until firm. Once frozen, transfer the squash to a freezer-safe bag or container. It can last for up to 3 months in the freezer. When ready to eat, thaw overnight in the fridge before reheating.
FAQs
Can I prepare Maple Glazed Butternut Squash ahead of time?
Yes, you can prepare this dish ahead of time. Cook the butternut squash and let it cool. Store it in an airtight container in the fridge. You can make it up to two days in advance. When you’re ready to eat, just reheat it in the oven or microwave. This makes it great for meal prep.
How long does the dish last in the fridge?
Maple glazed butternut squash lasts about 3 to 5 days in the fridge. Make sure it’s in a sealed container. Check for any signs of spoilage before eating. If it looks or smells off, it’s best to toss it. Freshness is key for enjoying this tasty dish.
What can I serve with Maple Glazed Butternut Squash?
You can pair this dish with many foods. It goes well with roasted chicken or turkey. You can also serve it with quinoa or brown rice for a healthy meal. For a vegetarian option, pair it with a bean salad. The sweet and savory flavors work well with many sides.
This guide walked you through each step of making Maple Glazed Butternut Squash. We covered ingredients, how to prepare, cook, and store your dish. I shared tips to avoid mistakes and ideas for adding your own twist. Remember, the key to perfect caramelization is patience. Enjoy experimenting with flavors and variations. This dish can be a crowd-pleaser and is easy to adapt. I hope you feel ready to try it out. Enjoy your cooking!


