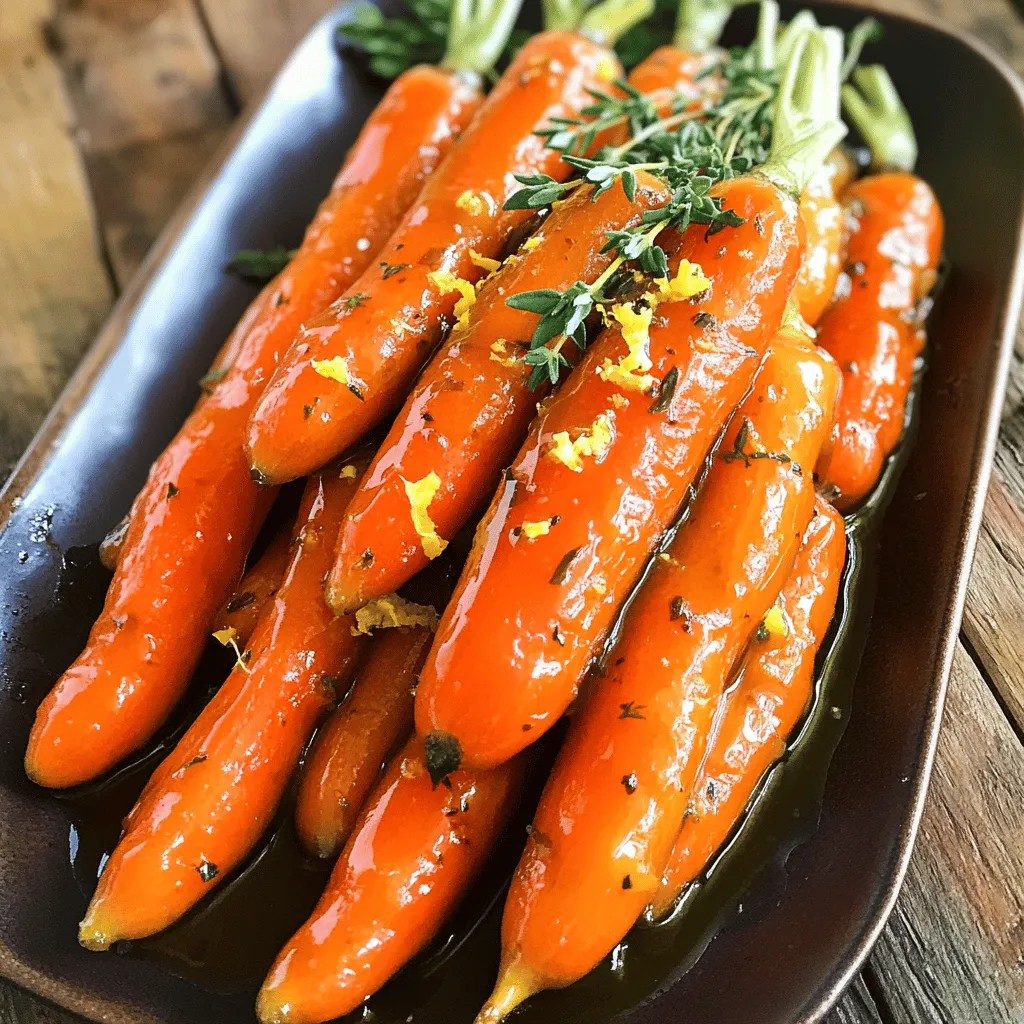
Looking for a simple yet delicious side dish that impresses? Try my Maple Dijon Glazed Carrots! These sweet and tangy oven-roasted treats are packed with flavor and easy to make. Using just a few basic ingredients, you can create a dish that elevates any meal. Let’s explore how to make these perfect carrots and enjoy their delightful taste right from your kitchen!
Ingredients
Essential Ingredients for Maple Dijon Glazed Carrots
– 1 lb baby carrots (or regular carrots, peeled and sliced into sticks)
– 2 tablespoons olive oil
– 3 tablespoons pure maple syrup
– 2 tablespoons Dijon mustard
– 1 tablespoon fresh thyme leaves (or 1 teaspoon dried thyme)
These key items create the sweet and tangy glaze that makes the carrots shine. Baby carrots are sweet and tender, while regular carrots add a heartier texture. The olive oil helps the glaze stick and adds a rich flavor. Pure maple syrup brings sweetness, and Dijon mustard adds a kick. Fresh thyme gives an earthy note that ties it all together.
Optional Ingredients and Garnishes
– Salt and pepper to taste
– Zest of 1 lemon (for garnish)
– Additional herbs (like parsley or chives)
These optional items can elevate your dish. Salt and pepper enhance all flavors. Lemon zest adds a bright note that contrasts beautifully with the sweet glaze. Extra herbs can give a pop of color and flavor. Feel free to mix and match these garnishes to make your dish unique.
Step-by-Step Instructions
Preheating and Preparing Carrots
First, you need to preheat your oven to 425°F (220°C). This step helps the carrots roast perfectly. If you’re using regular carrots, peel them first. Then, slice them into sticks about 1/2 inch thick. Cutting them evenly ensures they cook at the same rate. Baby carrots can go straight into the oven without any slicing.
Mixing the Glaze
Next, grab a small mixing bowl. In it, whisk together the following ingredients:
– 2 tablespoons olive oil
– 3 tablespoons pure maple syrup
– 2 tablespoons Dijon mustard
– 1 tablespoon fresh thyme leaves (or 1 teaspoon dried thyme)
– A pinch of salt and pepper
Whisk until all the ingredients blend into a smooth glaze. This glaze gives the carrots a sweet and tangy flavor that really shines.
Coating and Roasting Carrots
Now, transfer the carrots to a large mixing bowl. Pour the glaze over the carrots. Toss them gently to coat each piece evenly. You want every carrot stick to be covered in that tasty mixture.
Spread the glazed carrots in a single layer on a baking sheet lined with parchment paper. Make sure there’s space between each piece; this helps them roast evenly. Place the baking sheet in the oven and roast for 20-25 minutes. Remember to toss the carrots halfway through. This ensures they brown nicely on all sides.
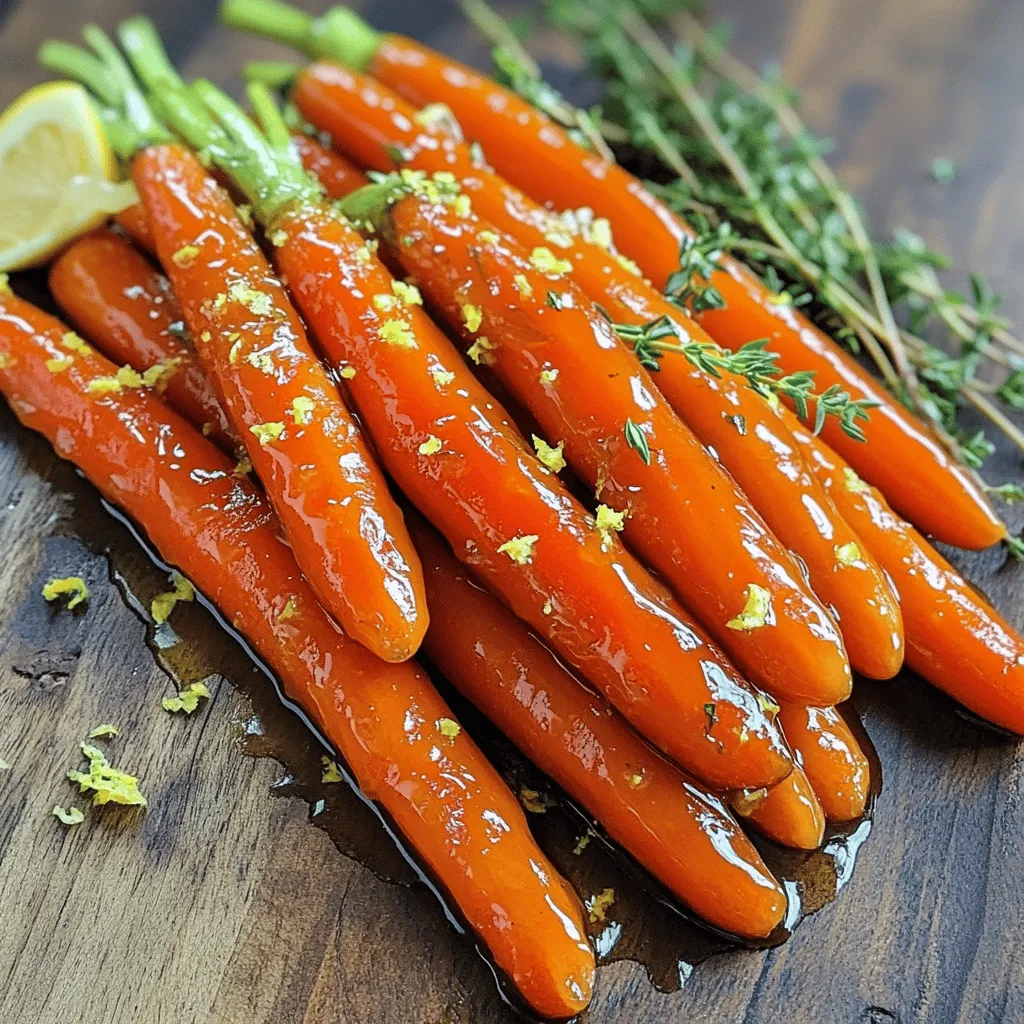
When they finish roasting, the carrots should be tender and caramelized, looking delicious.
Tips & Tricks
How to Enhance Flavor
To make your Maple Dijon glazed carrots pop, think about adding spices or herbs. Try a pinch of cayenne for heat or a dash of garlic powder for depth. Fresh herbs like parsley or dill can also brighten the dish. These small changes can bring a new twist to the recipe.
Adjusting sweetness levels is another way to suit your taste. If you love sweet, add more maple syrup. If you prefer less sweetness, cut back slightly. Balancing the sweet and tangy flavors makes each bite exciting.
Cooking Techniques for Perfect Carrots
Even cooking is key for great roasted carrots. Cut your carrots into uniform pieces. This ensures they cook at the same rate. For baby carrots, you can roast them whole. If using regular carrots, aim for 1/2 inch thick sticks.
If you want to try alternatives to oven roasting, consider steaming or sautéing. Steaming keeps the carrots tender and bright. Sautéing in a pan with the glaze gives a nice caramelization as well. Both methods can work well, but roasting brings out the best flavors.
Variations
Swapping Ingredients for Different Flavors
You can easily swap out some ingredients in this recipe. If you’re out of maple syrup, try honey or agave syrup. Both add a nice sweetness but change the flavor a bit. You can also use brown sugar, but it will change the glaze’s texture.
For the mustard, Dijon is great, but you can use yellow mustard for a milder taste. Spicy brown mustard adds a kick. You can even try whole grain mustard for a rustic feel. Each option brings a new twist to the dish.
Preparation Styles
You can make these glazed carrots on the stovetop if you prefer. Simply steam the carrots until tender. Then, toss them in the glaze in a pan over low heat. This method gives you a softer texture.
If you’re hosting a big dinner, you can serve these carrots in many ways. For a casual meal, serve them right from the baking dish. For a fancy dinner, arrange them on a platter and drizzle extra glaze on top. You can even add some nuts for crunch.Enjoy exploring these variations!
Storage Information
Storing Leftovers
To keep your maple Dijon glazed carrots fresh, use airtight containers. Glass or plastic containers work well. Make sure the carrots cool down before sealing them. This helps prevent moisture build-up. Store the leftovers in the fridge. They stay good for about three to five days.
Reheating Instructions
When reheating glazed carrots, the oven is best. Preheat it to 350°F (175°C). Spread the carrots on a baking sheet and heat for about 10 minutes. This keeps them crispy and tasty. You can also use the microwave. Heat them in short bursts of 30 seconds. Stir between each burst to keep flavors intact.
FAQs
Common Questions about Maple Dijon Glazed Carrots
How long do roasted carrots last in the fridge?
Roasted carrots can last about 3 to 5 days in the fridge. Store them in an airtight container. This helps keep them fresh and tasty.
Can I make this recipe ahead of time?
Yes, you can make this recipe ahead of time. Roast the carrots and let them cool. Then, store them in the fridge. Reheat them before serving for the best flavor.
Variants and Dietary Adjustments
Is this recipe suitable for vegan diets?
Yes, this recipe is vegan-friendly. It uses maple syrup and mustard, which are both plant-based. You can enjoy this dish without any animal products.
How can I make this gluten-free?
This recipe is already gluten-free. Dijon mustard is often gluten-free, but always check the label. This way, you ensure it fits your diet.
Serving Suggestions
What meals pair well with glazed carrots?
Glazed carrots pair well with roasted chicken, grilled fish, or a hearty grain dish. Their sweet and tangy flavor adds balance to savory meals.
Can I use other vegetables in this recipe?
Yes! You can use other veggies like parsnips or sweet potatoes. Just adjust the cooking time for different vegetables. Enjoy the variety!
Maple Dijon glazed carrots are both tasty and easy to make. We covered essential ingredients like carrots, olive oil, and Dijon mustard. Each step, from roasting to optional flavor tweaks, helps you create the best dish. Remember to store leftovers properly and reheat them for full flavor. Feel free to experiment with variations to match your taste. With this recipe, you can impress at any meal. Now, gather your ingredients and enjoy making these delicious carrots!


