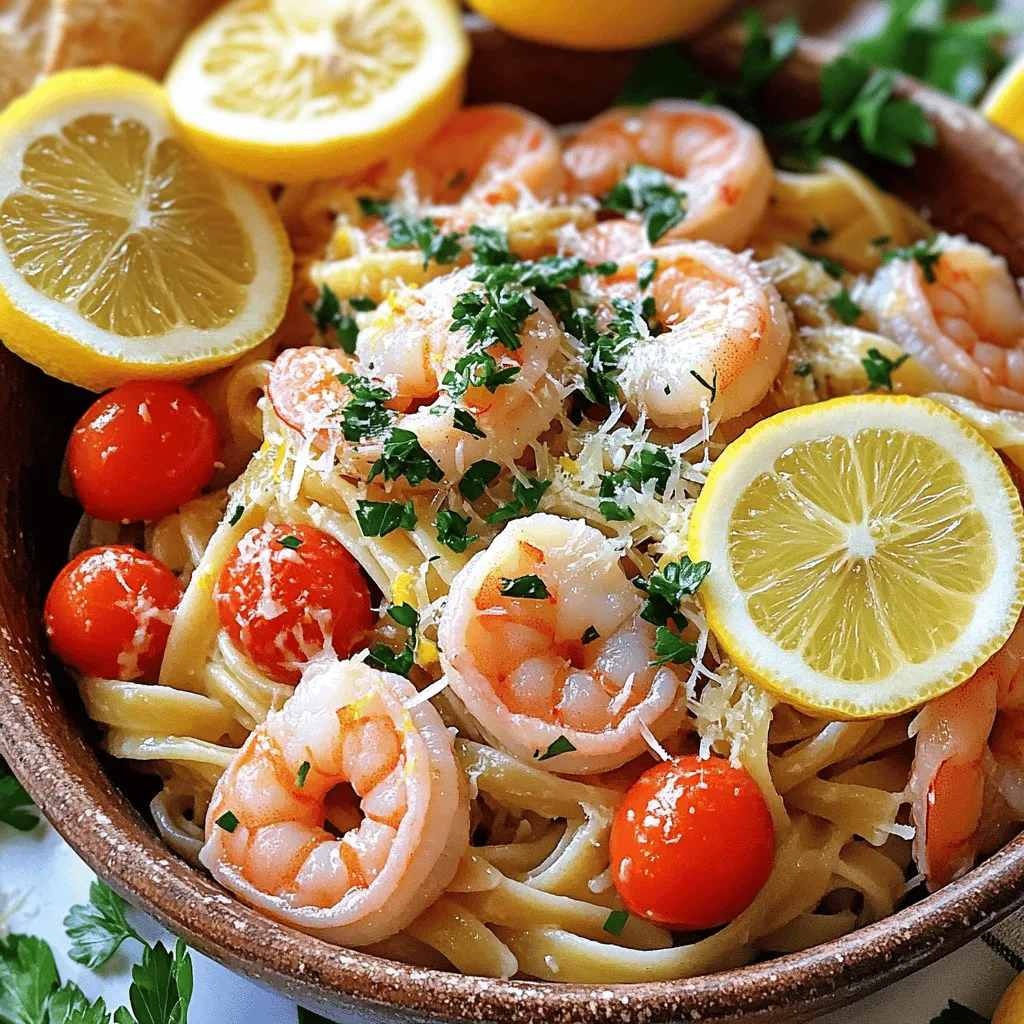
Looking for a quick meal that bursts with flavor? Let me introduce you to Lemon Garlic Shrimp Pasta—a dish that’s both simple and tasty! With fresh ingredients like shrimp, garlic, and lemon, you’ll create a dish that impresses without fuss. In this guide, I will walk you through easy steps to make this flavorful meal, along with tips to make it shine. Dive in and let’s cook something amazing together!
Ingredients
Detailed Ingredients List
– 8 oz linguine or spaghetti
– 1 lb shrimp, peeled and deveined
– 4 cloves garlic, finely minced
– 1 lemon, zested and juiced
– 1/4 cup extra virgin olive oil
– 1/4 teaspoon red pepper flakes (optional for heat)
– 1/2 cup cherry tomatoes, cut in half
– 1/4 cup fresh parsley, coarsely chopped
– Sea salt and freshly ground black pepper, to taste
– Freshly grated Parmesan cheese (for serving)
To make Lemon Garlic Shrimp Pasta, you need a mix of fresh and simple ingredients. Start with your choice of pasta, either linguine or spaghetti. Both work well, but I prefer linguine for its perfect bite.
Next, you’ll need shrimp. Make sure they are peeled and deveined to save time. Fresh shrimp brings a lovely taste to the dish. If fresh isn’t available, frozen shrimp will do just fine—just ensure they’re thawed before cooking.
Garlic is a must for flavor. Use four cloves, finely minced. This will fill your kitchen with an amazing aroma. A lemon adds brightness and freshness. You’ll use both the zest and juice.
Extra virgin olive oil is key for sautéing. It gives a rich flavor that complements the other ingredients. If you like a bit of heat, add red pepper flakes. They enhance the dish without overpowering it.
Cherry tomatoes add sweetness and color. Halving them allows their juices to mingle with the pasta. Fresh parsley is great for a pop of green and freshness.
Finally, season with sea salt and black pepper. These enhance the flavors of the dish. Don’t forget the Parmesan cheese for serving; it adds a creamy finish.Enjoy the process of gathering these ingredients. Each one plays a big role in creating a simple yet delicious meal.
Step-by-Step Instructions
Cooking the Pasta
To start, fill a large pot with water and add a generous amount of salt. The salt adds flavor to the pasta. Bring the water to a rolling boil. Once the water is boiling, add 8 oz of linguine or spaghetti. Cook the pasta according to the package instructions. Aim for an al dente texture, which means the pasta will be firm to the bite. This typically takes around 8-10 minutes. Before draining, save about 1/2 cup of the starchy pasta water. Drain the pasta and set it aside for later.
Preparing the Garlic and Shrimp
In a large skillet, pour in 1/4 cup of extra virgin olive oil and heat it over medium heat. When the oil shimmers, add 4 cloves of finely minced garlic and, if you like heat, a pinch of red pepper flakes. Sauté the garlic for 1-2 minutes. Stir it often to avoid burning. You want the garlic fragrant but not browned. After that, raise the heat slightly and add 1 lb of peeled and deveined shrimp. Cook the shrimp for about 2-3 minutes on each side. When done, the shrimp should be pink and opaque. Season with sea salt and freshly ground black pepper to boost the flavor.
Combining Ingredients
Now it’s time to bring everything together. Carefully transfer the drained pasta into the skillet with the shrimp. Pour in the juice of 1 lemon and sprinkle the lemon zest over the mix. Add 1/2 cup of halved cherry tomatoes as well. Gently toss all the ingredients together until they are well mixed. If the pasta feels dry, add the reserved pasta water a little at a time. This will help you reach the desired consistency.
Finishing Touches
Take the skillet off the heat. Fold in 1/4 cup of coarsely chopped parsley for a fresh touch. Now taste the dish and adjust the seasoning as needed. You might want to add a bit more salt or pepper for the best flavor.
Serving Suggestions
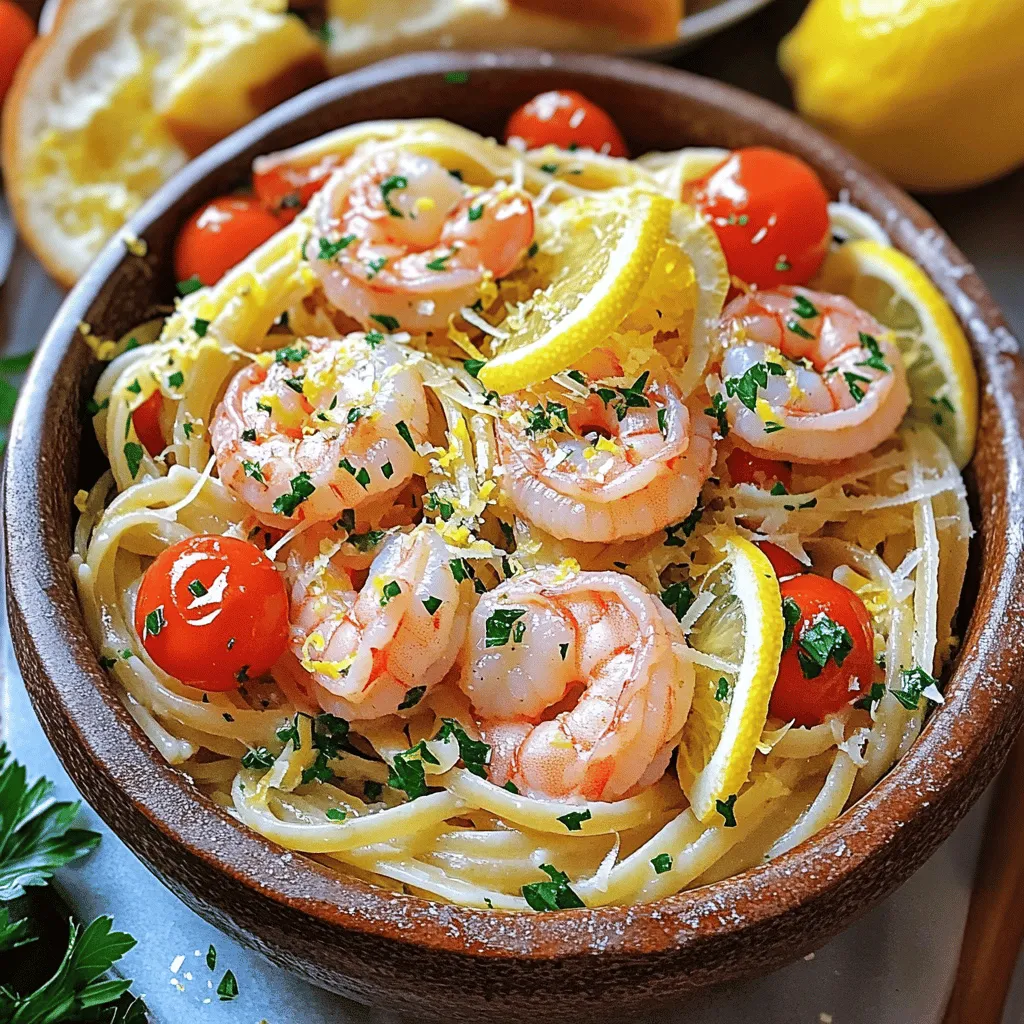
To serve, distribute the pasta into individual bowls. Top each bowl with freshly grated Parmesan cheese. For a beautiful presentation, you can add some extra parsley and fresh lemon slices. This dish pairs well with warm, crusty bread to soak up the garlic-infused oil. Enjoy this simple and flavorful dish that’s sure to impress!
Tips & Tricks
Perfecting the Pasta Texture
To get the best al dente texture, follow these steps:
– Use a large pot filled with water.
– Add a good amount of salt before boiling.
– Check the package for cooking time, but taste the pasta a minute early.
Reserving pasta water is key. This starchy liquid helps bind and flavor the dish. If the sauce needs help, add a bit of this water to adjust the texture.
Garlic Cooking Techniques
Infusing olive oil with garlic is simple. Heat the oil over medium heat until it shimmers. Then, add minced garlic. Cook for 1-2 minutes, stirring often.
Be careful not to burn the garlic. Burnt garlic can make your dish bitter. If it turns brown, start over.
Shrimp Cooking Tips
To ensure shrimp are cooked right, heat your skillet before adding them. Cook for about 2-3 minutes on each side. They should turn pink and opaque.
To avoid rubbery shrimp, don’t overcook them. Keep an eye on the color change. Once they are done, remove them from the heat quickly.
These tips will help you create a delicious Lemon Garlic Shrimp Pasta.
Variations
Adding Vegetables
You can make Lemon Garlic Shrimp Pasta even better by adding vegetables. Seasonal veggies like asparagus, bell peppers, or peas bring color and nutrients. To add greens, toss in fresh spinach or zucchini. Simply slice the zucchini thin and add it to the skillet when you sauté the garlic. The spinach can go in right before you finish cooking the shrimp. This way, they stay bright and fresh.
Alternative Protein Options
If you want to switch things up, try chicken or tofu instead of shrimp. For chicken, use boneless breasts or thighs. Cut them into small pieces and cook them until they are golden. For tofu, use firm or extra-firm. Cut it into cubes and sauté it until crispy. Adjust the cooking time for each protein. Chicken will take about 7-10 minutes, while tofu needs 5-7 minutes.
Flavor Enhancements
Want to bring more flavor to your pasta? Try adding spices like paprika or lemon pepper. These spices add a nice kick. You can also mix in fresh herbs like basil or thyme. Chop them finely and add them just before serving. This keeps the herbs fresh and bright. Experiment with your favorite flavors to make this dish your own.
Storage Info
Refrigeration Guidelines
To store your Lemon Garlic Shrimp Pasta properly, let it cool to room temperature first. Place the leftovers in an airtight container. This will keep the dish fresh. You can store it in the fridge for up to three days. The shrimp and pasta will remain tasty if stored right.
Freezing Instructions
If you want to freeze your pasta, I suggest portioning it out. This makes it easy to reheat later. Use freezer-safe bags or containers. Squeeze out the air to avoid freezer burn. You can freeze it for up to three months. For best results, thaw it in the fridge overnight before reheating.
Reheating Methods
You can reheat your pasta on the stovetop or in the microwave. For stovetop reheating, add a splash of water or olive oil to keep it moist. Heat over low until warm. If using a microwave, cover the dish with a damp paper towel. Heat in short bursts, stirring in between, to keep it from drying out. This helps maintain the texture and flavor of your dish.
FAQs
What is the best type of pasta for Lemon Garlic Shrimp Pasta?
For Lemon Garlic Shrimp Pasta, I recommend using linguine or spaghetti. Both types hold sauce well. They also complement shrimp nicely. You can use other pasta types too, like fettuccine or penne. Just make sure to adjust cooking times based on the pasta shape.
Can I make this recipe ahead of time?
Yes, you can prepare some parts ahead. Cook the pasta and shrimp when you are ready to serve. You can also chop garlic and parsley in advance. Store them in the fridge. This helps save time on busy nights. Just reheat the pasta and shrimp together for a quick meal.
How long does it take to prepare Lemon Garlic Shrimp Pasta?
This dish takes about 20 minutes total. You need around 10 minutes to prep ingredients. Cooking the dish takes another 10 minutes. It’s a fast and delicious meal for any day. You can enjoy it on a weeknight or special occasion.
What can I substitute for shrimp?
If you need a shrimp alternative, try chicken or tofu. For chicken, cut it into small pieces and cook until done. For tofu, use firm tofu, and sauté it until golden. Both options give a nice taste and texture.
Is this recipe gluten-free?
Yes, you can make this dish gluten-free. Simply swap regular pasta for gluten-free pasta. Many brands offer great options, like brown rice or chickpea pasta. Check the labels to ensure they are gluten-free. Enjoy this meal without worry!
You learned how to make Lemon Garlic Shrimp Pasta with simple ingredients and steps. I shared tips for perfect texture and flavor. You can even mix in veggies or try different proteins. Remember to store leftovers well for future meals. This dish is quick and versatile, making it perfect for any dinner. With these tips, you’ll impress your family and friends every time. Enjoy your cooking journey!


