Looking for a quick and nutritious snack? Healthy Pumpkin Energy Bites are your answer! These tasty treats are packed with vitamins, healthy fats, and a hint of sweetness. You can whip them up in no time and enjoy them as a perfect fuel for your busy days. Join me as we explore how to make these energy bites, along with tips and tricks to make them just right!
Ingredients
List of Ingredients
– 1 cup rolled oats
– 1/2 cup pure pumpkin puree
– 1/2 cup almond butter (or substitute with peanut butter)
– 1/4 cup honey or maple syrup
– 1/4 cup ground flaxseed
– 1 teaspoon pure vanilla extract
– 1 teaspoon pumpkin pie spice
– 1/2 cup mini chocolate chips (optional)
– A pinch of salt
These ingredients come together to make a great snack. Each one adds flavor and nutrition. For example, oats give energy. They are full of fiber, which helps you feel full. Pumpkin puree is rich in vitamins. It adds a nice, creamy texture. Almond butter gives healthy fats and protein. You can also use peanut butter if you prefer.
Honey or maple syrup adds sweetness. They provide quick energy. Ground flaxseed is a hidden gem. It has omega-3 fatty acids and more fiber. Vanilla extract brings a lovely aroma. Pumpkin pie spice adds warmth and flavor. This mix makes each bite delicious.
Mini chocolate chips are optional but fun! They add a sweet burst. You can leave them out if you want fewer sugars. Each ingredient plays a role in making these bites tasty and healthy.
Nutritional Information
Each serving has about 100 calories. It packs in protein, carbs, and healthy fats. A typical serving gives you:
– Protein: 3 grams
– Carbs: 15 grams
– Fats: 4 grams
These bites are great for energy. Oats and pumpkin are full of fiber. They can help with digestion. Flaxseeds are great for heart health. Almond butter gives good fats that support brain function. Each bite is a step toward a healthier day.
Step-by-Step Instructions
Preparation of Ingredients
– Combine Dry Ingredients: In a large bowl, mix 1 cup of rolled oats, 1/4 cup of ground flaxseed, and 1 teaspoon of pumpkin pie spice. Make sure they blend well. This step builds the base for your energy bites.
– Prepare Wet Mixture: In another bowl, blend 1/2 cup of pure pumpkin puree, 1/2 cup of almond butter, 1/4 cup of honey, 1 teaspoon of pure vanilla extract, and a pinch of salt. Stir until smooth. This mixture adds moisture and flavor.
Mixing Instructions
– Combine Ingredients: Gradually add the wet mixture to the dry ingredients. Stir as you go until everything is evenly mixed. If you want a sweet touch, fold in 1/2 cup of mini chocolate chips at this stage. They add a fun crunch!
– Chill the Mixture: Cover the bowl and place it in the fridge for 30 minutes. This makes the mixture firm. It’s easier to shape the bites later.
Final Forming Steps
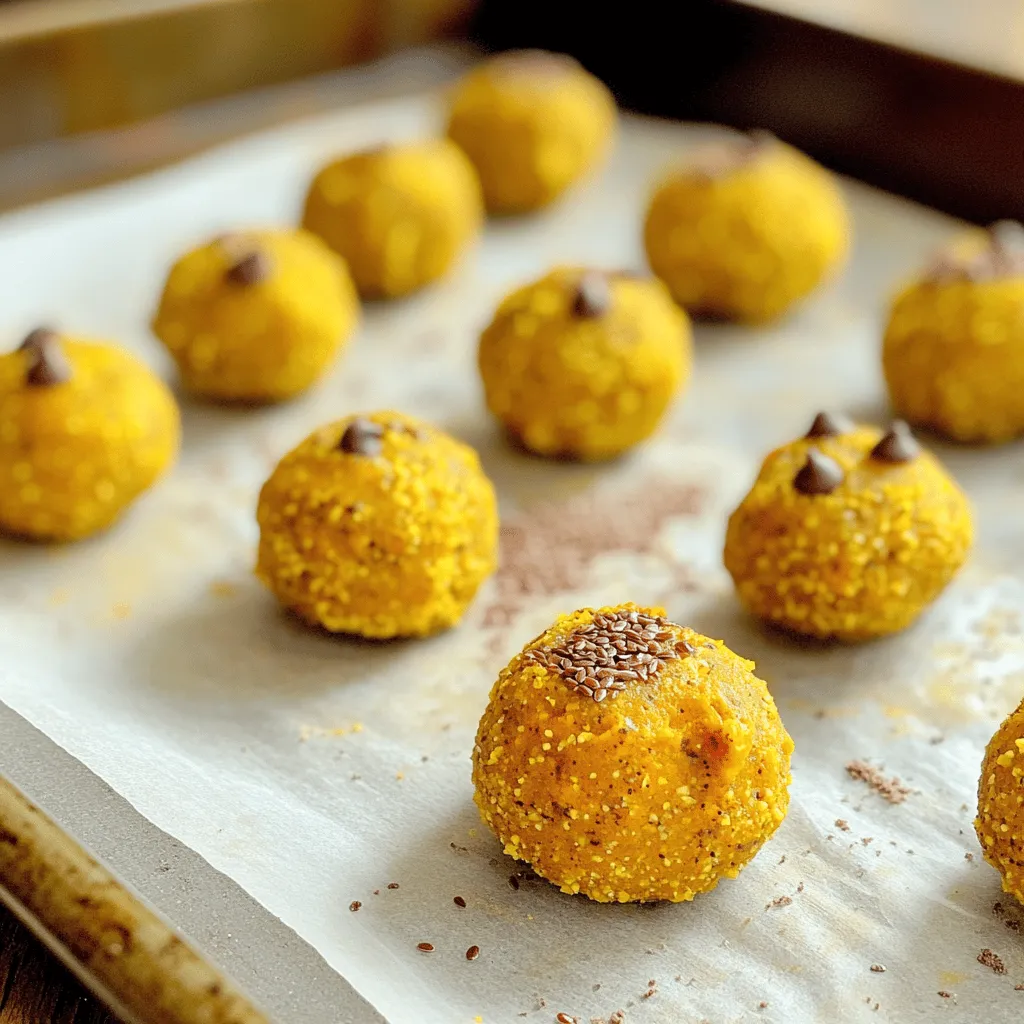
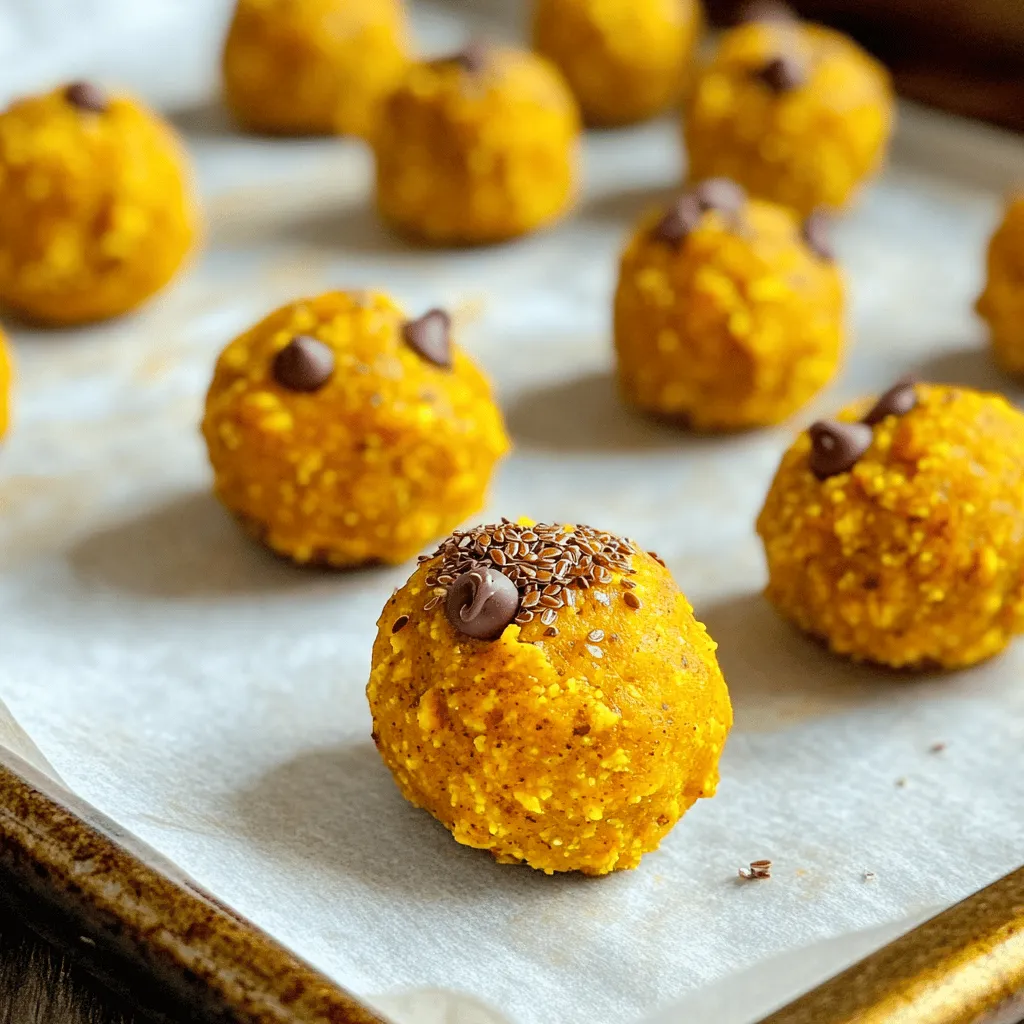
– Form the Energy Bites: After chilling, scoop out portions of the mixture with a tablespoon. Roll each piece into a ball about the size of a golf ball. Place them on a parchment-lined baking sheet to avoid sticking.
– Set Again: Put the formed bites back in the fridge for 15-20 minutes. This helps them hold their shape.
Now, you can enjoy these tasty energy bites anytime!
Tips & Tricks
Achieving the Perfect Texture
Chilling your mixture is key. It helps the bites firm up nicely. After mixing, cover the bowl and refrigerate for about 30 minutes. This makes rolling easier. When you form the bites, use a tablespoon to scoop out even portions. Roll each portion into a ball, about the size of a golf ball. This keeps them uniform. If they are too sticky, wet your hands slightly to help shape them.
Enhancing Flavor
Want to spice things up? You can adjust the pumpkin pie spice. A pinch more cinnamon or nutmeg can bring warmth. If you like it sweeter, try using agave or coconut sugar instead of honey or maple syrup. This can change the flavor profile and make it your own.
Serving Suggestions
For presentation, arrange the energy bites on a colorful platter. You can use a snack jar for a fun display. Try sprinkling pumpkin seeds or cacao nibs on top. Pair these bites with fresh fruit like apple slices or berries. They also go well with a warm cup of tea or coffee. Enjoy your healthy pumpkin energy bites anytime!
Variations
Ingredient Swaps
You can easily swap almond butter for peanut butter. Both options give a tasty flavor. Almond butter has a lighter taste, while peanut butter is rich and creamy. Choose what you like best!
Different sweeteners can also change the taste. You can try agave syrup or coconut sugar instead of honey or maple syrup. Each sweetener brings its own unique flavor, so feel free to experiment.
Flavor Enhancements
Adding nuts or seeds can boost the texture and nutrition. Chopped walnuts or sunflower seeds make great choices. They add crunch and healthy fats to your energy bites.
You can also incorporate different spices to enhance the flavor. Adding cinnamon or nutmeg gives warmth to the bites. These spices are perfect for fall and winter, making your bites even more comforting.
Seasonal Variations
Consider making holiday-themed energy bites. Adding cranberries or dark chocolate can make them festive. You can shape them into fun holiday forms for parties.
You can also use other seasonal squashes. Butternut squash or acorn squash can work well too. Just make sure to puree them first. Each squash offers a different taste and texture to your energy bites.
Storage Info
How to Store
To keep your pumpkin energy bites fresh, store them in the fridge. Use an airtight container to keep air out. This helps maintain their soft texture. Make sure the lid seals tightly. This method also prevents them from absorbing other smells in the fridge.
Shelf Life
You can enjoy your energy bites for up to one week when stored properly. After this time, they may start to lose taste and texture. Watch for signs of spoilage, such as a dry appearance or off smell. If they seem hard or stale, it’s best to toss them.
Freezing Energy Bites
Freezing pumpkin energy bites is easy and keeps them tasty. To freeze, place them in a single layer on a baking sheet. After they freeze, transfer them to a container or freezer bag. This method helps keep their shape and texture.
To thaw, simply take out the bites and let them sit at room temperature for about 15 minutes. They will soften up and be ready to eat. Enjoy these snacks anytime, even straight from the freezer!
FAQs
How long do healthy pumpkin energy bites last?
Healthy pumpkin energy bites can last up to one week in the fridge. Store them in an airtight container to keep them fresh. If you want them to last longer, you can freeze them. They stay good in the freezer for about three months. Just make sure to separate them with parchment paper to prevent sticking.
Can I make these energy bites vegan?
Yes, you can easily make these energy bites vegan. Simply swap out the honey for maple syrup. This change maintains the sweetness while keeping the recipe plant-based. Ensure your almond butter is also vegan-friendly, which most brands are.
What can I use instead of almond butter?
If you don’t have almond butter, you can use peanut butter. Sunflower seed butter is another great option, especially for nut allergies. Each of these will give the bites a creamy texture and yummy flavor.
How can I adjust this recipe for different dietary needs?
To adjust for dietary needs, consider these swaps:
– Use gluten-free oats for a gluten-free option.
– Substitute maple syrup with agave syrup for a lower glycemic sweetener.
– For protein, add some protein powder to the mix.
– If you want to reduce sugar, cut back on the sweetener.
Can I use fresh pumpkin instead of puree?
You can use fresh pumpkin, but it needs to be cooked and pureed first. Roast or steam the pumpkin until soft, then blend it until smooth. This will give you the fresh taste you want. However, canned pumpkin puree is often more convenient and saves time in the kitchen.
These healthy pumpkin energy bites are easy to make and packed with flavor. We covered ingredients, step-by-step instructions, and helpful tips for the best results. You can customize these bites to fit your tastes and dietary needs. Remember to store them properly for freshness. Enjoy experimenting with variations to find your favorite. With this recipe, you’ll have a tasty, nutritious snack to fuel your day. Try making them today and share your creations!


