If you’re craving a sweet treat but want to keep it healthy, I have just the recipe for you. These Healthy Chocolate Avocado Brownies are rich, fudgy, and packed with good-for-you ingredients. You won’t believe the secret ingredient is avocado! This simple treat satisfies your sweet tooth while offering great nutrition. Ready to impress your taste buds? Let’s dive into this guilt-free dessert!
Ingredients
Detailed Ingredient List
– 1 ripe avocado, peeled and pitted
– 1/2 cup unsweetened cocoa powder
– 1/2 cup maple syrup or honey
– 1/4 cup almond butter or peanut butter
– 1/2 cup whole wheat flour
– 1/2 teaspoon baking soda
– 1/4 teaspoon salt
– 1 teaspoon pure vanilla extract
– 1/2 cup dark chocolate chips
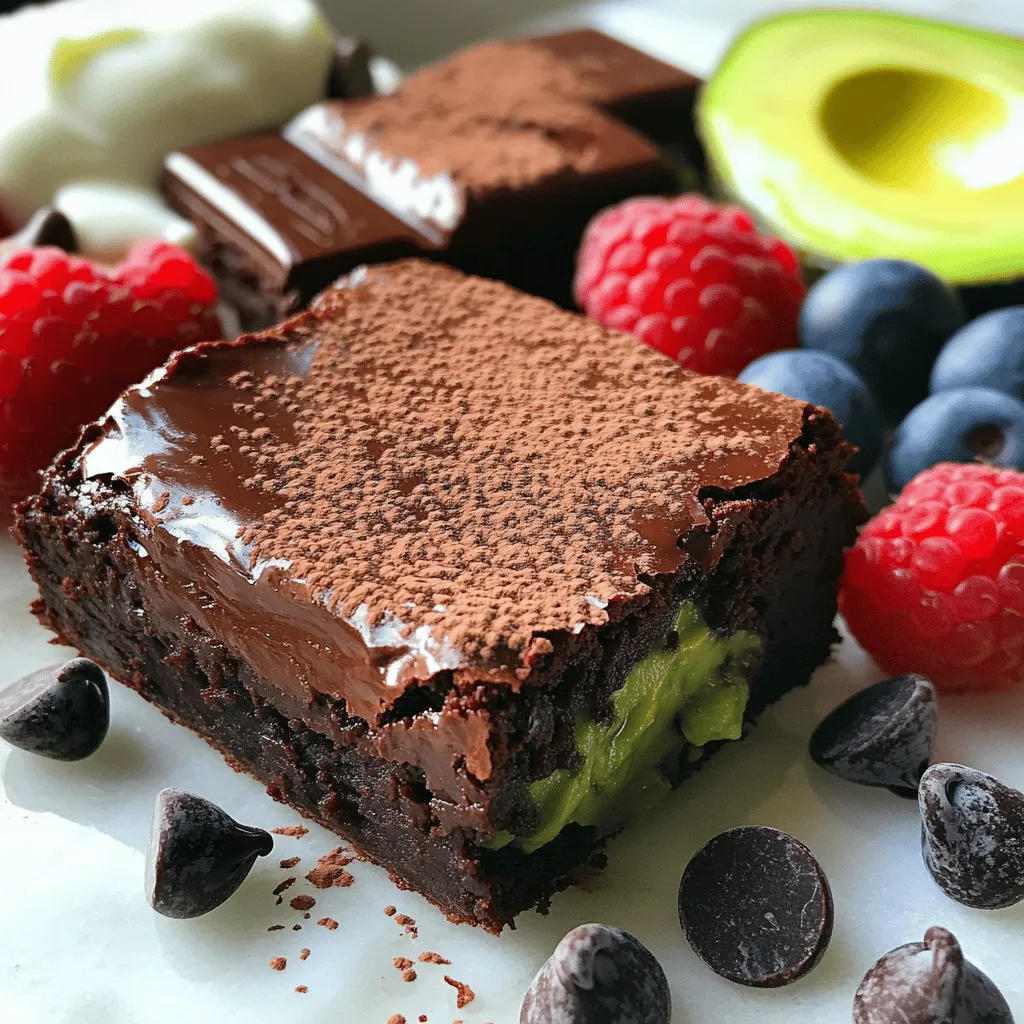
The key ingredient here is the avocado. Why choose avocado for brownies? It adds creaminess and healthy fats. This makes the brownies moist without extra oil.
Next, we have cocoa powder. It gives the brownies a rich chocolate taste. The maple syrup or honey acts as a natural sweetener. I prefer maple syrup for its unique flavor.
Almond butter or peanut butter brings a nutty taste. Whole wheat flour adds fiber, making these brownies healthier. Baking soda helps the brownies rise. Salt enhances all the flavors. Finally, dark chocolate chips are a must for that gooey chocolate burst.
Nutritional Benefits of Key Ingredients
Using avocado offers many perks. It is rich in vitamins and healthy fats. These fats can help lower bad cholesterol. The fiber in avocado also aids digestion.
Cocoa powder is full of antioxidants. It can improve heart health while making brownies delicious. Maple syrup is a lower glycemic option. It can provide a steady energy boost without a sugar crash.
Switching to whole wheat flour adds more nutrients. It has more fiber than white flour. This helps keep you full longer.
Dietary Considerations
If you need gluten-free options, use almond flour instead of whole wheat. It works well and keeps the taste rich.
For a vegan-friendly version, replace honey with maple syrup. Use a nut butter that fits your diet. You can also find dairy-free chocolate chips easily.
These easy swaps ensure everyone can enjoy these healthy chocolate avocado brownies!
Step-by-Step Instructions
Preparation Steps
– Preheat your oven to 350°F (175°C).
– Line an 8×8 inch baking pan with parchment paper. Leave some paper hanging over the edges. This helps with easy removal later.
– Take your ripe avocado and mash it in a bowl. You want it smooth and creamy. You can also use a food processor for this step.
– In the same bowl, add maple syrup (or honey), almond butter, and vanilla extract. Mix until everything is blended well.
Combining Ingredients
– In a different bowl, whisk together cocoa powder, whole wheat flour, baking soda, and salt. Make sure these dry ingredients are mixed well.
– Gradually add the dry mix to the wet mix. Stir gently until just combined. It’s okay to have a few lumps; this helps keep the brownies soft.
– Fold in dark chocolate chips so they are evenly spread in the batter.
Baking Process
– Pour the batter into your prepared pan. Use a spatula to smooth it out evenly.
– Place the pan in your oven. Bake for 20-25 minutes.
– To check if they are done, insert a toothpick into the center. It should come out with a few moist crumbs but not wet batter.
– Once baked, let the brownies cool in the pan on a wire rack for 15 minutes. Use the parchment paper to lift them out. Let them cool further before cutting into squares.
Tips & Tricks
Perfecting the Texture
To make your brownies just right, avoid overmixing. When you combine wet and dry ingredients, mix gently. A few lumps are okay. This keeps your brownies soft and fudgy. Even baking is also key. Make sure to spread the batter evenly in the pan. This helps them bake at the same time.
Serving Suggestions
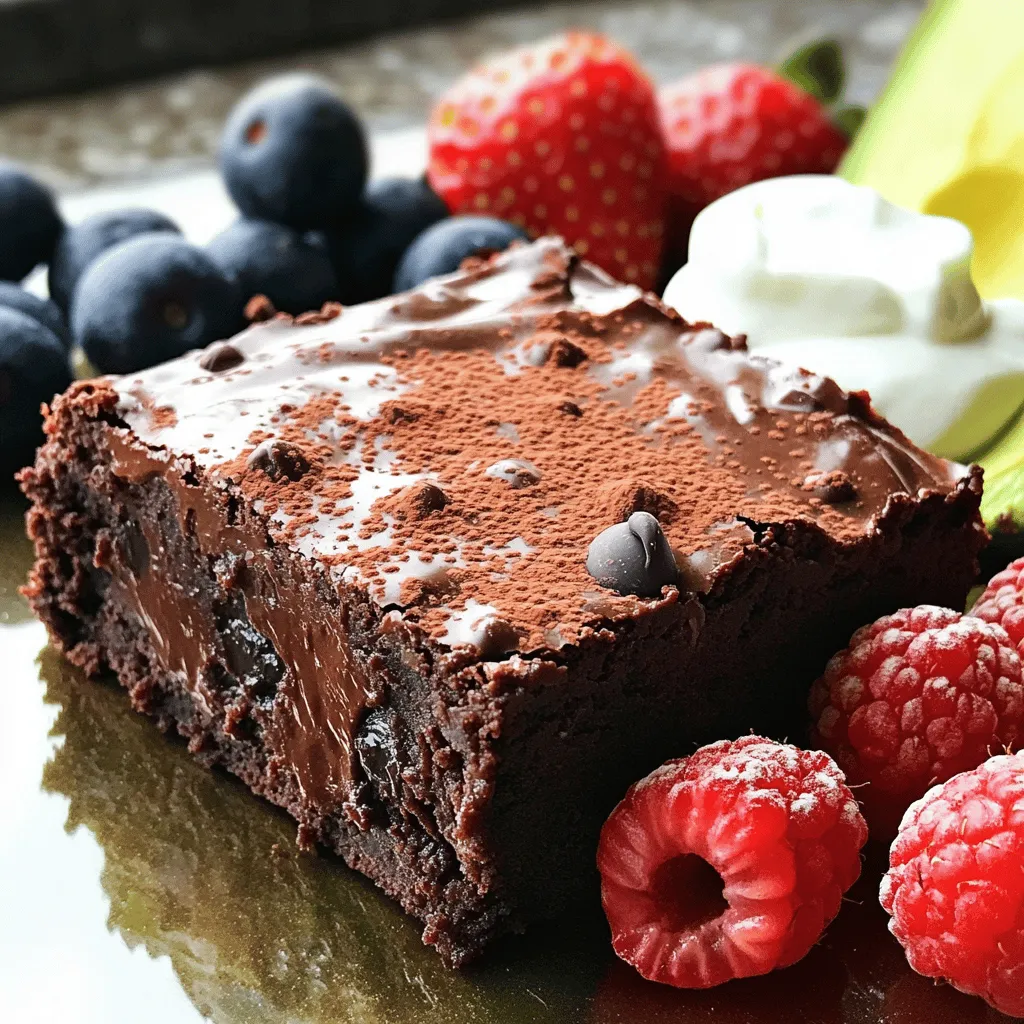
For a lovely presentation, dust the brownies with cocoa powder or powdered sugar. You can also serve them with fresh berries. A dollop of yogurt adds creaminess and balances the rich chocolate. These simple touches make your brownies look great on any plate.
Enhancing Flavor
You can boost the taste of your brownies easily. Try adding spices like cinnamon or a pinch of sea salt. A splash of almond or peppermint extract gives a fun twist. Using flavored chocolate chips adds another layer of taste. Think about using orange or hazelnut chips for a unique flavor profile.
Variations
Dietary Adaptations
To make these brownies gluten-free, swap whole wheat flour for almond flour or coconut flour. These options keep the texture rich and moist while avoiding gluten. Just remember to adjust the amount, as almond flour is more absorbent.
For a vegan twist, replace honey with maple syrup. You can also use a plant-based nut butter, like almond or sunflower seed butter, instead of peanut butter. This keeps the flavor intact without any animal products.
Flavor Variations
You can add a fresh twist to these brownies by mixing in mint extract. Use about 1 teaspoon of pure mint extract for a refreshing flavor. This makes mint chocolate avocado brownies that are perfect for any mint lover!
Another fun option is to create a peanut butter swirl. Drop spoonfuls of peanut butter into the brownie batter before baking. Use a knife to swirl it around for a beautiful marbled look. This adds a delicious peanut flavor that pairs well with chocolate.
Serving Size Adjustments
If you want to change the serving size, you can easily convert the recipe. For a smaller batch, halve the ingredients. Use a smaller pan, like 6×6 inches, and keep an eye on the baking time. Smaller brownies will bake faster.
You can also bake these brownies in a larger pan for thinner squares. A 9×13 inch pan works well, but adjust the baking time to about 15-20 minutes. Check for doneness with a toothpick, just like before.
Storage Info
Storing Leftovers
To keep your brownies fresh, store them in an airtight container. This prevents air from making them dry. You can also place a slice of bread in the container. The bread helps maintain moisture. Always let brownies cool before storing. This avoids steam build-up, which can make them soggy.
Freezing Instructions
If you want to freeze brownies, first cut them into squares. Wrap each piece tightly in plastic wrap. Then, place them in a freezer-safe bag or container. This helps avoid freezer burn. When you’re ready to eat them, just take out a piece and let it thaw at room temperature. You can also warm them in the microwave for a few seconds.
Shelf Life
Brownies last about 3-4 days at room temperature. If you see any mold, throw them away. To keep them fresh longer, refrigerate or freeze them. Refrigeration can extend their life to about a week. For best taste, enjoy them within a few days.
FAQs
Common Questions
Can I use ripe bananas instead of avocado?
Yes, you can use ripe bananas. They add sweetness and moisture. However, the flavor changes slightly. Bananas may make the brownies taste fruitier. If you love banana, give it a try!
How can I make these brownies less sweet?
To reduce sweetness, cut back on the maple syrup or honey. You can also swap some sweetener for unsweetened applesauce. This keeps the texture but lowers the sugar.
Cooking & Baking Tips
What is the best way to test brownies for doneness?
The best way is to use a toothpick. Insert it in the center. If it comes out with a few moist crumbs, the brownies are done. If it has wet batter, bake a bit longer.
Can these brownies be made without flour?
Yes, you can make them without flour. Use a blend of nut flour or almond flour instead. This gives a nutty flavor and keeps the brownies moist.
Nutrition and Substitutions
How many calories are in a serving?
Each brownie has about 100 calories. This can change based on the ingredients you use. For example, using less sweetener or different nut butter may alter the calorie count.
What are good dairy-free alternatives for chocolate chips?
Look for dairy-free dark chocolate chips. Many brands make these with coconut or almond milk. You can also chop up a dairy-free chocolate bar for chunks.
In this article, I covered a delicious brownie recipe that uses healthy ingredients. You learned about the key components, their nutritional benefits, and how to adapt the recipe for dietary needs. I shared step-by-step instructions for baking these brownies to perfection. With tips on flavor and texture, you can create the best version. Remember to store your leftovers properly to keep them fresh. Enjoy baking these brownies, knowing they are a tasty treat that can fit your diet!


