Looking for a quick, healthy meal that’s bursting with flavor? This Easy Chickpea Tuna Salad combines tasty chickpeas and tuna to create a dish that’s not only simple but also packed with nutrients. In just a few steps, you’ll have a satisfying meal ready to enjoy or to pack for lunch. Let’s dive into the easy ingredients and methods that make this salad a must-try!
Ingredients
Required Ingredients for Easy Chickpea Tuna Salad
– 1 can (15 oz) chickpeas, drained and rinsed
– 1 can (5 oz) tuna in water, drained
– 1/4 cup Greek yogurt or vegan mayonnaise (optional)
– 1 tablespoon Dijon mustard
– 1/2 red bell pepper, finely chopped
– 1/4 red onion, finely chopped
– 1/4 cup fresh parsley, chopped
– 1 tablespoon fresh lemon juice
– Seasoning: Salt and pepper to taste
– Optional: 1 ripe avocado, diced
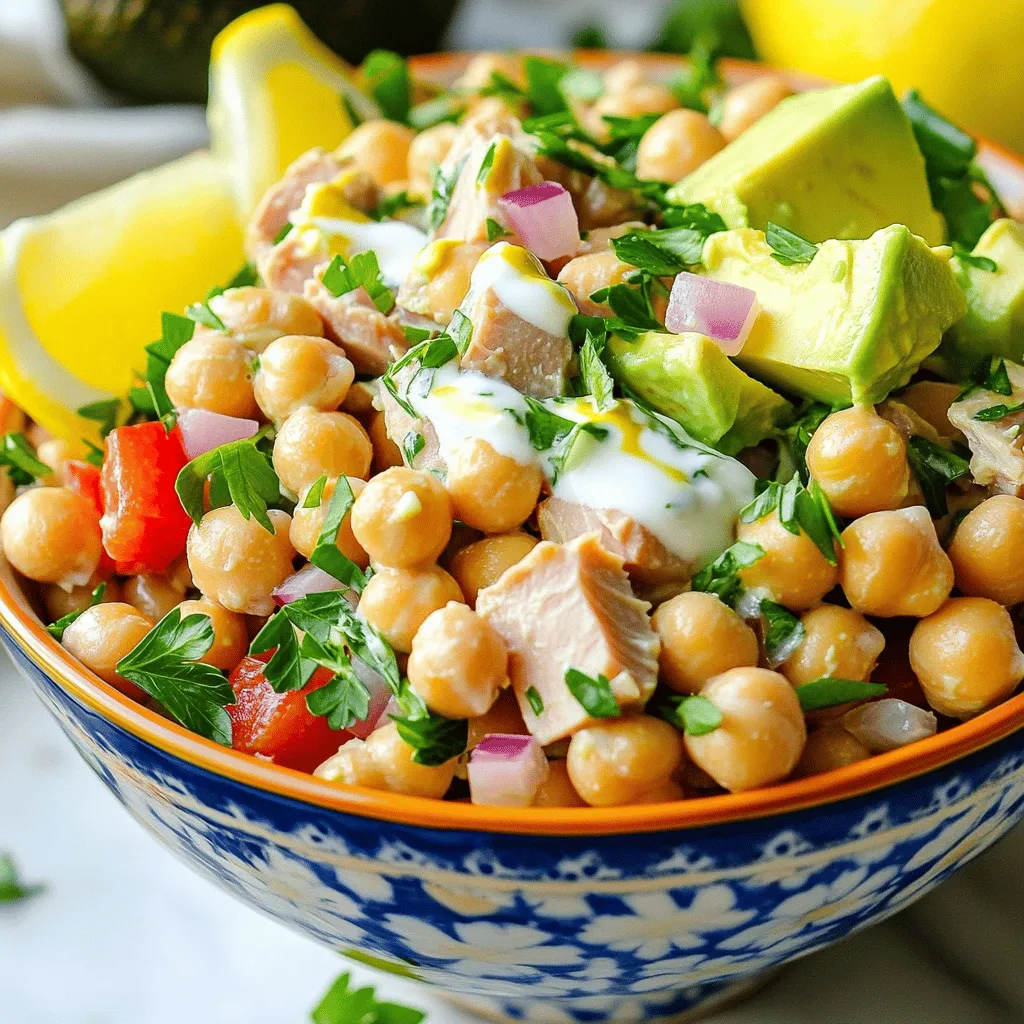
To make this salad, gather all the ingredients listed above. The chickpeas and tuna serve as the base. Chickpeas give a nice texture, while tuna adds protein. The Greek yogurt or vegan mayo brings creaminess. Dijon mustard gives it a tangy kick.
Chop the red bell pepper and red onion finely for a nice crunch. Fresh parsley adds color and flavor. A squeeze of lemon juice brightens up the dish. You can also add diced avocado for extra creaminess.
This Easy Chickpea Tuna Salad is perfect for lunch or a light dinner.
Step-by-Step Instructions
Preparation Process
– Lightly mash the chickpeas in a large mixing bowl.
– Combine the drained tuna with the chickpeas.
– Whisk together Greek yogurt, Dijon mustard, and lemon juice in a small bowl.
Mixing Ingredients
– Pour the yogurt mixture over the chickpeas and tuna.
– Fold in the chopped red bell pepper, red onion, parsley, and optional avocado.
Final Touch and Serving
– Season with salt and pepper to taste.
– Serve immediately or chill before serving.
This Easy Chickpea Tuna Salad is simple and quick.Enjoy it as a meal or snack!
Tips & Tricks
Tips for Perfecting Your Salad
– Use freshly squeezed lemon juice for a brighter flavor. This adds freshness.
– Adjust seasoning to taste. Start with a little and add more if needed.
Serving Suggestions
– Pair the salad with whole grain crackers. This adds crunch and fullness.
– Serve as a filling for lettuce wraps. It makes a great low-carb meal.
Visual Appeal
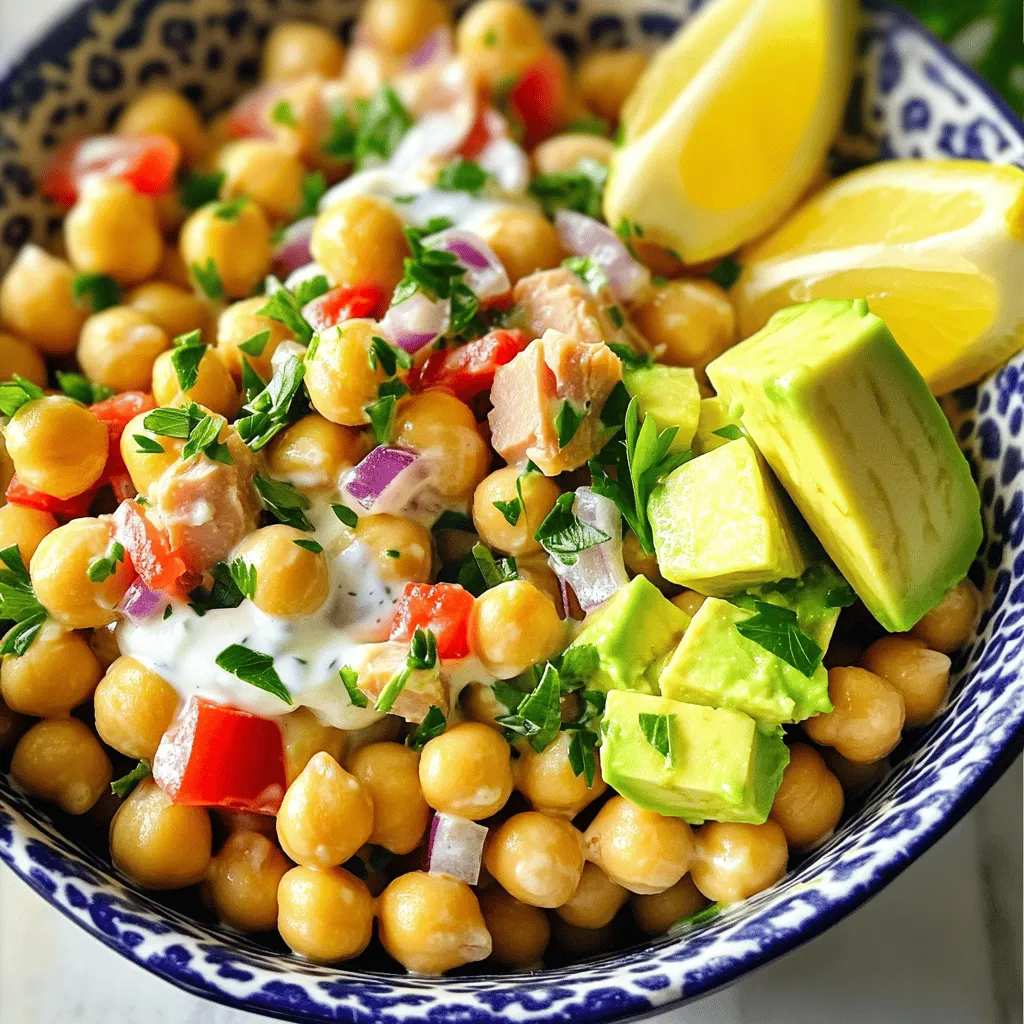
– Garnish with extra parsley and lemon wedges. This makes your dish look bright and inviting.
– Use a colorful bowl to showcase the vibrant ingredients. This enhances the overall experience.
Variations
Ingredient Swaps
You can easily change up the recipe to suit your taste. If you want a plant-based option, swap Greek yogurt for vegan mayonnaise. This keeps the salad creamy and tasty. You can also switch the chickpeas for different beans. Black beans or white beans both work well. These swaps give you a fun twist on the classic recipe.
Flavor Additions
Want to add some crunch? Diced celery is a great choice. It brings a nice texture to the salad. If you like salty flavors, try adding olives. They give a briny kick that pairs well with the other ingredients. Feel free to get creative with your flavor choices!
Dietary Adjustments
If you need to make it gluten-free, check the ingredients you use. Most of the items in the salad should be gluten-free. Just make sure that any sauces or extras are also gluten-free. This way, you can enjoy the salad without worry.
Storage Info
How to Store Leftovers
Store your chickpea tuna salad in an airtight container. This keeps it fresh. Make sure the lid is on tight.
Best Duration for Freshness
For the best taste, eat it within 3-4 days. After this time, it may lose flavor.
Reheating Tips
This salad is best served cold or at room temperature. Avoid reheating to keep the texture and taste just right. Enjoy it straight from the fridge for a quick meal!
FAQs
Can I make Easy Chickpea Tuna Salad ahead of time?
Yes, you can make it a few hours in advance. This gives the flavors time to meld together. I often make this salad in the morning for lunch later. It’s easy and saves time!
Is the recipe suitable for meal prep?
Absolutely! This salad holds up well for meal prep. You can store it in the fridge for a few days. It remains tasty and fresh, making it a great option for busy weeks.
What nutrition benefits does this salad offer?
This salad is high in protein, fiber, and healthy fats. Chickpeas provide protein and fiber, while tuna adds more protein. Greek yogurt gives creaminess and healthy fats. Overall, it’s a nutritious choice for any meal.
In this article, we explored how to make a tasty and simple Chickpea Tuna Salad. You learned the key ingredients and followed easy steps to prepare it. We discussed tips for adding flavor and how to store any leftovers. Finally, the salad’s health benefits make it a smart choice for meals. This salad is quick, nutritious, and great for any occasion. Enjoy making it in your own kitchen!


