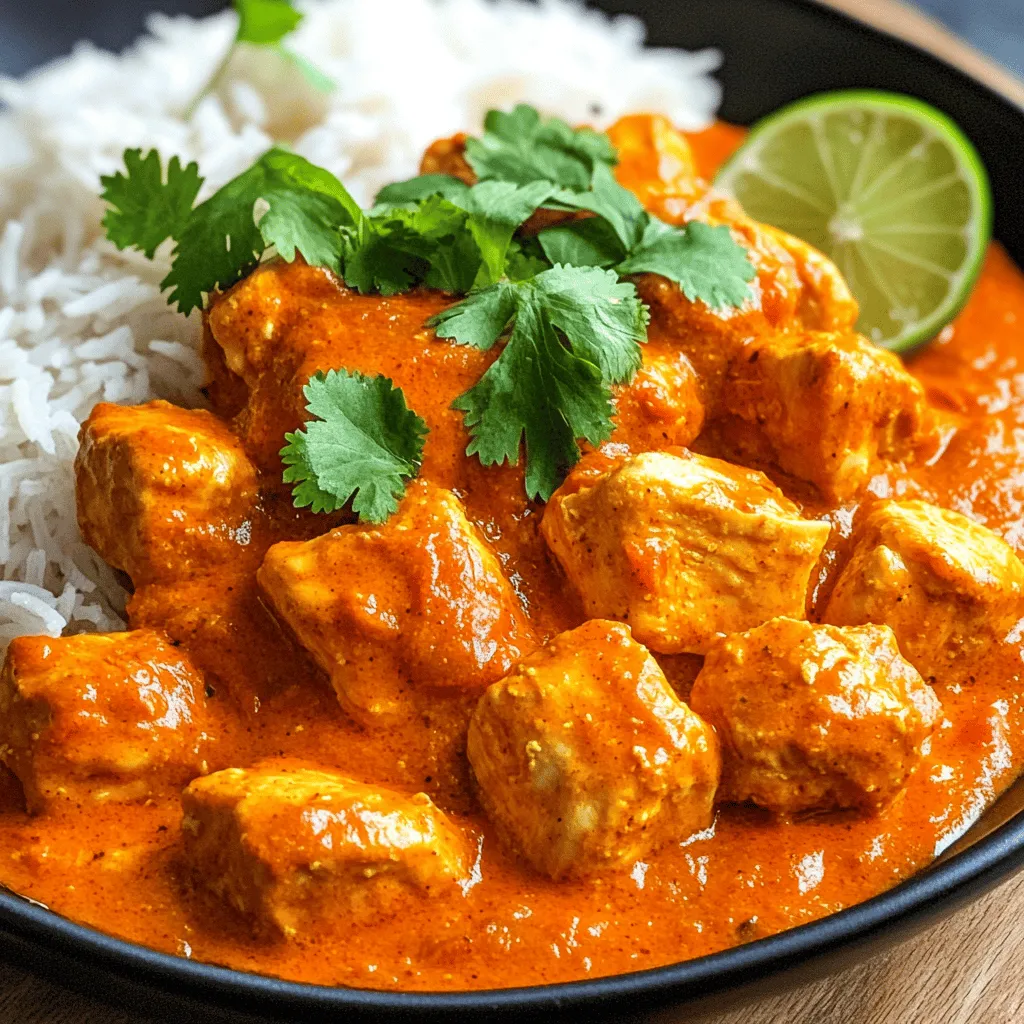
If you’re craving a warm and tasty dish, Chicken Tikka Masala is a great choice. This recipe is both flavorful and easy to make. You don’t need to be a chef to impress your family or friends. With simple ingredients and step-by-step directions, you’ll have a perfect meal in no time. Let’s dive in and learn how to create this comforting classic that everyone loves!
Ingredients
List of Main Ingredients
To make Easy Chicken Tikka Masala, gather these main ingredients:
– 500g boneless chicken breast, cut into bite-sized cubes
– 1 cup plain yogurt, preferably Greek for thickness
– 2 tablespoons garam masala spice blend
– 1 tablespoon ground cumin
– 1 tablespoon ground coriander
– 1 teaspoon turmeric powder
– 1 teaspoon chili powder (adjust based on your heat preference)
– 1 tablespoon ginger-garlic paste (homemade or store-bought)
– 2 tablespoons vegetable oil (or ghee for a richer flavor)
– 1 large onion, finely chopped
– 1 can (400g) diced tomatoes, with juices
– 1 cup heavy cream (or coconut cream for a dairy-free option)
– Salt, to taste
– Fresh cilantro leaves, chopped, for garnish
Optional Garnishes
You can enhance your Chicken Tikka Masala with these optional garnishes:
– Fresh cilantro leaves, chopped
– Lime wedges for a zesty touch
– Sliced green chilies for extra heat
– Toasted almonds or cashews for crunch
Ingredient Substitutions
If you need to change any ingredients, here are some easy swaps:
– Use chicken thighs instead of chicken breast for more flavor.
– Swap plain yogurt for buttermilk or sour cream for a tangy twist.
– Use curry powder if you don’t have garam masala.
– Replace heavy cream with coconut milk for a lighter option or to keep it dairy-free.
– For a vegan dish, use tofu or chickpeas in place of chicken.
This recipe is simple and flavorful, making it perfect for any home cook.
Step-by-Step Instructions
Preparation of Marinade
Start by making the marinade. In a large bowl, mix one cup of plain yogurt with two tablespoons of garam masala. Then, add one tablespoon each of ground cumin and ground coriander. Next, sprinkle in one teaspoon of turmeric powder and one teaspoon of chili powder, adjusting for your spice level. Add one tablespoon of ginger-garlic paste and a pinch of salt. Whisk it all together until smooth. This marinade packs in the flavor and tenderizes the chicken well.
Cut 500 grams of boneless chicken breast into small cubes. Next, add the chicken to your marinade. Make sure each piece gets coated well. Cover the bowl with plastic wrap and place it in the fridge for at least one hour. For the best taste, let it sit overnight.
Cooking the Chicken
Heat two tablespoons of vegetable oil in a large skillet over medium heat. Once the oil is hot, toss in one finely chopped onion. Cook the onion until it turns golden brown and soft, about 5 to 7 minutes. Stir often to stop it from burning.
Now, take the marinated chicken from the fridge. Let the extra marinade drip off before adding it to the skillet. Cook the chicken for about 6 to 8 minutes, stirring it frequently. You want the chicken to turn white and no longer look pink.
Combining Flavors
After the chicken cooks, pour in one can of diced tomatoes with their juices. Stir it all together. Lower the heat and let it simmer for about 10 minutes. This process helps blend the flavors.
When you see the mixture bubbling, reduce the heat even more. Slowly stir in one cup of heavy cream. Let it cook for another 5 to 10 minutes. The sauce will thicken up nicely. Taste it and add a little salt if needed.
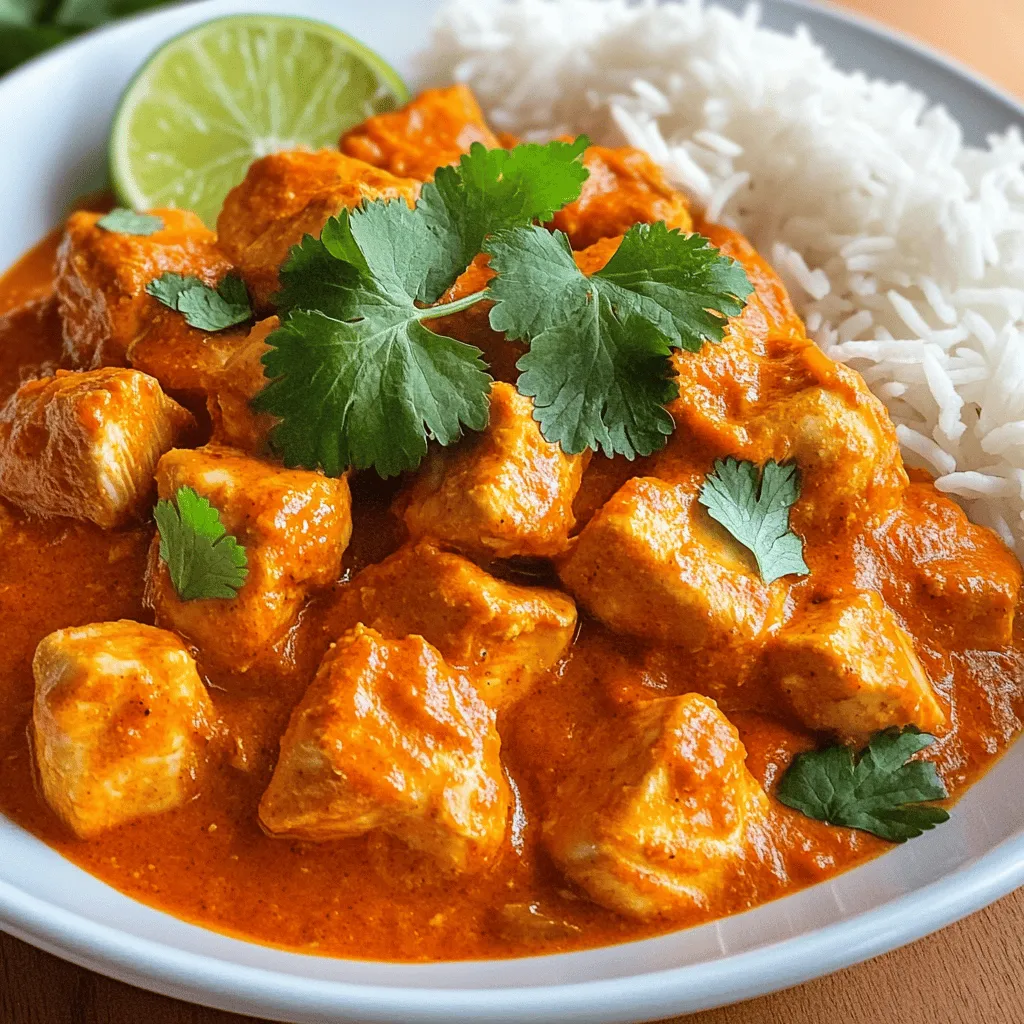
Don’t forget to garnish with fresh chopped cilantro before serving. This adds a nice touch of color and flavor. You can serve your easy chicken tikka masala with fluffy rice or warm naan. Enjoy this flavorful and simple dish!
Tips & Tricks
How to Achieve the Best Flavor
To make your chicken tikka masala truly shine, use fresh spices. Spices lose their kick over time. Toasting them in a dry pan for a minute boosts their aroma. Always marinate the chicken for at least an hour. For the best results, let it sit in the fridge overnight. This allows the spices to soak in deeply. Use Greek yogurt for the marinade; it adds creaminess and tang. Lastly, finish with fresh cilantro to brighten the dish.
Cooking Techniques for Beginners
Start by chopping your onions finely. This helps them cook evenly and blend into the sauce. Use a wide skillet. This allows the chicken to sear properly, giving it a nice color. When you cook the chicken, avoid overcrowding the pan. It can steam instead of sear, which is not what you want. Stir gently, and don’t rush the cooking time. Letting the sauce simmer helps the flavors mix well. Patience is key in cooking.
Common Mistakes to Avoid
One common mistake is skipping the marinating step. This can lead to bland chicken. Another mistake is not tasting the sauce. Always check the flavor before serving. If it tastes flat, try adding a pinch of salt or a splash of lemon juice. Some cooks forget to stir the sauce while it simmers. This can cause it to stick to the bottom. Lastly, don’t skip the garnish. A sprinkle of cilantro makes the dish look and taste better.
Variations
Vegetarian Adaptation
You can easily make a vegetarian version of chicken tikka masala. Swap the chicken for paneer or tofu. Both absorb flavors well and provide a nice texture. Use the same marinade with yogurt and spices. Cook the paneer or tofu until golden brown. Then, mix it with the sauce just like the chicken. You can also add vegetables like bell peppers or cauliflower for more color and nutrition.
Adjusting Spice Levels
Not everyone likes spicy food, and that’s okay! You can adjust the spice level in your dish. Use less chili powder if you prefer a milder taste. You can also add more yogurt to cool it down. For those who love heat, add extra chili powder or even fresh green chilies. Taste as you go, and find the perfect balance for your palate.
Alternative Cream Options
If you want a lighter or dairy-free option, there are great alternatives to heavy cream. Coconut cream works well and adds a lovely tropical flavor. You can also use cashew cream for a rich, nutty taste. To make cashew cream, soak cashews in water, then blend until smooth. Both options keep the dish creamy while adding unique flavors.
Storage Info
How to Store Leftovers
To keep your chicken tikka masala fresh, let it cool first. Then, place leftovers in an airtight container. Store it in the fridge for up to 3 days. If you want to keep it longer, consider freezing it.
Reheating Tips
When reheating, I recommend using a skillet. Add a splash of water or cream to keep it moist. Heat it on low, stirring often. You can also use a microwave. Just cover it with a lid or wrap to trap steam. Heat in short bursts, stirring in between.
Freezing Tikka Masala
You can freeze chicken tikka masala for about 2 to 3 months. Pour it into a freezer-safe container, leaving some space for expansion. Label the container with the date. When ready to eat, thaw it overnight in the fridge before reheating. Enjoy the flavors even after a few months!
FAQs
Can I use frozen chicken?
Yes, you can use frozen chicken for this recipe. Make sure to thaw it completely first. It’s best to marinate the chicken after thawing. This helps the flavors soak in better. Just remember, cooking time may increase a bit. Always check that the chicken is fully cooked.
What can I serve with Chicken Tikka Masala?
You can serve Chicken Tikka Masala with many sides. Here are a few ideas:
– Fluffy basmati rice
– Warm naan bread
– Roasted vegetables
– A fresh salad
– Raita, a yogurt side dish
These options pair well with the creamy sauce. They help balance the spices and enhance the meal.
How can I make it spicier?
To add more heat to your Chicken Tikka Masala, try these tips:
– Increase the chili powder in the marinade.
– Add sliced fresh green chilies during cooking.
– Include a pinch of cayenne pepper for a kick.
– Serve with a side of spicy chutney.
Adjusting spice levels lets you customize the dish to your taste. Enjoy your cooking adventure!
This article covered key ingredients for Chicken Tikka Masala, from main items to optional garnishes. I shared step-by-step instructions and tips for boosting flavor. You learned about vegetarian options and how to store leftovers.
Remember to avoid common mistakes and adjust spice levels to suit your taste. Cooking is all about trying new things. With these tips, you can make a delicious meal that everyone will love. Enjoy your cooking journey!


