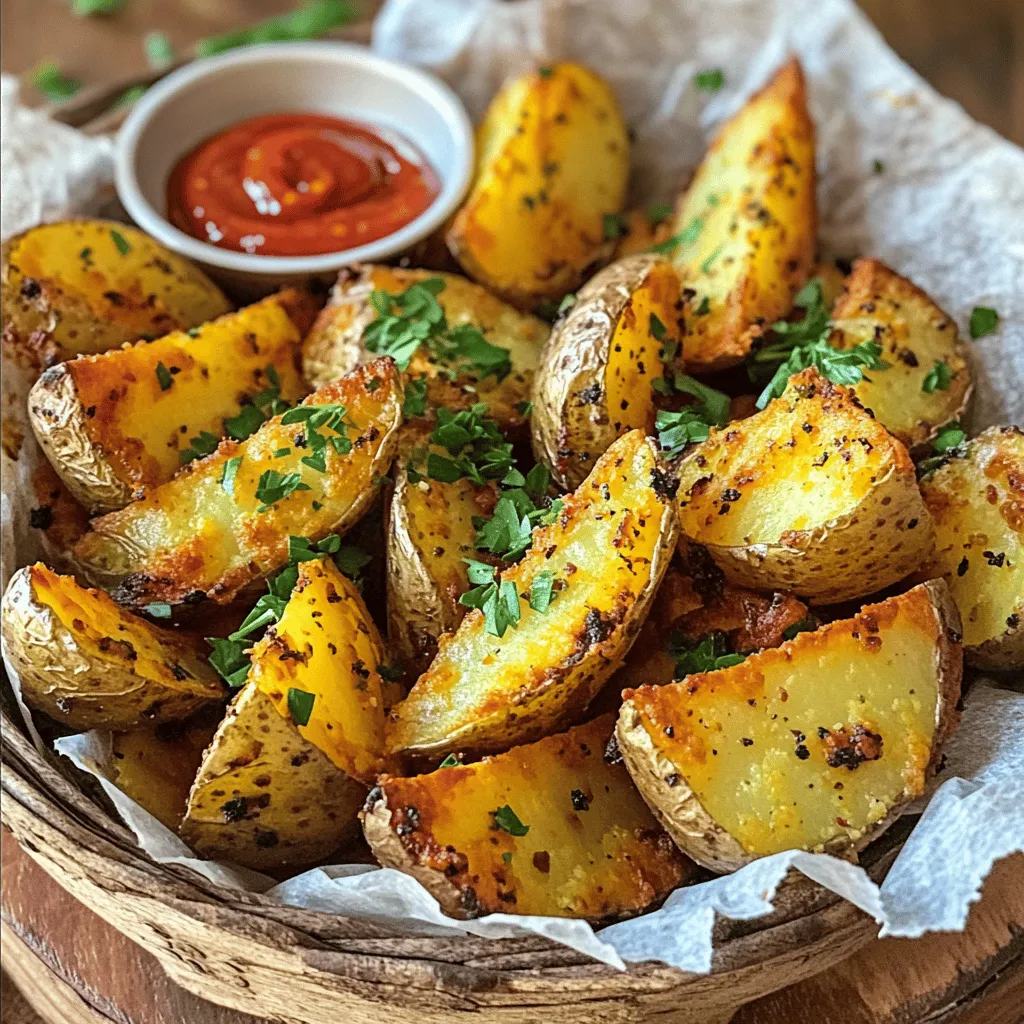
Are you ready to elevate your snack game? My crispy potato wedges are simple to make and bursting with flavor. With just a few ingredients, you’ll create golden, crunchy bites that your friends and family will love. Whether you’re watching a game or enjoying a cozy night in, these wedges are the perfect addition to your table. Let’s dive into the easy recipe and get cooking!
Ingredients
Here’s what you need for crispy potato wedges.
– 4 large russet potatoes
– 3 tablespoons olive oil
– 1 teaspoon garlic powder
– 1 teaspoon onion powder
– 1 teaspoon smoked paprika
– 1/2 teaspoon cayenne pepper
– 1 teaspoon dried oregano
– Salt and freshly ground black pepper to taste
– Fresh parsley, finely chopped (for garnish)
These ingredients create amazing flavor and texture. The russet potatoes give you that fluffy inside and crispy outside. Olive oil helps in browning the wedges. Garlic powder and onion powder add depth. Smoked paprika brings warmth, while cayenne pepper adds a kick. Oregano gives a hint of earthiness. Use salt and pepper to enhance all these great flavors. Fresh parsley adds a lovely touch at the end.
Step-by-Step Instructions
Preparation Steps
– Preheat oven to 425°F (220°C).
– Wash and slice potatoes into wedges.
– Prepare seasoning blend.
First, I start by preheating my oven to 425°F (220°C). This high heat helps make the wedges crispy. While the oven heats up, I wash the russet potatoes. I scrub them well but keep the skins on for texture. Next, I slice each potato in half lengthwise. Then, I quarter each half to create wedge shapes.
Now it’s time to prepare the seasoning blend. In a bowl, I mix together the olive oil, garlic powder, onion powder, smoked paprika, cayenne pepper, oregano, and a good pinch of salt and pepper. This blend gives the wedges a great flavor.
Cooking Steps
– Toss the potato wedges in the seasoning.
– Arrange on baking sheet and bake.
– Flip wedges halfway for even cooking.
Once I have the seasoning ready, I toss the potato wedges in it. I make sure every wedge gets coated. This step is key for flavor. Next, I arrange the seasoned wedges in a single layer on a baking sheet. I avoid overcrowding them; this helps them crisp up nicely.
I place the baking sheet in the oven and bake for 30 to 35 minutes. At the halfway point, I flip the wedges to ensure they brown evenly. When they turn golden brown, I know they are ready.
Final Touch
– Garnish and serve.
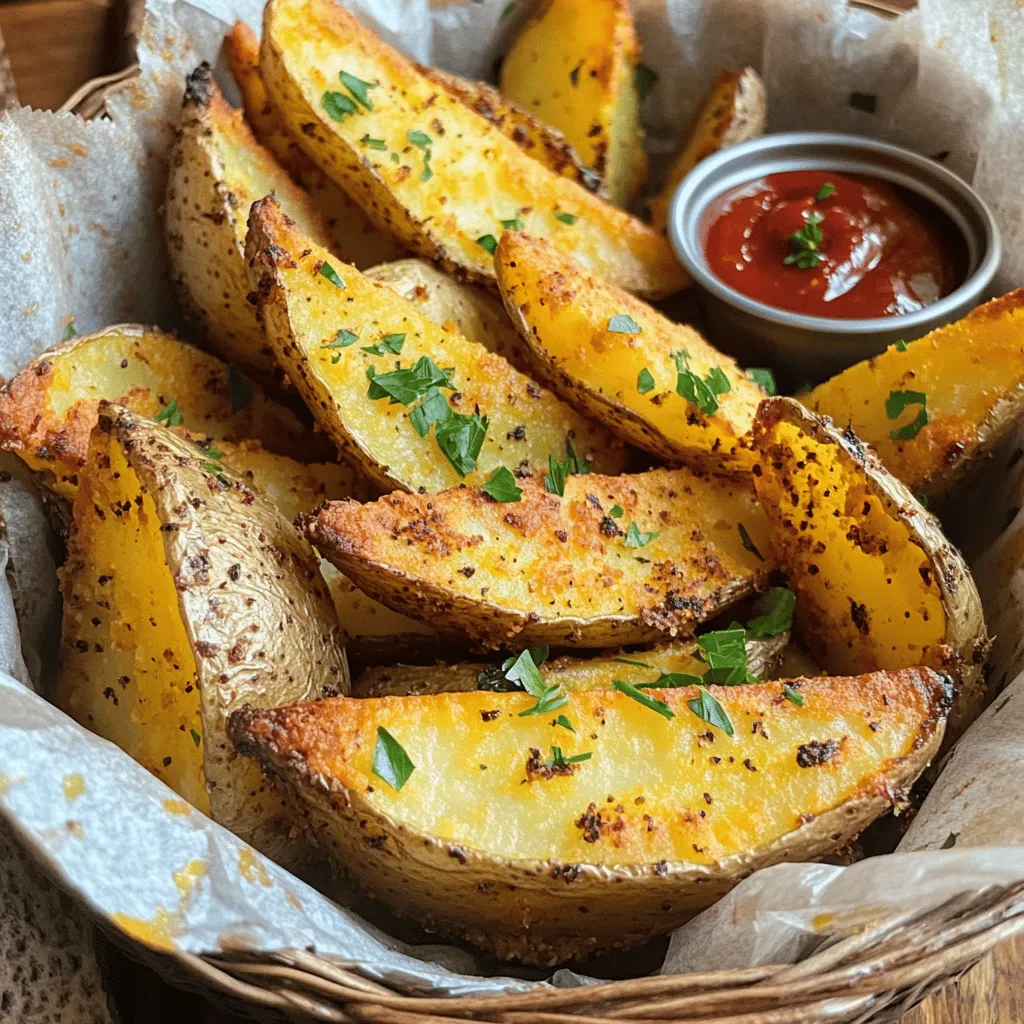
After baking, I take the wedges out of the oven and let them cool for a minute. I like to finish them off by garnishing with fresh parsley. This adds a nice pop of color and freshness. These crispy potato wedges are now ready to enjoy!
Tips & Tricks
Achieving Crispiness
To get crispy potato wedges, arrange them in a single layer. This allows the heat to circulate evenly around each wedge. If you stack them or crowd the pan, they steam instead of crisping. Flip the wedges halfway through cooking. This step helps both sides brown and crisp up perfectly.
Seasoning Adjustments
You can change the spice level to fit your taste. If you like heat, add more cayenne pepper. For milder flavor, use less. Try using different herbs, like rosemary or thyme, for a fresh twist. You can also experiment with curry powder or Italian seasoning.
Cooking Methods
Oven baking is great, but air frying is an excellent option too. Air fryers can make them even crispier while using less oil. If you prefer grilling, you can cook wedges on a grill for a smoky flavor. Just make sure to watch them closely to prevent burning.
Variations
Flavor Variations
You can take your crispy potato wedges to new heights. Here are two tasty ideas:
– Cheesy herb wedges: Add shredded cheese and fresh herbs. Try mixing in parmesan and thyme before baking. The cheese will melt and create a delightful crust.
– Spicy buffalo-style wedges: Toss the wedges in buffalo sauce after baking. This adds heat and flavor. Serve with blue cheese dressing for a cool counterbalance.
Dietary Modifications
If you have dietary needs, here are some easy swaps:
– Vegan alternatives: Use vegetable oil instead of olive oil. This keeps it plant-based. You can also skip cheese or use a vegan cheese if you try the cheesy variation.
– Gluten-free considerations: This recipe is naturally gluten-free. Just check your seasoning blends. Some spices may have additives with gluten.
Serving Suggestions
Pair your crispy potato wedges with fun dips and mains:
– Pairing with dips: Try serving with ketchup, ranch, or spicy mayo. These will enhance the flavor and make it more fun.
– Ideal mains to serve alongside: Crispy wedges pair nicely with grilled chicken or veggie burgers. They also work great with steak or a fresh salad.Enjoy!
Storage Info
Storing Leftovers
To keep your crispy potato wedges fresh, follow these tips:
– Refrigeration: Place the cooled wedges in an airtight container. They can last up to 3 days in the fridge. If you want optimal crispiness, store them without any sauce.
– Freezing: For longer storage, freeze the wedges. Place them in a single layer on a baking sheet. Once frozen, transfer them to a freezer bag. They can last for up to 2 months.
Reheating Suggestions
To enjoy your crispy potato wedges again, use these methods:
– Restoring Crispiness: The best way to make them crispy is to use the oven. Preheat your oven to 400°F (200°C). Spread the wedges on a baking sheet and bake for 10-15 minutes. They will crisp up beautifully.
– Microwave vs. Oven: The microwave is quick but may make the wedges soft. If you’re short on time, use it for about 1 minute. However, if you want that crunchy texture, the oven is the way to go.
FAQs
How long do crispy potato wedges last?
Crispy potato wedges can last in the fridge for about 3 to 5 days. Store them in an airtight container. If you want to keep them longer, freeze them. Frozen wedges can last up to 3 months. Just be sure to let them cool completely before freezing.
Can I use other types of potatoes?
Yes, you can use different types of potatoes! Russet potatoes are great for their crispiness, but Yukon Golds or red potatoes work well too. Each type has its own flavor and texture, so feel free to experiment.
How do I make potato wedges crispier?
To make potato wedges crispier, follow these tips:
– Cut the wedges evenly for uniform cooking.
– Soak the potato wedges in cold water for 30 minutes. This helps remove excess starch.
– Use enough oil to coat them well but not drown them.
– Bake them in a single layer without overcrowding.
Can I make these wedges ahead of time?
You can prepare the wedges ahead of time. Cut and season them, then store them in the fridge for up to 24 hours. When ready to cook, pop them in the oven. If you want to freeze them, freeze the raw wedges. Just remember to let them thaw before cooking.
What dips go well with crispy potato wedges?
Popular dips for crispy potato wedges include:
– Ketchup
– Ranch dressing
– Spicy mayo
– Garlic aioli
– Sour cream with chives
These dips enhance the flavor and make each bite even better!
This blog post guided you through making crispy potato wedges, from the right ingredients to preparing and cooking methods. Remember, using a single layer on the baking sheet is key for crispiness. You can also tweak the seasonings for your personal taste. Try different potatoes or cooking methods, and don’t forget about delicious dips. Enjoy your tasty wedges as a perfect snack or side dish. Keep exploring and experimenting with flavors!


