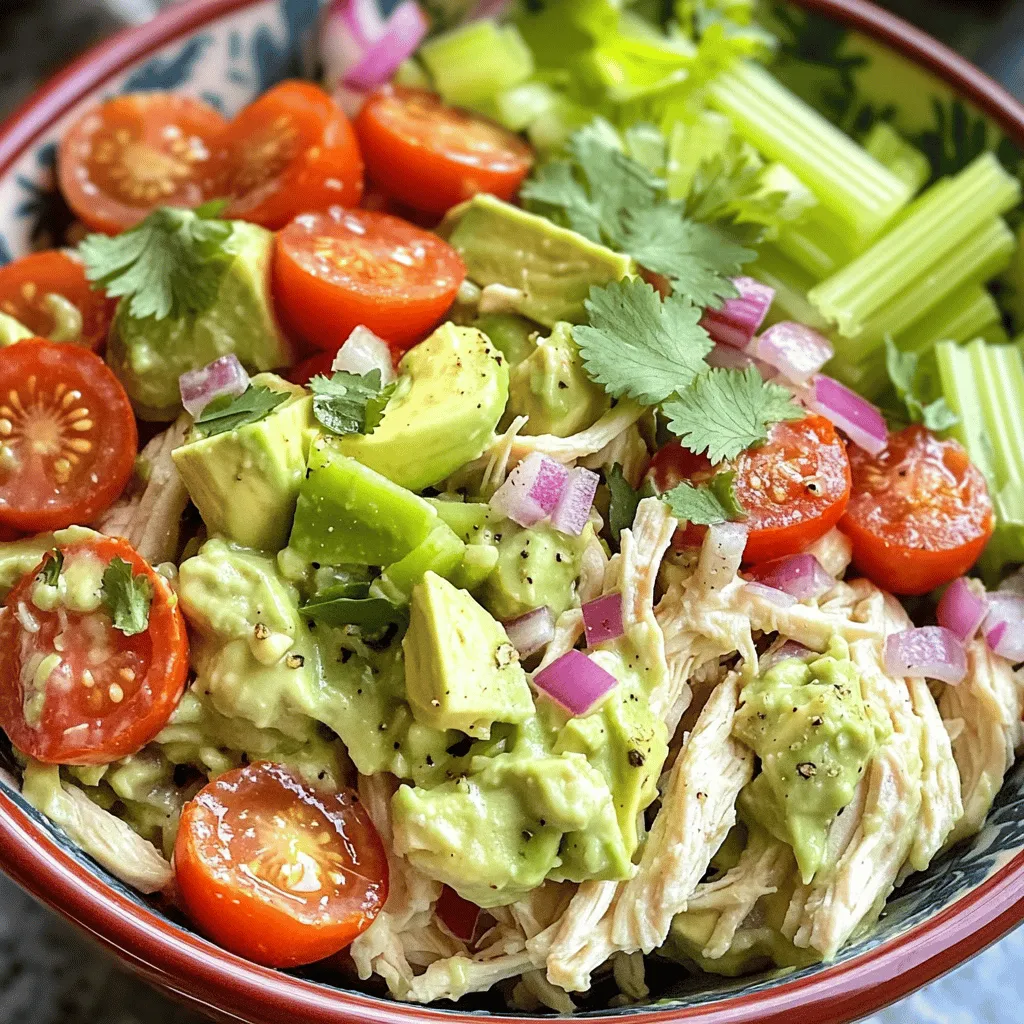
Looking for a tasty and healthy meal? You’ll love this Creamy Avocado Chicken Salad! Packed with shredded chicken, ripe avocado, and fresh veggies, it’s a quick dish that’s perfect for lunch or dinner. Plus, it’s simple to make and full of flavor. In this post, I’ll share the easy steps to whip up this delicious salad, along with tips and tricks to customize it just for you!
Ingredients
Main Ingredients
– 2 cups cooked chicken breast, shredded
– 1 ripe avocado, mashed until smooth
– 1/4 cup smooth Greek yogurt
– 1 tablespoon freshly squeezed lemon juice
Additional Ingredients
– 1/4 cup red onion, finely chopped
– 1/2 cup cherry tomatoes, halved
– 1/4 cup celery, finely diced
– 1/4 teaspoon garlic powder
Seasoning and Garnish
– Salt and freshly ground black pepper to taste
– Fresh cilantro or parsley, chopped, for garnish
The ingredients in creamy avocado chicken salad make it tasty and healthy. The chicken provides protein, while avocado adds healthy fats. Greek yogurt makes it creamy without extra calories. Fresh veggies like tomatoes and celery give a nice crunch.
Using fresh ingredients is key. This brings out the best flavors. You can adjust the amounts based on what you like. For example, add more tomatoes if you love them.
Don’t forget the seasoning! Salt and pepper enhance the taste. Fresh herbs like cilantro or parsley top it off perfectly. They add color and flavor.Enjoy making this delicious dish!
Step-by-Step Instructions
Preparing the Creamy Dressing
– Combine mashed avocado, Greek yogurt, and lemon juice in a bowl.
– Mix until smooth using a fork or whisk.
To make the creamy dressing, start with a ripe avocado. Mash it in a bowl until it is smooth. Next, add 1/4 cup of Greek yogurt. This adds creaminess and protein. Then, squeeze in 1 tablespoon of lemon juice. This will brighten the flavor. Mix these three ingredients well with a fork or whisk. You want a creamy and smooth texture. This creamy dressing is the base of your salad and full of healthy fats.
Mixing in Chicken
– Add shredded chicken to the avocado mixture.
– Stir thoroughly to coat the chicken evenly.
Now it’s time to add in the chicken. Use 2 cups of cooked chicken breast, shredded. You can use leftover chicken or rotisserie chicken for ease. Add the chicken to the creamy dressing. Stir well so every piece of chicken is coated. This adds protein and makes the salad filling. The creamy dressing brings all the flavors together.
Adding Vegetables and Seasoning
– Gently fold in red onion, cherry tomatoes, and celery.
– Season with garlic powder, salt, and black pepper to taste.
Next, let’s add some crunch and color. Gently fold in 1/4 cup of finely chopped red onion, 1/2 cup of halved cherry tomatoes, and 1/4 cup of diced celery. These veggies add freshness and texture. Now, season your salad. Add a pinch of garlic powder, salt, and freshly ground black pepper. Taste it and adjust the seasoning as needed. Mix gently so you don’t break the veggies. Now, your creamy avocado chicken salad is ready to serve!
Tips & Tricks
Selecting Ripe Avocados
– Look for avocados that yield slightly to pressure.
– Check the color; ripe avocados usually have a darker skin.
Selecting the perfect avocado is key for your creamy avocado chicken salad. When you gently press the avocado, it should give a bit. This tells you it is ripe and ready to use. A darker skin tone often means ripeness, but don’t rely on color alone. Always feel for that slight softness!
Cooking Chicken Efficiently
– Use rotisserie chicken for convenience.
– Ensure chicken is fully cooked; internal temperature should reach 165°F (75°C).
Cooking the chicken can take time, but using rotisserie chicken saves you effort. It offers great flavor and saves cooking time. If you cook your own chicken, make sure to check the internal temperature. It needs to reach 165°F (75°C) to be safe to eat.
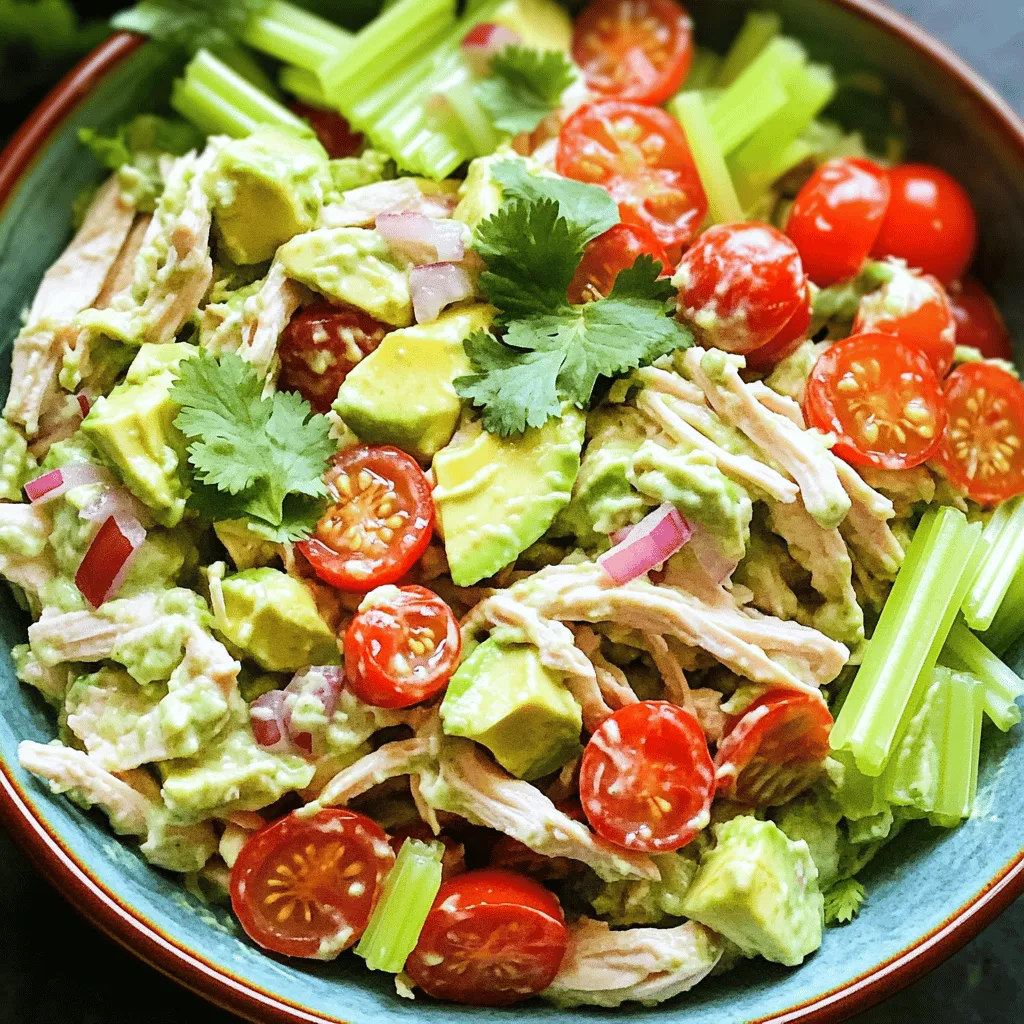
Serving Suggestions
– Serve in individual bowls, atop lettuce leaves, or in a wrap.
– Consider a lemon wedge on the side for added flavor.
Serving your salad can be fun! You can use individual bowls or place it on crisp lettuce leaves. If you want a wrap, that works too. A lemon wedge on the side brightens the meal and adds a zesty kick.Enjoy your tasty and healthy choice!
Variations
Adding Fruits
You can make your creamy avocado chicken salad even better by adding fruits. Diced apples or grapes bring a nice sweetness. They also add a nice crunch. If you want a tropical twist, try adding mango. Its juicy flavor blends well with creamy avocado.
Protein Substitutes
Not in the mood for chicken? You can easily swap it out. Canned tuna or chickpeas work well for a vegetarian option. Both of these options add protein and flavor. If you love seafood, consider using grilled shrimp. It adds a fresh, light taste to the salad.
Flavor Enhancements
Want to spice things up? Adding spices can really boost the flavor. Try cumin or smoked paprika for a warm kick. If you like heat, toss in some jalapeños. These will give your salad a spicy edge that keeps it exciting.
Feel free to get creative with your mix-ins! Each variation gives you a new twist on this delicious dish.
Storage Info
Refrigeration
Store your creamy avocado chicken salad in an airtight container in the refrigerator. It will stay fresh for up to 2 days. I suggest enjoying it right after you make it. However, if you keep the ingredients separate, it can last a little longer. This way, you keep the textures nice.
Freezing Considerations
Do not freeze the salad. Avocado gets mushy when frozen. If you want to prepare ahead, consider freezing the chicken on its own. This will keep it fresh and ready for your salad.
Meal Prep Tips
Prep your ingredients ahead of time. Store them separately to mix later. This salad is a great option for busy weeks. You can have a tasty meal ready in minutes!
FAQs
How long does creamy avocado chicken salad last in the fridge?
Typically lasts for about 2 days when stored properly. I recommend using an airtight container. This helps keep your salad fresh and tasty. After two days, the avocado may brown and lose its creamy texture.
Can I make this salad in advance?
Yes, but it’s best to combine the ingredients just before serving to maintain freshness. If you prepare it early, store the salad components separately. This way, the avocado stays bright and creamy.
What can I serve with creamy avocado chicken salad?
Great with whole-grain bread, crackers, or a side of fruit. I love serving it on toast for a hearty lunch. Pairing it with fresh fruit offers a nice, sweet contrast. You can also use it as a filling in wraps for a tasty twist.
This creamy avocado chicken salad is easy to make and full of flavor. We covered the main ingredients, steps, and tips to perfect it. You learned how to mix chicken with creamy dressing and fresh veggies. Remember to store leftovers properly for the best taste.
Enjoy this salad as a quick meal or snack. Feel free to customize with your favorite ingredients. With these simple tips, you can create a dish that is both healthy and delicious.


