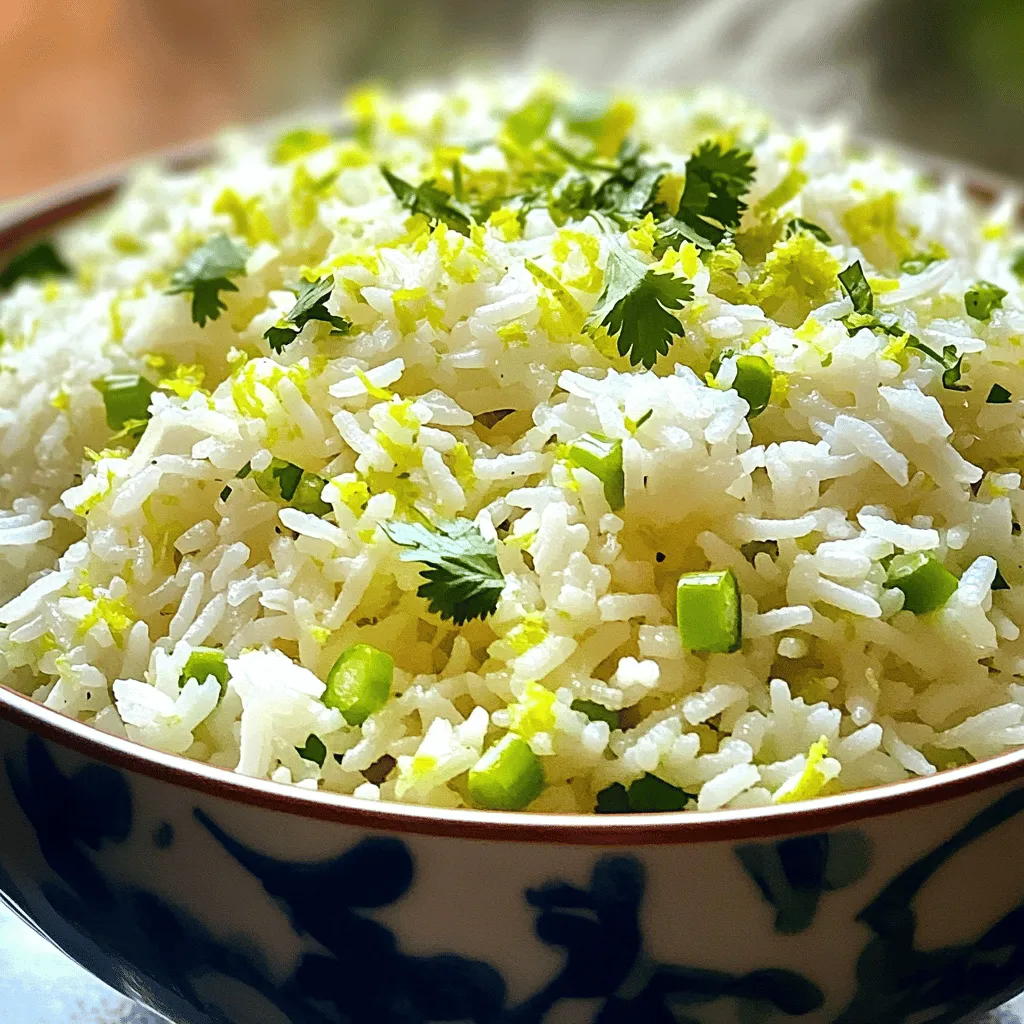
Looking for a side dish that bursts with flavor? Coconut Lime Rice is the answer! This tasty dish combines creamy coconut milk with zesty lime for a perfect pairing. It’s easy to make and ties in well with many main courses. In this guide, I’ll share essential ingredients, step-by-step instructions, and tips to help you master this delightful dish. Get ready to impress your family and friends!
Ingredients
Essential Ingredients for Coconut Lime Rice
To make coconut lime rice, you need a few key ingredients:
– 1 cup jasmine rice
– 1 cup coconut milk
– 1/2 cup water
– Zest of 1 lime
– 2 tablespoons fresh lime juice
– 1/2 teaspoon salt
These ingredients create a creamy, flavorful base. The jasmine rice gives a lovely texture, while the coconut milk adds richness. The lime zest and juice bring a bright, tangy flavor.
Optional Ingredients for Enhanced Flavor
You can also add optional ingredients to boost the taste:
– 1 teaspoon sugar (to enhance sweetness)
– 2 green onions, finely chopped
– Fresh cilantro leaves (for garnish)
The sugar can balance the acidity of lime. Green onions add a mild onion flavor. Cilantro gives a fresh, herbal note, making the dish even better.
Nutritional Information
Coconut lime rice is not just tasty; it has good nutrients, too. Here’s a quick look:
– Calories: About 250 per serving
– Carbohydrates: 40g
– Protein: 3g
– Fat: 10g
This dish provides energy and healthy fats, thanks to the coconut milk. Enjoy coconut lime rice as a delicious side dish with your meals!
Step-by-Step Instructions
Preparation of Jasmine Rice
First, rinse the jasmine rice. Place it in a fine mesh strainer under cold water. Keep rinsing until the water runs clear. This removes excess starch. Removing starch helps make the rice fluffy. You want each grain to stand out.
Cooking Instructions for Coconut Lime Rice
In a medium saucepan, mix the rinsed rice, coconut milk, and water. Add salt and optional sugar to taste. Stir gently to mix. Turn the heat to medium-high and bring it to a boil. Once boiling, lower the heat to simmer. Cover the saucepan tightly and let it cook for 15 minutes. Do not lift the lid! This keeps the steam inside, cooking the rice perfectly.
After 15 minutes, take the saucepan off the heat, but keep it covered. Let it rest for another 10 minutes. This helps the rice finish cooking. It will absorb any remaining liquid.
Fluffing and Final Touches
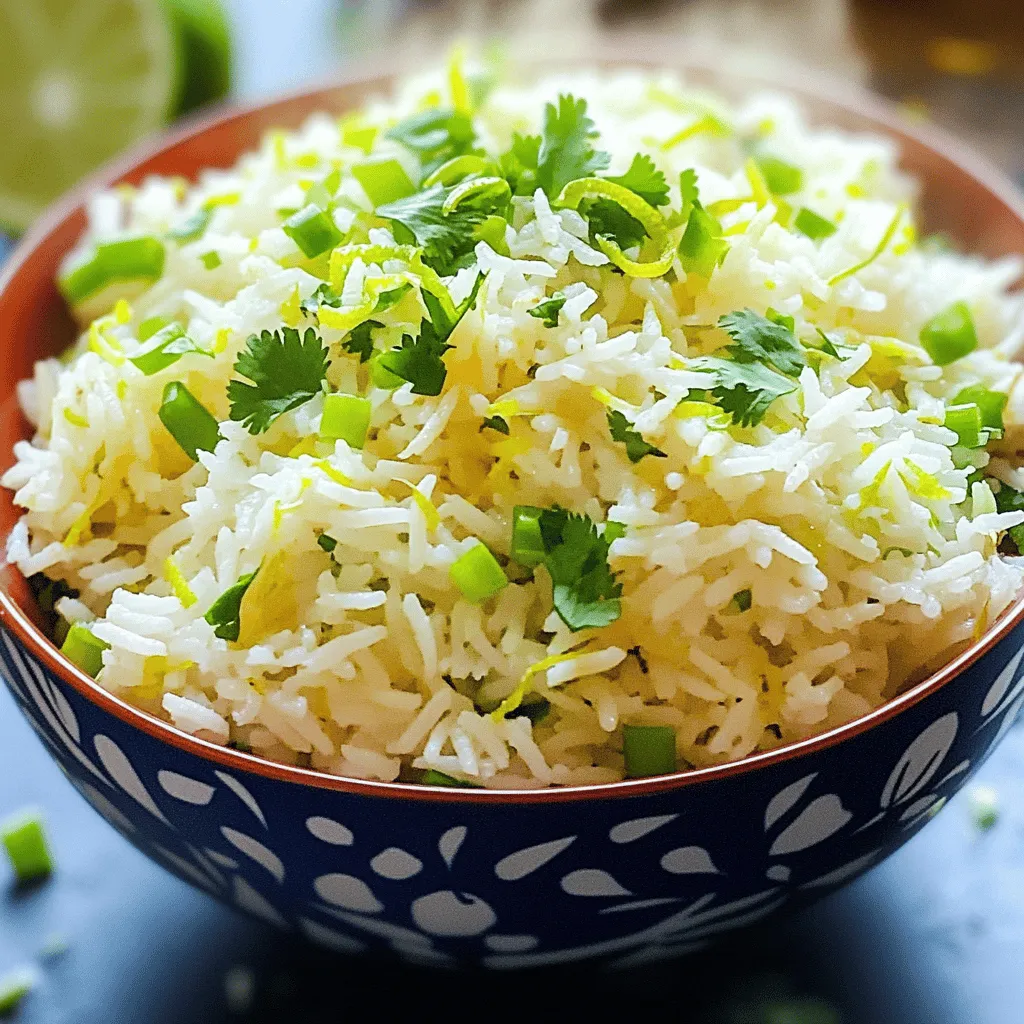
After the resting time, remove the lid. Use a fork to fluff the rice gently. This makes it light and airy. Next, mix in the lime zest and lime juice. This adds a zesty flavor that brightens the dish. Then, fold in the chopped green onions. This gives a nice crunch and flavor.
Serve the coconut lime rice warm. Garnish with fresh cilantro leaves for an extra touch. This dish pairs well with many main courses or can be a tasty base for a vegetarian bowl.
Tips & Tricks
Ensuring Fluffy Rice
To make fluffy coconut lime rice, rinse the jasmine rice well. Rinse it until the water runs clear. This step removes excess starch, which can make rice sticky. After rinsing, let the rice drain for a few minutes. When cooking, use the right water-to-rice ratio. For this recipe, combine one cup of rice with one cup of coconut milk and half a cup of water. This mix keeps the rice light and fluffy.
Adjusting Flavor Profiles
You can adjust the flavors in coconut lime rice easily. The lime zest and juice add brightness. If you want more sweetness, add a teaspoon of sugar. For a savory touch, try using a bit more salt. Fresh herbs like cilantro or green onions enhance the taste too. You can also experiment with spices like cumin or chili for added depth.
Common Mistakes to Avoid
A few common mistakes can ruin your coconut lime rice. One big mistake is lifting the lid while it cooks. This lets out steam, making the rice less fluffy. Another mistake is using too much water.Lastly, don’t skip the resting time after cooking. This step is key for achieving light and airy rice.
Variations
Coconut Lime Rice with Additional Vegetables
You can make coconut lime rice even better by adding veggies. Try mixing in some peas, bell peppers, or corn. These add color and extra nutrients. Chop the veggies small so they cook quickly. Add them to the pot during the last few minutes of cooking. This way, they stay bright and fresh.
Using Different Types of Rice
While jasmine rice is classic, you can use other rice types too. Long-grain rice or basmati rice can work well. Brown rice is another option, but it needs more time to cook. Adjust your cooking time based on the rice type. Always rinse the rice to remove excess starch for a fluffy texture.
Spice Up Your Coconut Lime Rice
If you like heat, add some spices to your coconut lime rice. A pinch of red pepper flakes or chopped jalapeños can give it a kick. For a warm flavor, mix in a bit of cumin or coriander. Experiment with different spices to find your favorite blend. This adds depth and makes your dish stand out.
Storage Info
How to Store Leftover Coconut Lime Rice
To keep leftover coconut lime rice fresh, place it in an airtight container. Make sure the rice cools to room temperature before sealing it. Store the container in the fridge. It will stay good for about three to four days. Label the container with the date to track freshness.
Reheating Instructions
When you’re ready to enjoy the rice again, take it out of the fridge. You can reheat coconut lime rice in a few ways:
– Microwave: Place rice in a bowl, add a splash of water, and cover. Heat for about 1-2 minutes, stirring halfway.
– Stovetop: Heat a pan over low heat. Add the rice with a bit of water. Stir until warmed through.
This method helps keep the rice moist and fluffy.
Freezing Coconut Lime Rice
If you want to store coconut lime rice for a longer time, freezing works well. Place cooled rice in a freezer-safe bag or container. Remove as much air as possible before sealing. It can last up to three months in the freezer. When you want to eat it, thaw it overnight in the fridge. Reheat as mentioned above for the best results. Enjoy this delightful dish anytime!
FAQs
What can I serve with Coconut Lime Rice?
Coconut lime rice pairs well with many dishes. You can serve it with grilled chicken or fish. It also complements shrimp and pork nicely. For a vegetarian option, try it with stir-fried vegetables or black beans. The rice adds a bright flavor to spicy curries and stews. It balances rich dishes with its light, zesty notes. You can even use it as a base for a fresh salad or bowl.
Can I use other types of milk instead of coconut milk?
Yes, you can use other types of milk. Almond milk or soy milk works as a substitute. However, these options will change the flavor. Coconut milk gives a unique taste and creaminess. If you want a richer texture, try using heavy cream mixed with water. Just note, other milks might not add the same sweetness and flavor as coconut milk.
How do I adjust the recipe for larger servings?
To serve more people, simply double the ingredients. For example, use 2 cups of jasmine rice and 2 cups of coconut milk. Keep the same water amount to maintain the rice’s texture. You can also increase the lime zest and juice for more flavor. If you need even more servings, keep adding in this manner. Just ensure a large enough pot to cook everything evenly.
Coconut lime rice is simple and tasty. We covered essential and optional ingredients. You learned easy steps to cook perfect rice. Tips helped you avoid common mistakes. Variations let you be creative with flavors.
Store leftovers easily and heat them perfectly. Whether you’re a beginner or an expert, this dish will impress. I hope you enjoy making coconut lime rice as much as I do. Happy cooking!


